
Our review of the Creality K1C 3D Printer continues with a look at operations.
This is part two of a three part series, please read parts one and three.
Creality K1C 3D Printer Operations
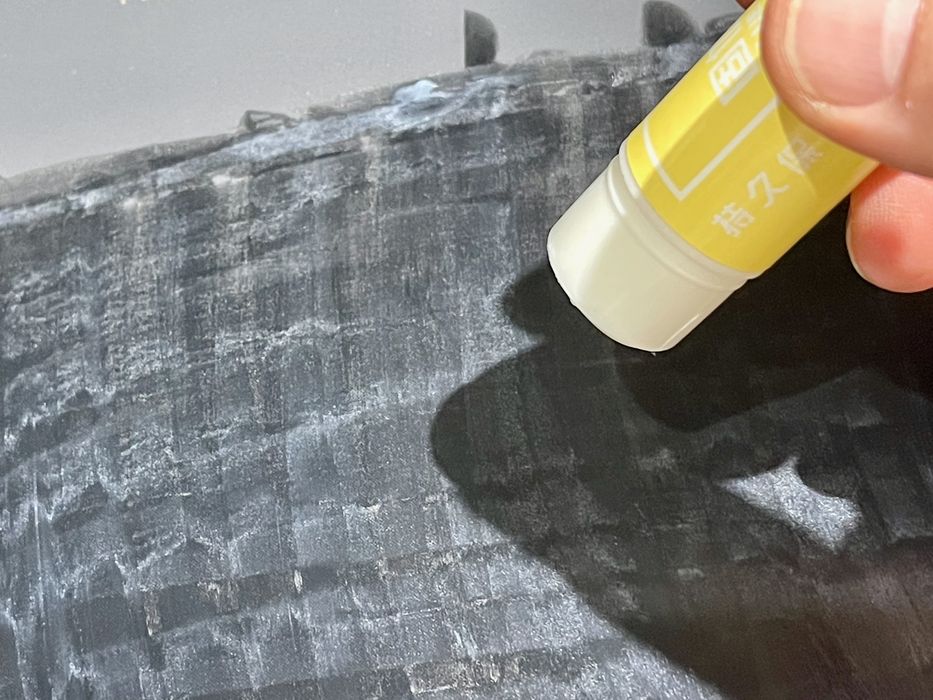
It was at this point I stared at the glue stick. Was I supposed to use the glue stick? Some 3D printers require use of the stick on every print. Others only with certain materials. Creality didn’t provide any guidance here, so I applied a layer to the plate, thinking that it wouldn’t hurt.
It turns out that the plate is actually naturally adhesive to the most common materials, and that the glue stick is only required for some exotic materials.

Loading filament was next on the agenda. Again, there were zero instructions on how to do this. On the other hand, I’ve loaded filaments into over a hundred different machines so I believed I could sort this out quickly. First, there seems to be a switch on the top of the extruder that locks in the gearing. This probably should be open when inserting filament.
I pushed through some filament and manually inserted it into the hot end after disconnecting the input PTFE tube. After locking the extruder, it held the filament firmly and I was certain it was properly loaded.
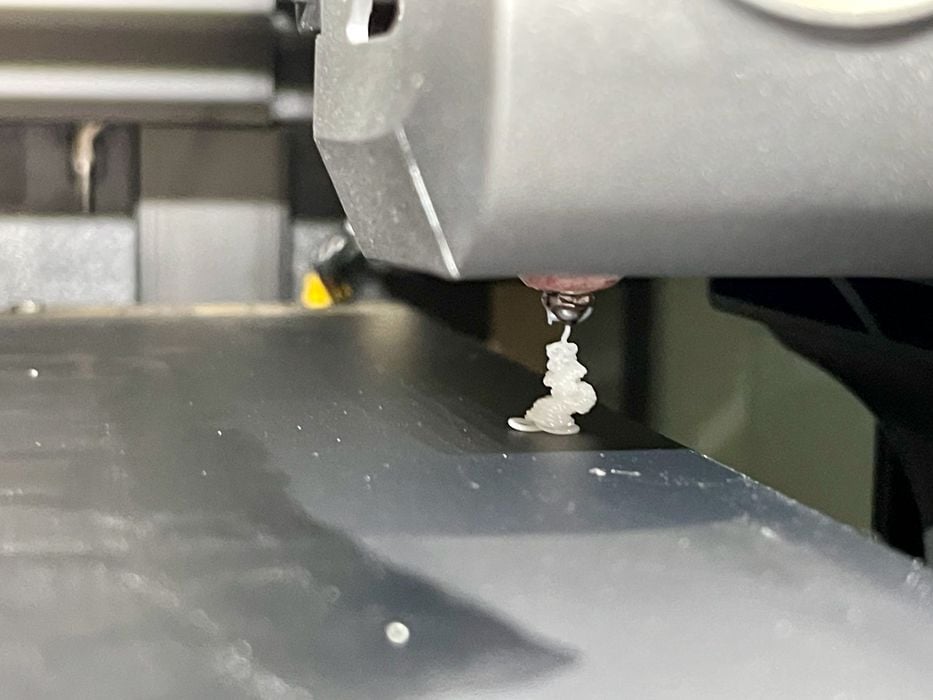
And indeed it was, as I was able to extrude some material by tickling the touchscreen’s manual controls.
I discovered later that it is possible to load filament in an easier manner by inserting the filament up to the extruder, where it will lock on by itself. I wish that Creality had explained this properly because I experimented with several ways to load filament, several of which worked and several that did not.
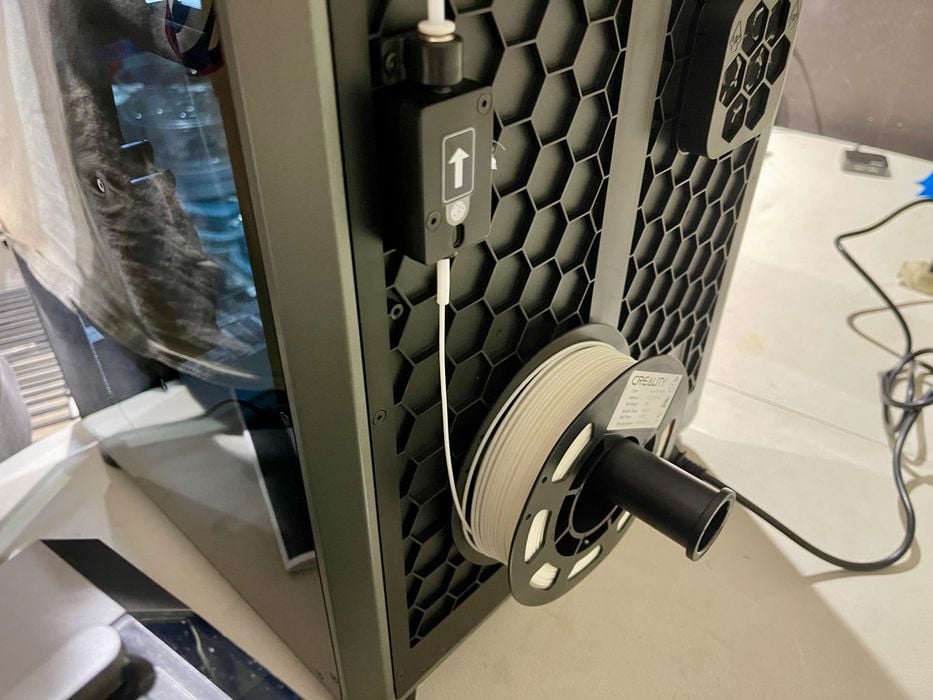
This is the standard spool setup for filament. The rear post holds the spool, and the filament quickly reaches the filament-out sensor. It’s possible to disable this sensor if you’re loading a different way, which we will see shortly.
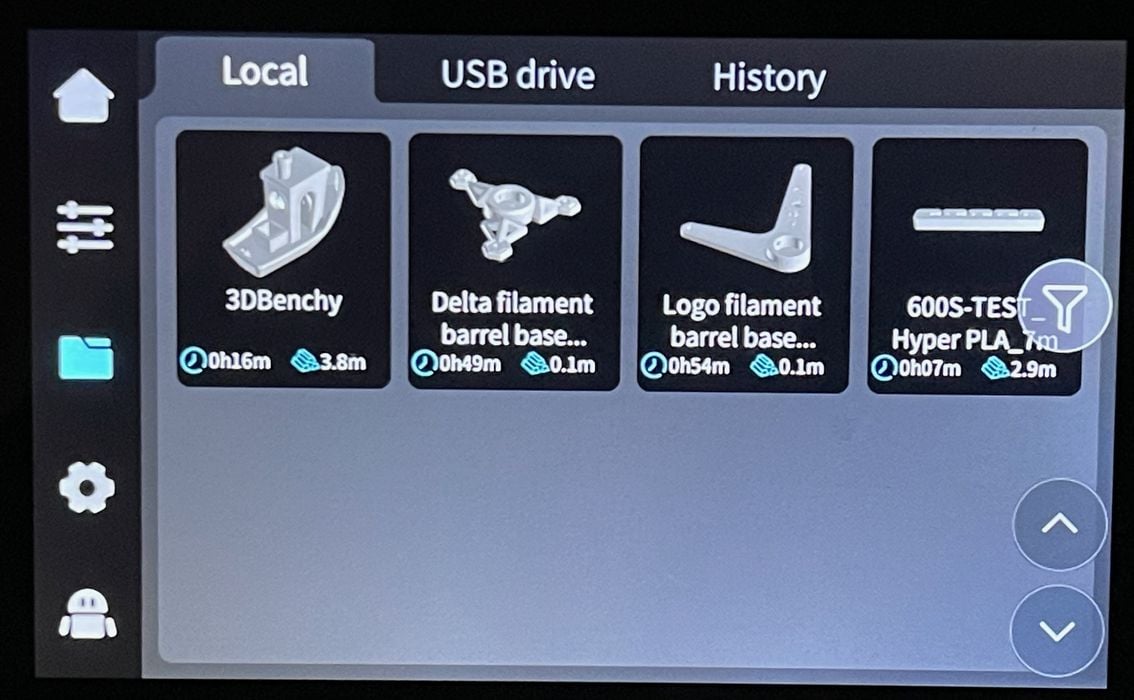
The touchscreen is quite good. It’s easy to read and offers quite a bit of functionality. I found it easy to navigate, but then I am familiar with the typical functions. On the other hand, the K1C is a professional device that is most likely to be used by experienced 3D printer operators.
The webcam on the K1C is able to capture 1080p timelapse videos. Unfortunately it doesn’t do the “move the toolhead out of the way to get a smooth video” approach, but it’s pretty good.
Except for one thing. The video was extraordinarily blurry. What was I doing wrong?
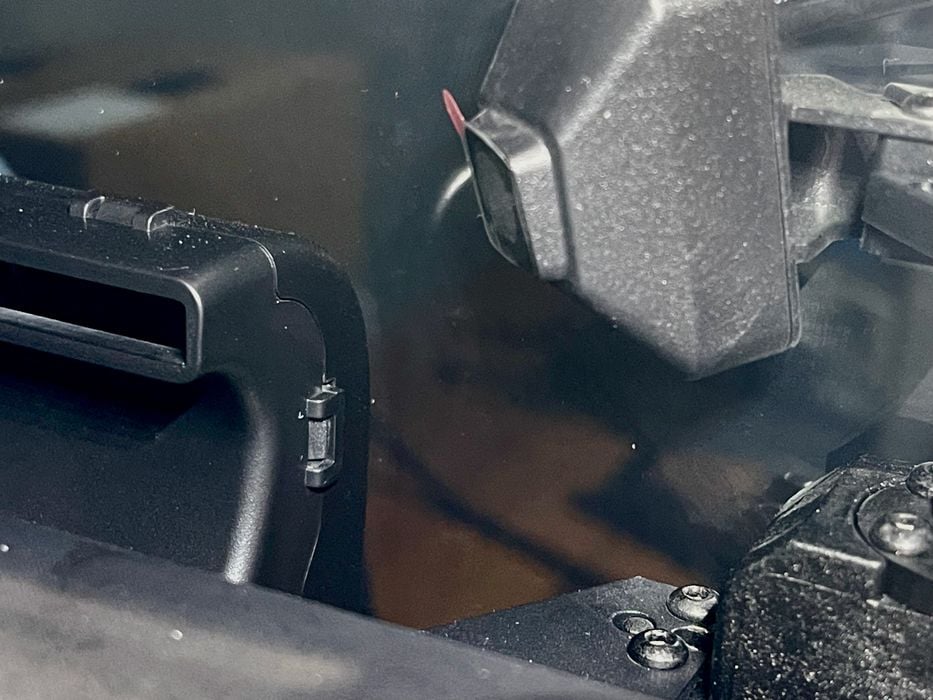
I looked at the camera to see if it was OK. But looking very close there was a small colored tab on it!
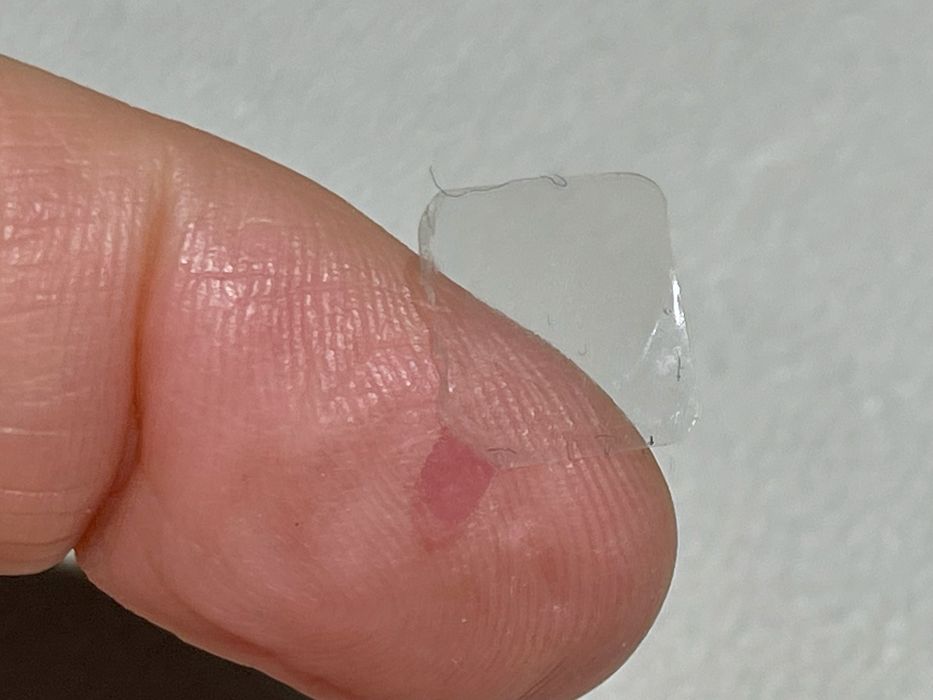
It turned out that the tab was attached to a protective film on top of the camera lens. This must be removed, and by the way, this wasn’t mentioned in the instructions.

After I removed the film webcam views were exceptional. The camera video quality is terrific, although it does suffer from being in a fixed position. There were times when I printed something in a corner and I could not see it at all. The camera position and lens are a bit of a compromise by Creality, and it works most of the time.
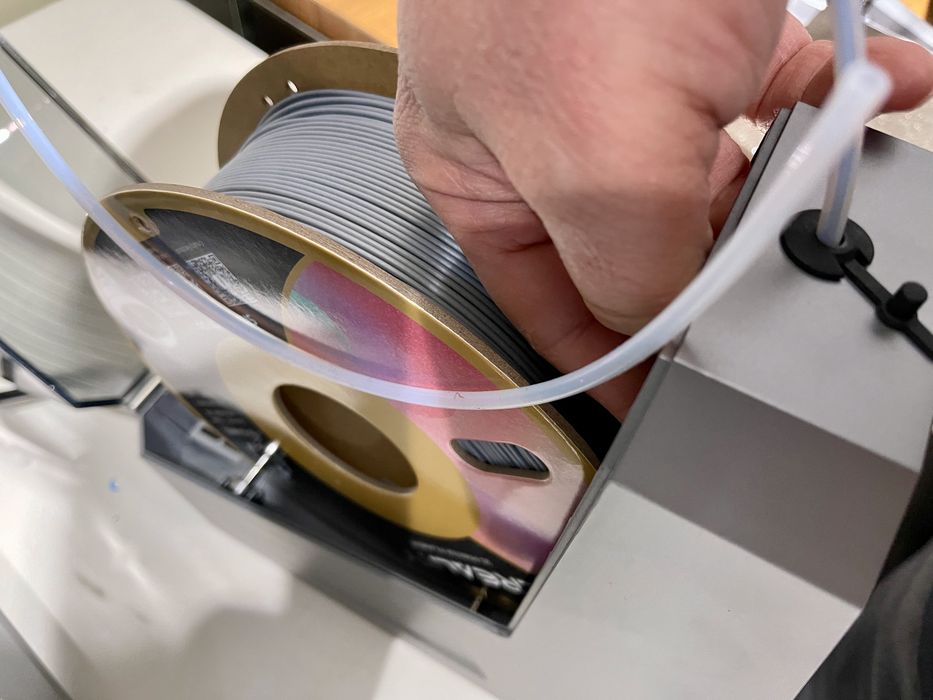
I should mention the dryer. There is nothing to assemble, you just open it up and take off the plastic. The spool drops in easily. However, I consistently found it very awkward to load a filament. It must be inserted into a PTFE tube which is underneath the top and inside, where you can’t see it. I ended up always pulling the tube a long way in so that I could see it, and then pulling it back out after mounting the spool. It would be a lot easier if the tube was at the back instead of the front.
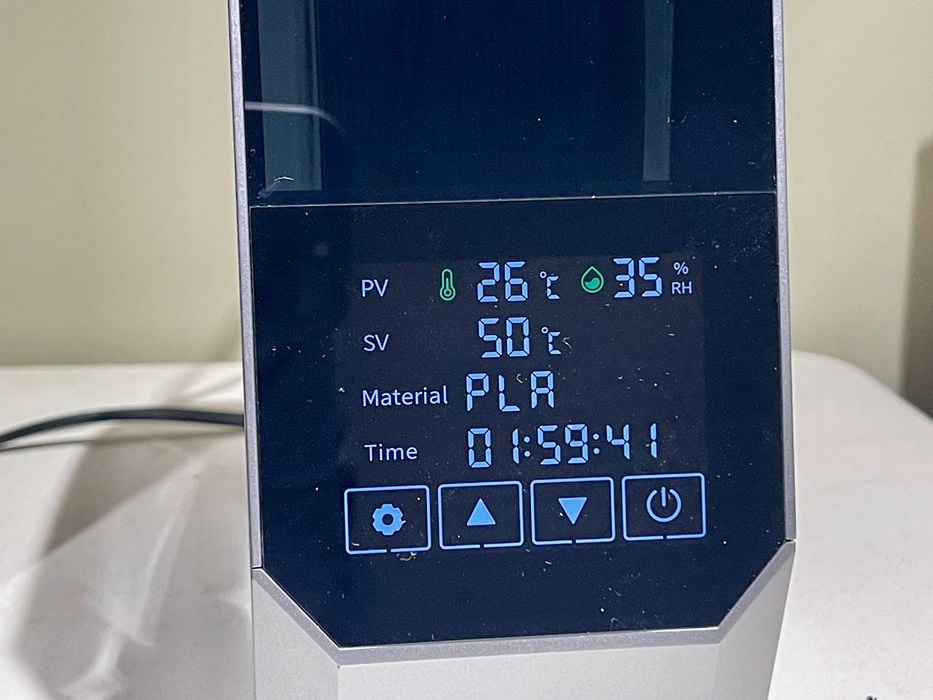
The control panel on the dryer is quite simple to operate. It doesn’t even have an on/off switch: it just runs when you set a timer.
You can scroll through quite a variety of materials, and the dryer has a temperature/humidity recipe for each. Then pick a duration in hours and it’s drying automatically.
I found the dryer to be not only very useful but attractive beside the K1C. However, loading filament into it was not particularly fun.
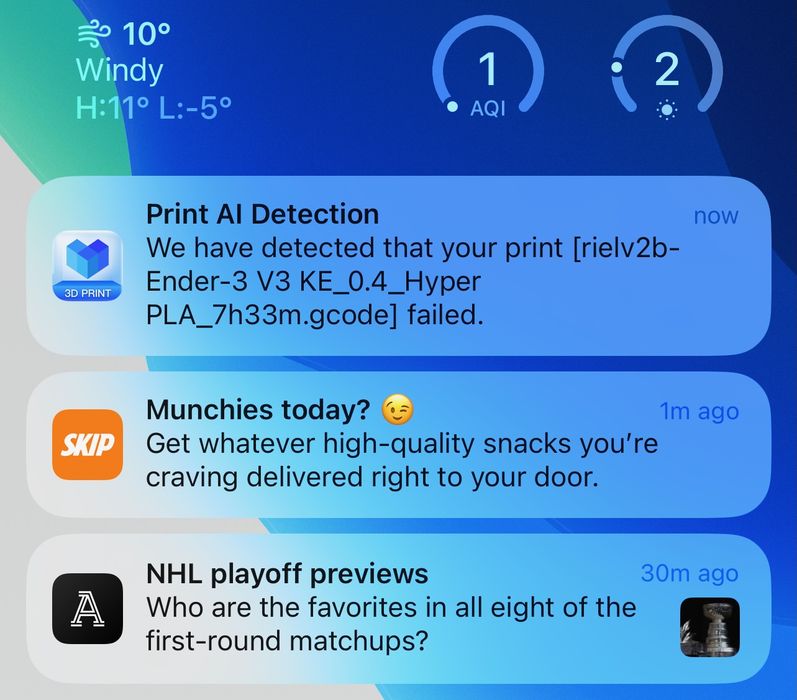
Since the K1C is connected to Creality Cloud and your app, it does provide notifications of activity on the machine. This is quite handy to use when you have a long print and want a notification of when it’s done.
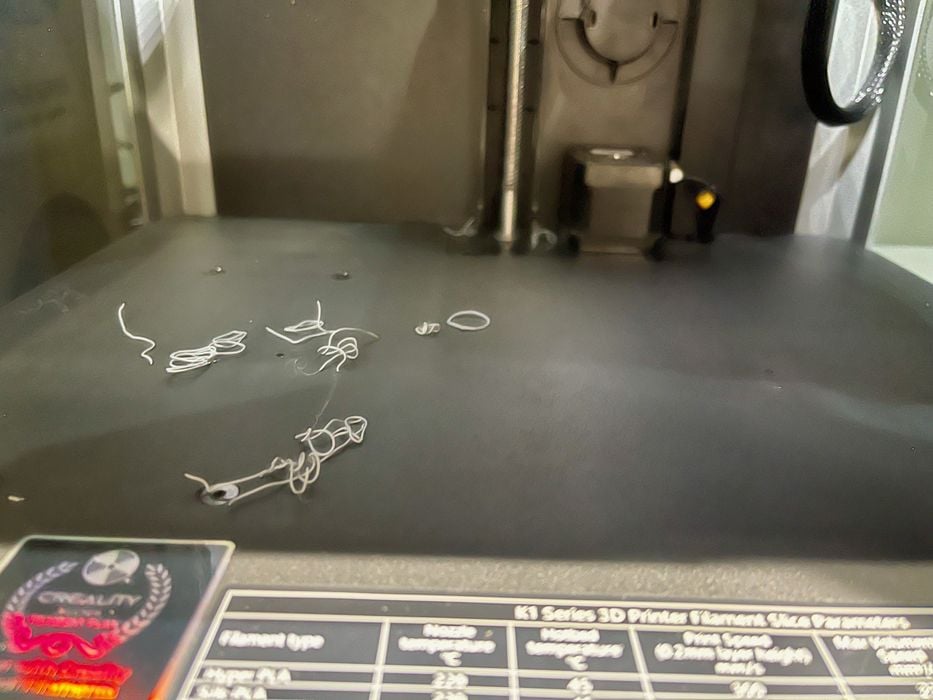
I had a few print misfires, mostly due to my own problems, and these generated some scrap material. I found that it tended to collect at the bottom of the chamber. Fortunately it is easy to sweep it out, and the machine’s tidiness can be maintained easily.

As I used the system I found myself referring to the app more frequently because it was with me. It provides up to date information on the state of the machine, and even provides tips from time to time.
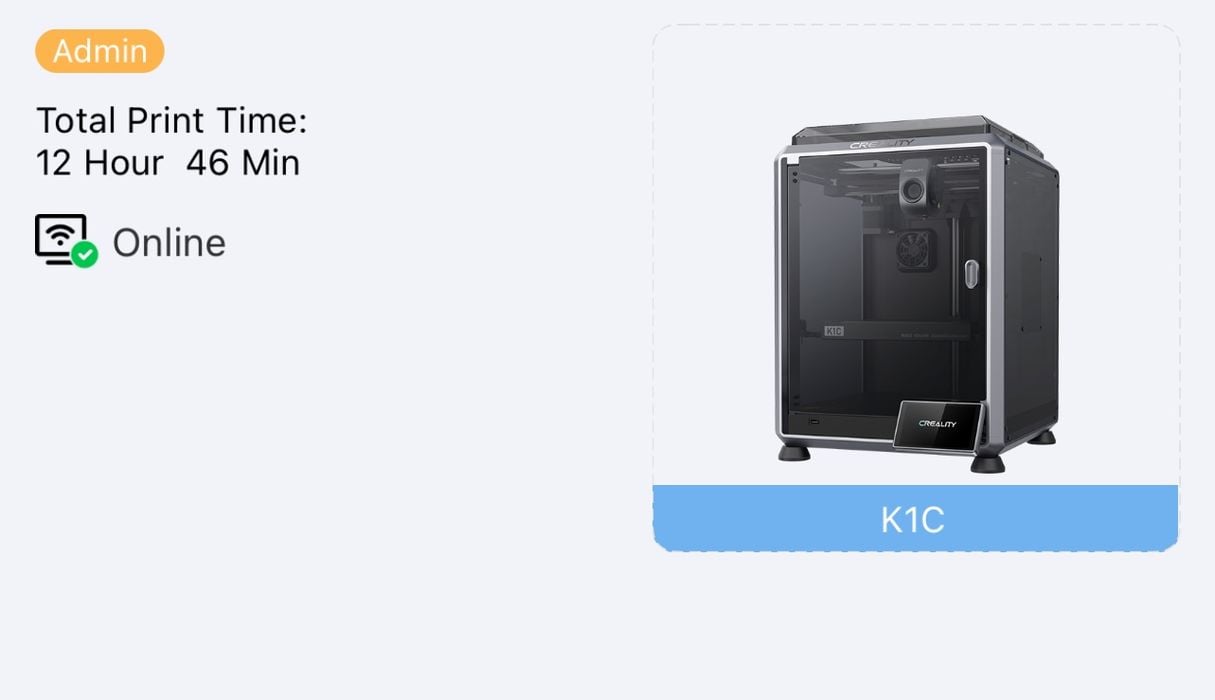
One problem I had with the software system, however, was with estimated and actual print times. Here we see that a print job apparently took over twelve hours — and we don’t know for which job. However, the slicing estimate was nine hours, and then this:
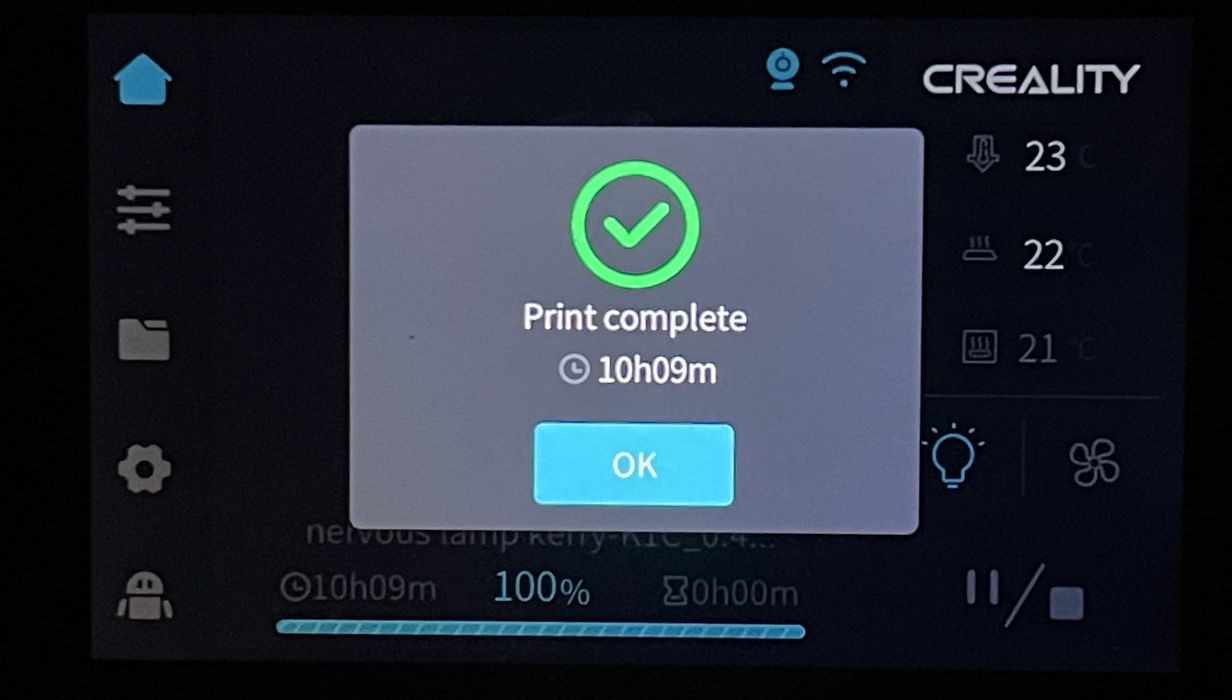
The machine reported ten hours for the print job. So which is it? Nine, ten or twelve hours? That’s quite a difference. There’s some work required here to ensure consistency of time reporting.
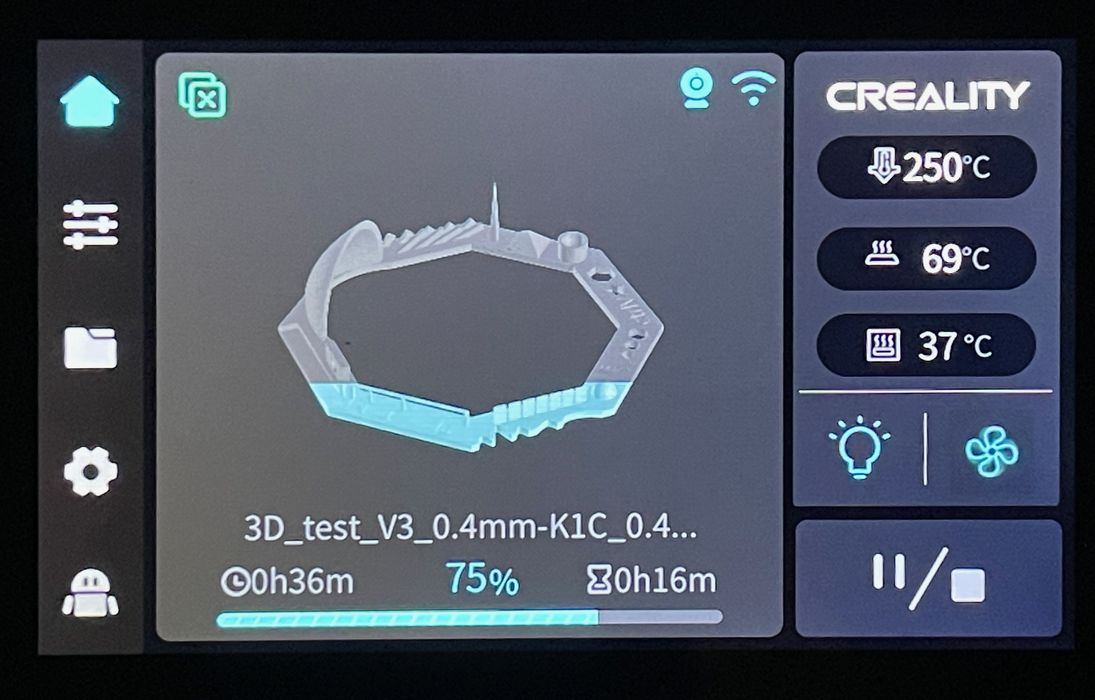
The K1C has a very informative control panel display. During a print job you will see a 3D representation that “fills up” as the print proceeds. Also displayed are the usual data pertaining to the job.

At one point I attempted to start a job, but evidently there was something left on the build plate. Or at least that’s what the AI function looking through the webcam thought.
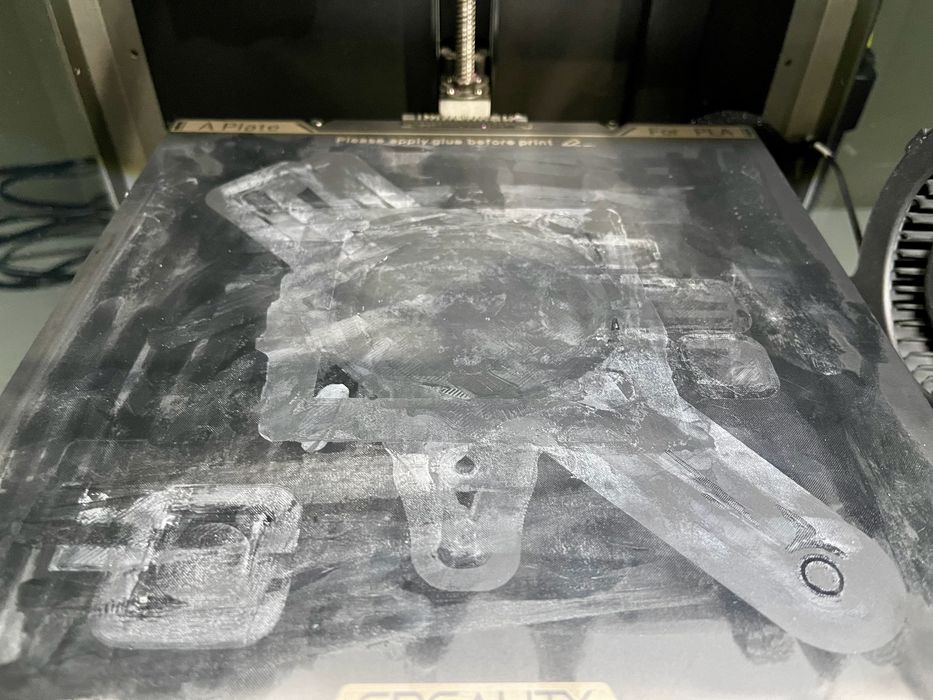
But there wasn’t anything on the bed! Here we can see the plate surface, which is a bit messy due to the use of the glue stick. Apparently the AI somehow mistook these glue smudges as an object and halted the job. False positive!
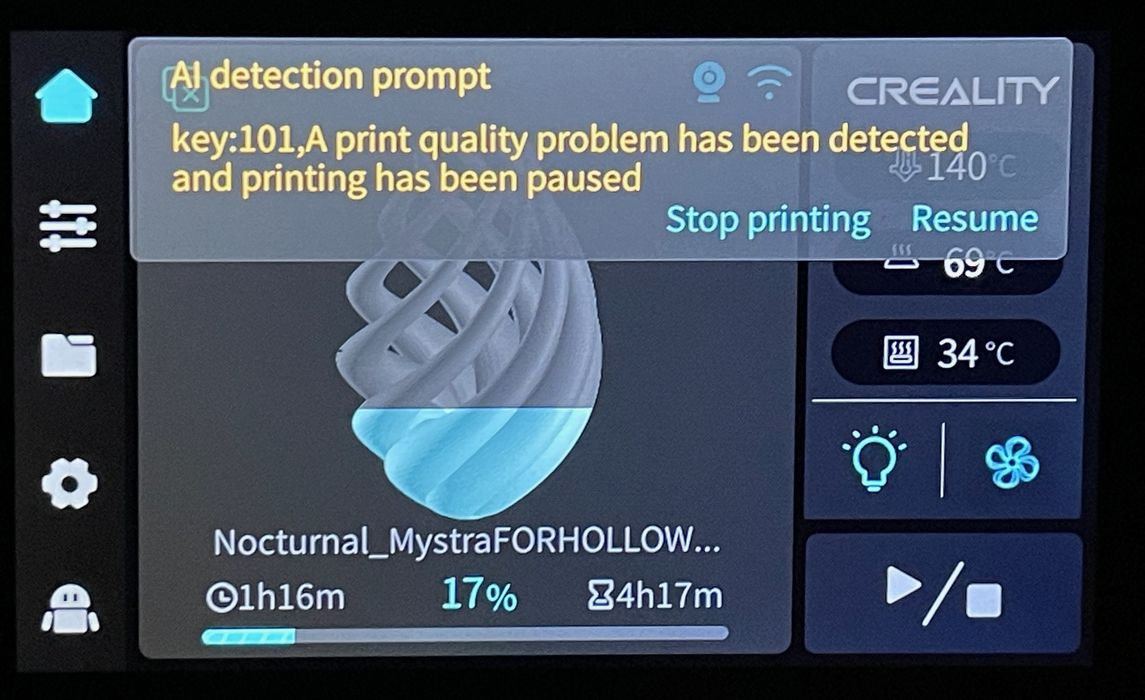
Another instance of the AI came up. This time it seemed to detect a print failure in mid-job. Was it another false positive?
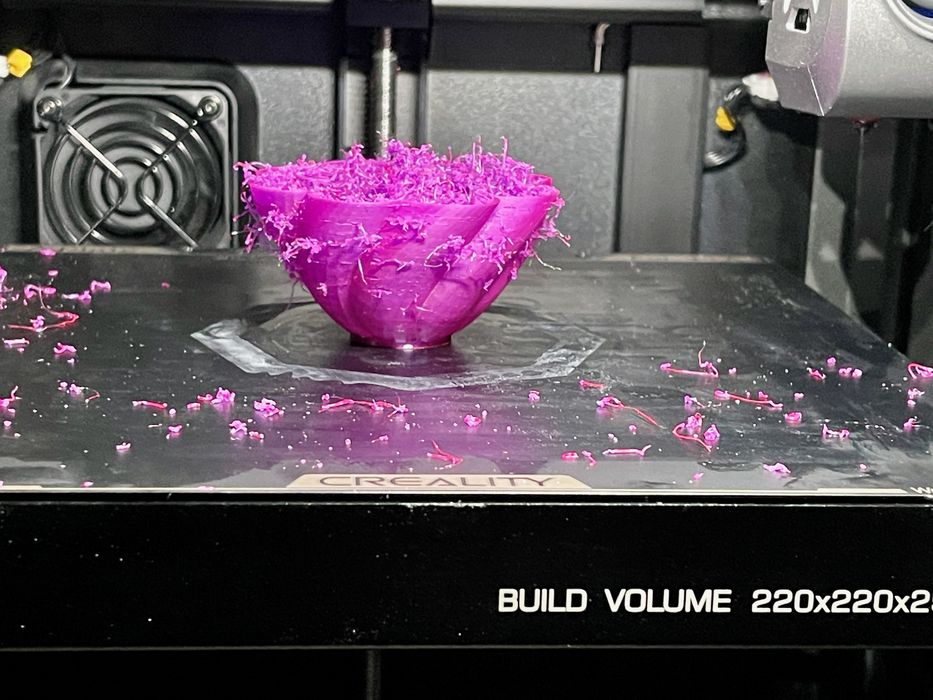
No! This was a correct detection. On this particular job the filament was snagged, causing an air print. The K1C correctly detected this, paused the job and notified me through Creality Cloud.
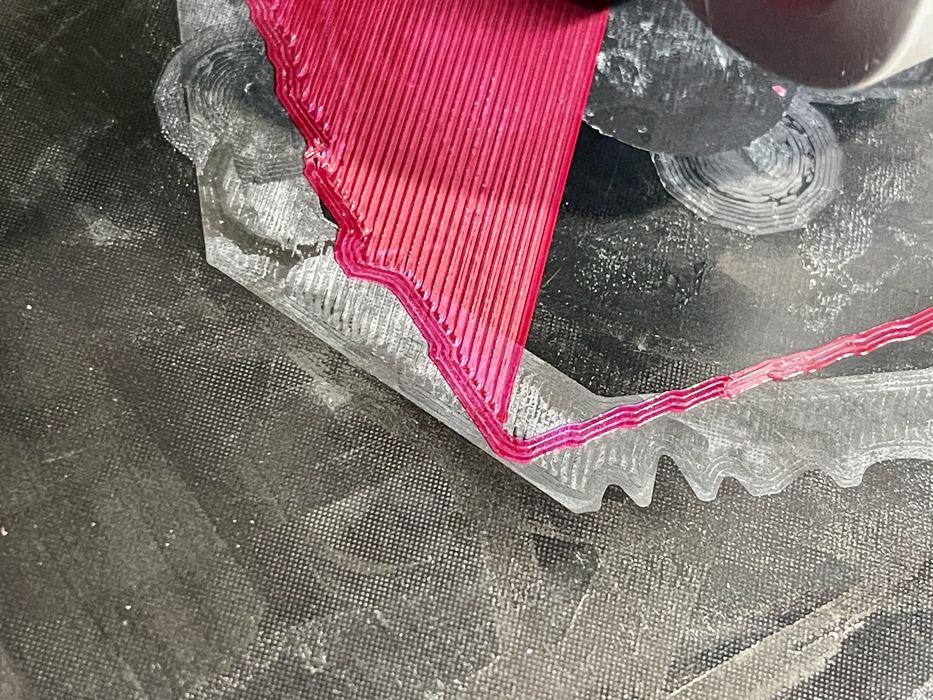
When printing I was quite impressed with the first layer, which always looked very good, as seen here.
This is part two of a three part series, please read parts one and three.
Via Creality
