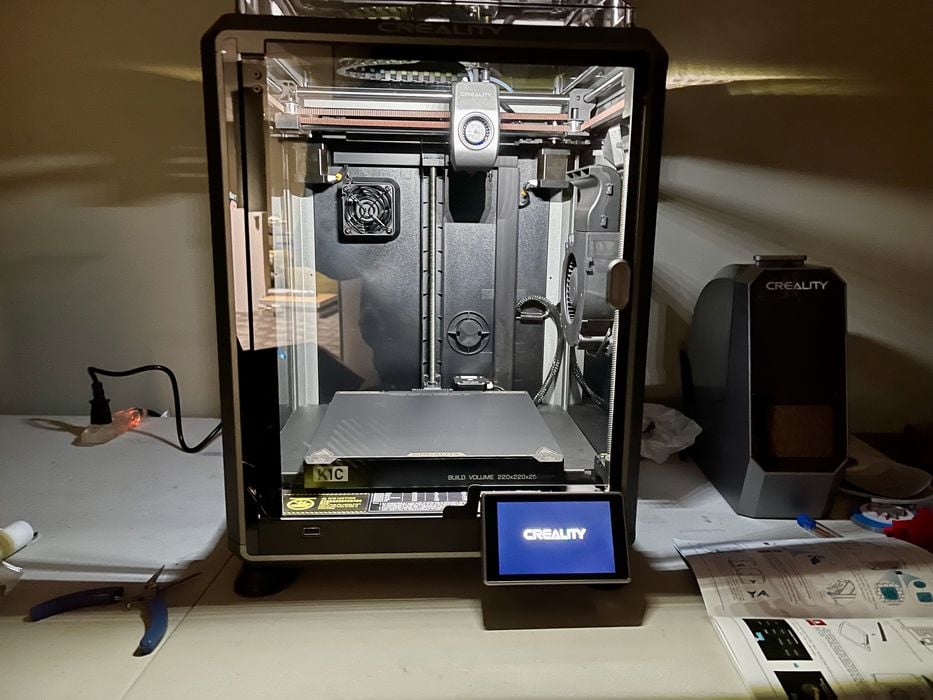
We were very privileged to be able to give the Creality K1C 3D Printer a thorough test. It’s quite an impressive machine that has many capabilities.
This is part one of a three part series, please read parts two and three.
Creality K1C 3D Printer Background
The K1C is the current flagship of Creality’s K series. The K series is a fully enclosed set of machines targeted at professionals.
While Creality has produced fully enclosed machines previously, this is the first flagship model that takes on that feature. The enclosed space is ideal for printing a wider variety of materials.
Note that the model name, “K1C” includes the important “C”. This stands for “Carbon Fiber”, and indeed this machine is optimized for not only the highly abrasive carbon fiber-reinforced materials, but other abrasive materials as well. There is a base K1 device, as well as a larger format K1 Max machine.
Creality K1C 3D Printer Specifications and Features
As I mentioned, the K1C is fully enclosed. It includes a glass door on the front, and acrylic panels are on the sides.
The build volume is a healthy 220 x 220 x 250 mm, which is the same as the open gantry-style Ender-3 machines. However, enclosed is better — and with somewhat bigger external dimensions.
The extrusion system is different on the K1C, as it doesn’t use their popular Sprite extruder. Instead the K1C uses a dual-gear direct drive extrusion system that’s capable of handling basically any filament.
The hot end is all-metal, and is able to handle both high temperature materials and cooler ones like PLA and TPU. The nozzle can reach 300C, while the print plate can hit 100C.
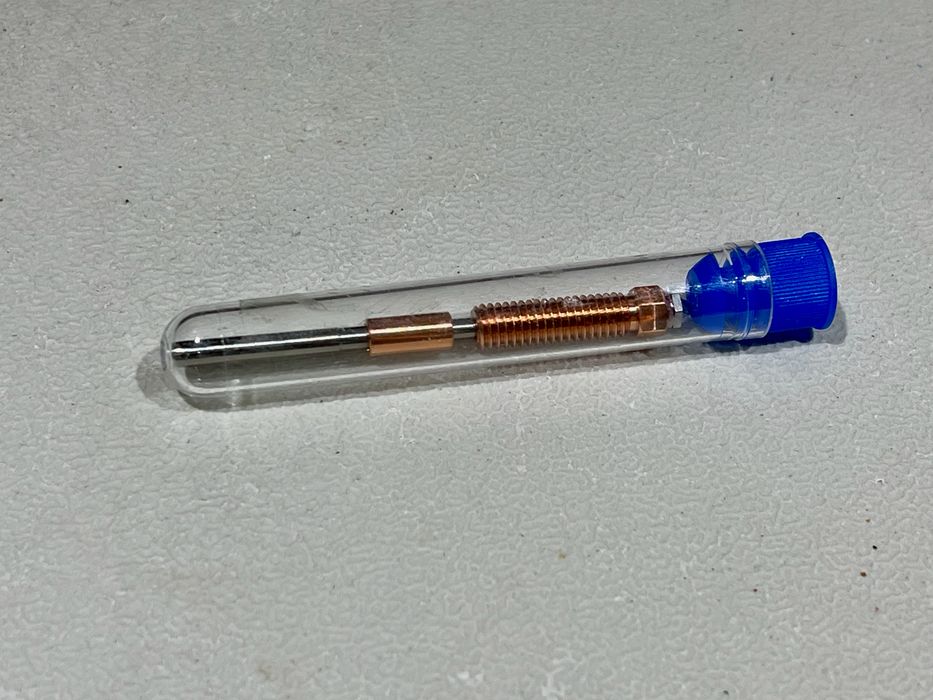
The nozzle is tipped with steel, which is abrasion resistant for use with carbon fiber reinforced filament. The nozzle, shown here, is easily swappable: even though it is abrasion resistant, it will gradually wear down and require replacement. Consider it a consumable component.
The motion system on the K1C is a CoreXY design, and that’s one of the reasons why it is able to reach accelerations of up to 20,000mm/s/s. The machine can print at up to 600mm/s, but typically speeds are around 300mm/s, still very fast.
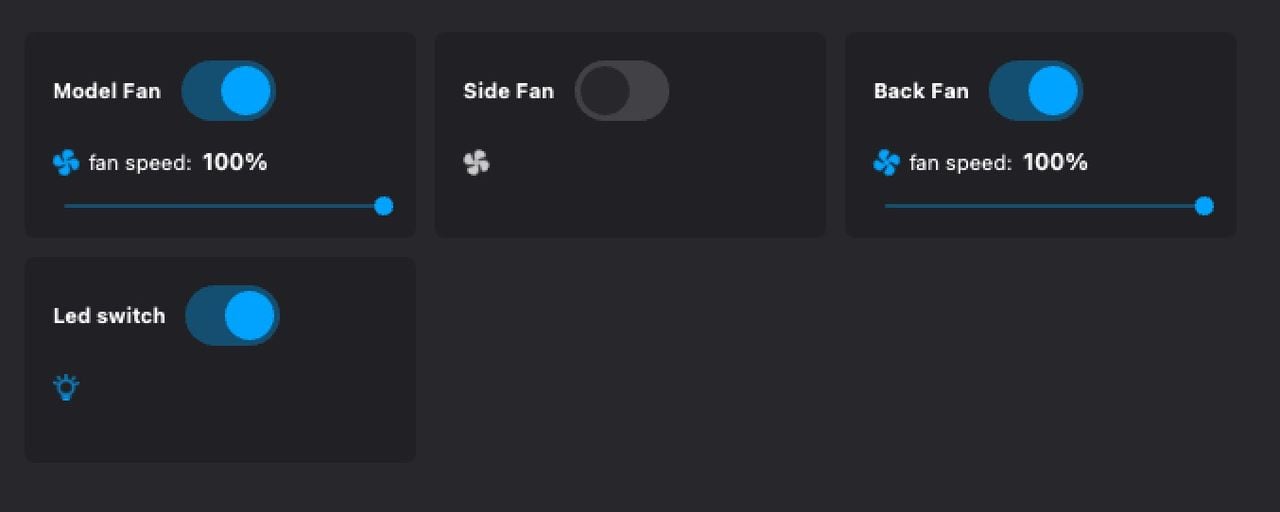
There’s quite a few fans on this machine, which are independently controlled. The part cooling fan is closed loop.
The K1C is outfitted with a number of advanced features, such as a color touch screen, 1080P onboard camera, networking, filament sensor, etc.
The camera uses an AI algorithm to help detect print failures, which I was quite interested to test.
The K1C plugs into Creality Cloud for remote operations and monitoring. It’s quite possible to launch and monitor jobs from your phone, and you don’t even have to be on the same LAN.
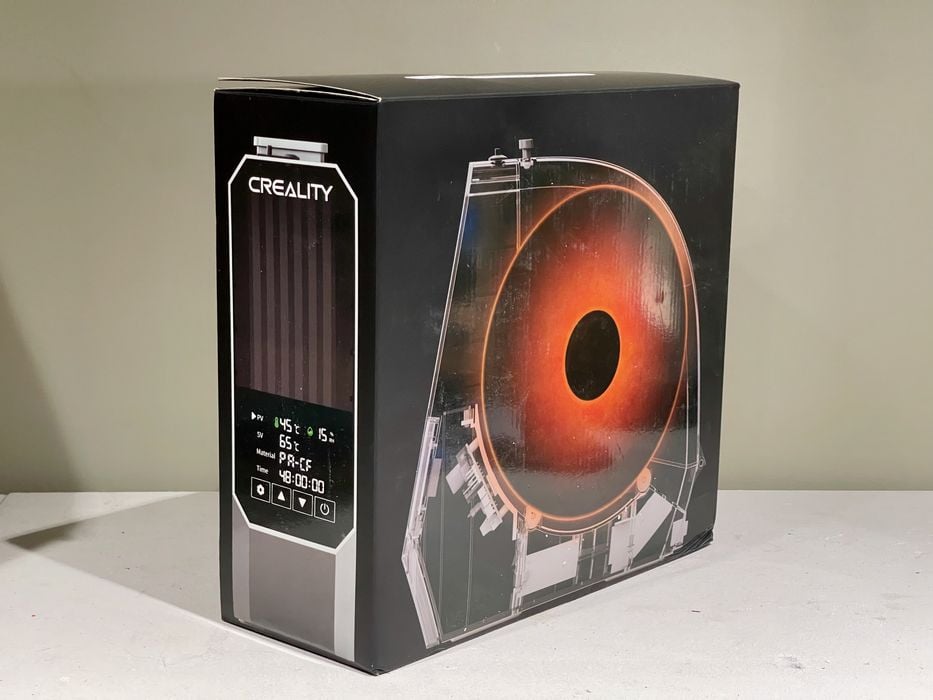
Finally, the K1C was shipped to us with an important accessory: the “Creality Space Pi Filament Dryer”, or as we will call it, the “dryer”. This holds a single 1kg spool of material and provides a number of profiles for preconditioning filament.
Creality K1C 3D Printer Unboxing and Assembly
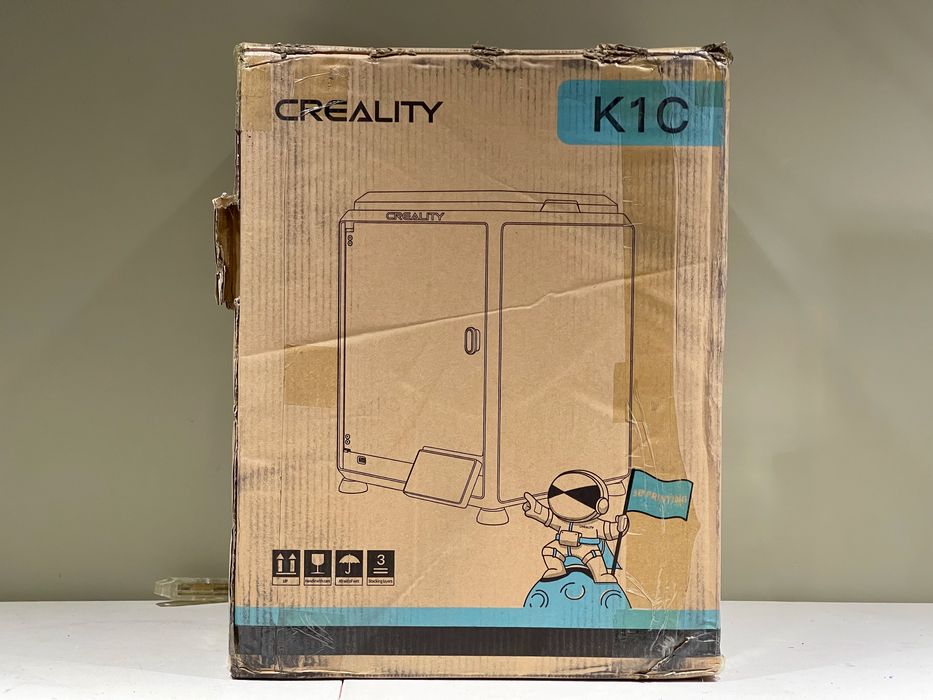
Unlike gantry machines, the fully enclosed K1C ships in a much larger box. This also means there is somewhat less assembly to do — but there is some.
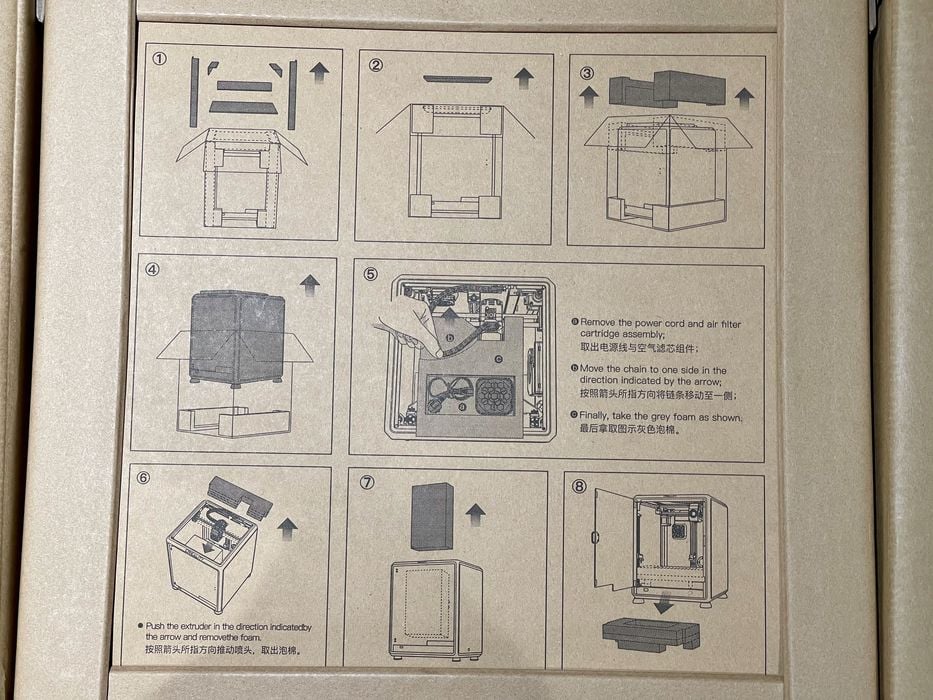
Fortunately, there were some instructions on the top of the box, at least for unloading the machine. Unfortunately there really weren’t much more instructions to follow.
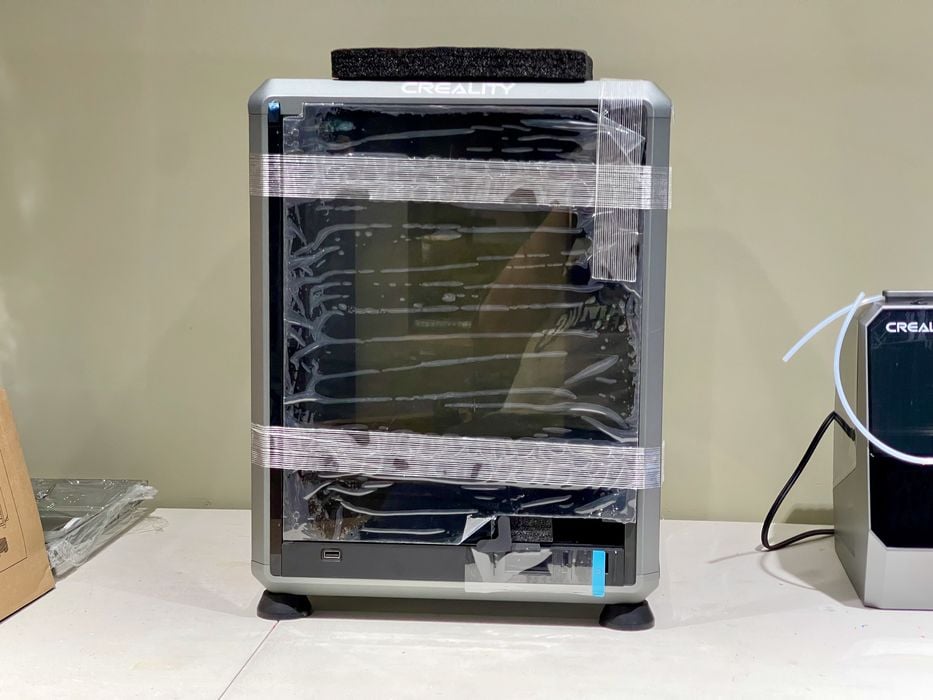
The machine was quite taped up, as you can see here. The instructions did not indicate what foam, tape, etc. were to be removed, so I had to figure it out myself.
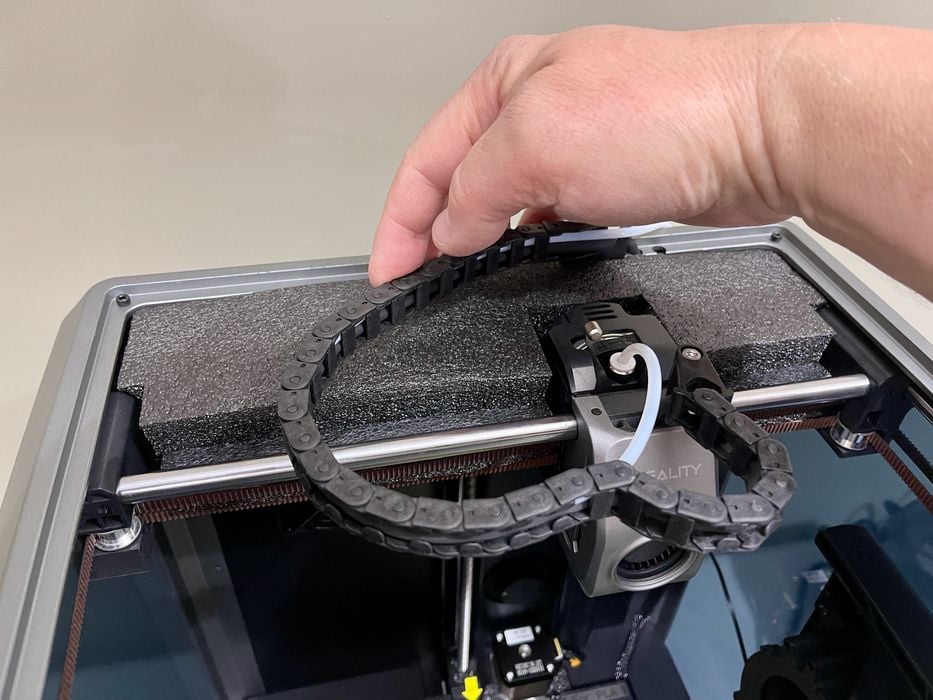
Foam was present in a number of spots, but they were easily seen and removed.

I took care to slowly peel the tape off because this style of tape can easily rip and leave smudges on the glass.
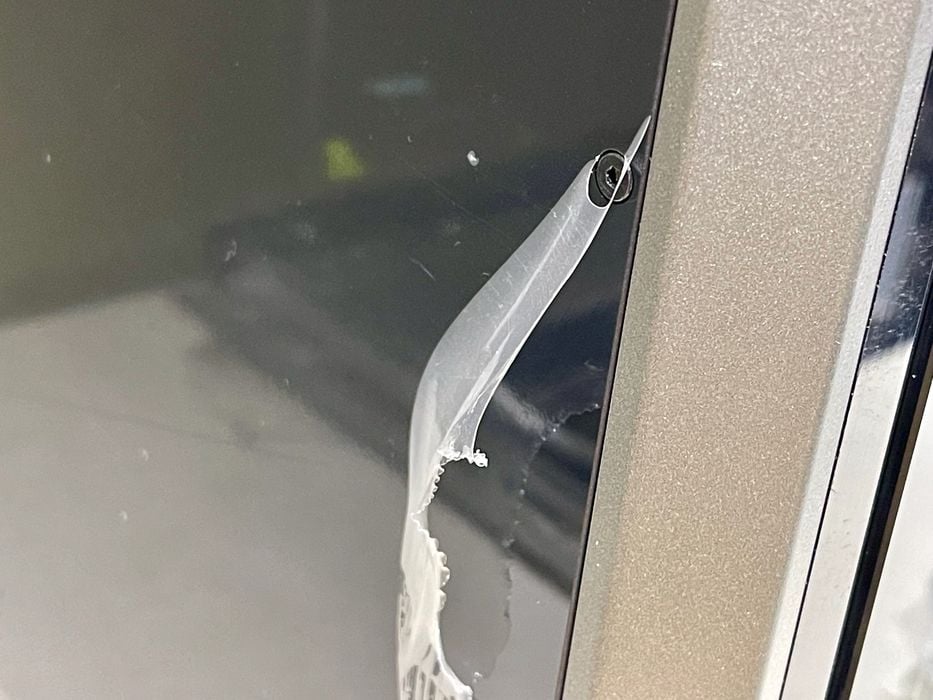
The sides and door had thin plastic protective film on them, which also should be removed. It’s easy to miss this because it’s pretty clear.
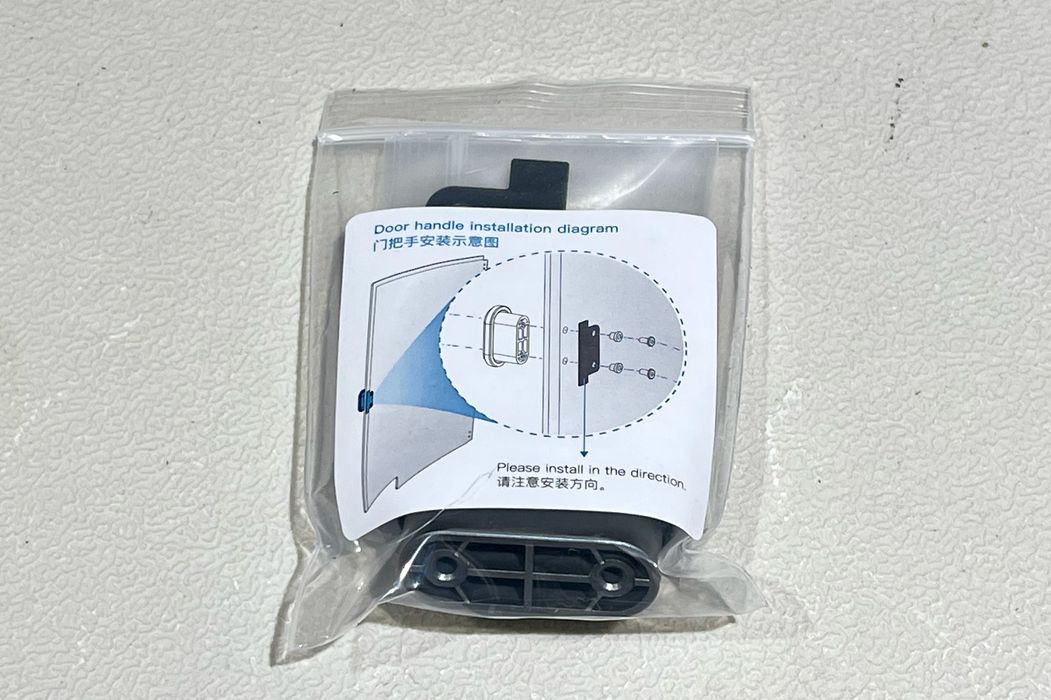
One bit of assembly required as to bolt on the handle for the door.
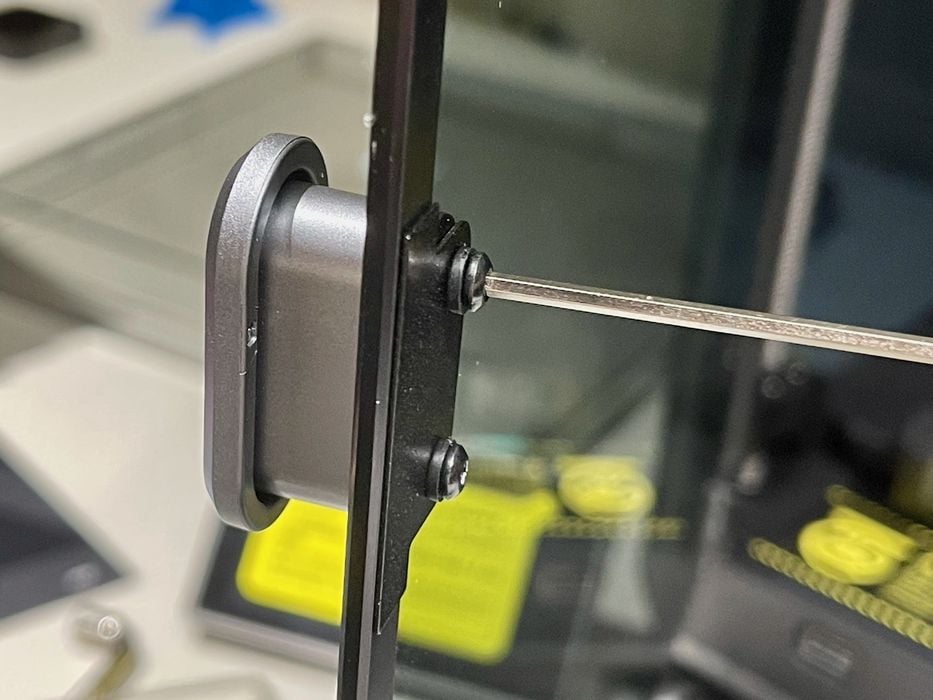
This was easily done, although the bolts are quite small. Be sure not to over tighten.
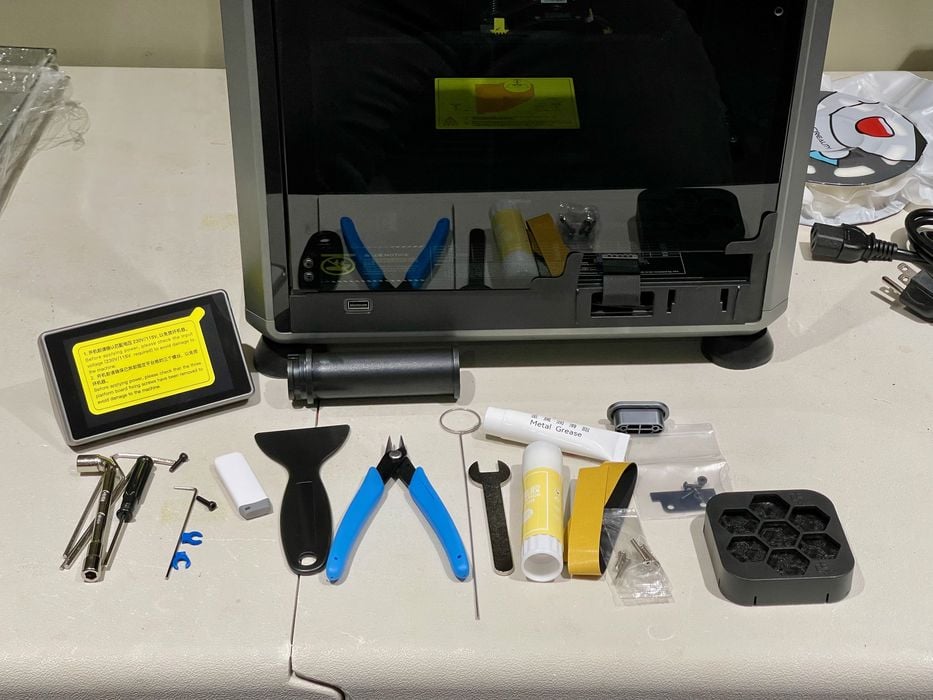
There are quite a few tools and accessories included with the K1C, as you can see here. Basically you have every tool you could possibly need, including a glue stick.
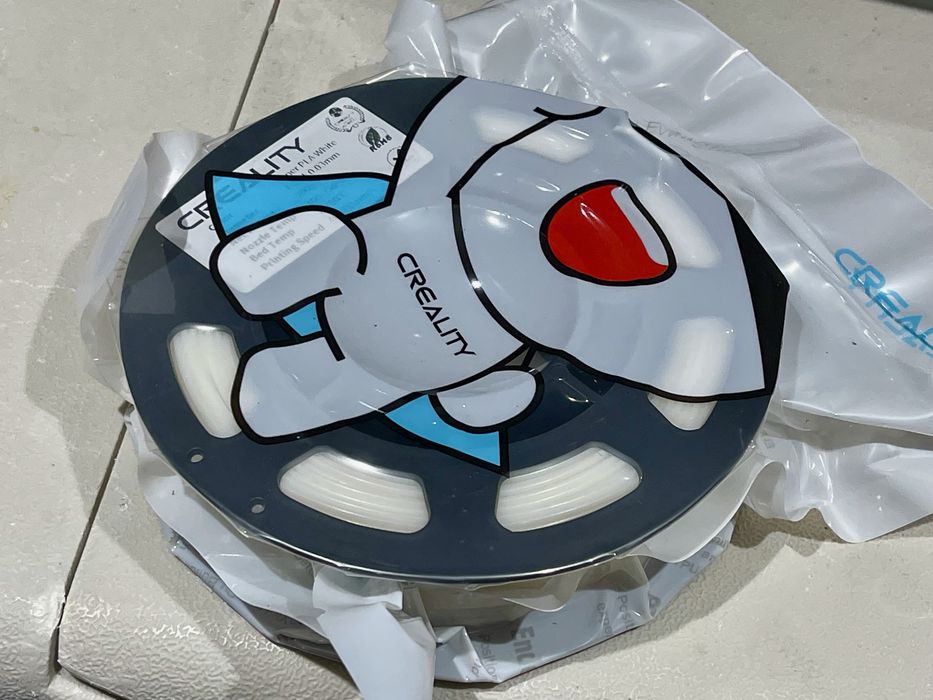
Also included was a small spool (200g) of HyperPLA (white). This is a big improvement over the tiny coils that are typically included with Creality (and others’) equipment. It’s more than enough to do a couple of decent prints at the start.
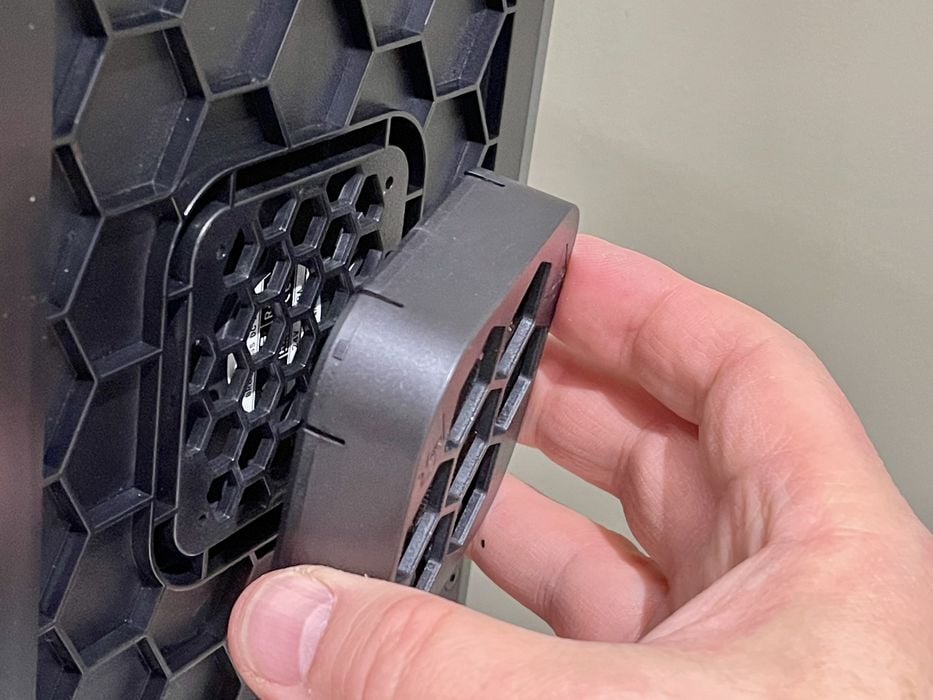
There’s an air filter attached at the back of the machine, which must be installed. There’s a replaceable bag of activated carbon that should be inserted. I noticed that the bag was pretty sparse, so I wondered exactly how well odors would be captured by this small filter.
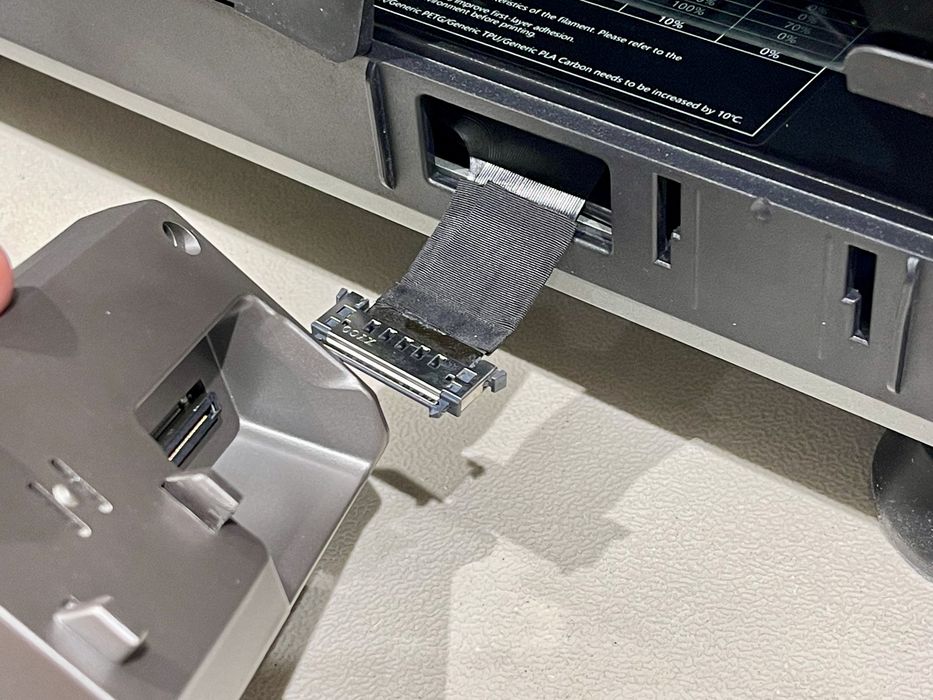
The control panel must be attached to the front of the machine, and this requires a hookup with a tiny ribbon cable. It was a bit awkward connecti it due to the short length of the cable, but it did work out.

A spool holder screws into the back of the K1C, easy to do. This positions the spool right underneath the input filament sensor.
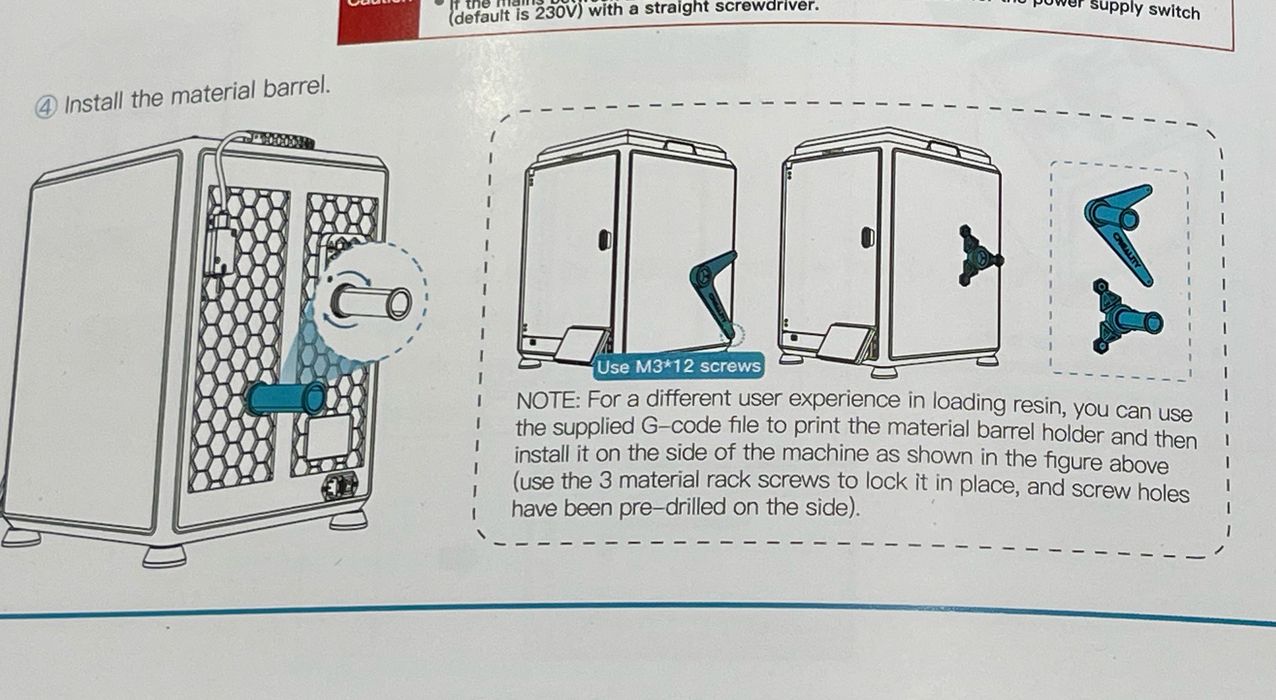
It is possible to install an alternate spool holder, and Creality provides the 3D models for some. I’m not sure why you would do this, but they say:
“For a different user experience in loading resin, you can use the supplied G-code file to print the material barrel holder and then install it on the side of the machine.”
I didn’t know this machine accepted resin? That’s just a translation error, I think.
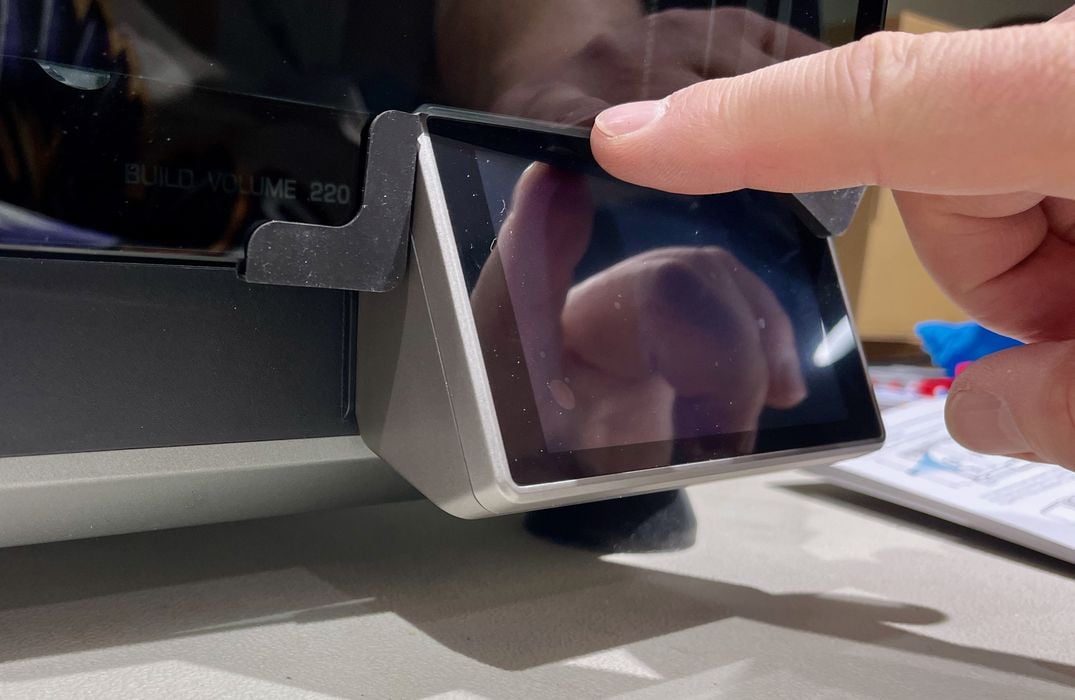
The glass door on the front had these foamy covers on the corners. A good idea, we don’t want them to chip. However, the doors don’t close with them on. The instructions said nothing about this (or much else), so I decided to remove them and the door closed fine.
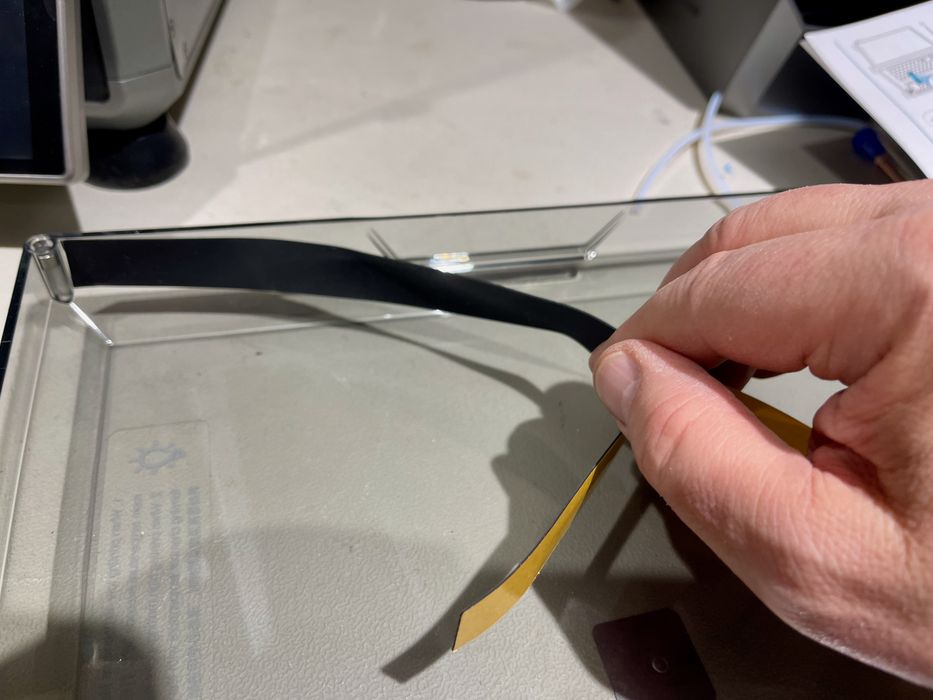
On the removable top cover of the K1C you must install a strange length of tape. It wasn’t at all clear why you would do this, but then I realized that the chain guide for the extruder would be bopping against that part of the cover during printing. Repeated touches would gradually wear away the surface, so I presume the tape is to protect it — and reduce the sounds.
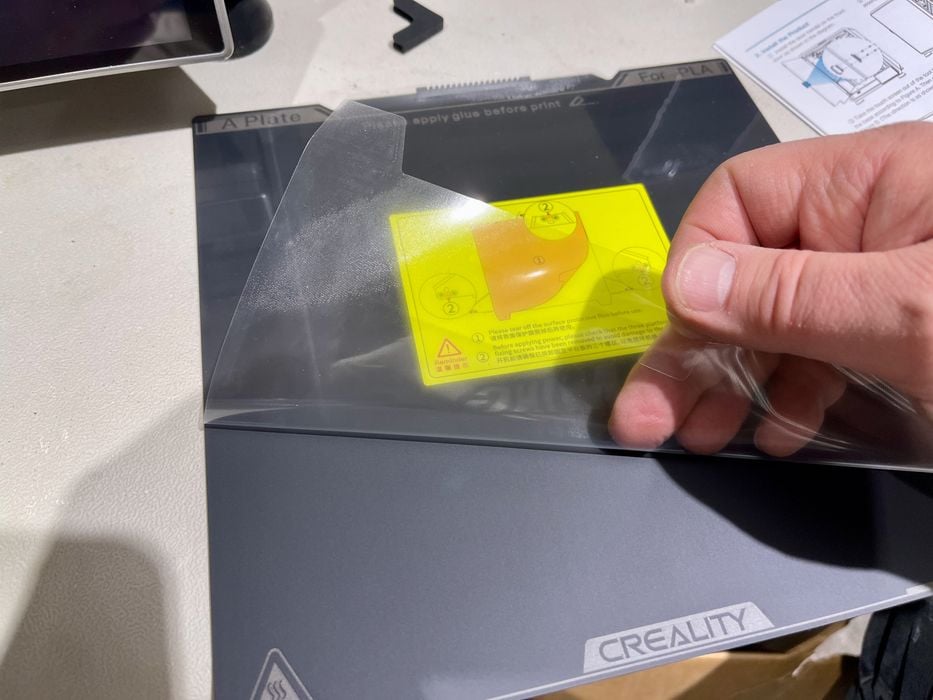
I removed the protective film off the removable PEI-coated print plate. This was also not mentioned in the instructions.

At the rear of the print plate there is an area with a number of short knobs. These are used to clean the nozzle during printing, which is a good thing: it sharply reduces the frequency of unexpected blobs.
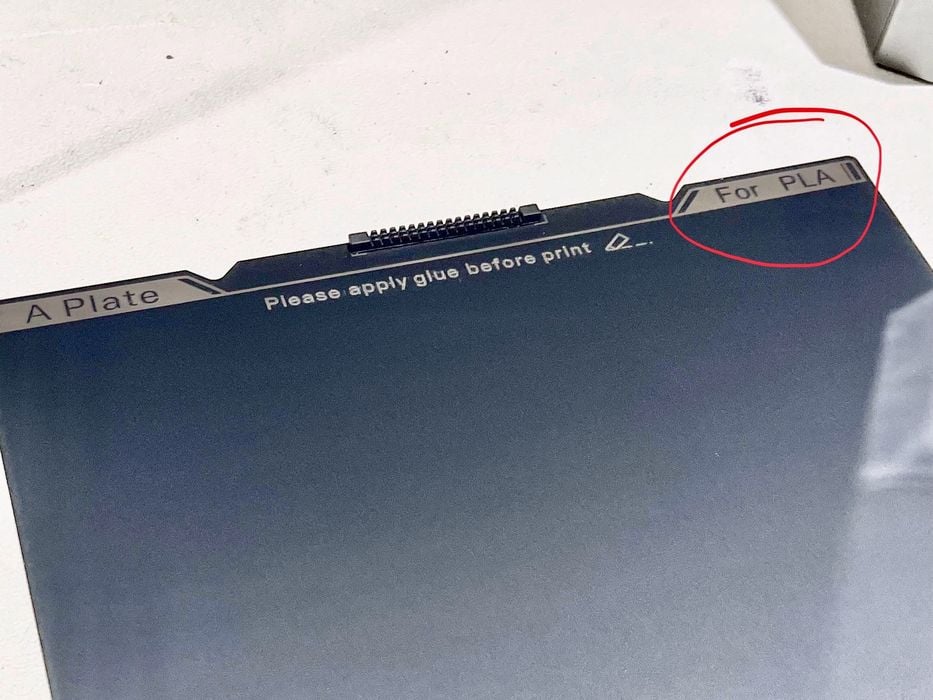
Hold on, the plate says it’s for “PLA” — but I thought the K1C can print many materials? Was I shipped a plate that’s compatible with PLA only?
After some questions to Creality, it turns out that this plate CAN be used for PLA, but CAN ALSO be used for many other materials. I think they might want to remove the word “PLA” from the plate, it seems confusing.

I attempted power up, but it didn’t work! I thought, perhaps the voltage is set incorrectly? I looked all around the back of the machine near the power switch for the voltage setting, but didn’t see one. This wasn’t mentioned at all in the instructions.
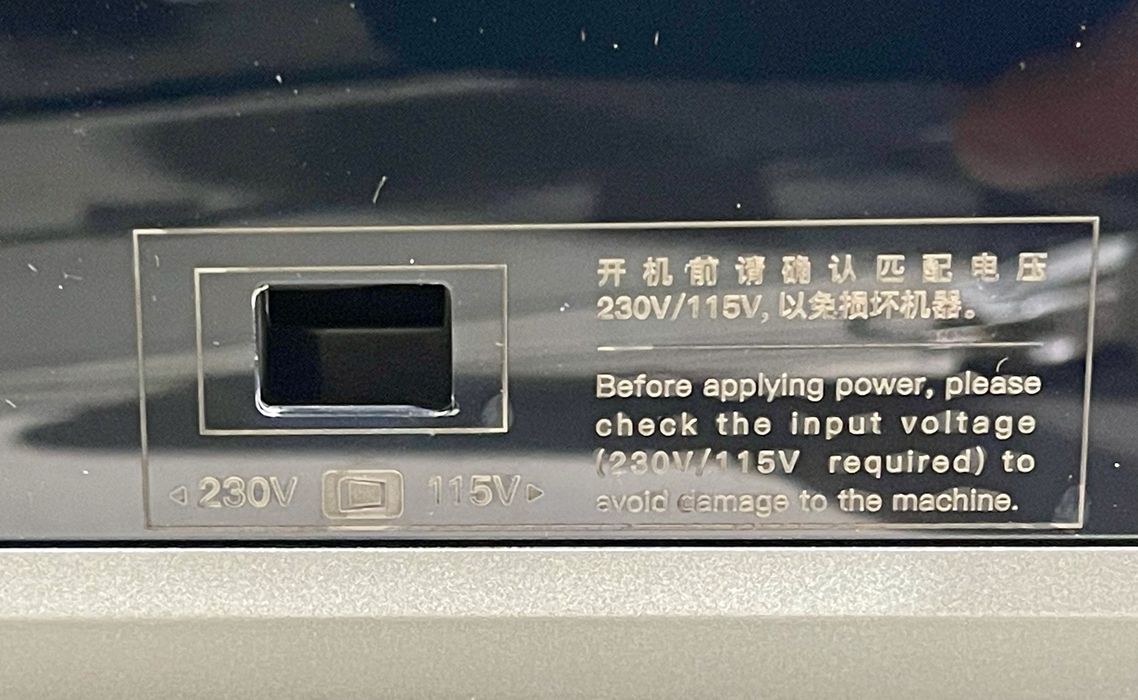
Aha! There IS a voltage setting. It’s located in a very tiny spot on the left side at the bottom, nowhere near the power control area at the back. The switch is also very, very deep in this hole, and you will require a light and long tool to set it correctly.
Finally I was ready to power up the machine — but the assembly wasn’t quite done yet. Yes, this sounds strange, but that’s what you have to do on the K1C.
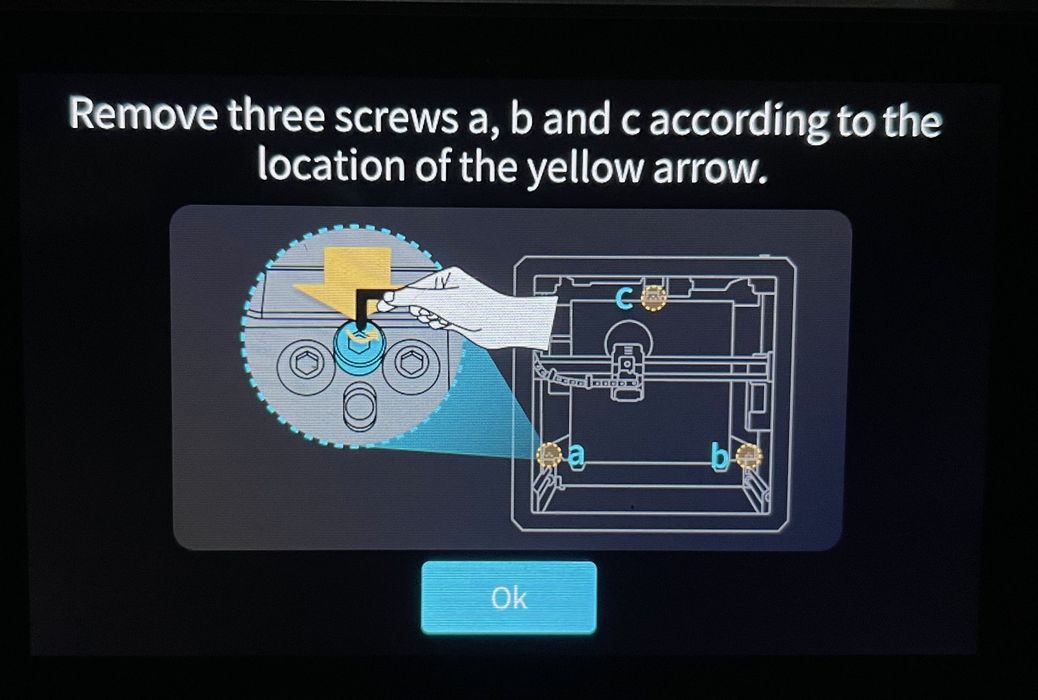
After powering up the K1C, it displays these instructions. Apparently you have to remove three shipping bolts that kept the motion system from flopping around.
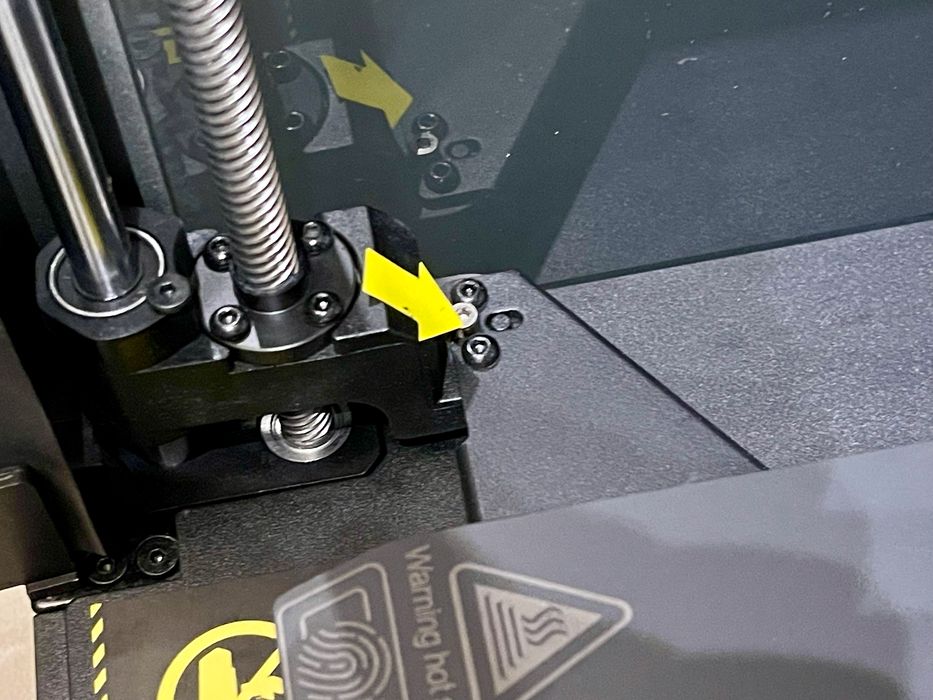
These are easily found as they have small arrow labels on them.
Once these are released, the machine is physically ready for action.
Creality K1C 3D Printer Setup and Calibration
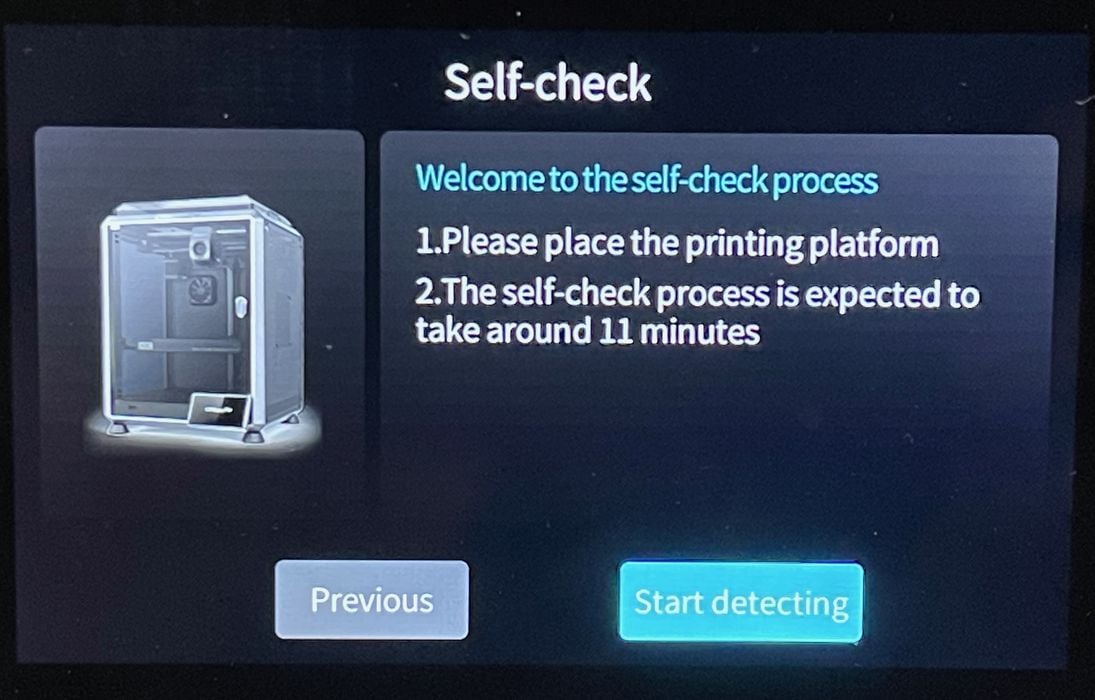
Calibrating the K1C is actually far more straightforward than with typical gantry-style 3D printers like the Ender-3. It’s basically entirely automatic, and begins with what’s called the “Self Check”.
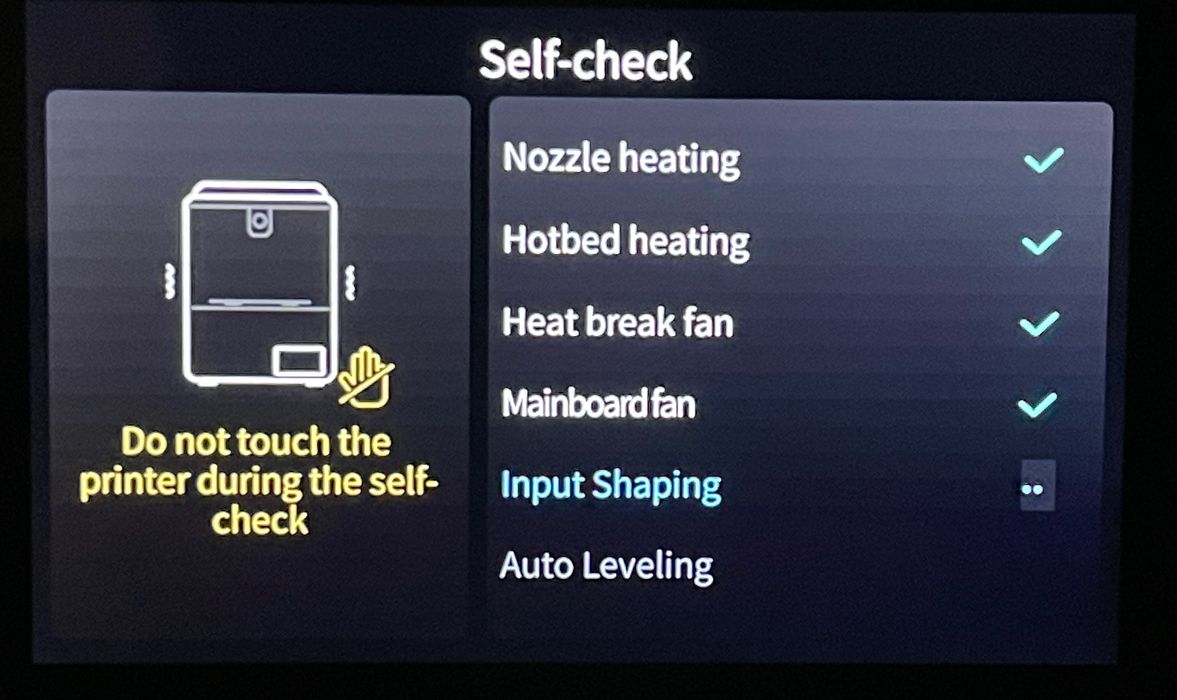
This automated process goes through the basic tests, ensuring that key components are behaving properly. Note that the calibration includes input shaping, which enables high speed 3D printing. Leveling is entirely automated, and there’s no need to manually set the Z-gap.
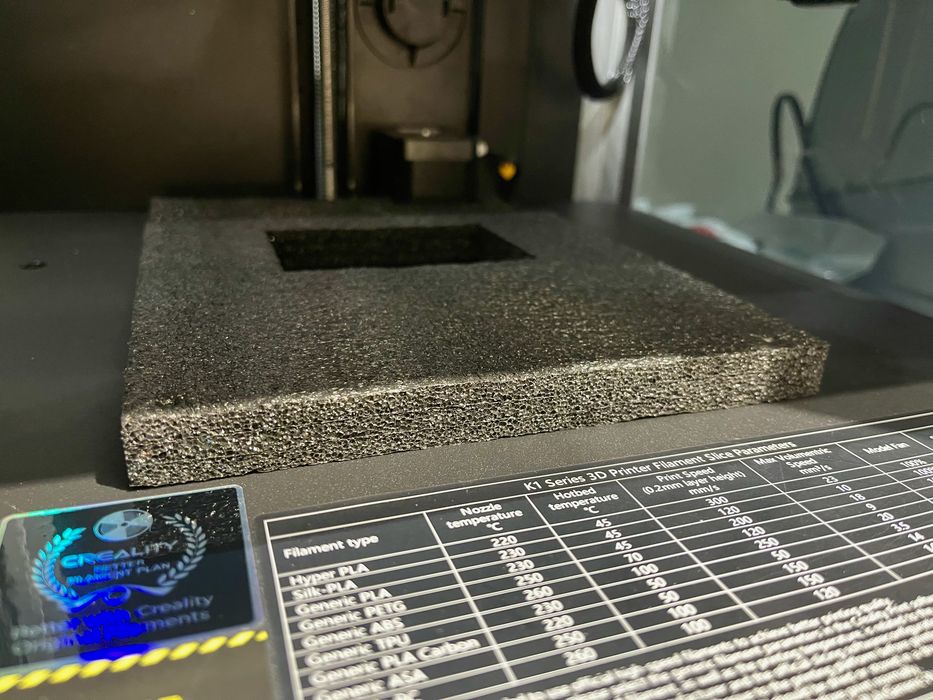
As the machine came to life, I noticed another piece of foam hidden underneath the heat plate. This must have kept the plate from damage during shipment.
It was, alas, also not mentioned in the instructions, but clearly should be removed. However, it can’t be removed without the plate being raised, which happens after power up and self check.
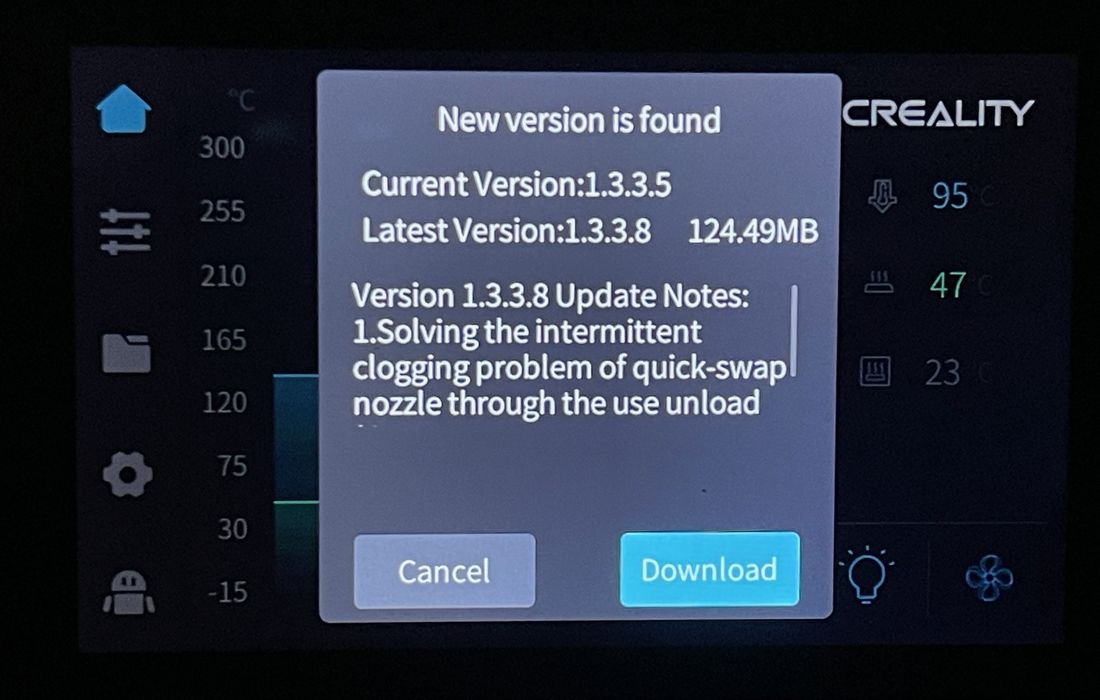
Finally, once the machine was connected to the local WiFi, it was able to touch base with Creality Cloud and determine if the firmware was up to date. Of course, it was not, and I took the update. You should, too.
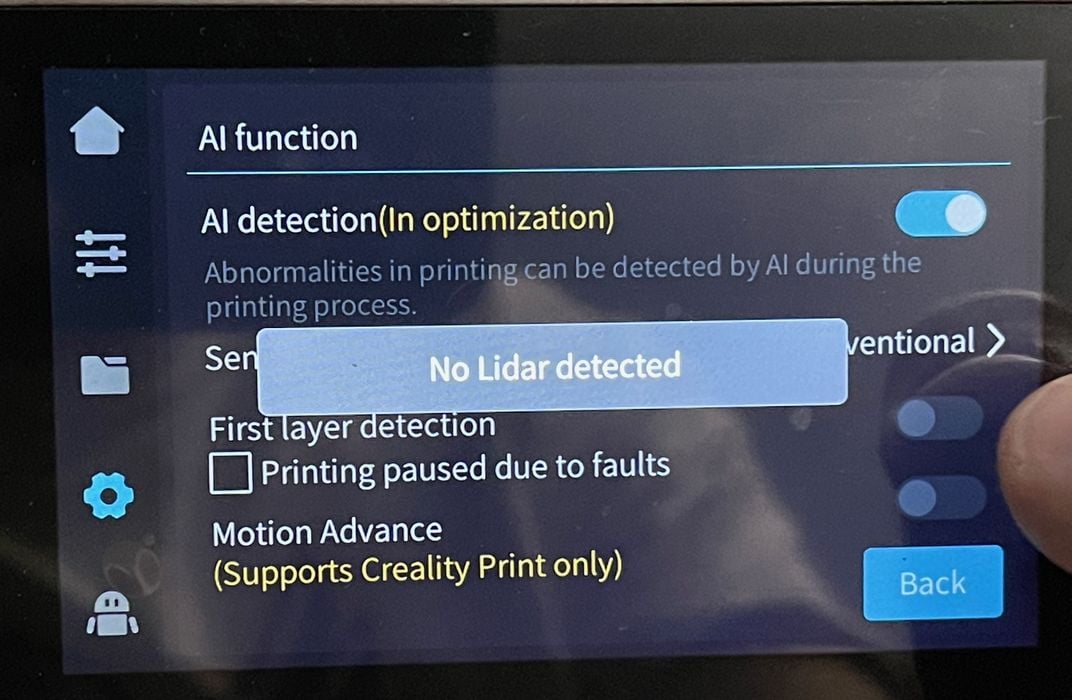
One of the settings indicates that it’s possible to detect flaws on the first layer, something that’s done on the more expensive Bambu Lab X1C. However, when I selected this option the K1C informed me that “No Lidar Detected”.
Lidar is the technology used in the X1C to detect first layer issues, and it seems that Creality might be doing the same here. However, in the machine I tested there was no Lidar. Perhaps it is intended to be included on future machines, or an optional feature?
At this point the K1C was ready for 3D printing.
This is part one of a three part series, please read parts two and three.
Via Creality
