
Our look at the Creality Ender-3 V3 3D printer continues with assembly, calibration and operations.
This is part two of a three part series, please read parts one and three.
Creality Ender-3 V3 3D Printer Unboxing and Assembly
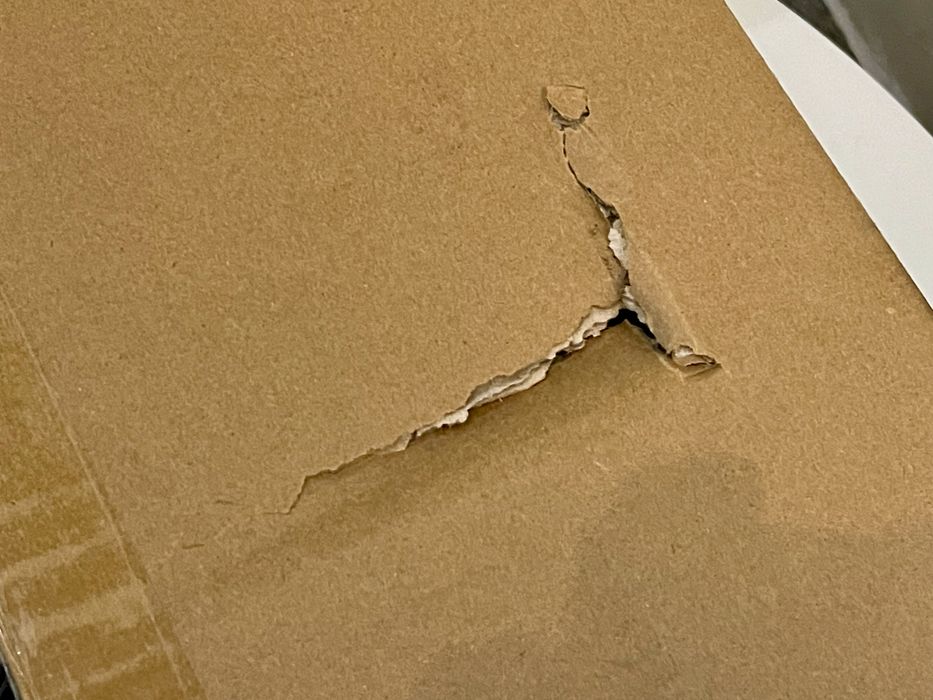
We were a bit nervous upon inspecting the Ender-3 V3 box, as it seemed to have a puncture, which must have occurred during shipping. It’s been quite a while since we had machine damaged in this way.
However, inside the box the machine and contents were entirely safe. Creality uses a massive amount of custom-cut foam to protect shipments, and here we saw only a minor dent in the foam.
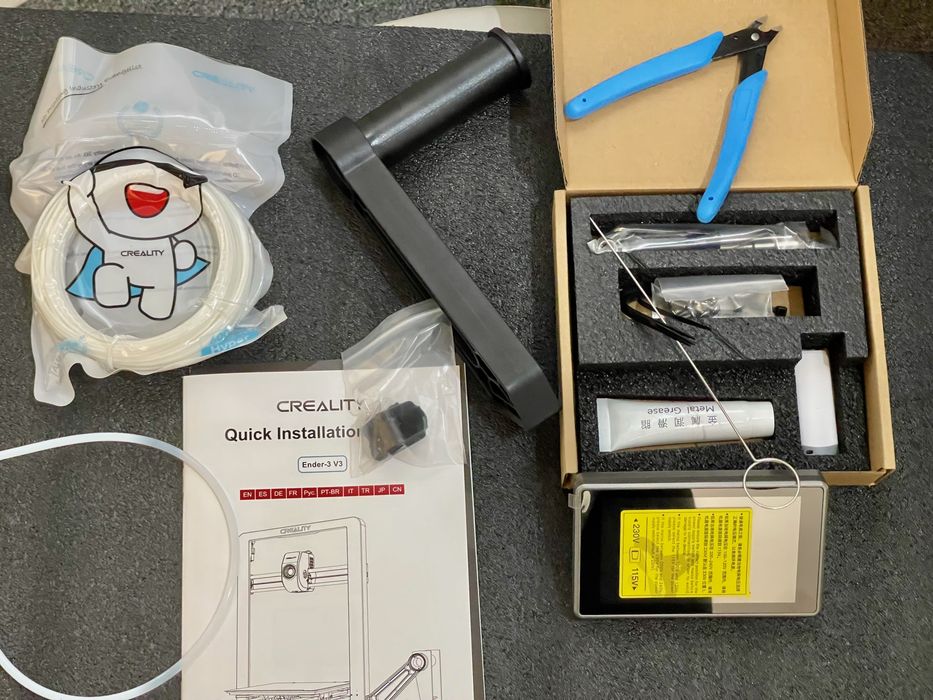
The Ender-3 V3 includes the usual set of tools. If you’re like us and have several machines, you will have a small pile of these tools growing in your workshop.
A reasonable instruction booklet is included with the Ender-3 V3, and Creality did a decent job of the text. That may sound like a strange thing to say, but many Asian 3D printer manufacturers seem to have tremendous problems composing readable instructions in English. We had no trouble with this set, and Creality has made great steps forward here.
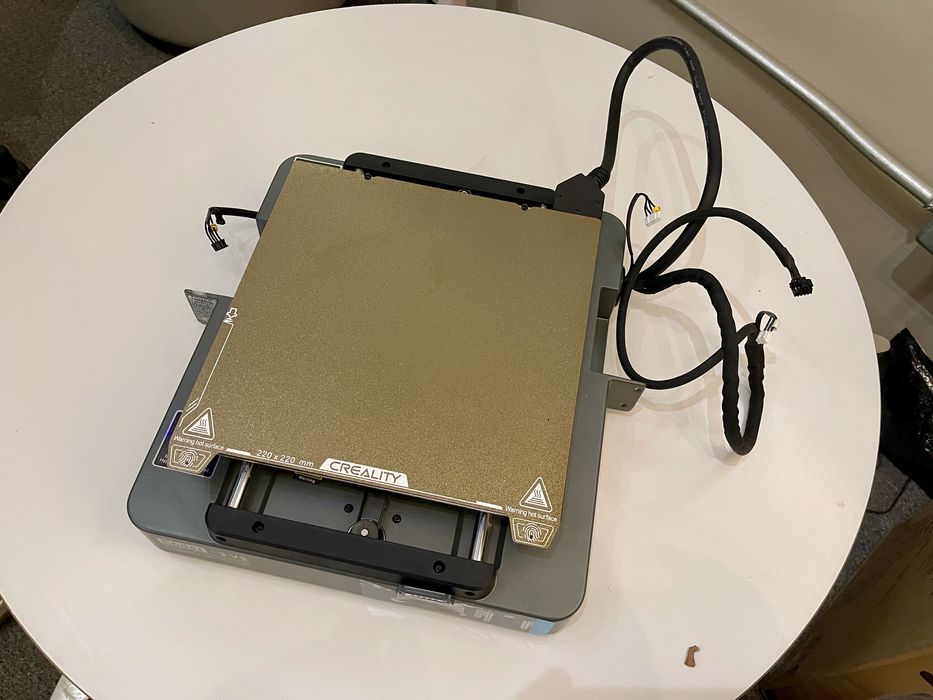
Most gantry-style 3D printers are shipped in two parts, the base and the gantry. These would be attached during assembly, and the Ender-3 V3 is no different. However, the base unit seems more solid than most of the machines we’ve seen. It’s a bit heavier, and that may help with its high speed operation.
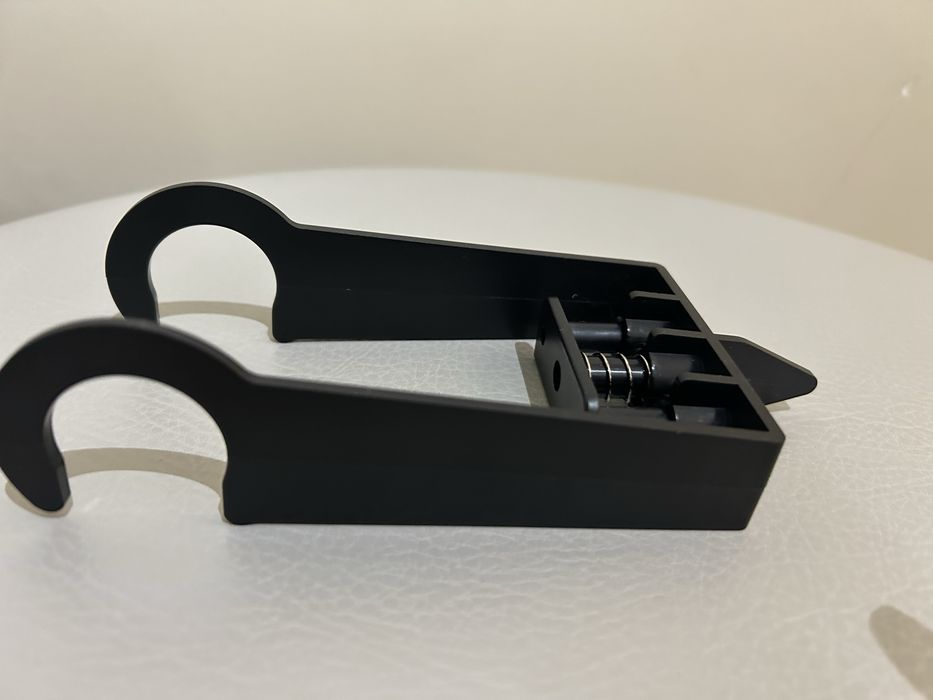
Among the parts included was this strange component, which has something to do with the spool holder. We’ve never seen anything like it. It has clips to attach to the spool hub, and a spring-loaded piece. We suspect its purpose is to keep filament from falling off the spool, which does happen, particularly when retracting filament.
There were fewer things to remove on the Ender-3 V3 than we’ve seen on other gantry-style 3D printers, and assembly proceeded rather quickly.
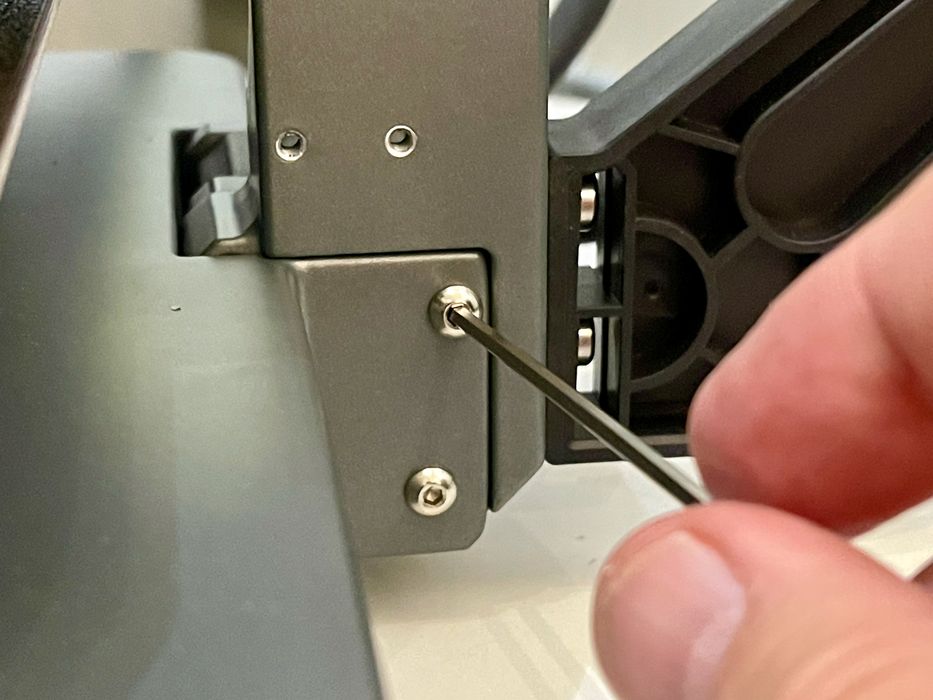
The assembly is mainly attaching the CoreXZ gantry to the base. The attachment mechanism designed by Creality is very robust, and there’s no possible way to get it wrong. Once attached it is extremely rigid, which bodes well for printing.
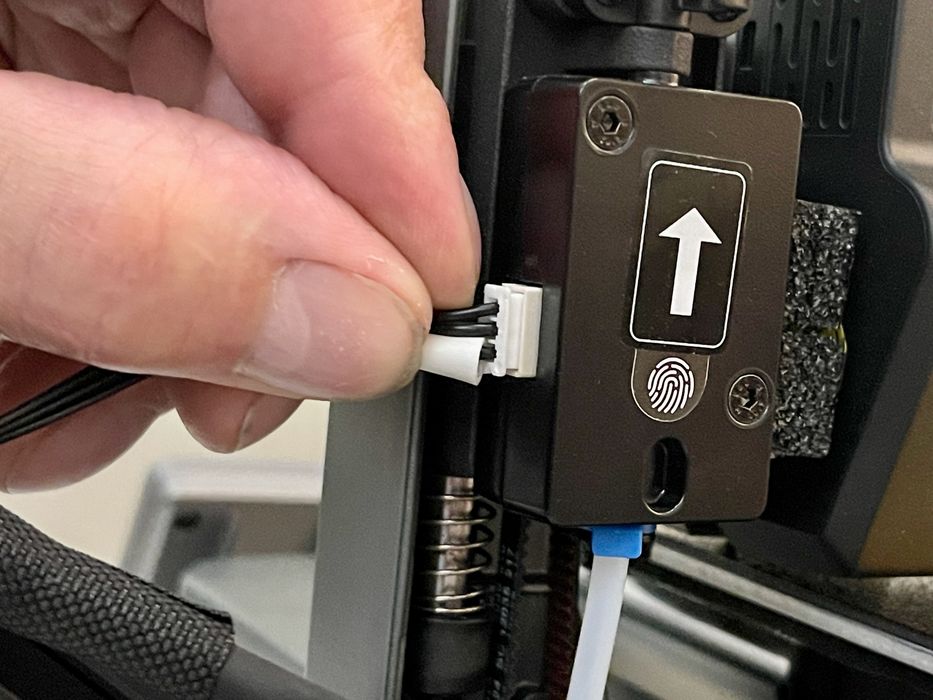
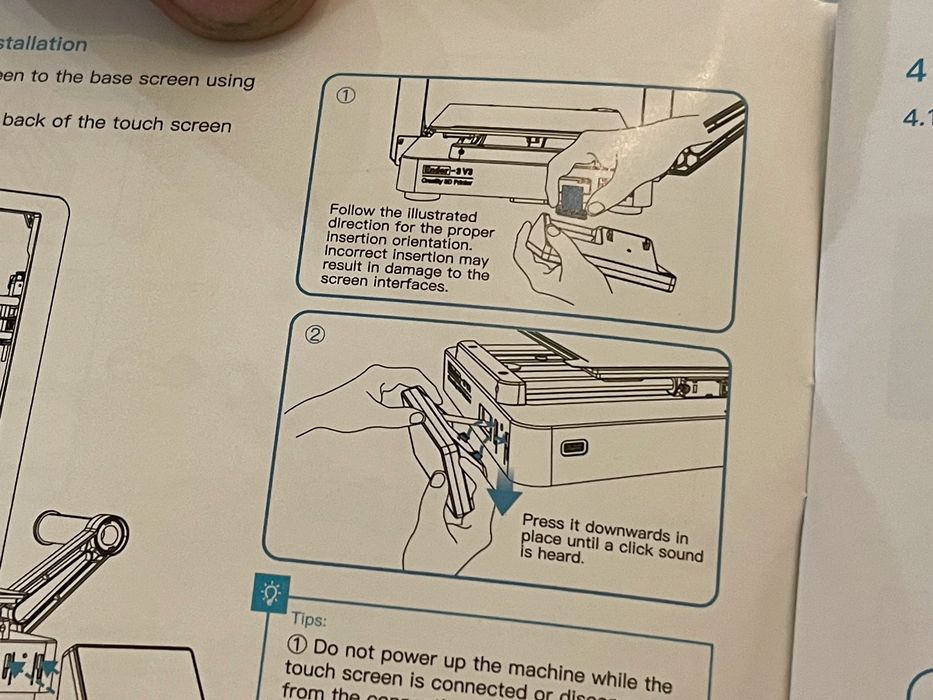
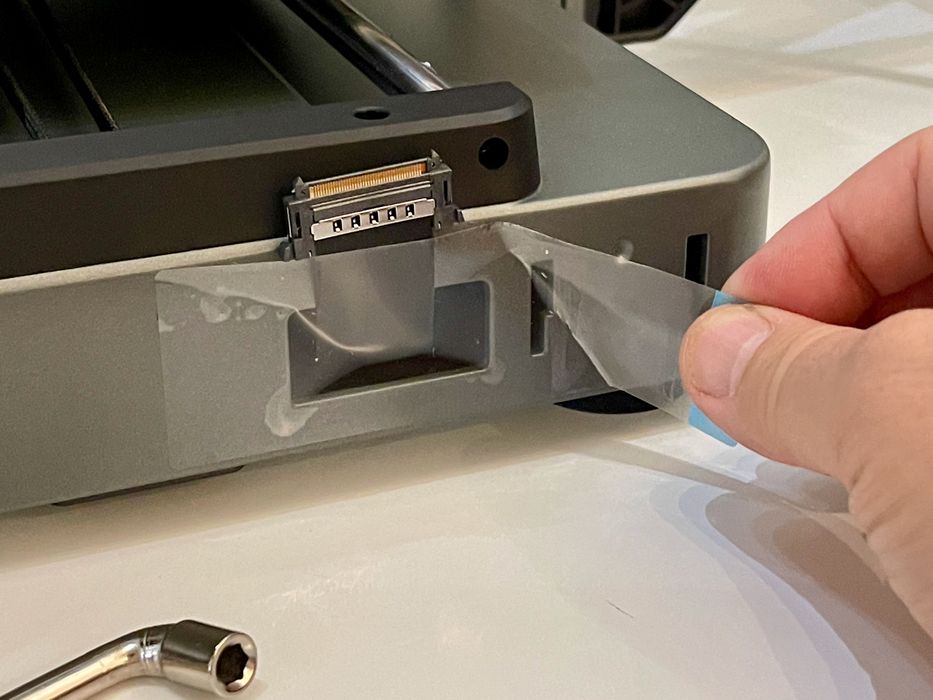
There are some cables to attach, as is always the case with gantry-style 3D printers. However, the locations for the cable attachments was very different on the Ender-3 V3, mainly because the CoreXZ gantry has different needs. Nevertheless, it was very straightforward to cable up the machine.
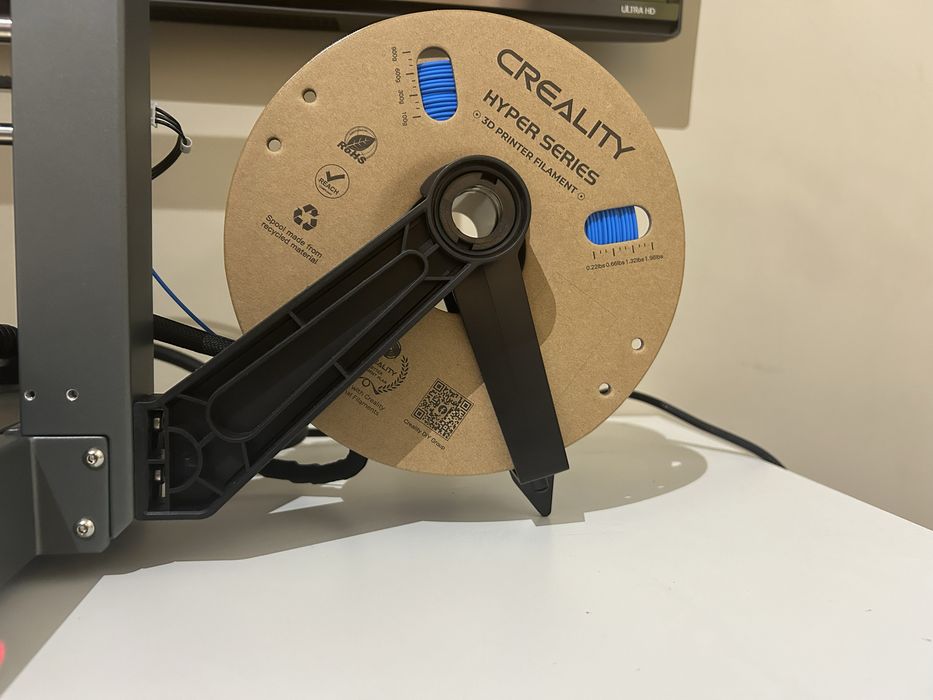
We weren’t entirely sure how to set up the anti-tangle material rack, but we clipped it onto the spool hub as above, and the spring-loaded plate pressed into the filament.
At this point we were ready to set up the machine.
Creality Ender-3 V3 3D Printer Setup and Calibration
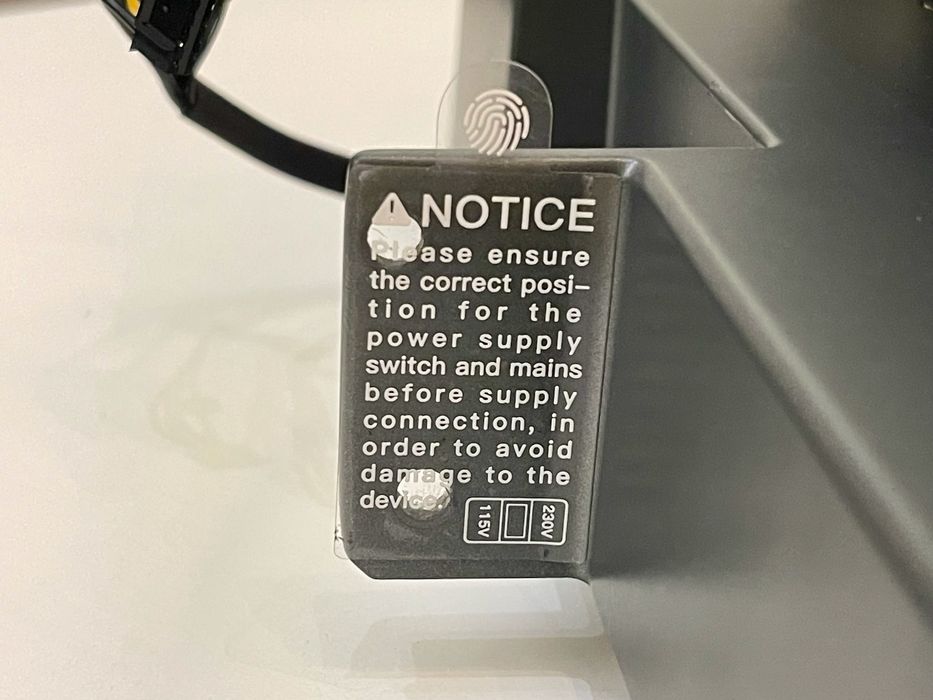
Before powering up the machine’s voltage must be set. This is something we’ve become used to doing, but for new 3D printer operators it might be a surprise. Fortunately, Creality has clearly labeled this step right on the machine. This is a very good idea, and should be done by all desktop 3D printer manufacturers.

Our Ender-3 V3 turned out to be set by default to 220V, which is incorrect for our region. We could have caused damage if we didn’t switch the voltage.
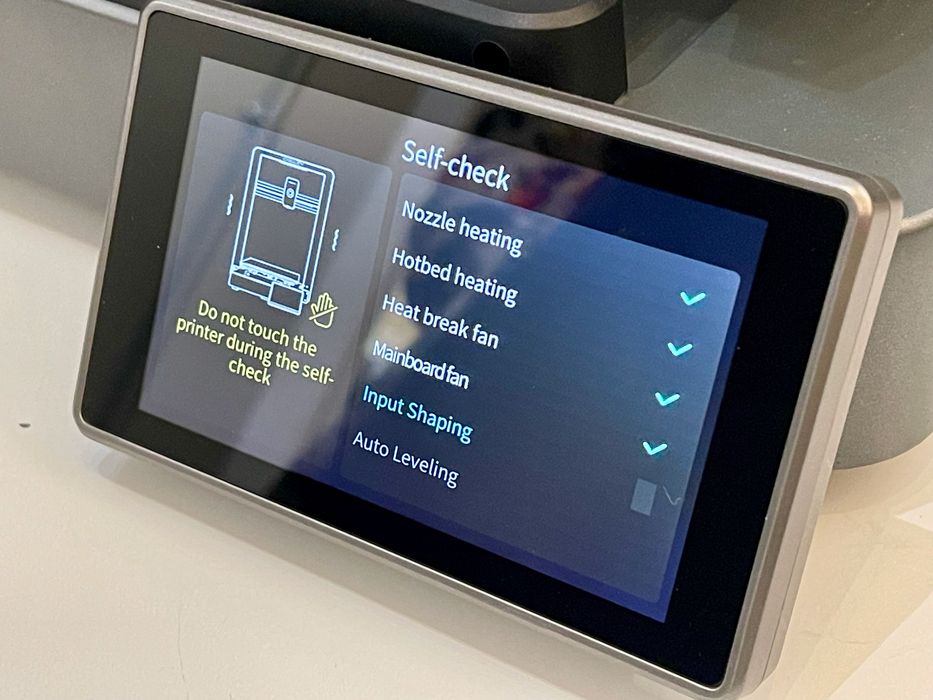
Upon power-up, the Ender-3 V3 immediately went into a self-check mode. It’s doing two things here: ensuring the cabling was correctly done, and calibrating for high speed operations. The latter is done by putting the machine through a series of high frequency vibrations on all axes to enable the firmware to compensate. It takes a few moments, and you’ll be entertained by some fun noises from the machine.
We had to set up the WiFi networking connection by entering the SSID and password. This is all pretty normal, but we did notice that sometimes the virtual keyboard on the Ender-3 V3’s front panel would repeat keypresses at times. We recommend being patient and careful when entering this information.
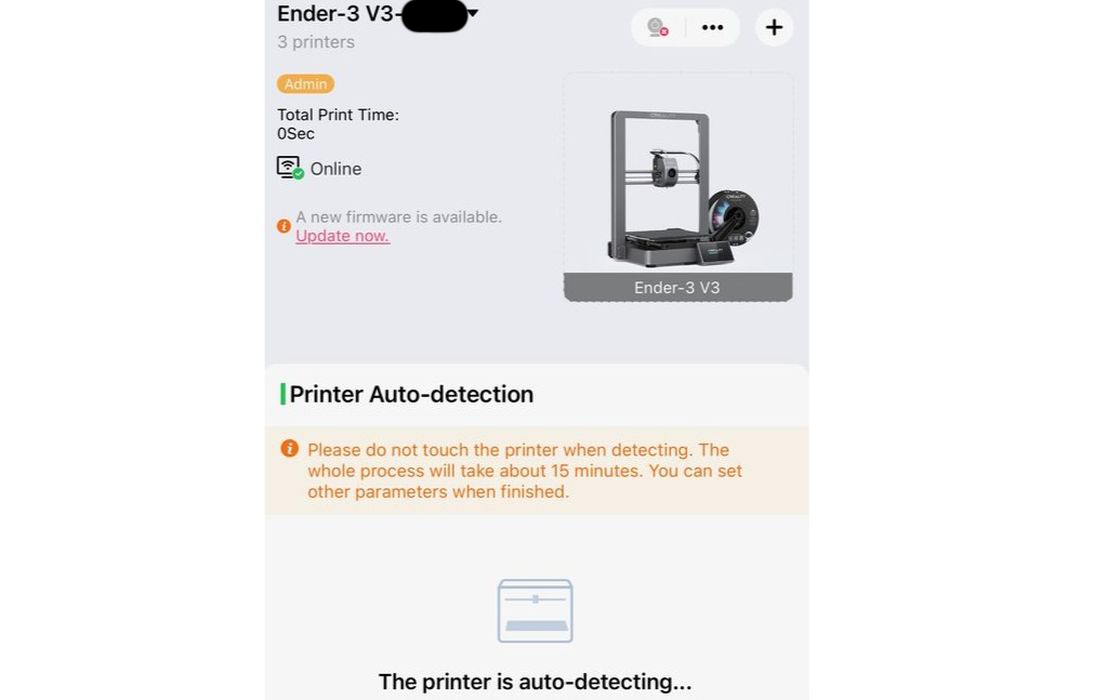
Once connected to the network, the Ender-3 V3 can be added to your Creality Cloud account. When this is done the machine appears in your account, ready for action.
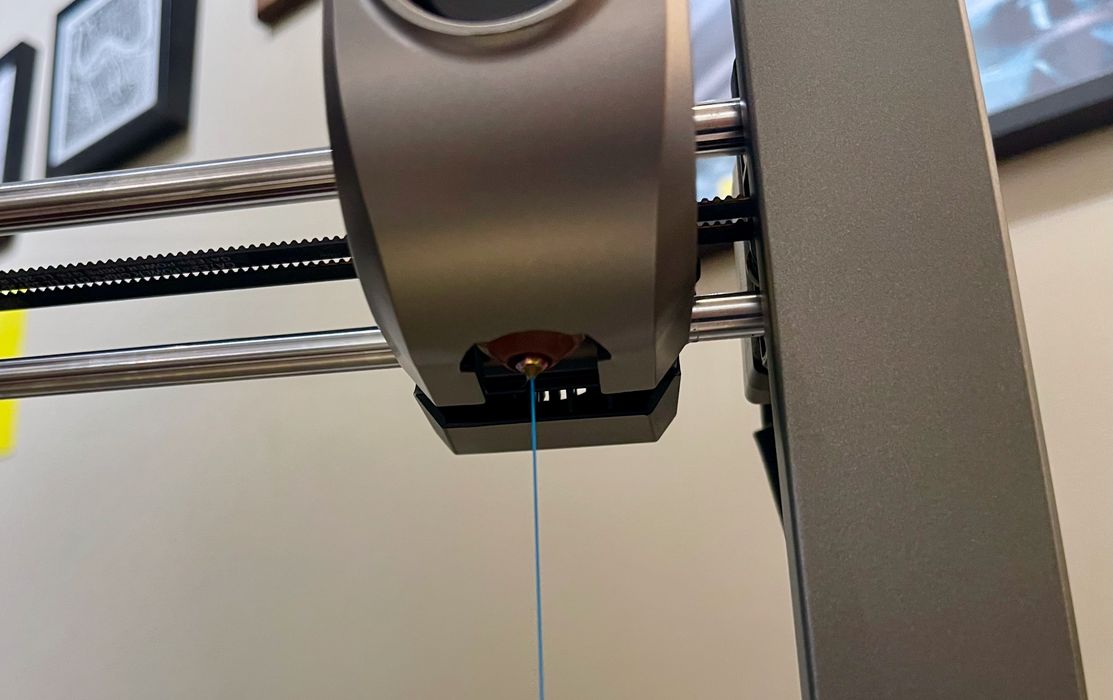
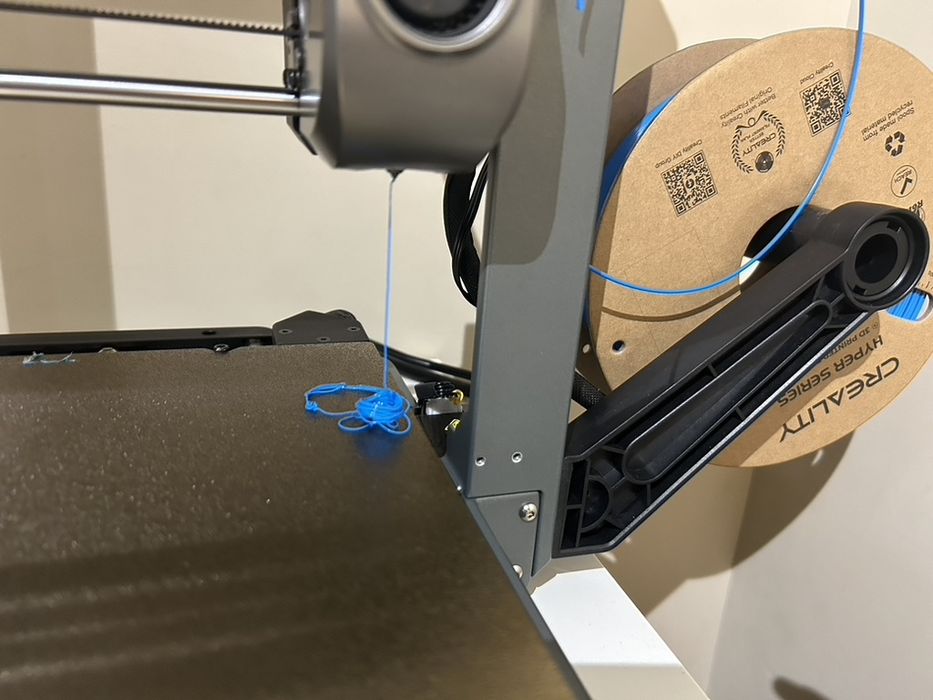
We mounted a spool of filament and were easily able to make our first extrusion on the Ender-3 V3. We noticed that the hot end heats up very quickly.
Creality Ender-3 V3 3D Printer Operations
Is the Ender-3 V3 a high speed machine? You bet it is. It moves so fast it’s hard to keep track of what it’s doing.
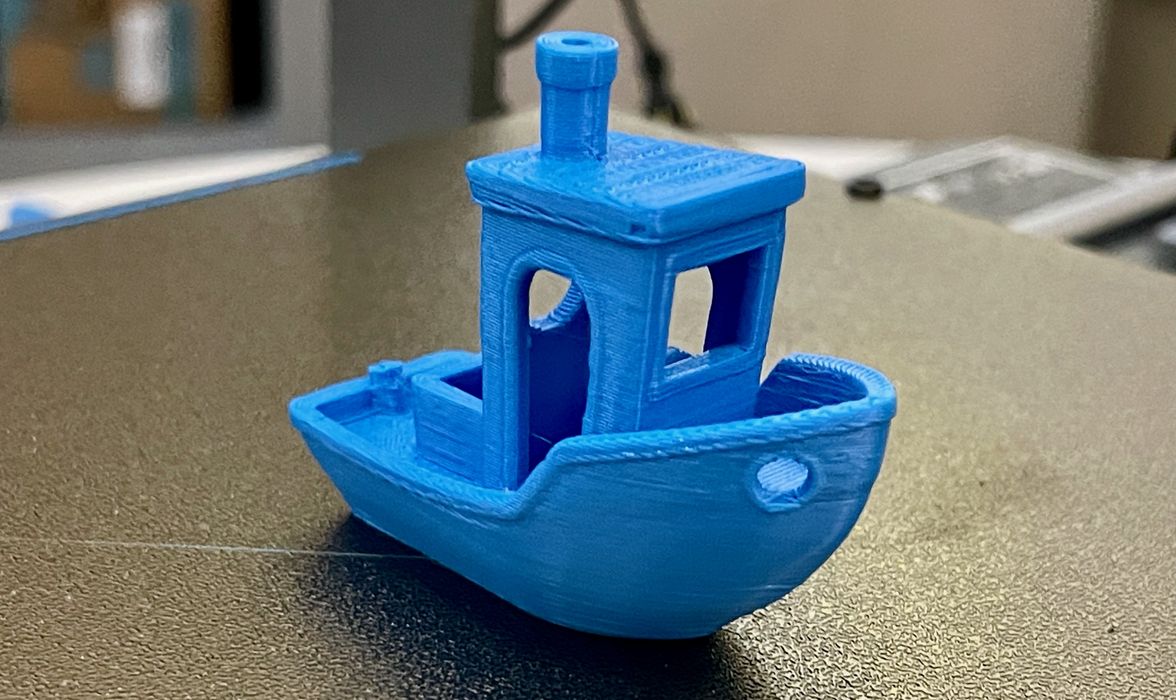
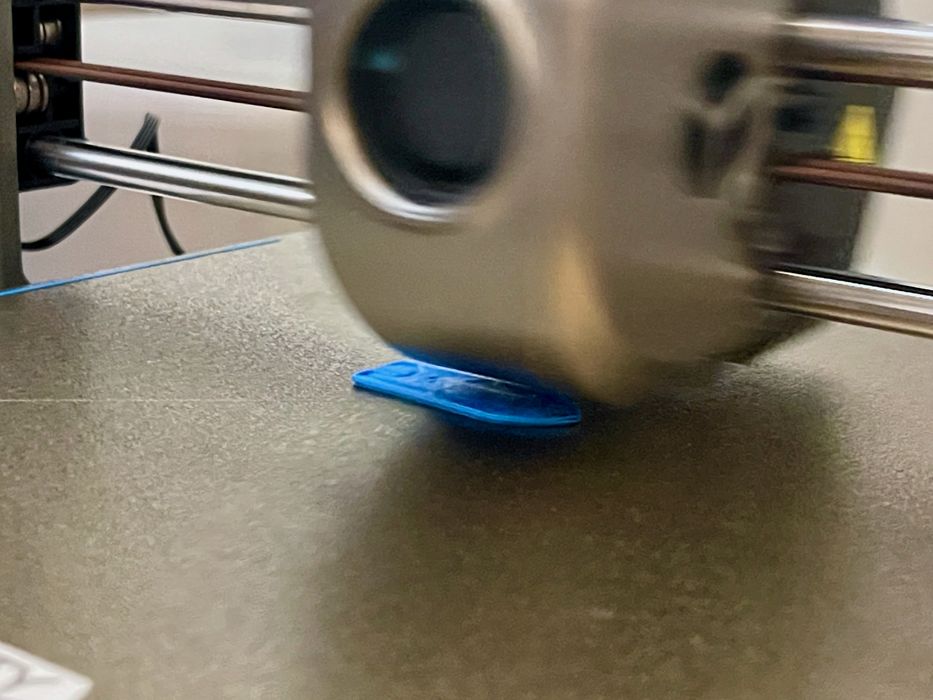
One of the pre-loaded jobs on the machine’s internal storage is a high speed #3DBenchy. Of course, that was our first print job. The #3DBenchy test print was indeed completed in 13 minutes, one of the fastest we’ve seen.
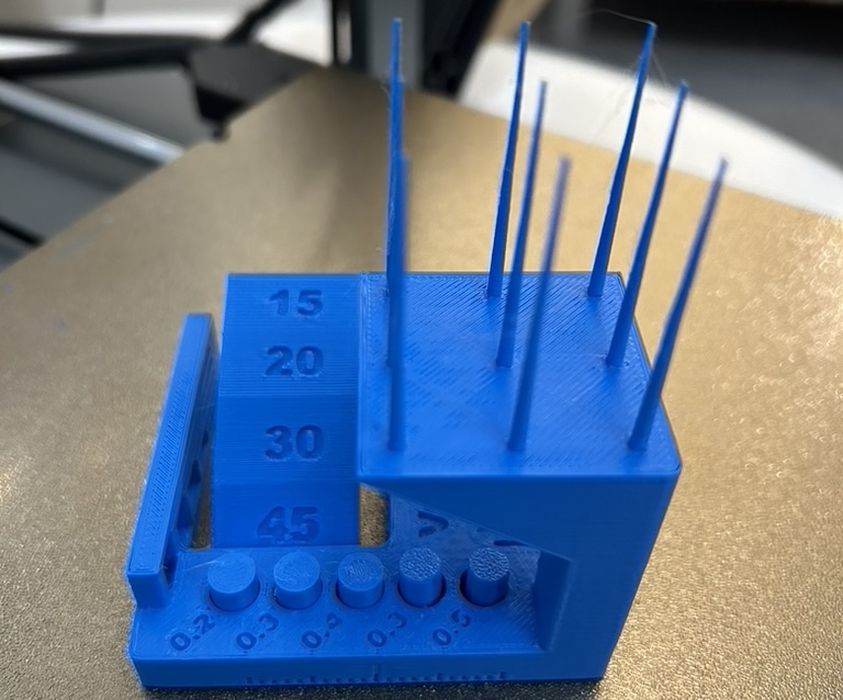
Another test print showed that the machine’s automated calibration and print parameters were spot on.
During printing we noticed that the machine is quite loud compared to other desktop 3D printers. The machine is very quiet when idle, but the dual cooling fans make a fair bit of noise when operating. This is likely because they are working very hard to quickly cool material during high speed printing.
We found operations of the Ender-3 V3 to be very easy. Whether you’re using the front panel, the desktop slicer or the Creality Cloud smartphone app, it is straightforward to get jobs going.
The Ender-3 V3 has a large and clear display screen that’s easy to operate. The interface is the standard Creality setup that you’ve likely seen on other Creality devices. They seem to have converged its design to something they find useful, so they’re using it on all their machines.
During our assembly of the material spool mount, the anti tangle device was mistakenly placed in the wrong counter-clockwise position. In that orientation the opposite of what was expected happened: the filament got tangled up several times.
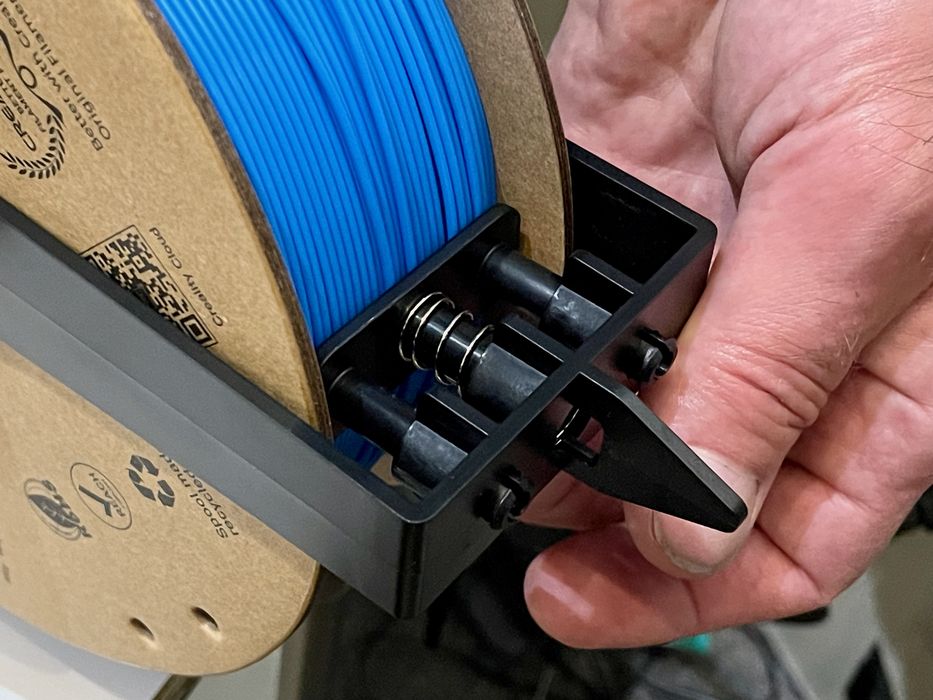
We removed the anti tangle device and printed a few jobs without any issues. After reading the online Ender-3 V3 user guide, we noticed the filament spool should rotate in a clockwise direction. We reinstalled the anti tangle device and now it is working without issue, as designed. Don’t do what we did!
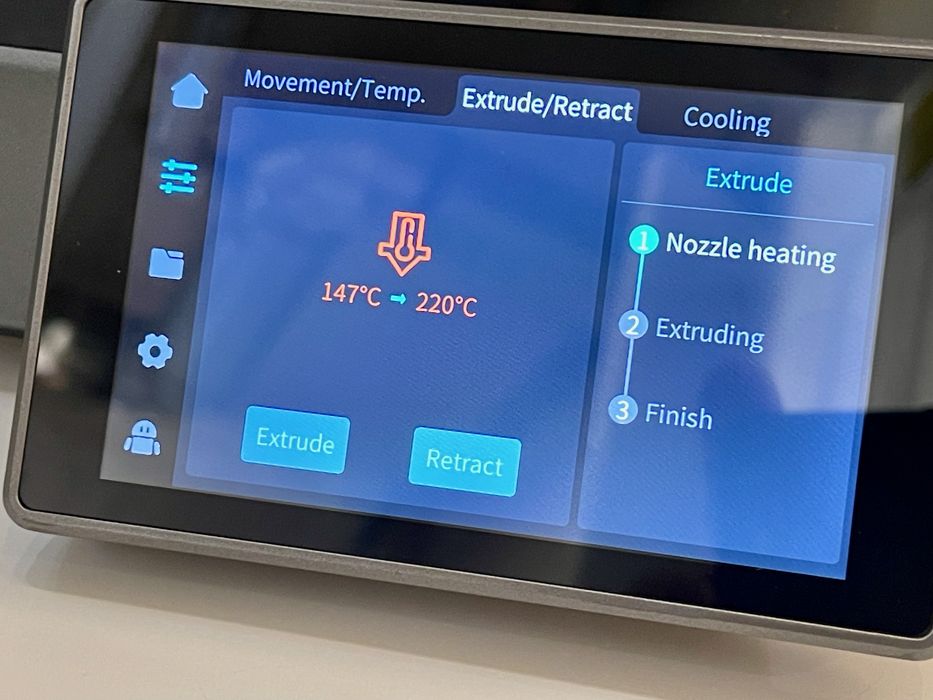
Changing the filament on the Ender-3 V3 is straightforward once you understand the terms: Extrude and Retract. While commonly used by Creality, “Retract” isn’t the clearest terminology to unloading filament because “Retraction” settings in 3D printing mean something entirely different. Perhaps “Load” and “Unload” might be better? Regardless, we found it was very easy to load and unload material.
The operation of the printer is at times quiet and at times very loud while printing fast. The firmware seems to crank up the performance of the cooling fans when printing fast, and you will certainly notice the increased noise level.
This is part two of a three part series, please read parts one and three.
Via Creality