
Our look at the Anycubic Photon Mono M7 Pro resin 3D printer continues with operations and software.
This is part three of a four part series, please read parts one, two and four.
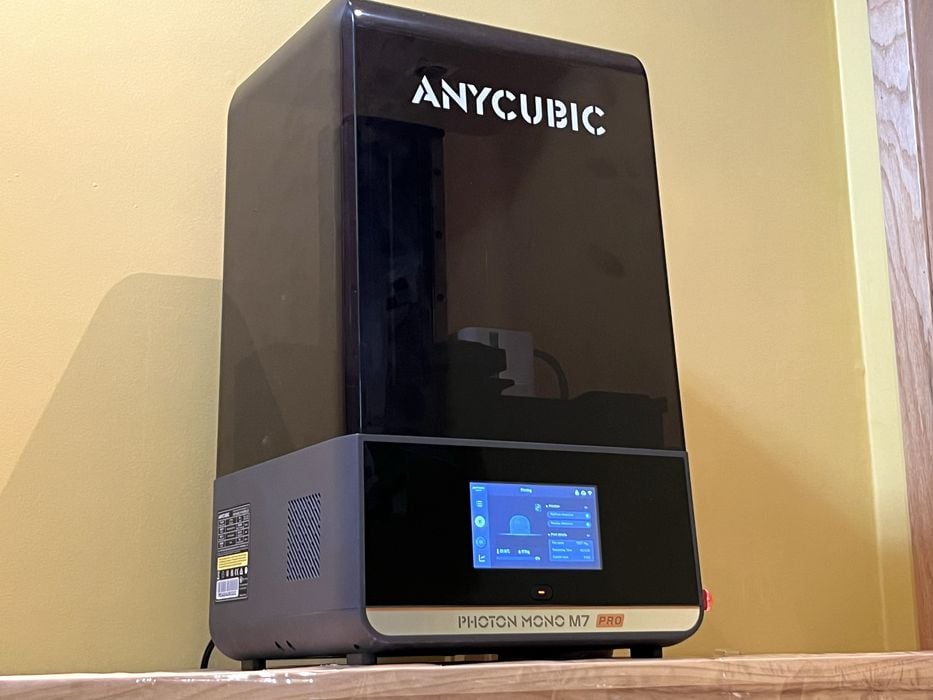
Anycubic Photon Mono M7 Pro Operations
We decided to start by printing one of the pre-sliced prints on the USB stick. These prints are often included by manufacturers to showcase the machine’s capabilities and are sliced for optimal performance. The problem is that we don’t know for which resin they were sliced, so typically the settings are quite conservative on pre-sliced jobs.
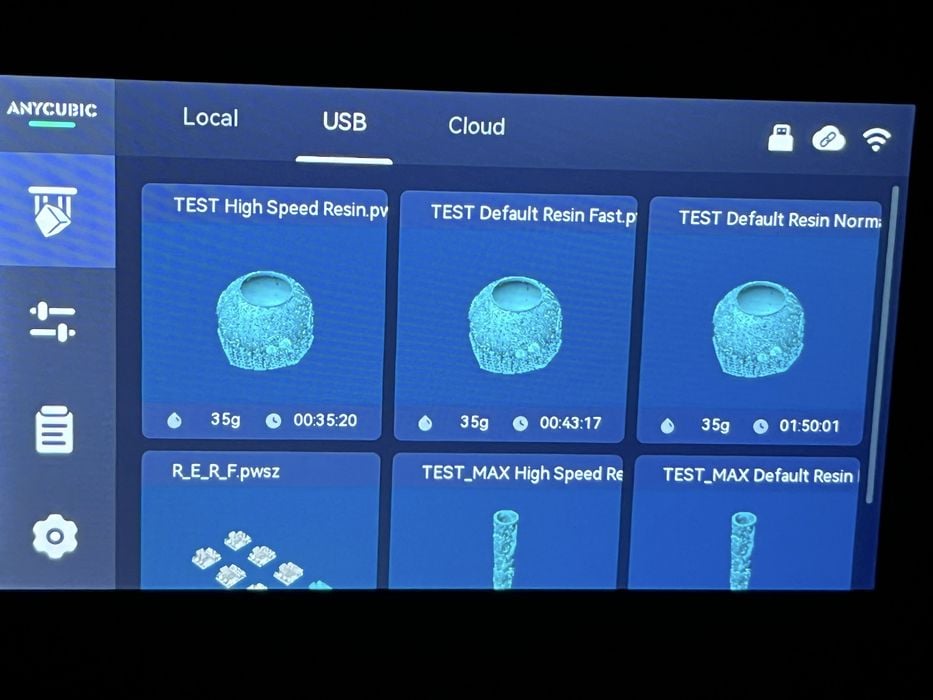
We decided to choose and print the TEST high speed resin. We noted on screen that this print was sliced into 562 layers at 0.10mm, uses 35.76ml of resin and had an estimated print time of 00:35:20.
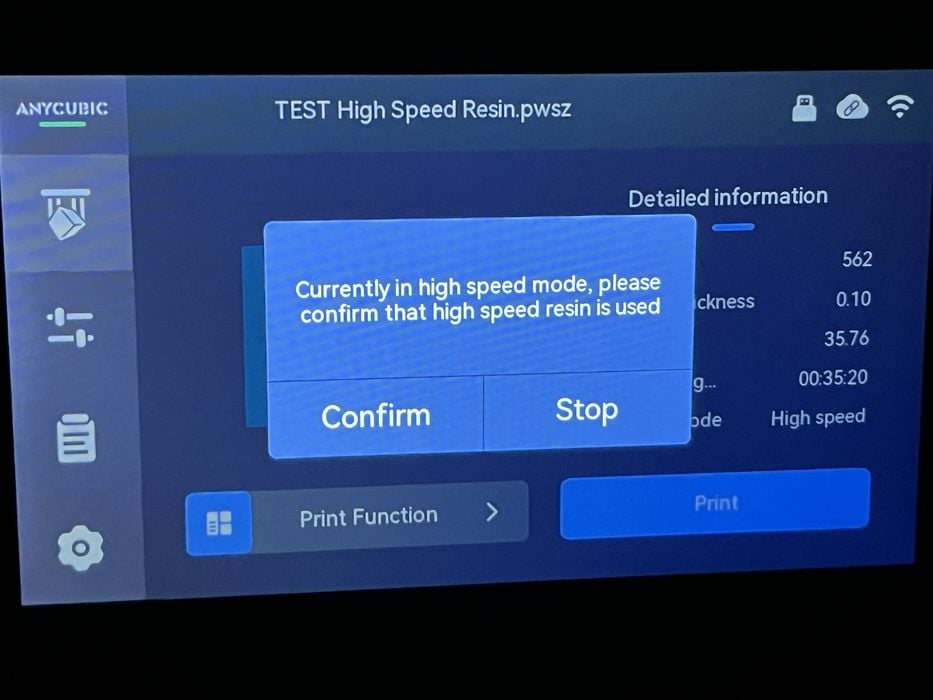
Since we hadn’t been asked to fill the tank yet, we clicked on Print Function then checked and confirmed “Automatic Feeding”. When we hit print, we got a popup warning us to confirm that we indeed had high-speed resin loaded and after answering in the affirmative, the printer came to life and the platform slowly descended into the vat.
When the build platform reached the bottom of the vat, it changed directions and headed back up a bit and then paused. The printer resin feeder spout lowered, the LCD displayed In Feed and the tank began to slowly fill with resin.
We made sure to activate our external fume extraction at this time and then put the lid on the printer to let it do its job. We noticed that when the resin tank finally filled, the spout raised back up and some very robust printer fans kicked in, no doubt to manage the temperatures generated from the powerful LighTurbo 3.0 UV light engine.
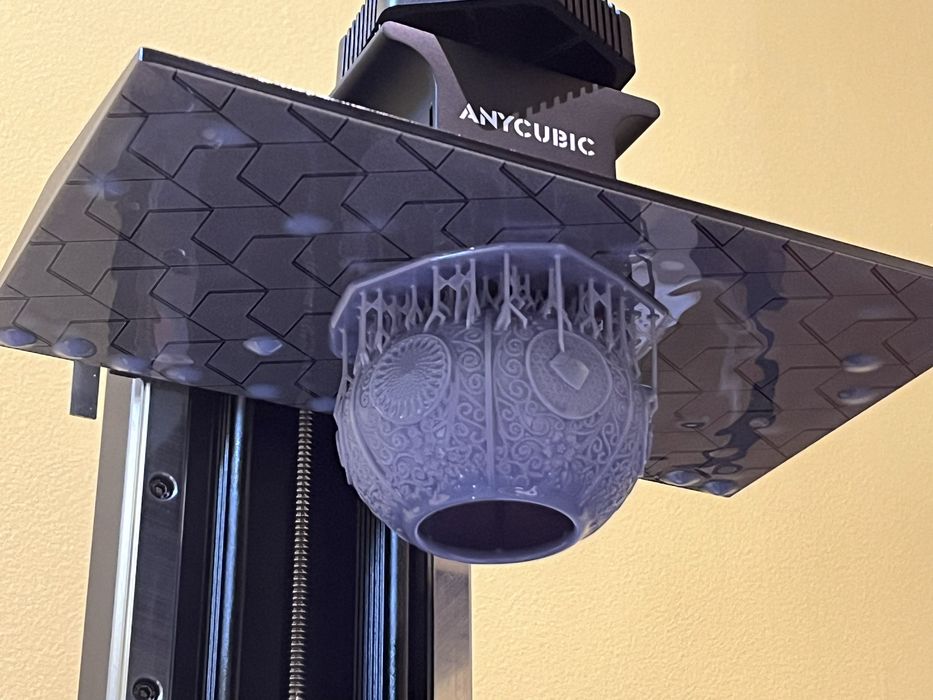
The test print completed in just 00:31:18 and was a success. We removed the build platform and pried the model off with our metal spatula and proceeded to remove the supports.
We found the support structures tip attachment to the model to be a little overkill, with the raft coming off from the supports much easier than the support tips from the model, but this is likely due to conservative slicing parameters for the model.
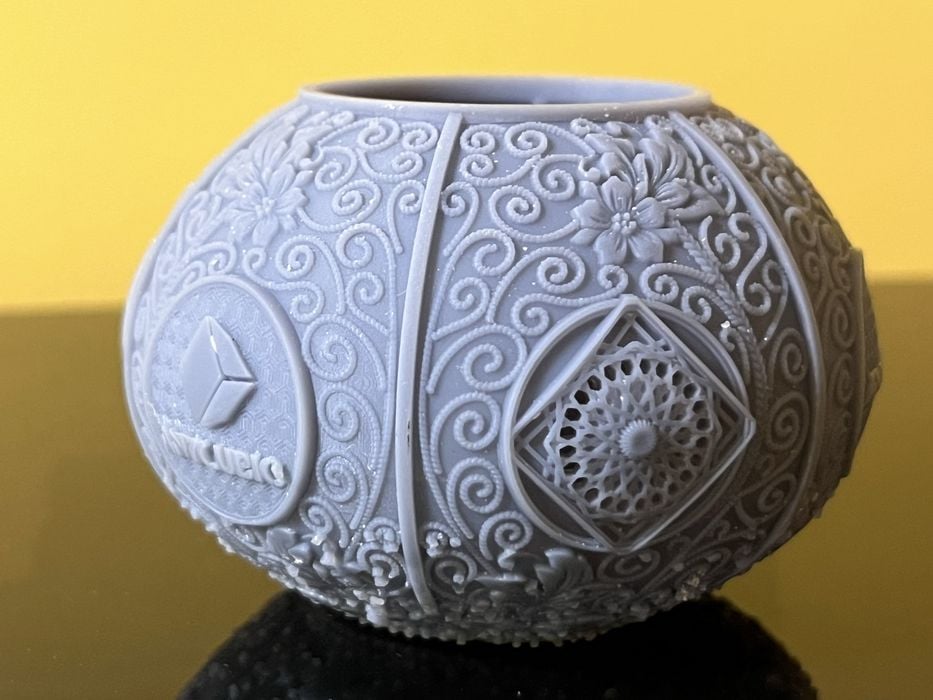
We ended up with a fair amount of model scarring from removing the large bits of support tip debris. When we examined the model closely after a wash & cure, scarring aside we found the rest of the surface detail to be very good, especially so considering that the layer height was 0.10mm and that the model only took just over half an hour to print.
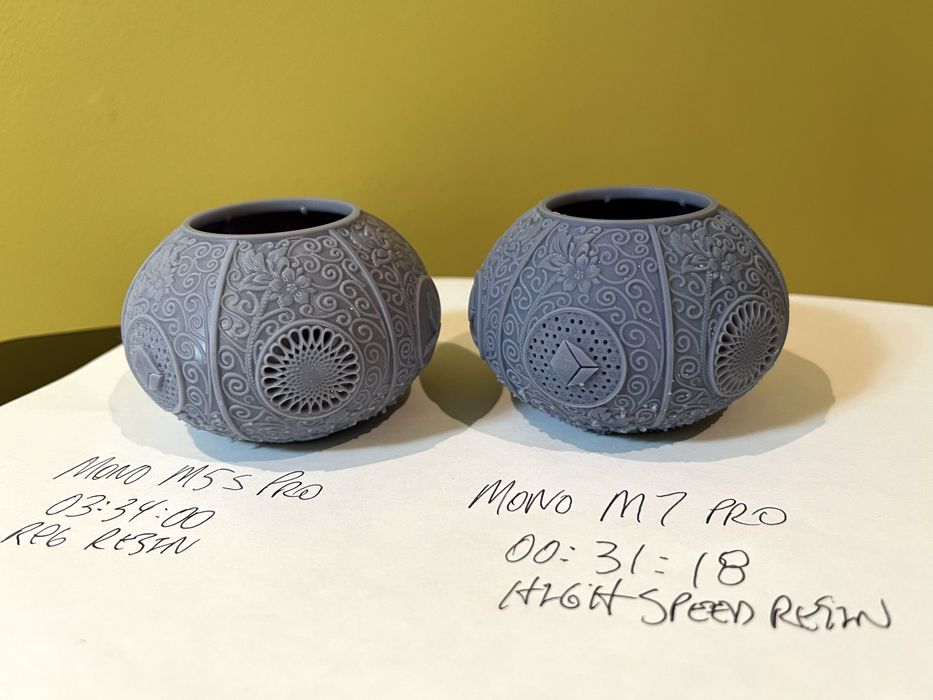
To put things in perspective, in our previous review of the M5S Pro we printed the same model with pre-sliced G-code sliced for and printed with regular resin and the print took 03:34:00. This is an enormous speed increase of 7X!
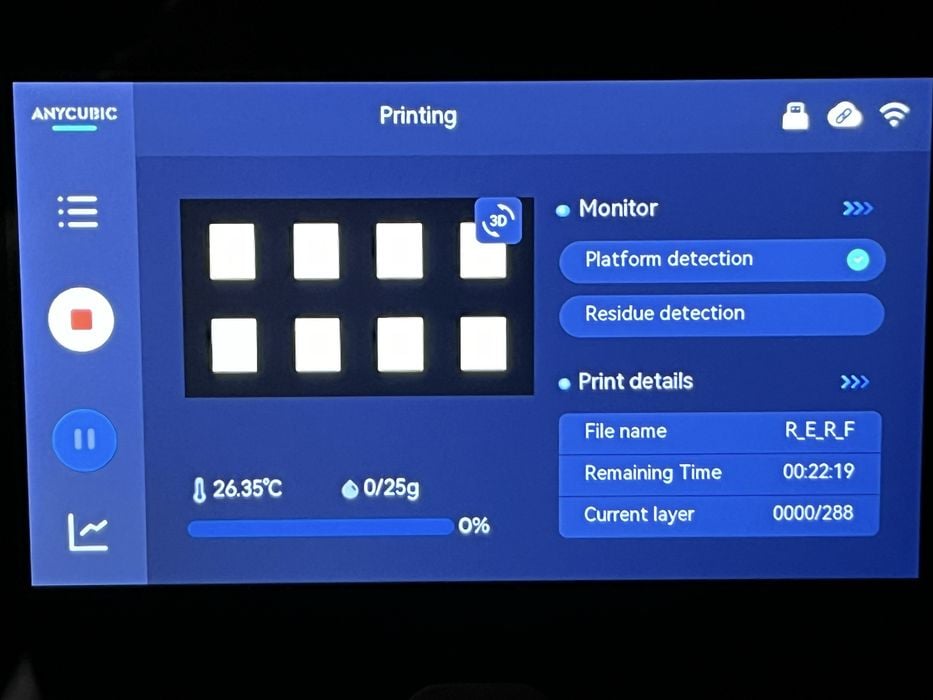
We decided to try one more pre-sliced G-code print off the USB stick and chose RERF. This is Anycubic’s own resin calibration print and consists of eight models with different exposure times.
Model number 1 is based on the default exposure time for the printer, and models 2-8 each being increased by increments of 0.25s. This allows you to compare the results when using different exposure levels.
When we launched the print and checked the mid print exposure setting menu item, we found it to be 1 second. So given that the default exposure time for high-speed resin is 1.5 seconds, we would be seeing some models that were underexposed, normal, and overexposed.

The estimated print time was 00:22:19 and actual time to completion 00:42:27. The print was successful, but we found the models difficult to remove from the platform without breaking. Just for fun we patched them back together with a few drips of resin and some UV light and then examined them.
It was easy to spot the very underexposed and overexposed models, but many of them were quite ambiguous. We decided to try a few more calibration prints, this time slicing them ourselves in Photon Workshop.
Anycubic Photon Mono M7 Pro Software
Both the printed and digital user manuals mention that the installer and instructions for Photon Workshop are saved on the USB drive. There we found an installer for Photon Workshop v3.3.2 for Mac OS, and updated our older version from the M5S Pro review. Once installed we went to the Machine tab at the top of the screen and chose the Photon Mono M7 Pro from the list. Photon Workshop has all the basic features that you need to slice and print a model on a resin printer such as: clone, repair, hollow, punch, free cut, text, and support.
Our first print was Validation Matrix, a calibration print that is imaged directly on the build plate and doesn’t require any supports.
When we chose the high-speed resin profile for the printer, we immediately got a warning reminding us that the profile was specifically for high-speed resin. Given that is what we had previously loaded into the tank, we went ahead and sliced our file.
Photon Workshop allows the user to upload the file to the printer, or save it to USB. Since the printer was already connected to the WiFi network and bound it to our account, we went ahead and clicked on “Remote Print”. We then transferred over to the Workbench portion of the software to launch and monitor our file remotely.
Additional information was available when we clicked Device Details, where we were shown all the important parameters of our print, along with a progress bar and the ability to pause or stop. There was also a sidebar that supplied details for the status of the printer itself, including total printing time, consumption of resin, and number of prints generated thus far.
The estimated print time for our sliced model was 00:01:17 and the actual time for the completed print ended up being 00:05:53. We noted that part of the discrepancy in time could be the platform lowering to start the print, and then raising to the top of the machine when the print was complete.
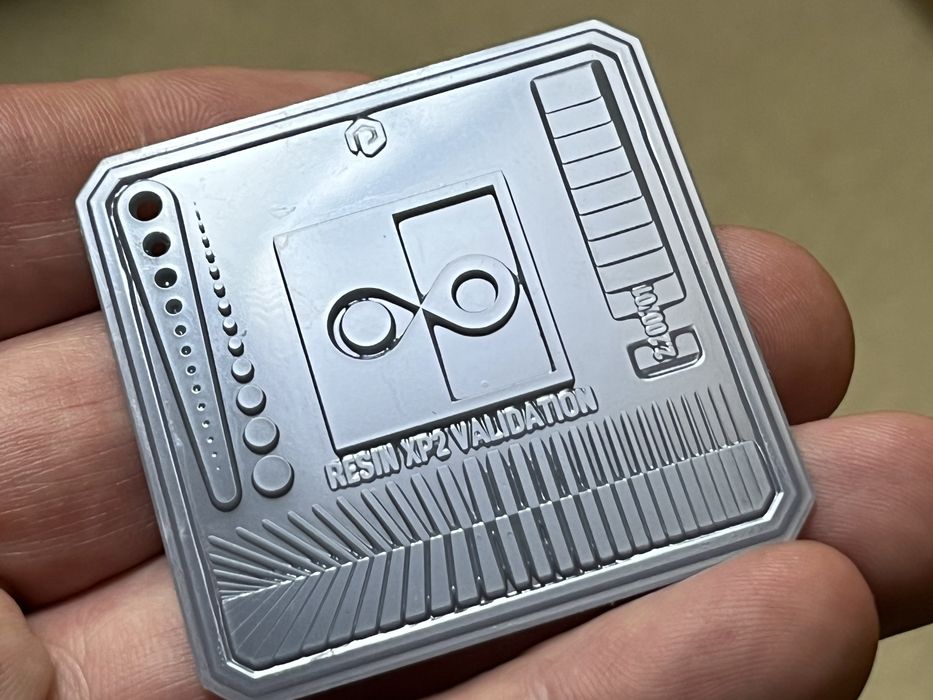
We removed and processed the printed model and gave it a good look over. We were very impressed with the print quality and level of detail in both negative and positive surface features, especially so given such a quick print time.
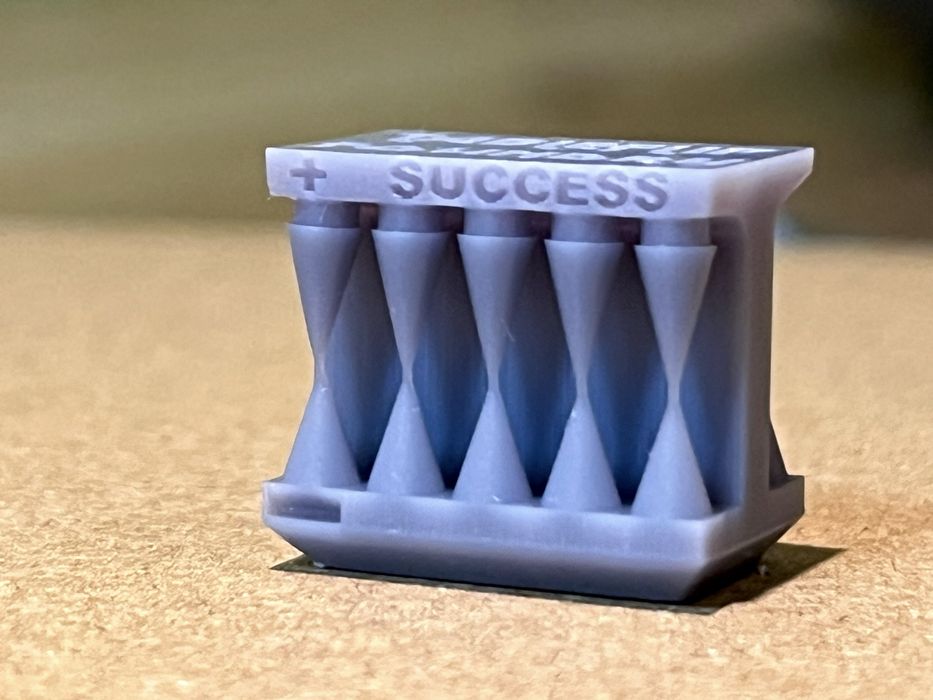
Just for fun, we decided to confirm our resin settings by printing one instance of the Cones of Calibration, slicing the model and getting an estimated print time of 00:07:25 and actual of 00:14:41. The finished print looked great and appeared to confirm that we indeed had the correct exposure time for our resin.
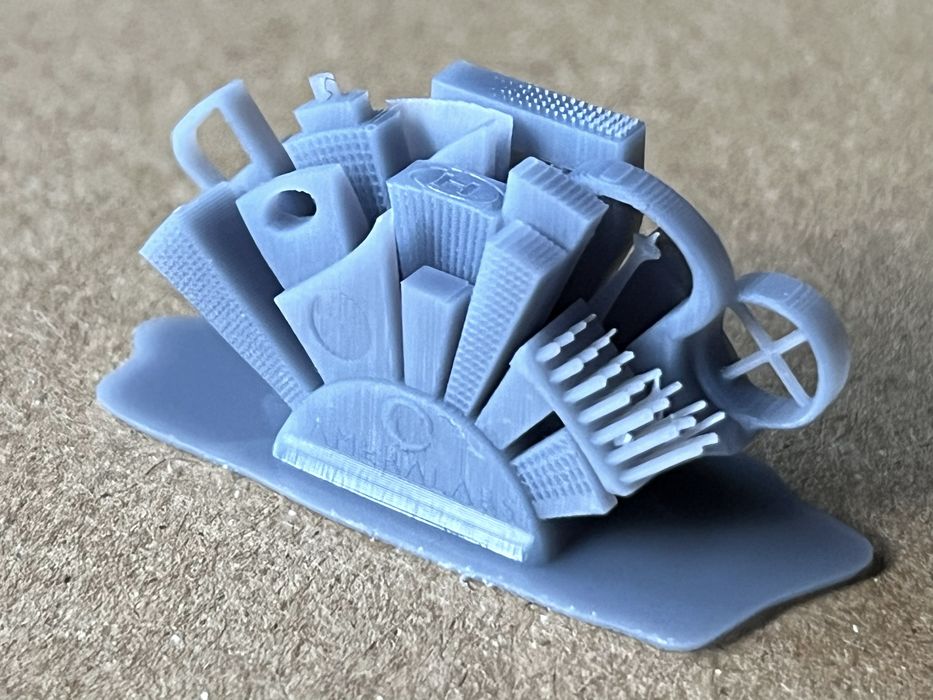
Out of curiosity, as to how quick it would print, we decided to print our last calibration print, Ameralabs_town, getting an estimated print time of 00:07:18 and a total elapsed time 00:14:40. We were pleased to see high detail on the print with zero failures. It was now time to move on to more substantial print jobs.
This is part three of a four part series, please read parts one, two and four.
Via Anycubic