
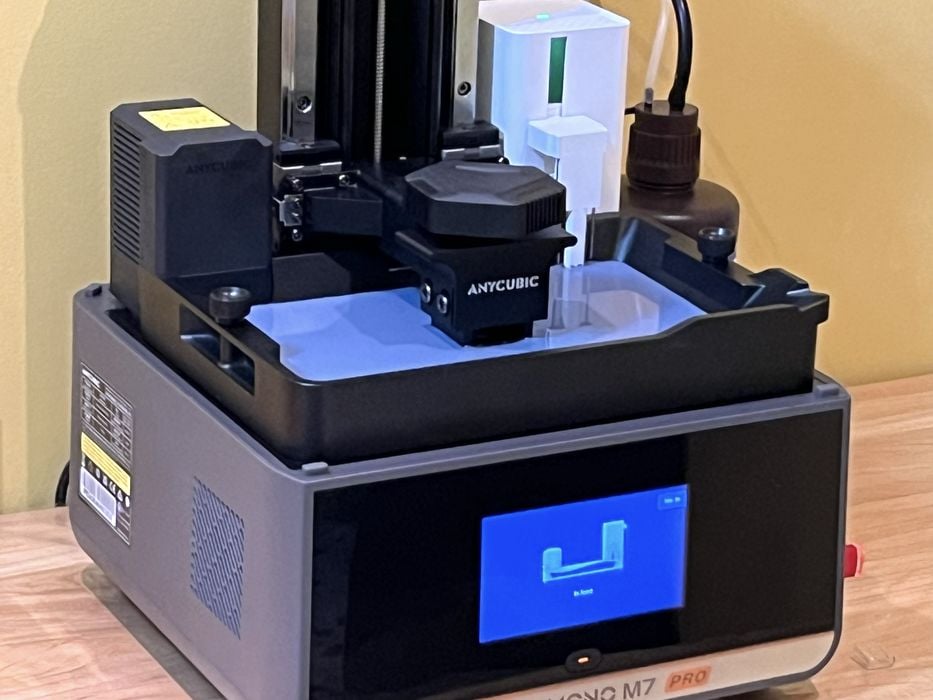
Our look at the Anycubic Photon Mono M7 Pro resin 3D printer continues with setup and calibration.
This is part two of a four part series, please read parts one, three and four.
Anycubic Photon Mono M7 Pro Setup and Calibration
Our next on-screen instruction had us choose a WiFi connection, however, we hadn’t been told to install our WiFi antenna yet! We made sure to do that now, as to have the best possible reception when we joined our WiFi.
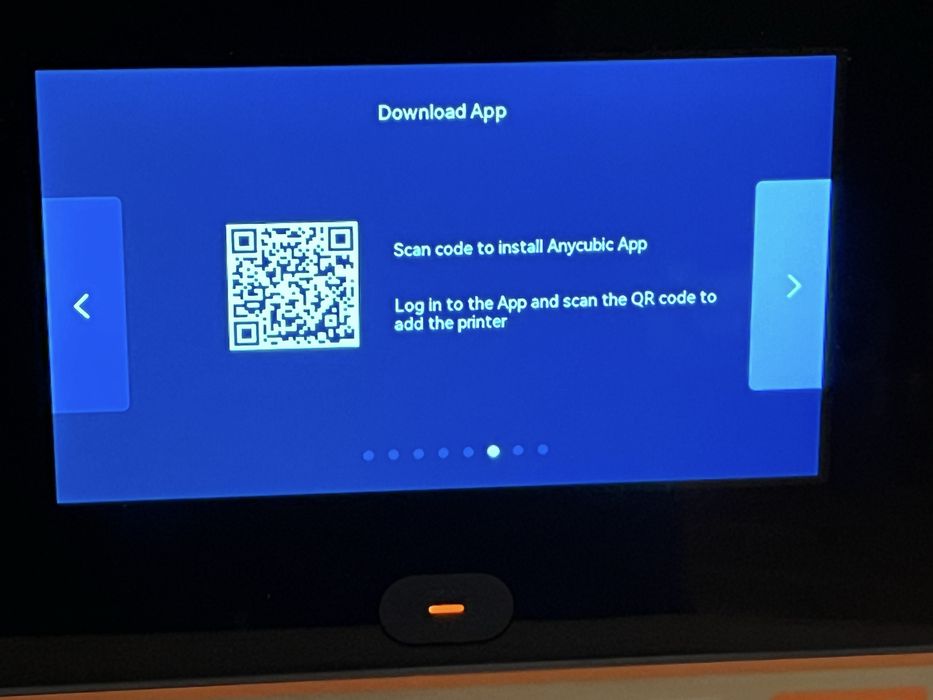
The on-screen instructions had us download the Anycubic App onto our mobile device, log into the app and then scan the QR code on the LCD screen to add the printer.
This feature of adding a printer with the QR code did not seem to work for us, so we skipped it, thus completing the on-screen configuration.
We assumed that the QR code that had been previously displayed was incorrect, so we went to the main menu on the LCD, then Settings, Anycubic App, and found a different QR code, which successfully bound the printer to the Anycubic App.
Since we were already looking at the LCD screen, we decided to take a quick peek at all the features that the Photon Mono M7 Pro offered. The main screen showed us the current status of several important components of the printer: the tank was installed, recirculation pump tubing was good, there was zero time clocked on the FEP film, the resin was empty, and the temperature was 22.77°C.
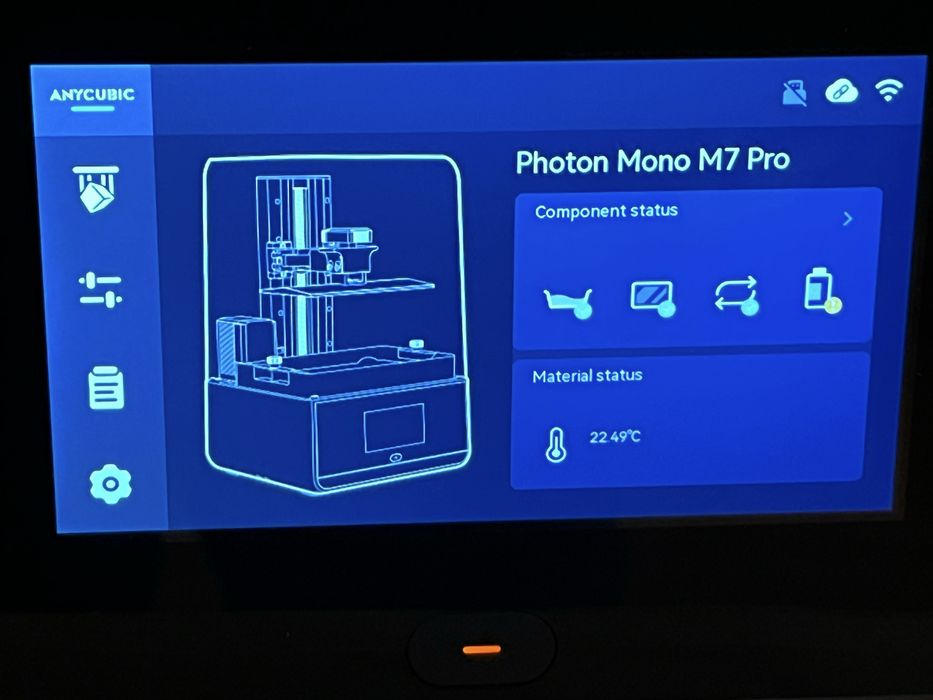
A print menu displayed sliced prints that were local on USB, or on the cloud. There was a control menu containing items such as Z-axis movement, screen exposure, cleaning, and then some advanced features for temperature control, feed and retrieval of resin, air purifier, and self test, an auto heating feature where you could set a desired temperature, and an option for circulation cleaning. Heating is a feature that’s simply not seen in inexpensive resin 3D printers, so this is quite interesting.
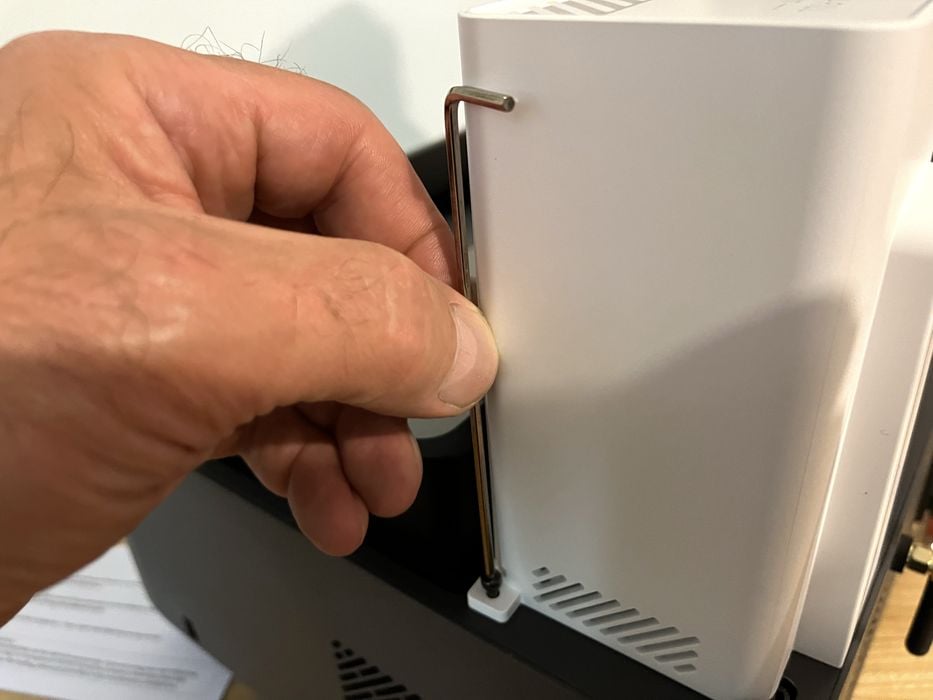
We now returned to the user manual to complete the assembly of the printer and add the Auto-fill unit. We found the two screws that attached it to the base to be challenging to install, as the supplied hex wrench was not ball nosed.
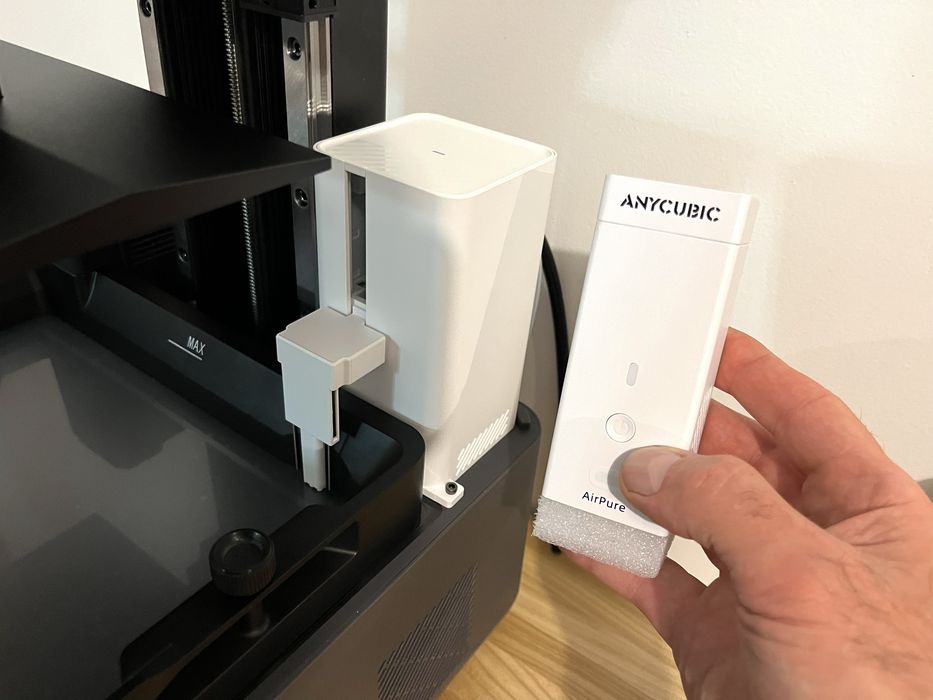
When the Auto-fill unit was installed, there was nowhere to install the Air Pure unit, so we just left it in the package, as we would mainly be making use of the resin dispensing and already had active fume extraction in our work area.
Now we just needed to attach the resin cap part of the auto-fill unit to our full resin bottle and plug in the cap’s cable into the printer so it could be recognized and begin loading resin into the vat.
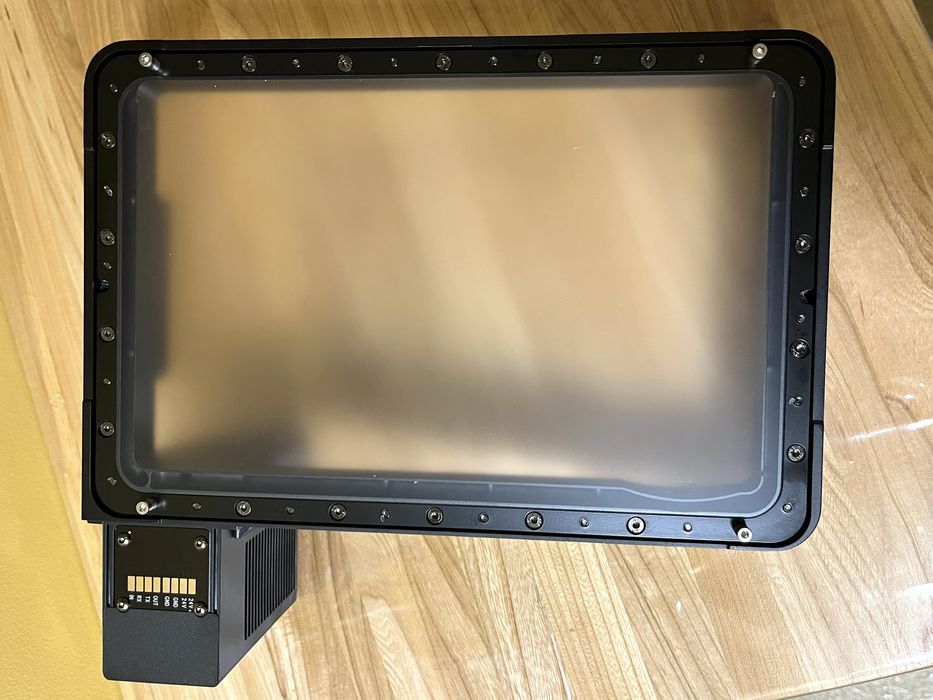
Before we did this though, our curiosity got the best of us and we decided to back up a few steps and remove the auto-fill unit and vat so that we could examine the bottom of the vat, to try to get an idea of how the mysterious resin recirculation and heater system worked. Looking from the underside of the vat it appeared that a portion of the vat walls were being used as plumbing to move the resin around.
There wasn’t much information in the printed user manual as to how this system actually worked, so we decided to review the digital user manual included on the memory stick. This digital literature contained much more information about the printer and its usage in general than the printed manual, but it too did not fully explain the recirculation system, with the exception of describing the replacement of the peristaltic pump pipe, a required procedure for when the usage counter on the printer eventually notified us to do so. We did not see any spare pipe parts included with the printer.
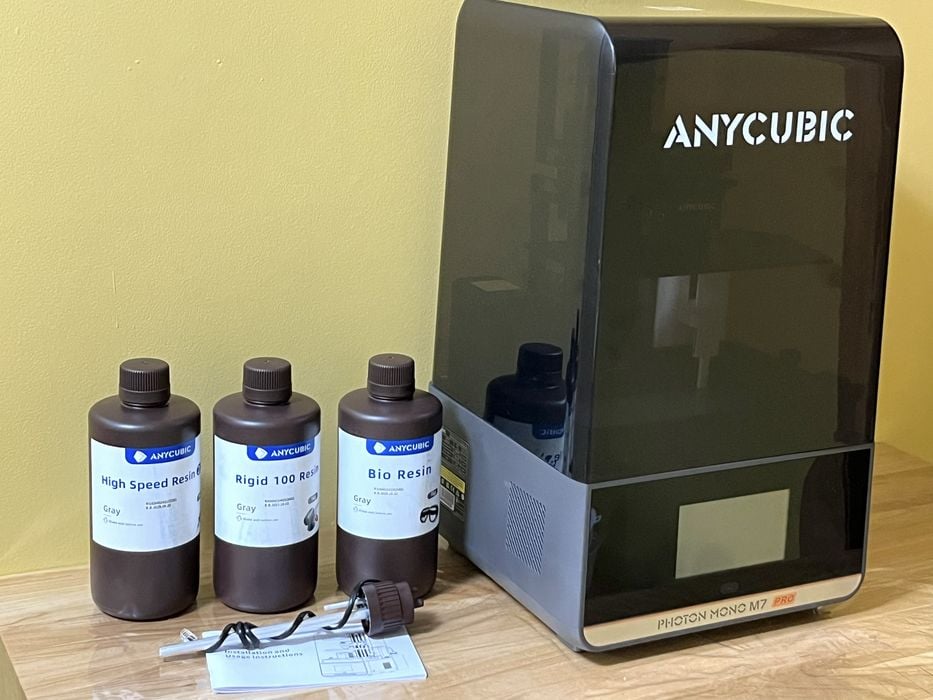
Over the years we’ve found that it is always best to use a manufacturer’s branded resin for printer reviews, as compatible settings are more readily available and it takes the guesswork out of calibrating the printer. For this review, Anycubic had included three different types of their branded resin with the printer for us to test out.
This got us to thinking, if the recirculation system and vat heater retained a large amount of residue after being drained, would the different resins cross contaminate and affect print quality?
In our case, the resins were all the same color ”grey”, so we wouldn’t really notice any issues visually, but would mixing the different types together prove to be problematic, or would it be totally inconsequential? We decided to take a quick peek on the Anycubic website to see if there was any additional information for us to review prior to loading resin and starting a print.
We found that the Photon Mono M7 Pro has its own page on the Anycubic Wiki, which contains a great deal of information about the printer, much much more than could ever be included in a standard user manual. Here we found factory settings to use for a variety of resin types, troubleshooting tips for certain printer issues, and maintenance procedures for various aspects of the printer.
We didn’t find much more information on how the entire resin recirculating system worked, but it did give us a slightly better idea of how the peristaltic pump worked and we saw pictures of what the pipe actually looked like. Now that we understood a bit more, we decided to move ahead with getting resin into the printer and launching a test print.
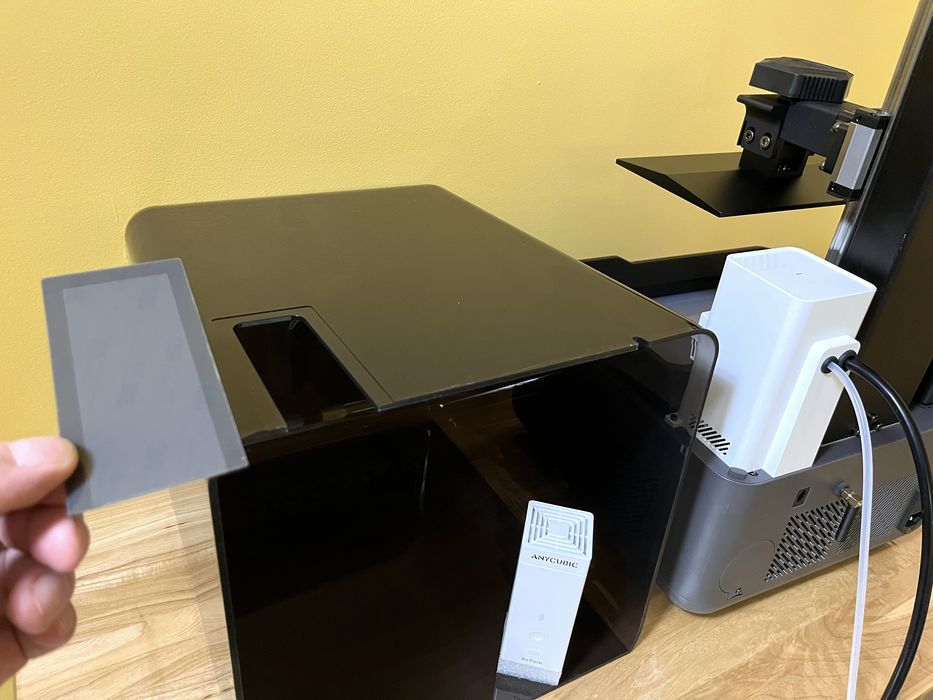
We started with High Speed resin, as that would be the main capability we would be testing on the M7 Pro. While we were getting things ready, we noticed the large knockout in the back of the printer’s lid that accommodated the Auto-fill resin dispensing system. What if we had chosen to install the Air Pure instead of the Auto-fill? The large knockout in the lid would have allowed offgassing to escape!
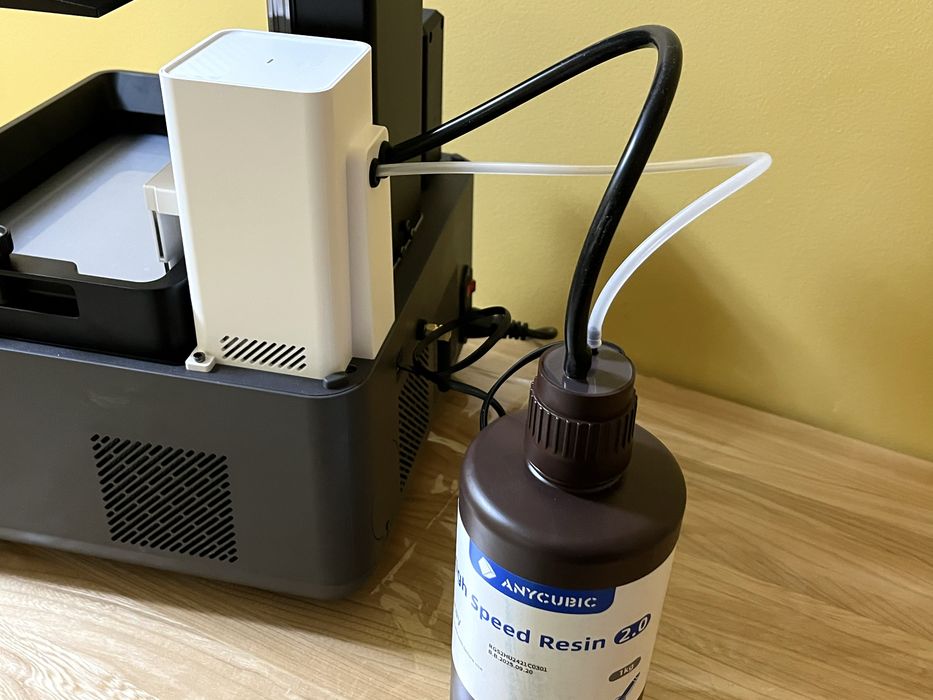
That’s when we remembered that curious small piece of plastic with 3M adhesive. It was actually a patch to install over the lid’s knockout in the event you chose not to use the resin dispensing system. That solved, we agitated our jug of Anycubic high speed resin, attached the auto-fill bottle cap, plugged its attached cable into the printer, and just like that we were ready to resin print!
This is part two of a four part series, please read parts one, three and four.
Via Anycubic