
We’ve completed extensive testing of the new Anycubic Photon Mono M7 Pro resin 3D printer, and wow, it is an incredibly fast 3D printer.
This is part one of a four part series, please read parts two, three and four.
Anycubic Photon Mono M7 Pro Background
Founded in 2015, Anycubic has been busy developing and manufacturing quite a number of filament and resin 3D printers. We have had the pleasure of testing out many of the models over the past few years, often finding very good quality equipment.
This time we are testing the latest of their resin printers — the 14K HD Photon Mono M7 Pro, which is billed as their fastest resin printer to date and capable of speeds of up to an incredible 170mm/h! Anycubic has incorporated several new features to this 3D printer to ensure it performs well at these breakneck speeds.
Anycubic Photon Mono M7 Pro Specifications and Features
The M7 Pro build volume is very generous at 223 x 126 x 230 mm, and the machine weighs a hefty 12.8kg. One of the key features is a peristaltic recirculating “Dynamic temperature control resin vat”, equipped with a FEP release film capable of 45,000 impressions.
The firmware of the printer coordinates with both the FEP and vat, warning the operator when the FEP release film or the vat pump tubing is reaching end of life, as well as ensuring that the resin is at least 25C when printing.
The 14K 10.1” Mono LCD boasts a XY resolution of 16.8 x 24.8 μm and is paired with the company’s new LighTurbo 3.0 technology. It’s a COB light source system with fresnel lenses and front-facing reflectors that provide light uniformity on the screen at more than 90%, achieving model accuracy errors of between 0.01 and 0.05mm.
An automatic resin refill system is included, offering continuous refilling directly from any attached resin bottle when low levels are detected during printing, as well as a one-key recycling of remaining resin back into the bottle.
An Air Purifier is also included, but unfortunately can only be used if the auto-fill system is removed. The filtration system is quite small, and we advise using proper external ventilation, as should be done for all resin 3D printers.
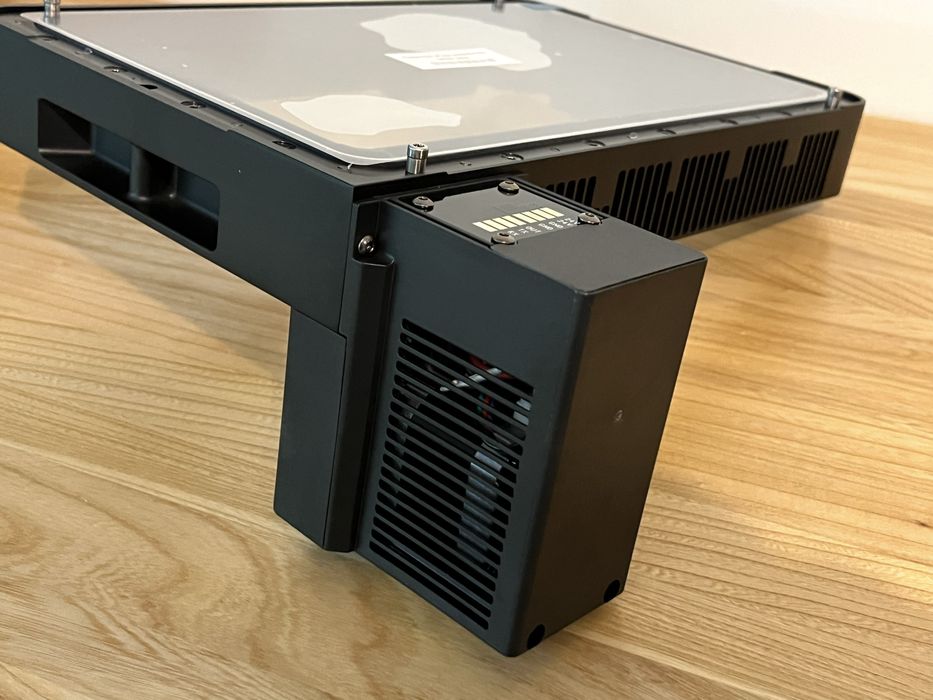
The laser etched build plate offers automatic leveling and zeroing of the device, eliminating any need for any manual methods.
Residue and failed print detection are available, alerting the operator with a pop-up window to avoid damage to the printers LCD screen from model debris, or the wasting of resin from a failed print continuing. This is an extremely valuable feature, as we’ve frequently ripped up resin printer vat films because of this issue. This should not happen on the M7 Pro.
The printer is operated via a built-in 5” color touch screen in combination with a USB thumb drive for physical transferring of print jobs, or remotely accessed through WiFi with the Anycubic App or WorkBench portion of their desktop software tool, Photon Workshop.
Most significantly, the speed of the printer has been increased quite dramatically, with Anycubic Standard Resin printed at 0.1mm layers reaching 130mm/h peek speed, and their High Speed Resin printed at 0.1mm layers achieves an incredible 170mm/h peak speed!
Anycubic Photon Mono M7 Pro Unboxing and Assembly
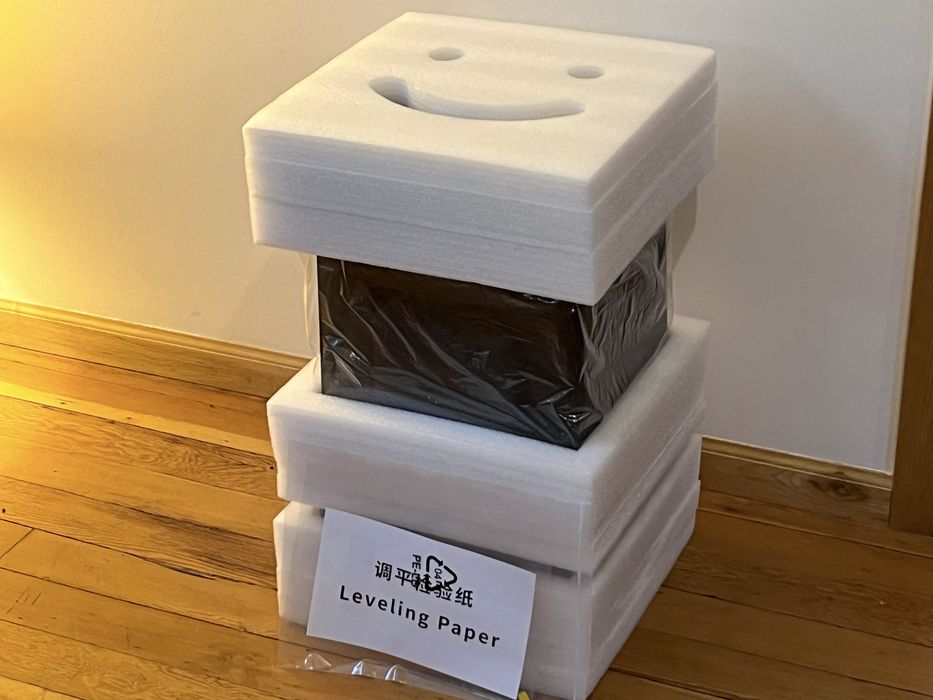
The Photon Mono M7 Pro ships on its side in one of the very sturdy double walled cardboard boxes we’ve come to expect. Upon opening the box, we found the foam packed printer inside a large plastic bag, making it convenient to lift the entire contents up and out of the shipping box with one hand.
We knew we were standing it right side up, because the smiley face Anycubic top foam piece is always the first layer. It’s a small thing, but we quite appreciate the happy face.
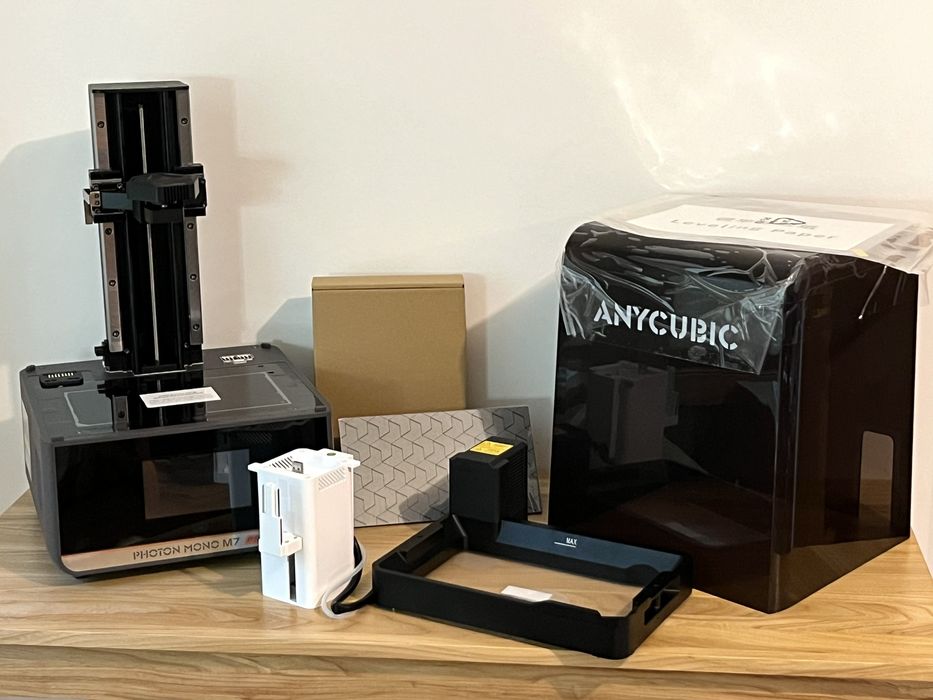
As we separated the various layers of packing foam, we found a screen protector & leveling paper, lid for the printer, build platform, an unmarked cardboard box of goodies, an auto-fill resin dispenser unit, resin vat, and finally the base of the printer itself. We did not find spare vat release film in the shipment, perhaps indicating the confidence Anycubic has in the debris detection system.
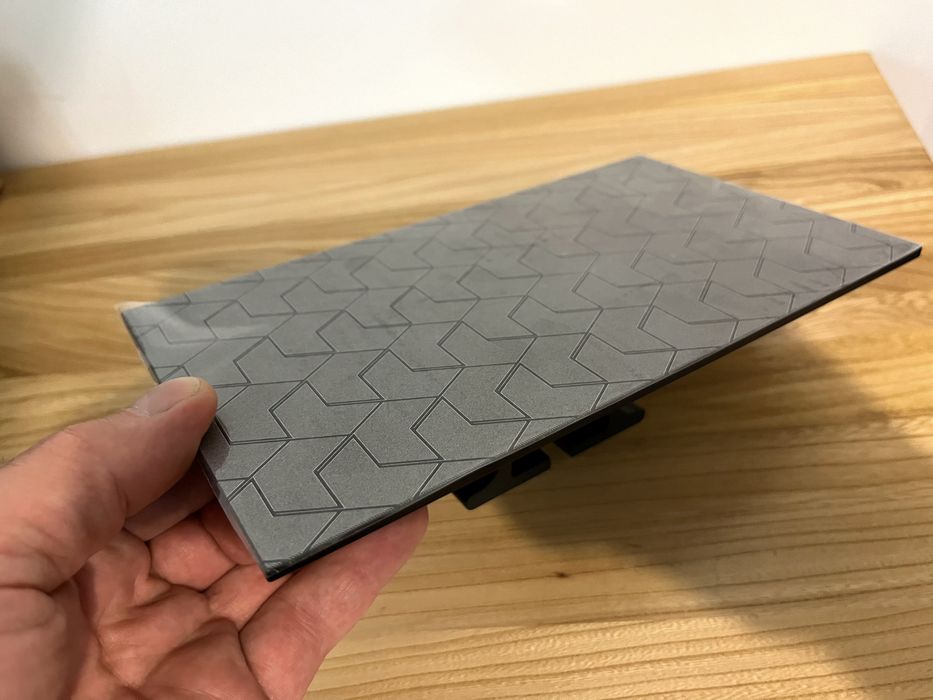
We laid everything out on a table to have a better look at all the components. The build platform was typical with its laser etched construction and appeared quite sturdy.
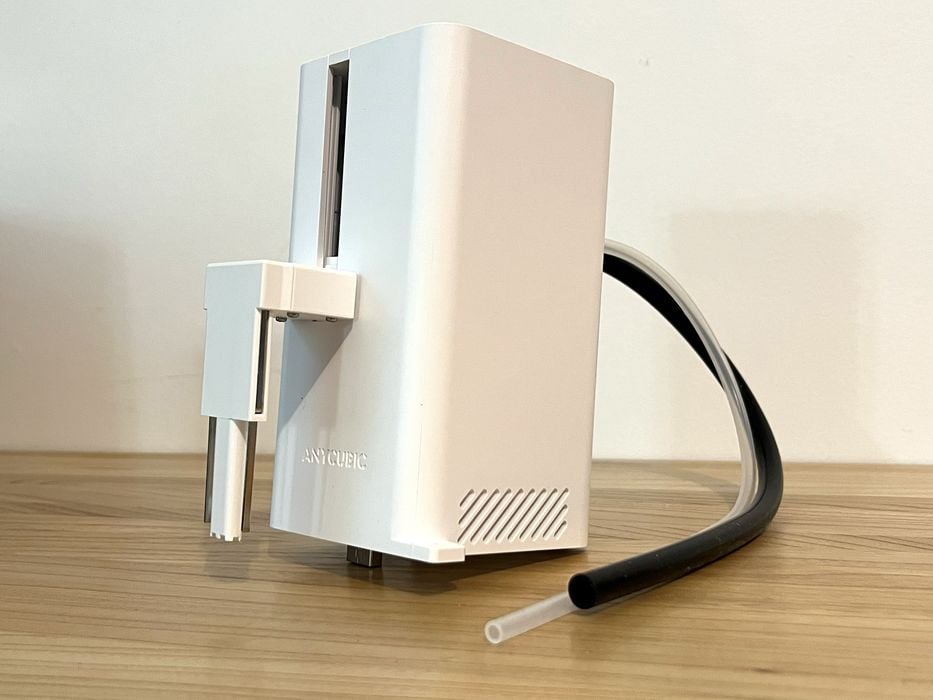
The auto-fill resin dispensing system was similar to other models we’ve seen, equipped with two metal probes that rested in the vat and detected resin through conductivity, with the spout raising or lowering depending whether it was adding or removing resin to the tank.
The resin vat however had something new that we hadn’t seen before – a permanently attached unit of some type. We will look at this curious add-on a bit later on.
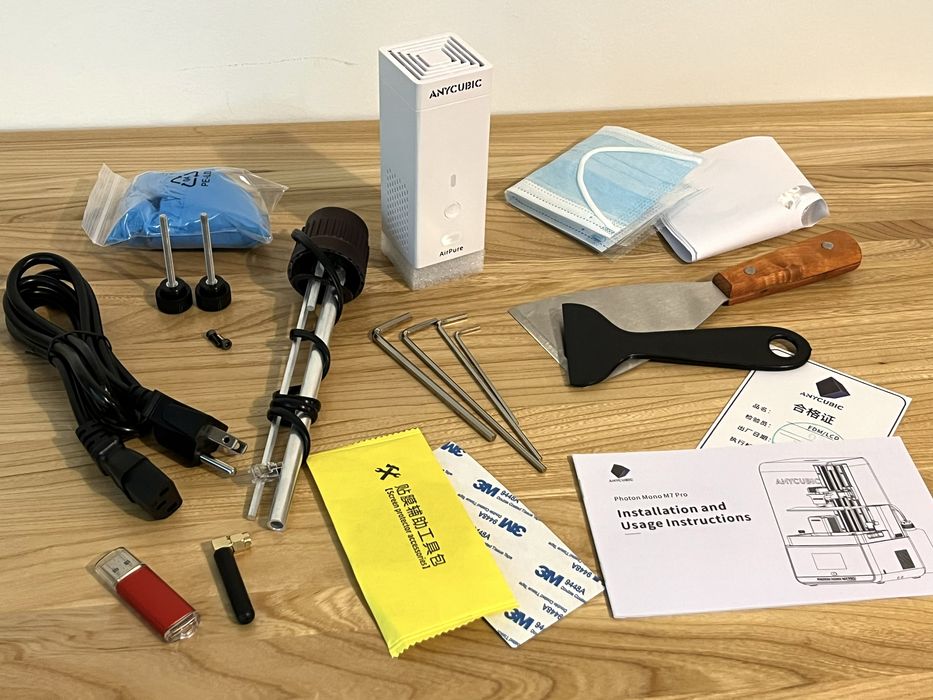
We opened the cardboard box of goodies and found the following: power cord, thumb screws for the tank, miscellaneous screws, resin auto-fill unit bottle adapter, several hex wrenches, metal & plastic spatulas, gloves, masks and paint filters for resin management, screen protector accessories, a curious plastic strip backed with 3M adhesive, AirPure module, USB thumb drive, Wi-Fi antenna, and printed User Manual.
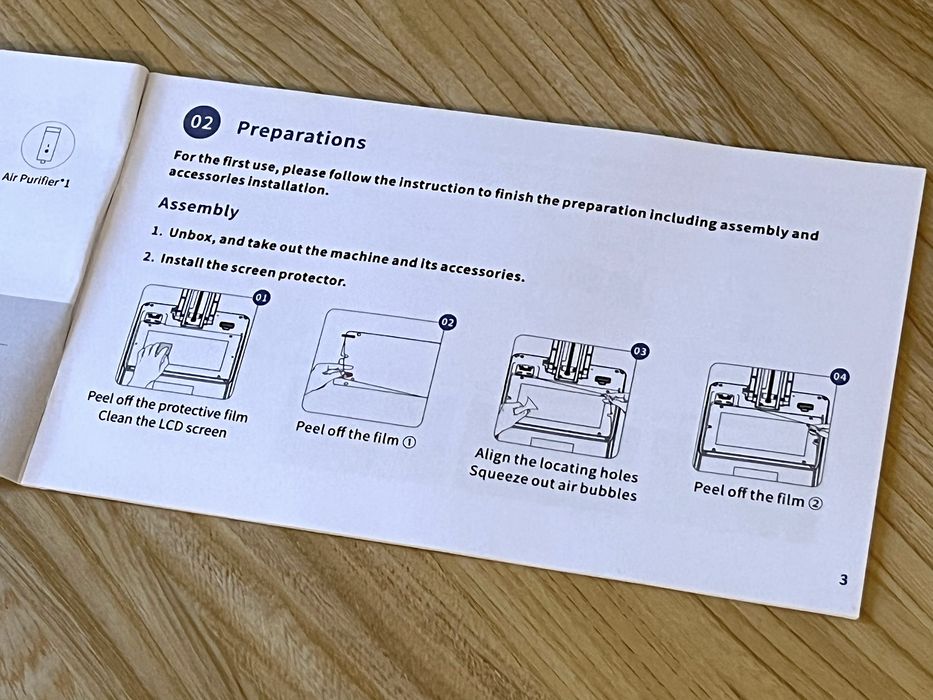
The first thing we did was to look through the user manual to see what we needed to do to assemble the printer. We found we were way ahead of the game when we got to Section 2 – Page 3 and read that the first step was to unbox and take out the machine and its accessories.
Generally speaking, the assembly of resin based printers is mostly complete right out of the box, as they are almost always shipped fully assembled. Operators typically require only a few finishing touches.
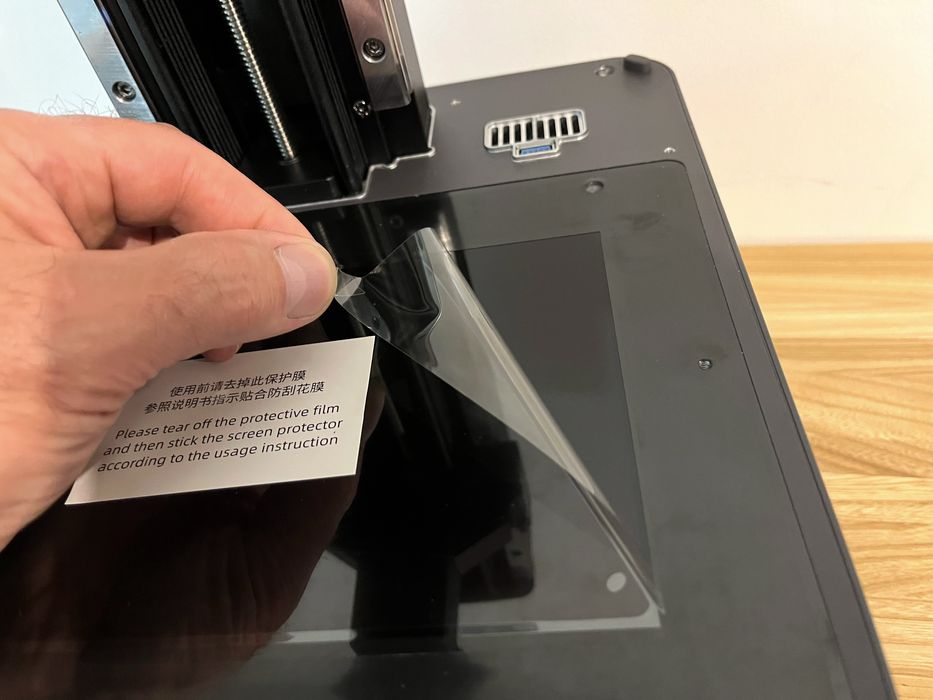
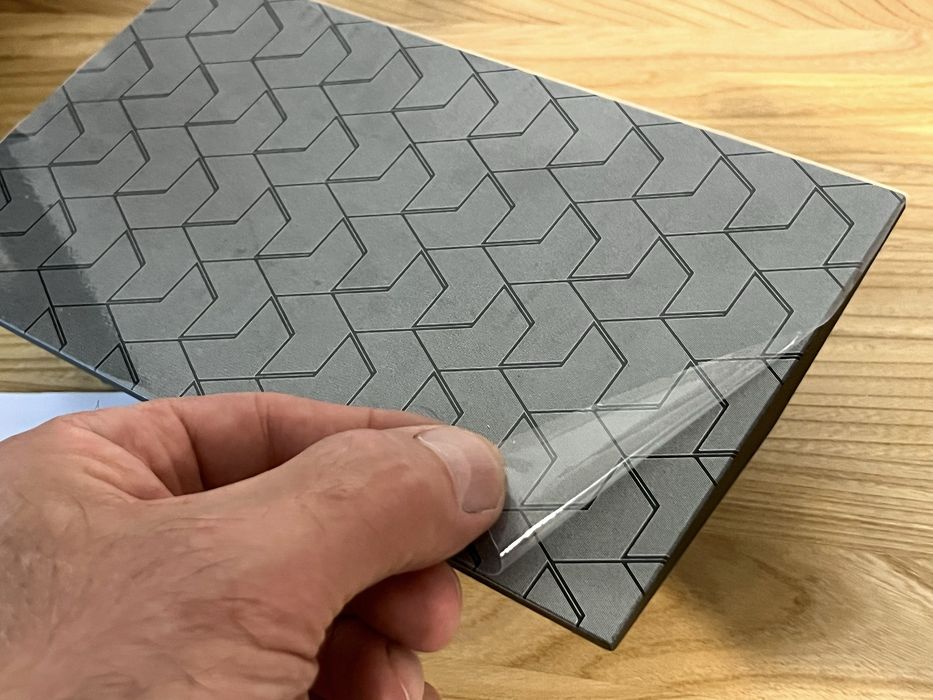
Our first task in the instructions was to peel off the protective film covering the LCD and install the screen protector. Which we did, trying our best to install it so there were no bubbles in the viewable LCD area.
We picked up a few dust particles along the way, but used a handy little sticker labeled “dust absorber” to pluck the tiny piece of dust off the screen protector film adhesive. When we were happy that we had everything laid down as best as we could, we removed the top layer of protective film.
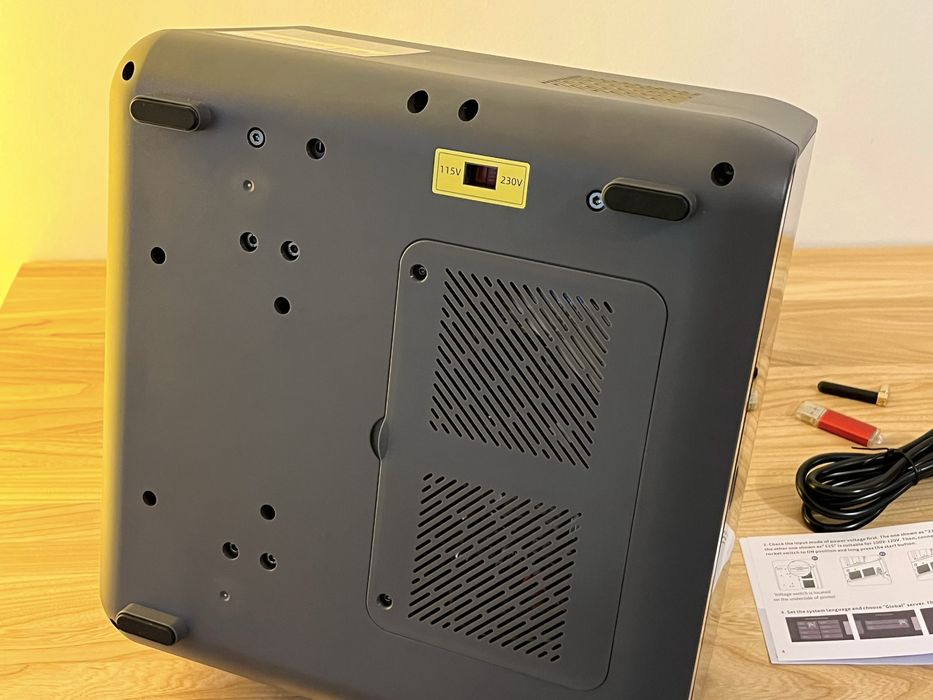
Most of the resin printers we’ve reviewed employ brick power adaptors, which look after switching to the correct input voltage, but the M7 Pro sports a built-in power supply. So in this case, it needed to be adjusted to the correct voltage for our region. A quick check with the instructions showed the voltage selector switch was located on the underside of the printer, which we found to already be set correctly from factory, at least for us. Make sure you check the voltage setting before starting up the machine.
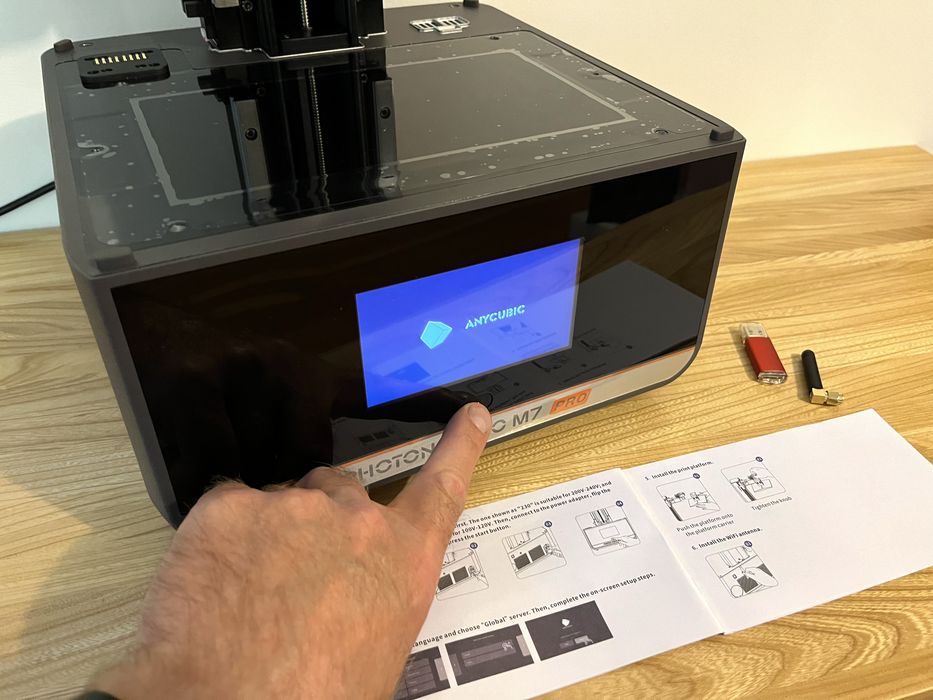
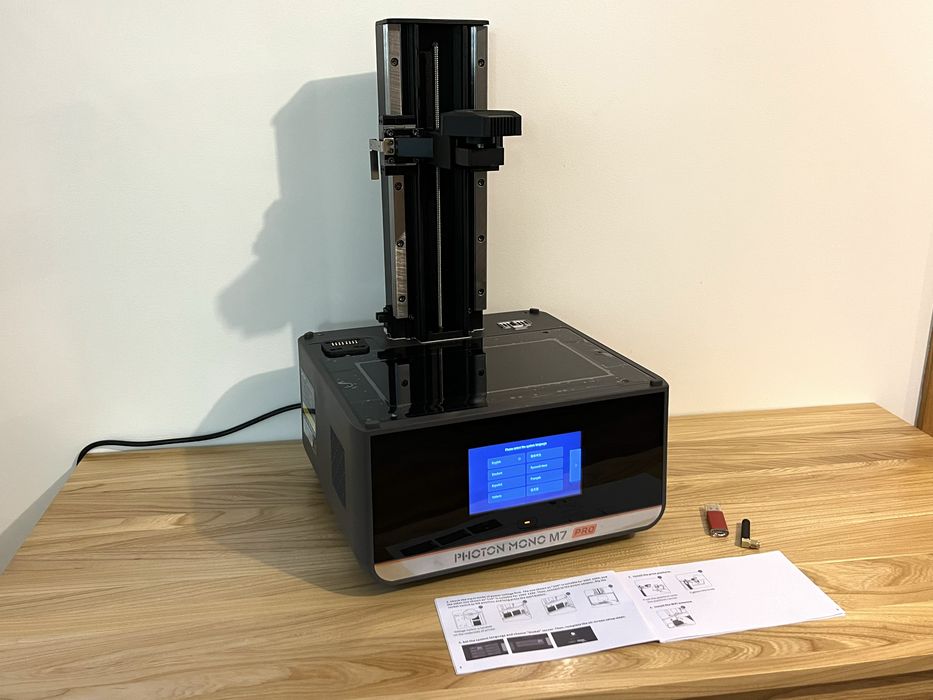
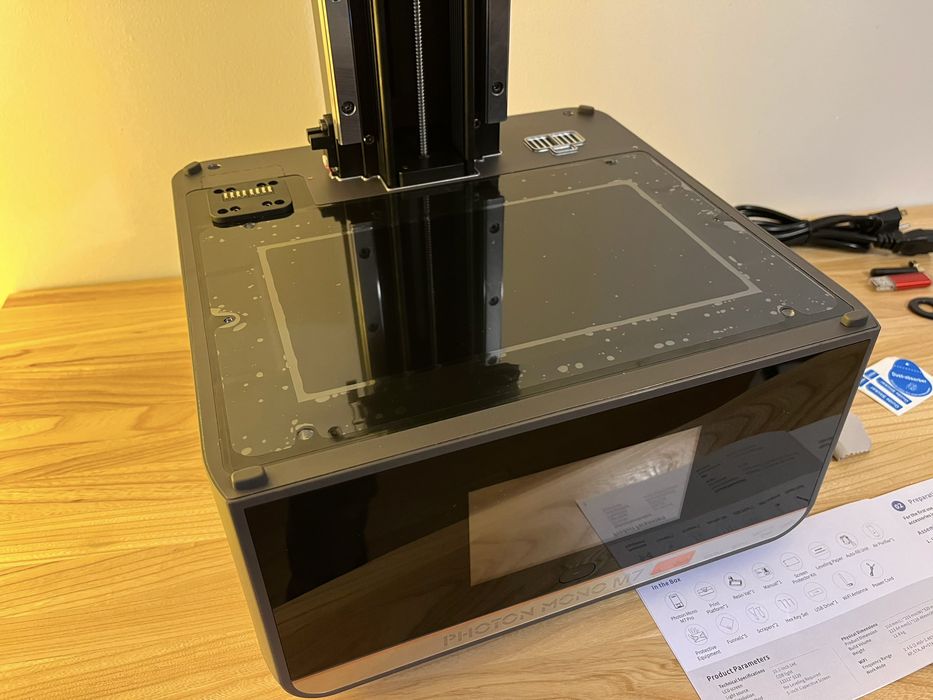
With all that done, the user manual told us to plug in the power cable and then, “flip the rocket switch to ON position and long press the start button.“ We flipped the power on and long pressed the start button, and we saw the Anycubic logo followed by a series of onscreen setup tasks.
We were then told to install the build plate and the resin VAT. Not mentioned in the instructions was removing the protective films on either item first, which we made sure to do. The build plate installed onto the z-axis with ease and secured in place by tightening a large rotary knob, no surprises there.
The next on-screen prompt told us to pour resin into the vat. As this order of operations differed from that of the paper instructions, we decided to skip that procedure for now and wait until we installed the auto-fill unit.
This is part one of a four part series, please read parts two, three and four.
Via Anycubic