
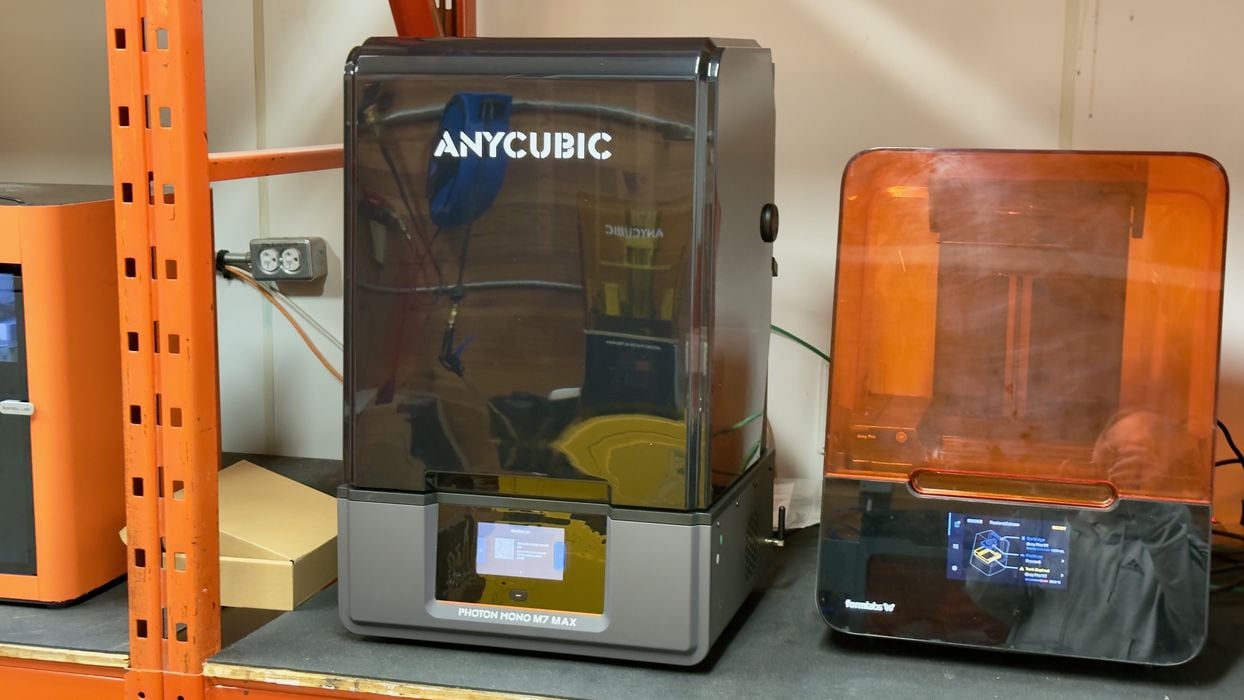
We conclude our test of the Anycubic Photon Mono M7 Max resin 3D printer with a look at software, print results and final thoughts.
This is part three of a three part series, please read parts one and two.
Anycubic Photon Mono M7 Max Software
The software to prepare & dispatch jobs is Anycubic’s PhotonWorkshop tool. We’ve been using this tool for several years now as we have proceeded through various Anycubic resin 3D printers.
I have to say that I am pretty impressed with the progress Anycubic has made on this software. Earlier versions could do basic functions ok, but often lacked in support generation. Typically you would have to manually edit the support structures to ensure they were adequate and properly placed.

This seems to have been changed in the latest version of PhotonWorkshop, which has far superior support generation capabilities. We ended up using the default generation for support structures on most 3D print jobs, sometimes with a little tweaking, but usually not much.
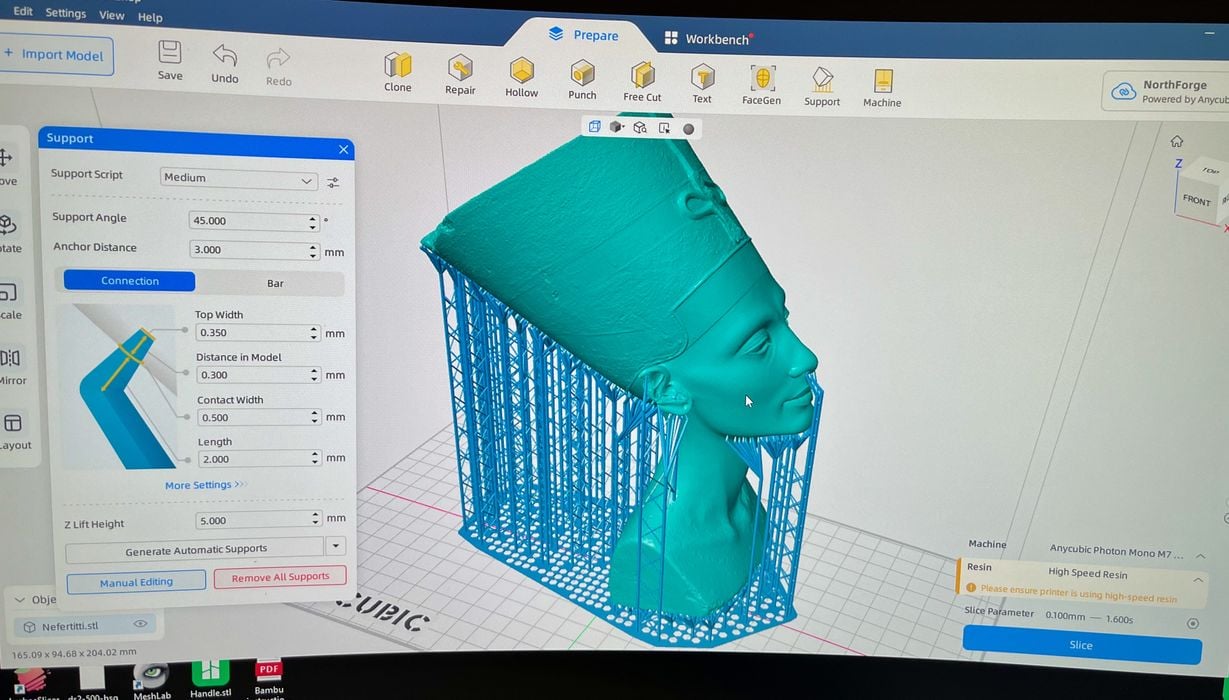
Here you can see an example of the support generation, which properly covers this 3D model. In past PhotonWorkshop versions we had problems where support structures would actually intersect overhanging model elements — but this issue is gone in the current software.
Also note that the raft generated is perforated, which makes it significantly easier to remove after printing.
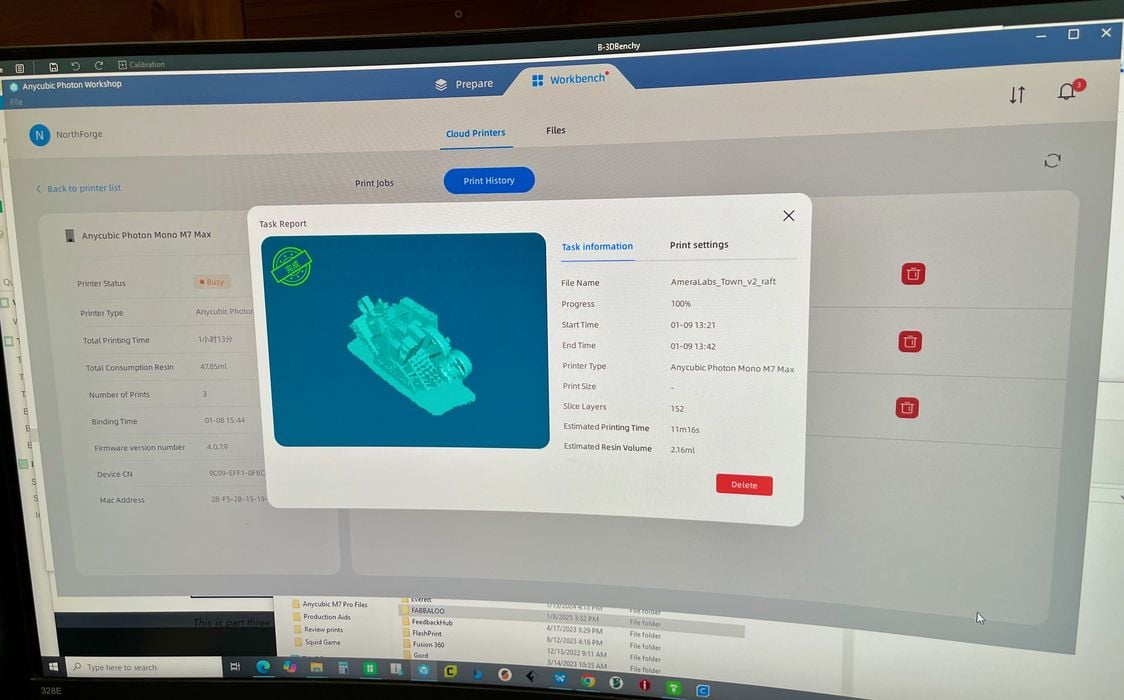
All our testing used the WiFi connection to dispatch jobs directly from PhotoWorkshop, which worked perfectly. Once you have established the device on the network, it’s easy to find in the software.
Anycubic Photon Mono M7 Max Print Results

Here is a close up of the stock pre-sliced Anycubic test file, which show very good detail. I’ve seen better, but that’s on smaller machines that are able to shrink the pixel size. The M7 Max does a very good job on surface quality.
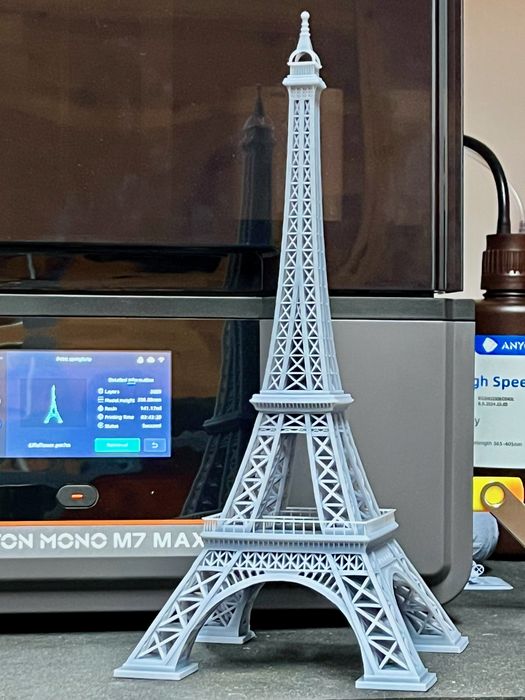
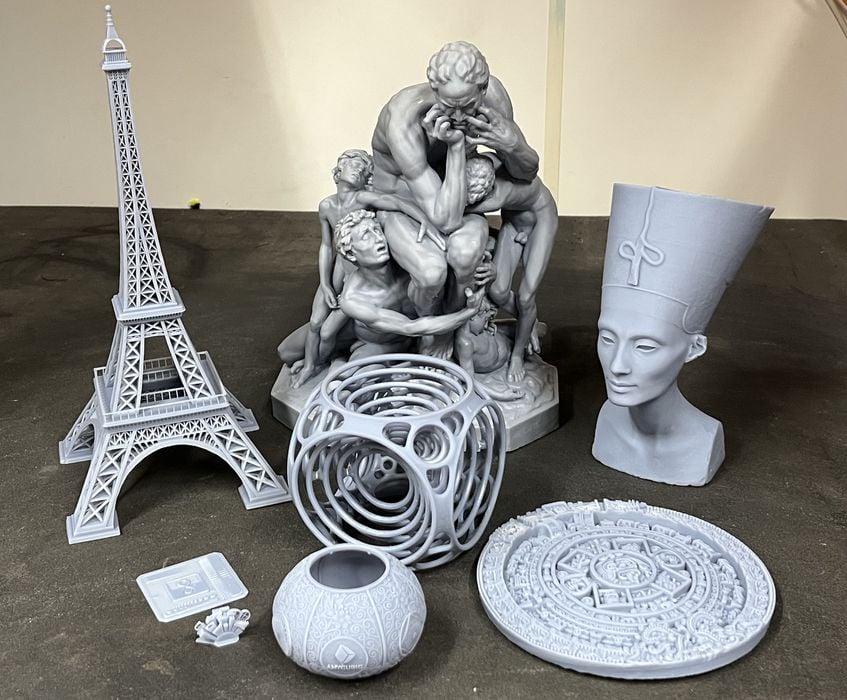
The Eiffel Tower 3D model printed perfectly, and all the tiny railings were correct and straight. Note that if you are printing this model, don’t print it directly on the plate even though it has four flat feet. You will break the feet when cracking it off the plate — and don’t ask how we know this.
Another test we like to do is the highly detailed Nefertiti 3D model, which came out very well. I should mention that in all our testing we had zero print failures — but we were using Anycubic resin with Anycubic print profiles. They do work, but if you go outside that envelope be prepared for some extra tuning to achieve the same results.
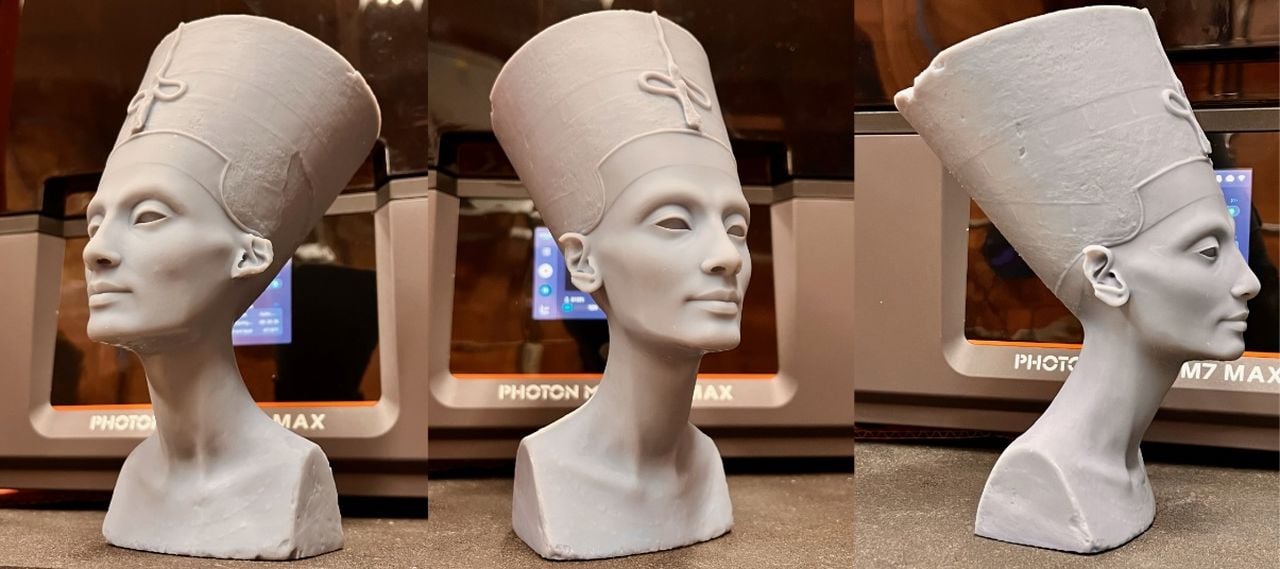
Here are some view of the Nefertiti 3D model after washing and curing. It shows considerable detail.
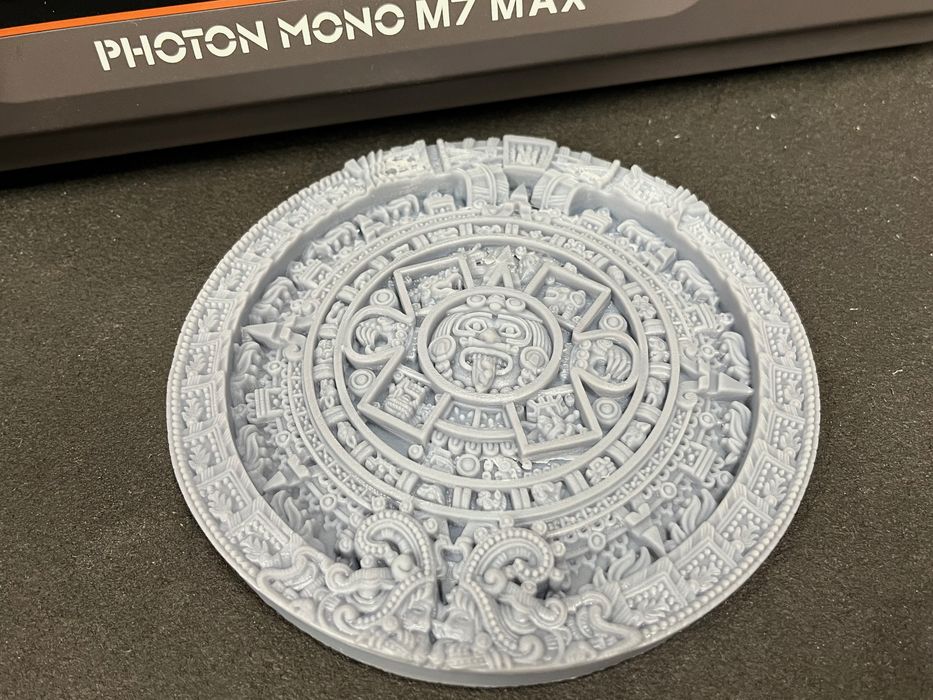
Another detailed test was the Mayan Calendar wheel, which has a ridiculous amount of detail. This came out very well, too. Note that we have exaggerated the vertical axis to emphasize the detail on this 3D model.
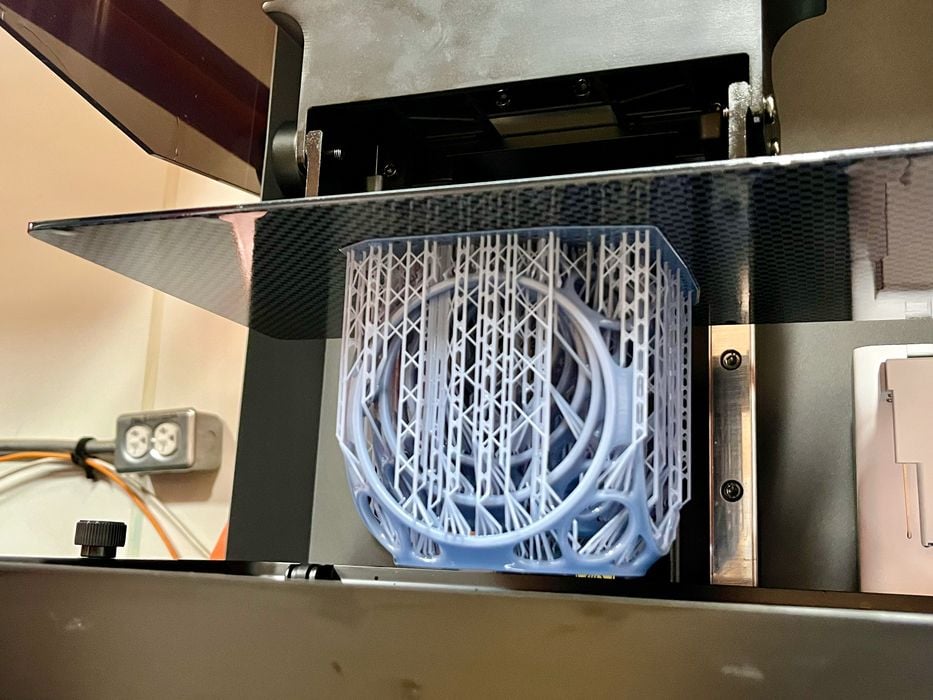
Another favourite test is this complex structure that features embedded revolving elements. Some of the parts are independent from others, requiring support to be printed.

Amazingly the print came out perfectly, and after removing supports we were easily able to spin this item around. In fact this was the best version of this model we’ve ever printed on any resin device.
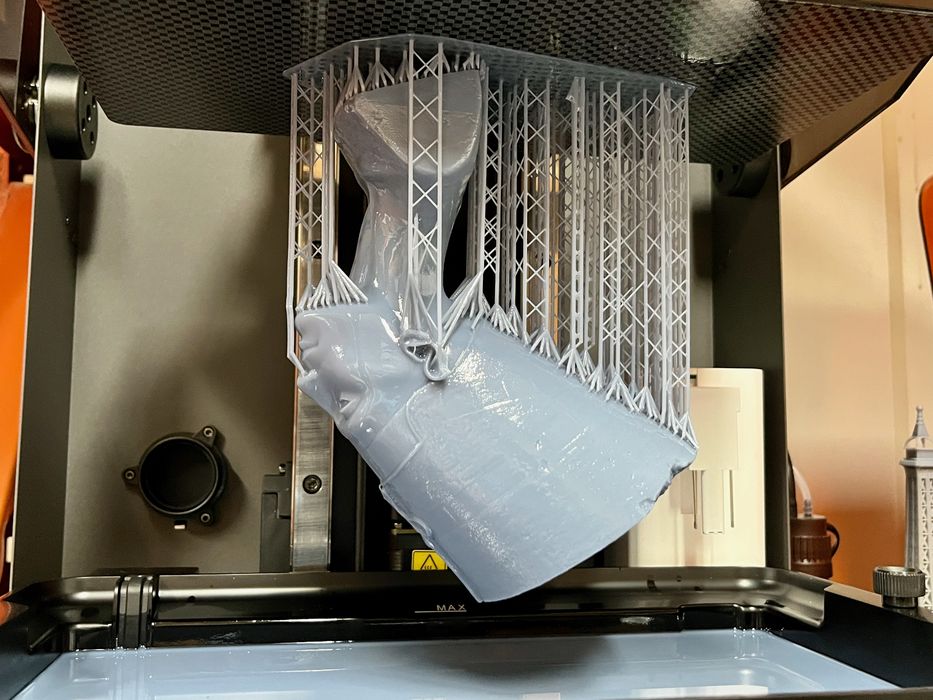
Since the M7 Max is a large device, we thought we’d better test something big, and we picked a 3D model we’ve used previously, a very complex sculpture.
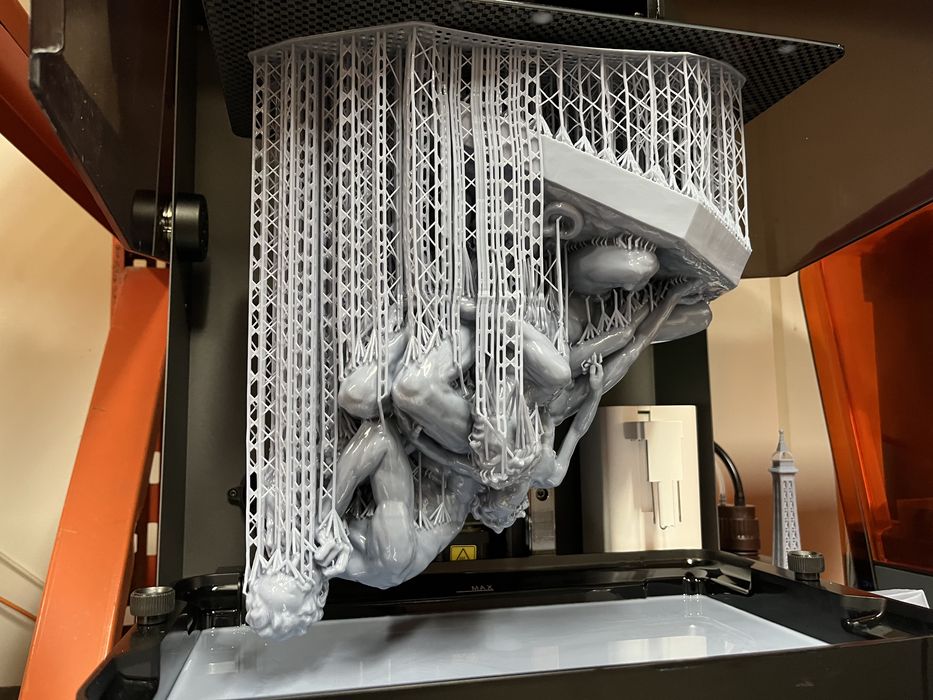
When printing, we had one problem: if you look closely, the print is detaching from the plate. While the print somehow succeeded anyway, the moral of the story here is that when printing large objects they are much heavier. This means you must take extra steps to ensure they really stick well to the plate. In other words, raise the exposure time on your first layers.
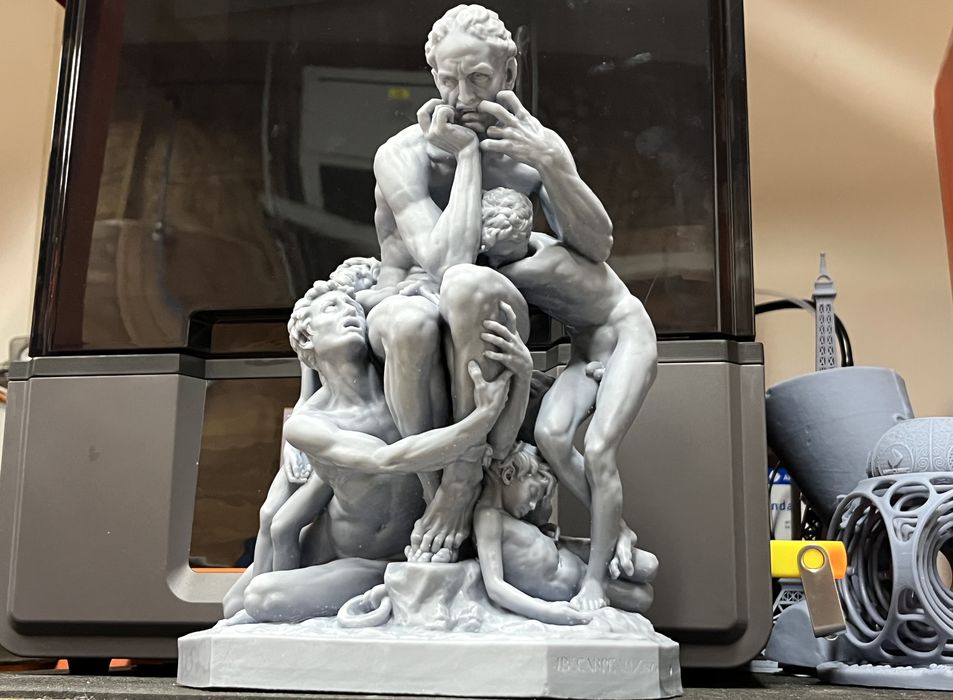
The quality of this print was exceptional, in spite of the plate detach.
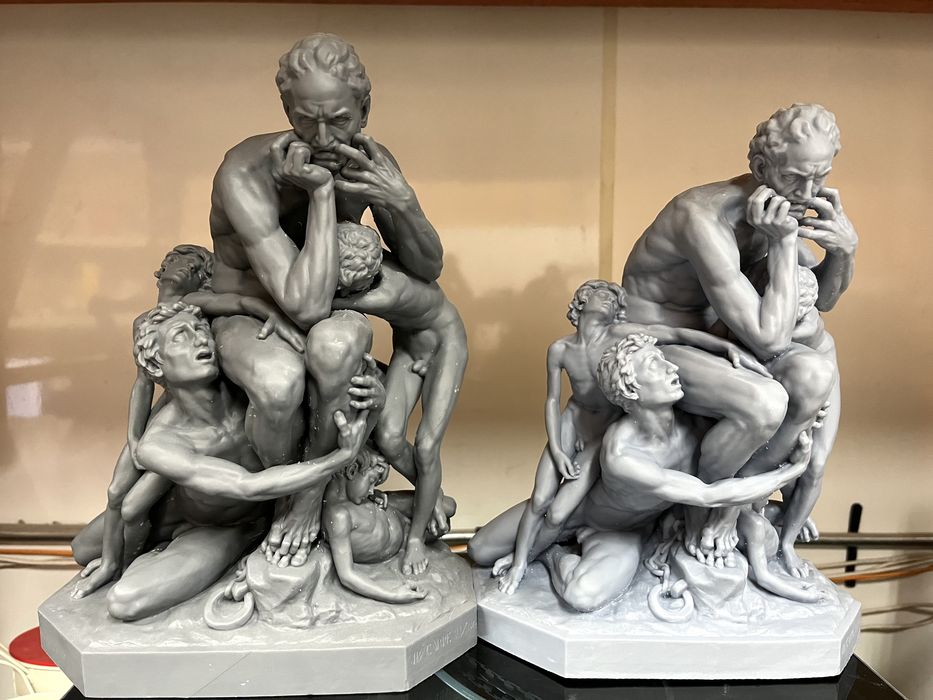
Here we are comparing the same print made on a much more expensive Formlabs 4L 3D printer, and the results are quite comparable.
We never had a bad print off of the M7 Max.
Anycubic Photon Mono M7 Max Final Thoughts
We were very impressed with the Anycubic M7 Max. It’s a large volume resin 3D printer that inherits all the value from the company’s prior models and adds a number of very useful new features, including the heated resin tank and drip tilt plate feature. These take the M7 Pro from a hobbyist level much closer to a machine that is used daily by professionals.
The size of the machine does allow for a reasonable level of low-volume production: many small items can be loaded on the massive build plate. The external bottle resin pump system should be compatible with larger resin bottles, making the machine capable of running for longer periods on its own.
I’m thinking the M7 Max might be quite useful as a farm machine, where multiple devices are running in parallel. Given the higher speed of printing and large build area, good quantities of parts could be produced.
Is this a machine for beginners? I don’t think so, due to the very large build volume and relatively higher cost. Hobbyists should probably start with a smaller machine. The M7 Max is more suited to enthusiasts and professionals.
The M7 Max is currently priced at a mere US$849, far lower than professional machines with similar features. Given that the M7 Max is able to repeatedly deliver quality prints in our testing, it should provide good value for buyers.
ANYCUBIC
PHOTON MONO M7 MAX 3D PRINTER
★ BEGINNER 7/10
★ ENTHUSIAST 9/10
★ PRODUCTION 8/10
BEST FEATURES
✔︎ Large size
✔︎ Reliability
✔︎ Convenience features
QUESTIONS
✖︎ Too much peeling
✖︎ Extra GCODE files
✖︎ Changing resin
Via Anycubic