
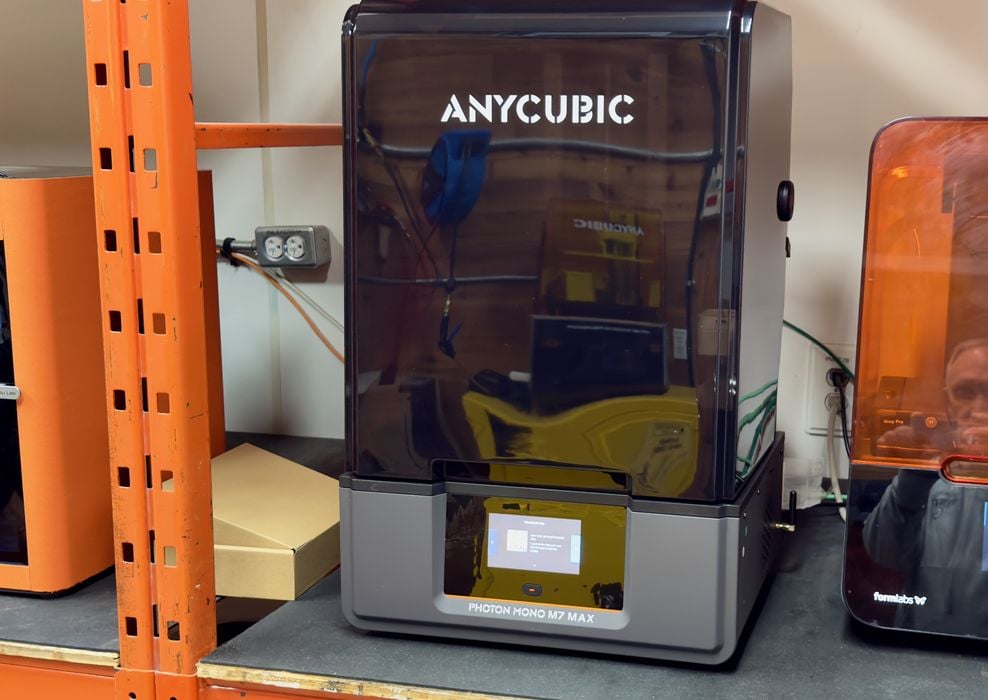
Our look at the Anycubic Photon Mono M7 Max resin 3D printer continues with setup, calibration, and operations.
This is part two of a three part series, please read parts one and three.
Anycubic Photon Mono M7 Max Setup and Calibration
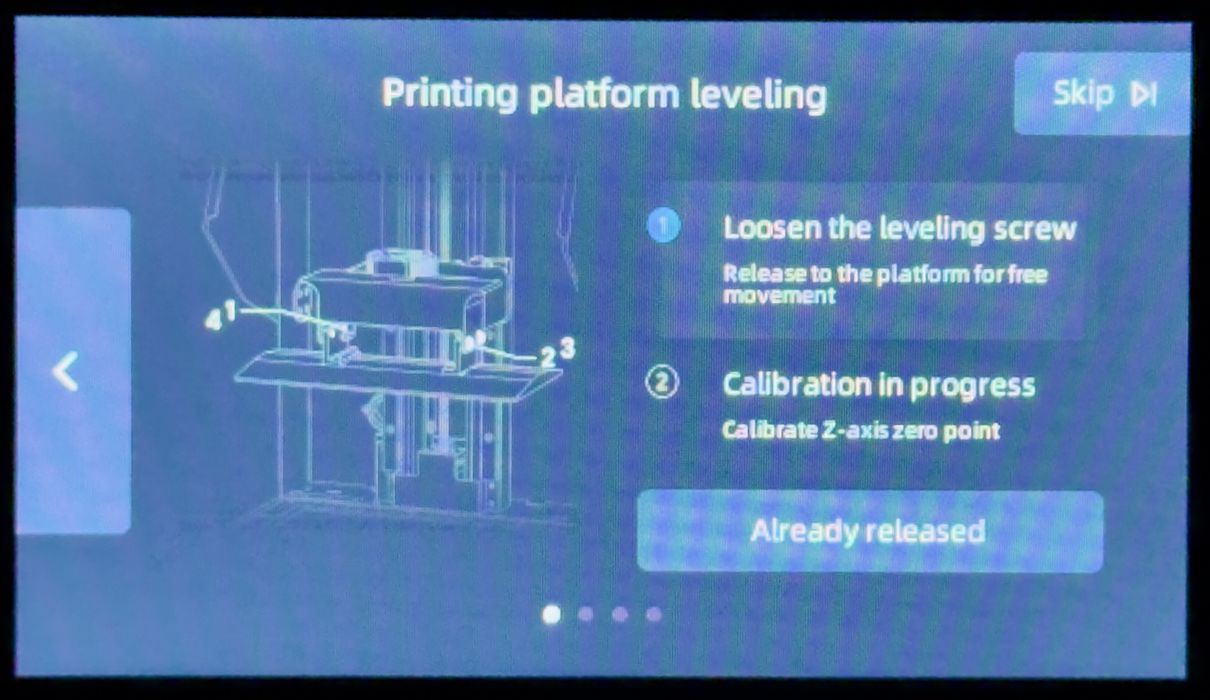
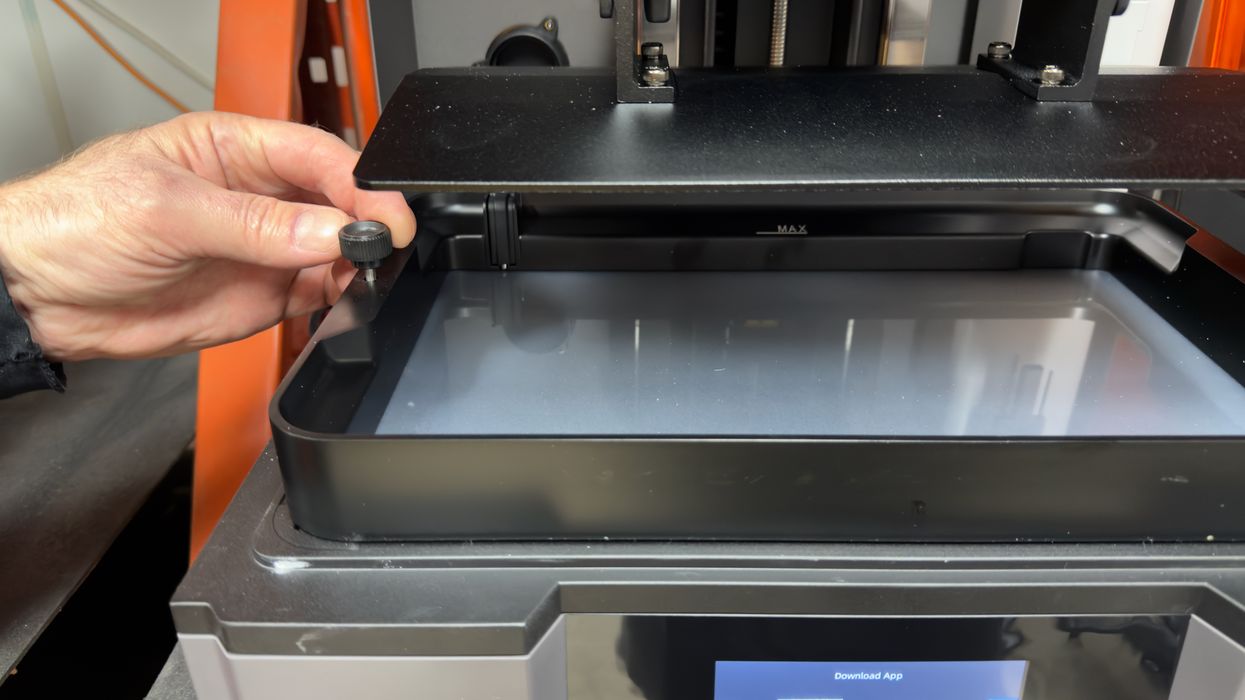
There’s not much to setup and calibrate on the M7 Max. The main item is the levelling procedure. Unlike some other machines that automatically level themselves, the M7 Max requires some operator work.
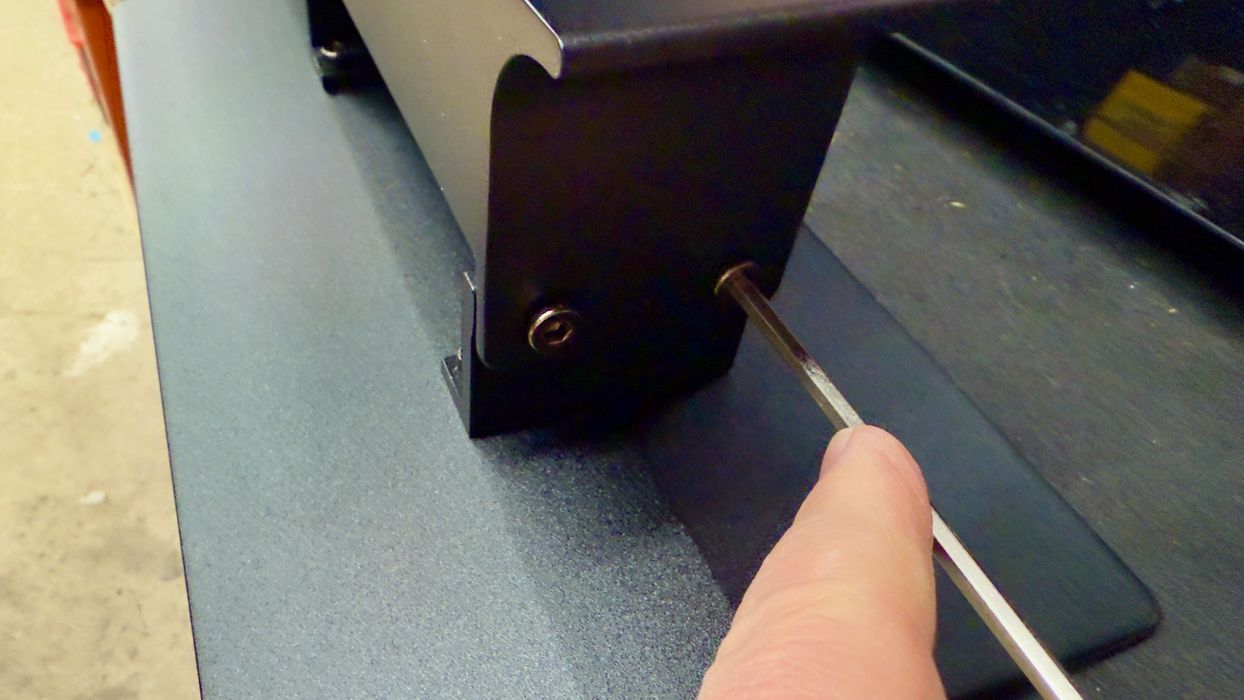
The levelling procedure is straightforward and the same as on many other machines: place a piece of paper (supplied with the M7 Max) on the projector, and “home” the build plate with the plate bolts loose. Then just tighten them.
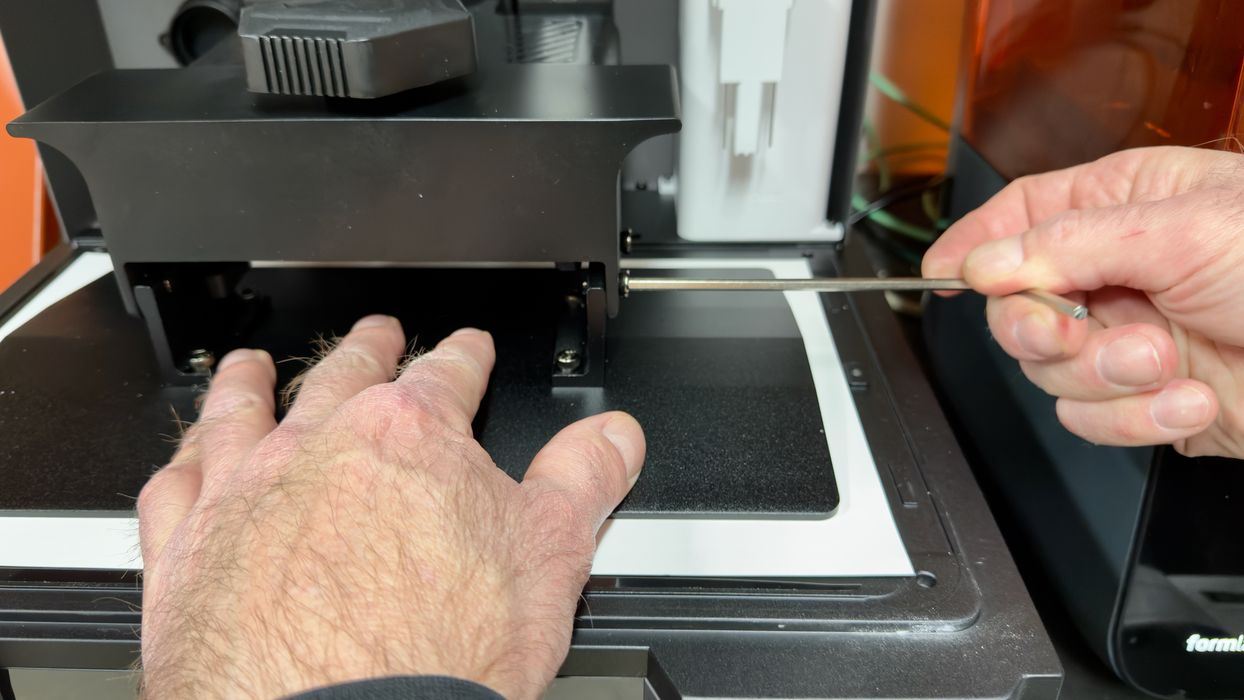
Something interesting occurred at this step. We noticed that the build plate bolts were tightened before we installed it. You could not mount the plate in this configuration because at the factory Anycubic tightens the bolts in the most extreme position. I believe they do it this way to ensure the operator loosens the bolts and levels properly: you cannot install the plate without loosening the bolts.
Finally we dropped in the heated resin tank. We noticed the tank had an electrical connector in one corner, which is where the signals and energy move through.
Anycubic Photon Mono M7 Max Operations
There were few surprises when operating the M7 Max, as it operates in a very similar manner to other Anycubic resin 3D printers. If you have used a previous Anycubic system, you will know your way around.
The build plate is etched to provide extra adhesion, and we encountered no issues with sticking to the plate — although that was using stock print profiles for Anycubic resins.
The build plate is quite a bit heavier than you might be used to with smaller resin 3D printers. This machine is quite large, and the build plate matches that size.
Our first print was the provided GCODE for the Anycubic vase as shown above. This is pre-sliced at the factory, so we don’t know what parameters were used. Also note that on the supplied files there are multiple versions of this model, some for other machines. Be sure to pick the correct one for the matching resin. Our testing initially involved Anycubic’s High Speed Resin 2.0, as we were interested to see the print speed of the machine.
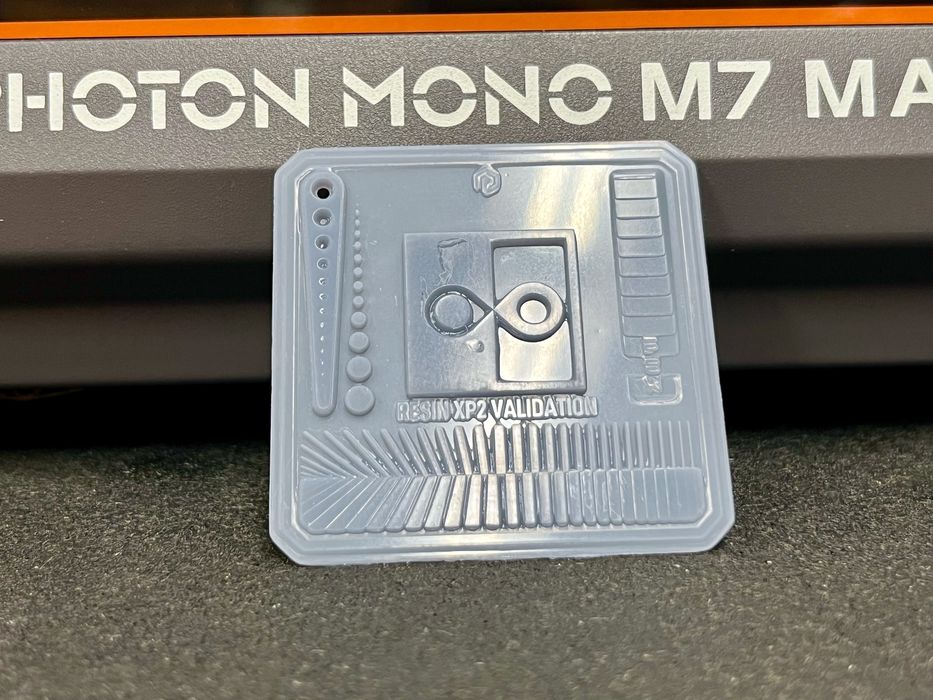
We sliced our own model, this calibration chip. We used the standard print profile for the resin, and it turned out very well. It seems that Anycubic has dialled in the parameters for their own resins. If you’re using other resins, you’re going to have to do some calibration.
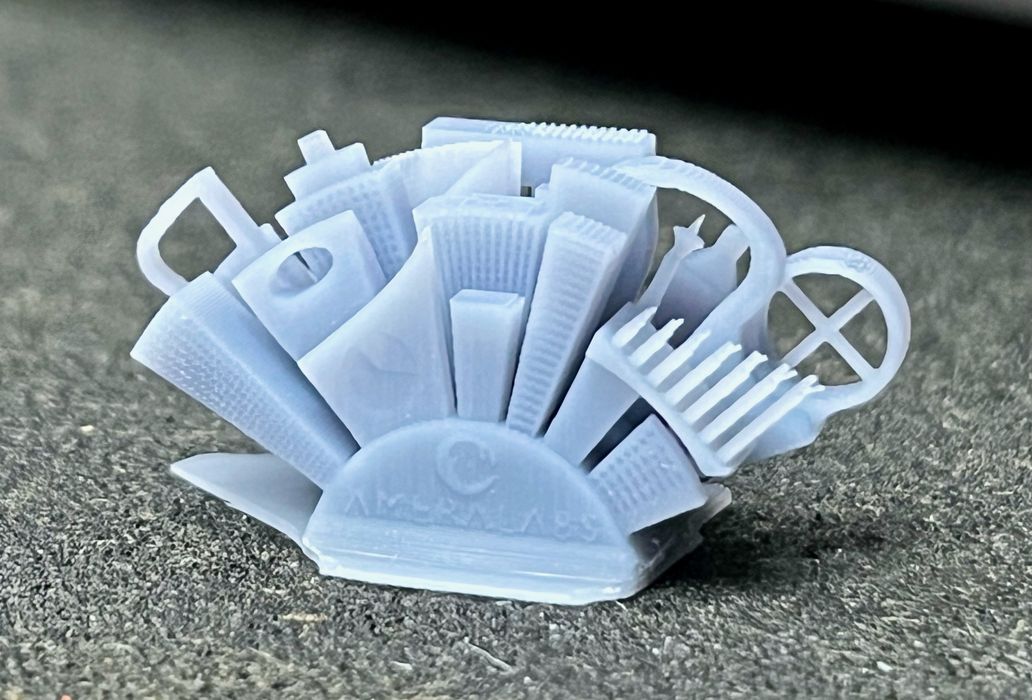
Another calibration test shown above shows considerable detail. This is quite surprising given the massive size of this 3D printer. Normally larger machines will spread the pixels out, reducing resolution. Somehow Anycubic has managed to keep very reasonable print quality on the M7 Max.
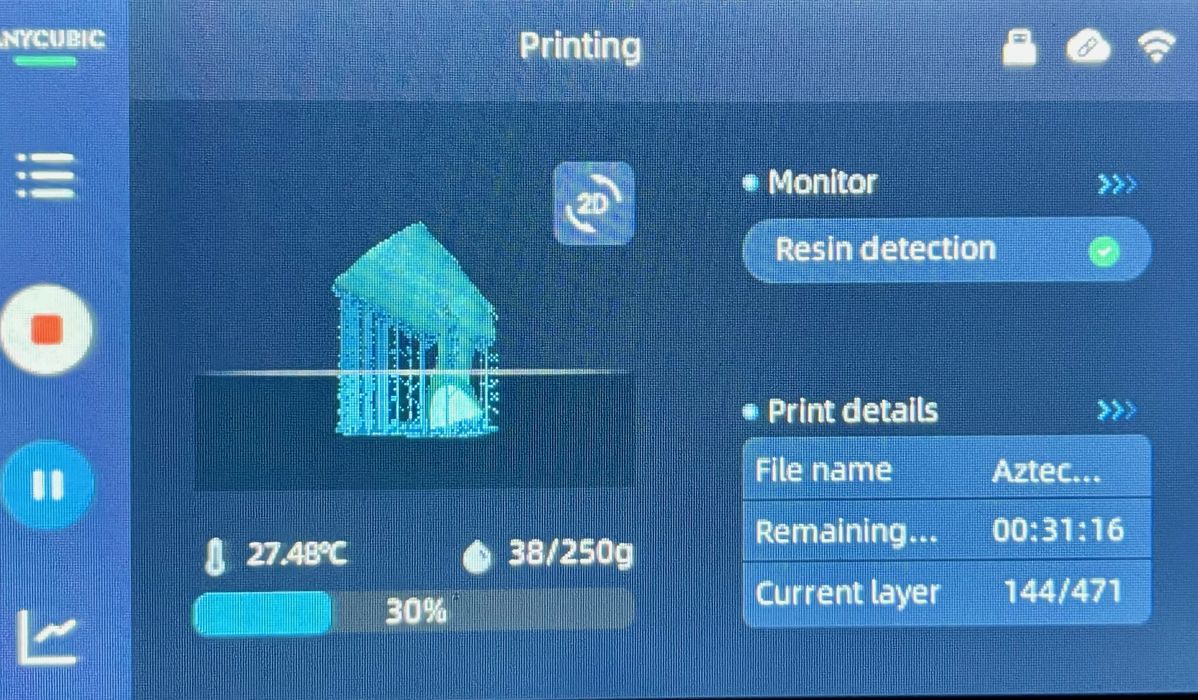
During printing the front panel shows the progress of the machine, including a view of the progress through the 3D model. This is what they call “3D” mode.
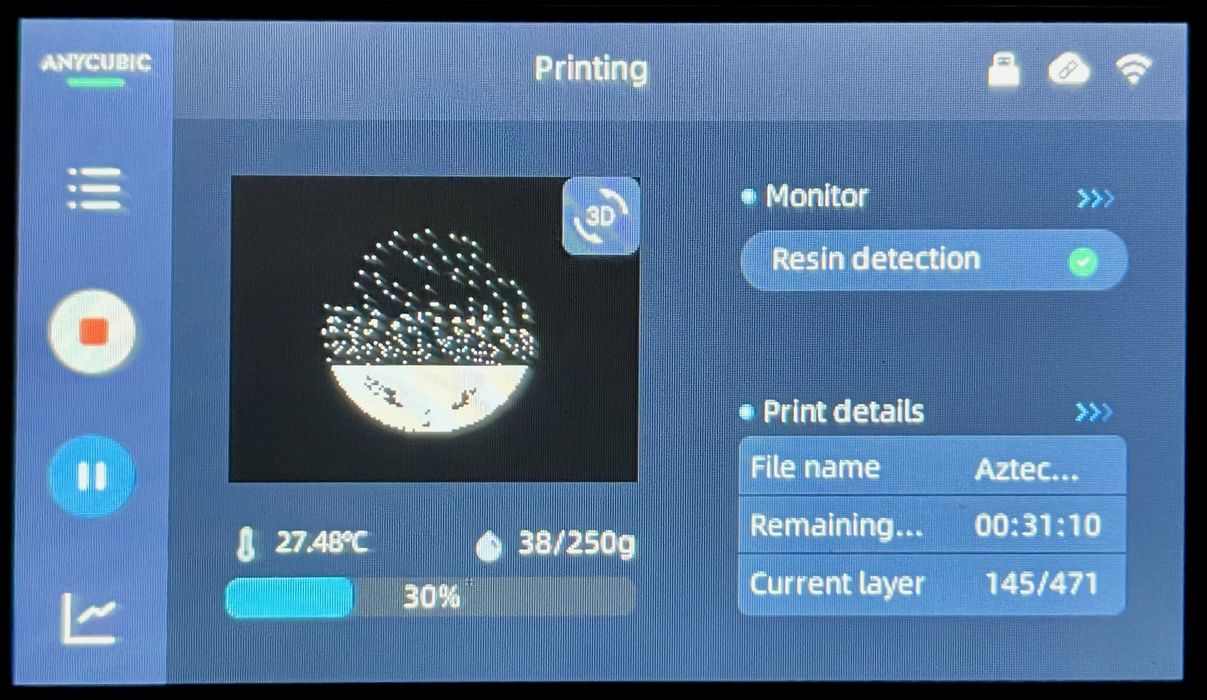
The alternative view is “2D” mode, where only the current layer’s profiles is shown. I’m not sure which is better, but we normally left it in 3D mode.
Our testing primarily used Anycubic’s High Speed Resin 2.0, which did deliver high speeds. However, we also tested Anycubic’s standard grey resin on a few prints to see the difference in print speeds.
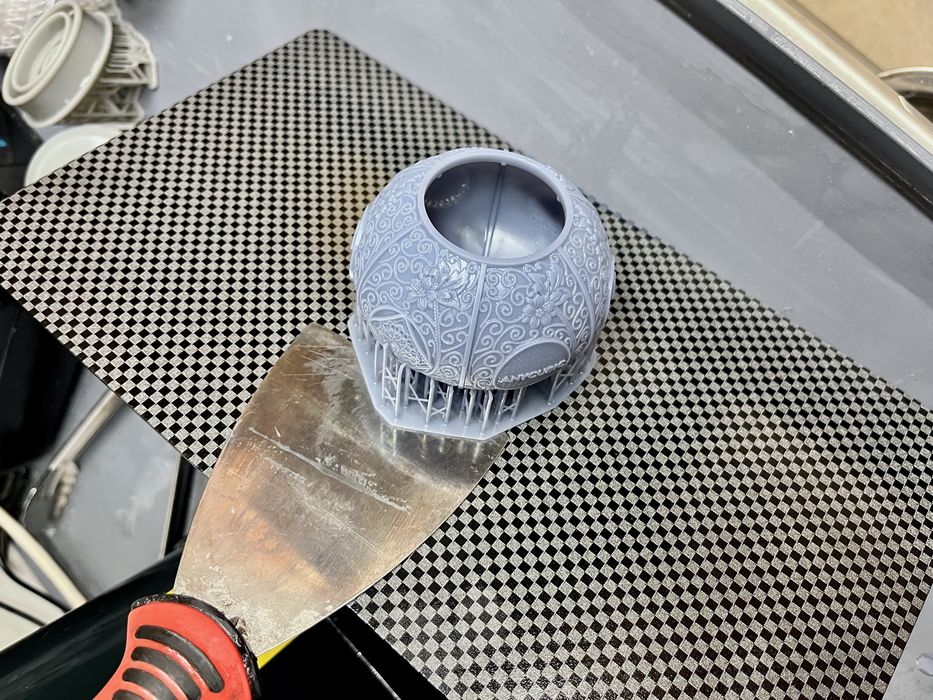
An example of the speed difference was found in slicing a large sculpture 3D model using both resins. Using the standard resin, the print time was just over nine hours, while using the standard resin it was just over three hours. It seems that High Speed Resin 2.0 is about 3X faster than the regular resin.
One more thing: when changing resins one must drain the tank and clean it before introducing new resin. This is pretty much the same as any other 3D printer, except that the large tank makes is more work to drain and clean.
There’s also the question of the resin pump when changing resins. The pump mechanism and tubing will be filled with the “other” resin, and will require cleaning to ensure there’s no mixing. Nevertheless, it’s likely you will get a bit of mixed resins, which could be a problem for some applications.
If you are concerned about ensuring pure resins are used, then it’s probably best to avoid the pump system and add resin directly, unless you use only one type of resin.
Via Anycubic