Our review of the Anycubic Photon Mono 4 Ultra resin 3D printer continues with a look at setup, calibration and operations.
This is part two of a three-part series; please read parts one and three.
Photon Mono 4 Ultra Setup and Calibration
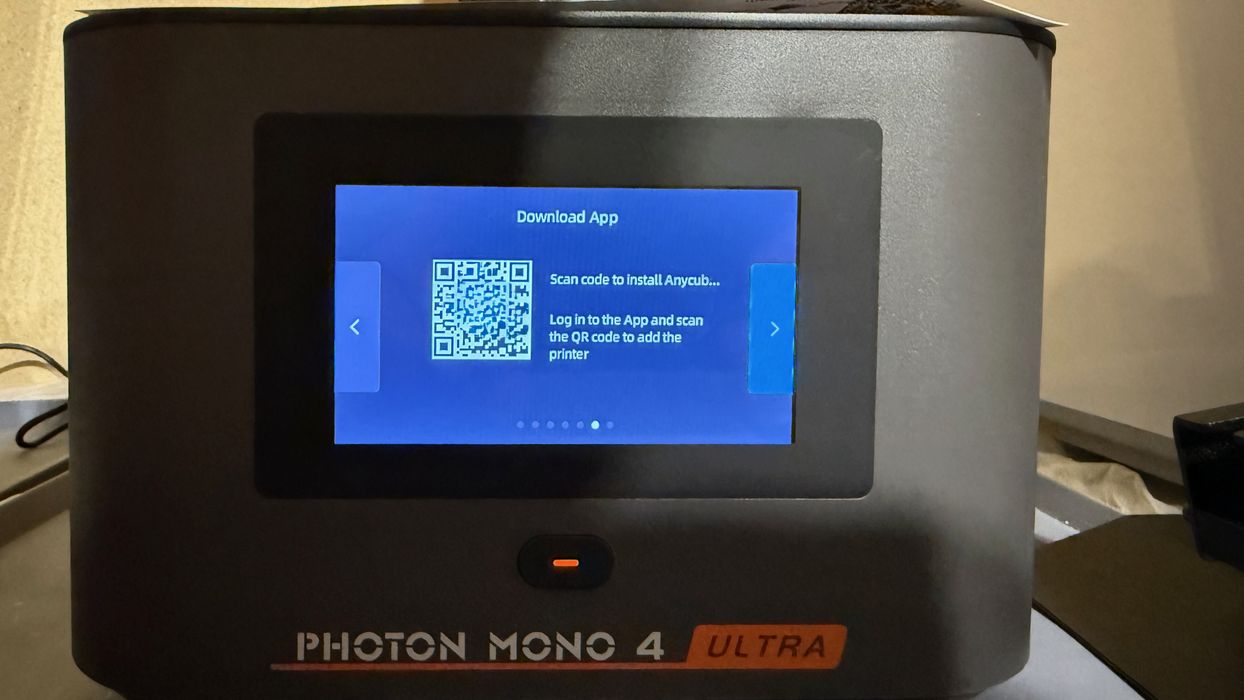
One of the first things to do with the Ultra is to connect it online. The device has a WiFi connection that is easily set up, and from there, it can contact Anycubic’s cloud. The only thing you have to do is link the machine to your Anycubic account. That’s done by scanning the displayed QR code.
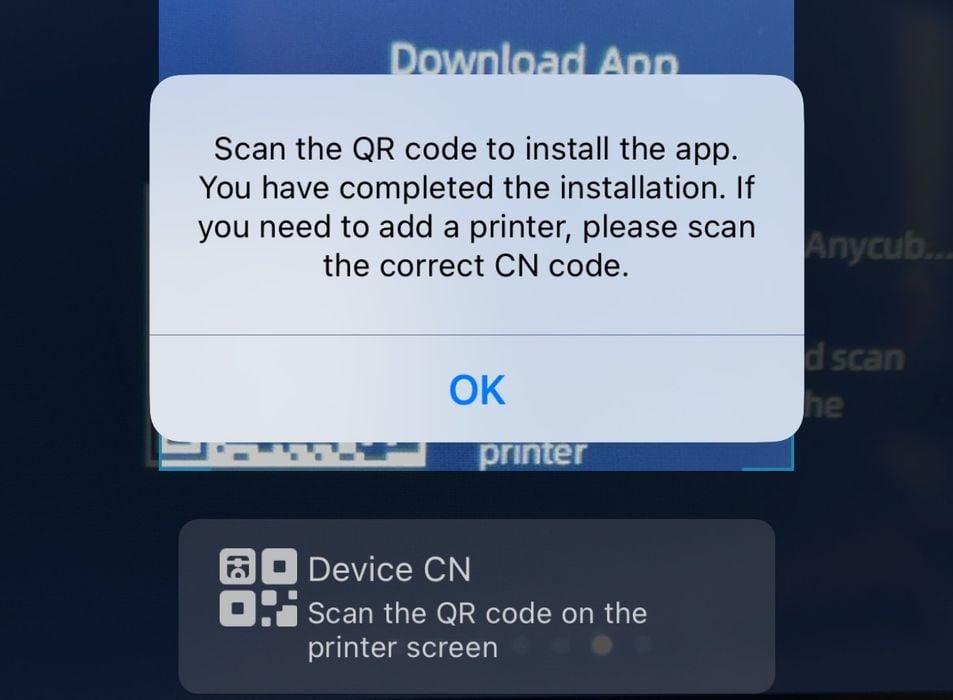
Except it didn’t work. I’ve done this many times with previous Anycubic machines, and even those from other manufacturers. For some reason, it didn’t work and simply asked me to download their app. But I was already using the app!
I tried many times in many ways, and nothing seemed to work. Finally, I decided I’d try to associate the machine by typing in its identification number manually.
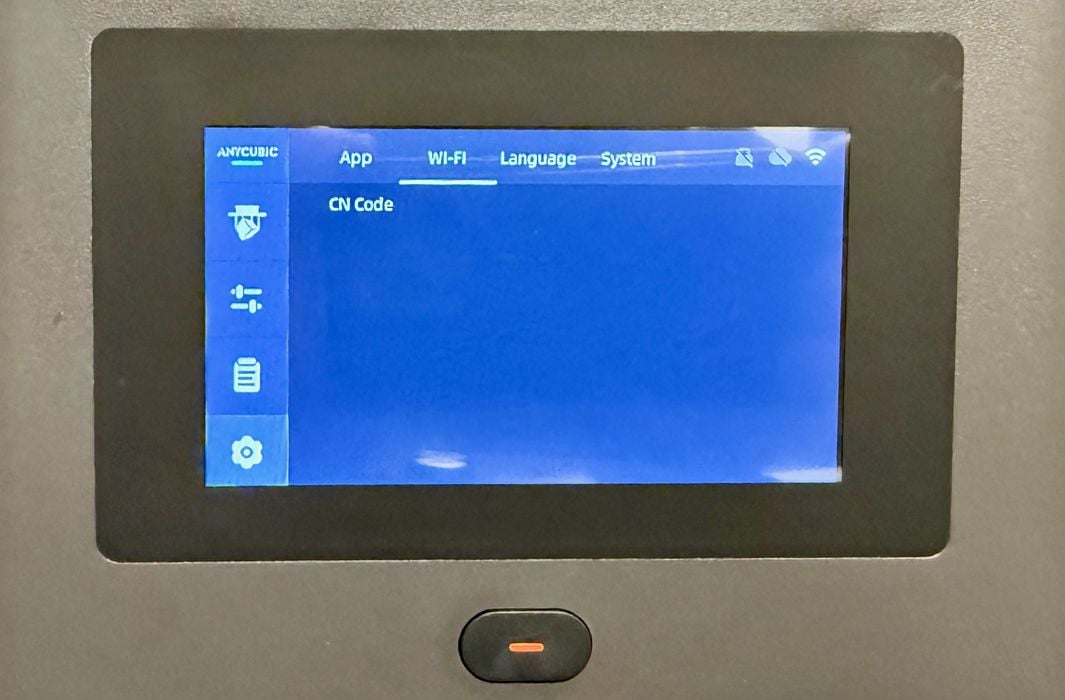
That number is called the “CN”, and it is found deep in the machine settings. But wait! On this machine, there is NO CN NUMBER! That was the problem. I have no idea why this is the case, but it may be that this is an early version that somehow didn’t get a CN assignment.
In any case, I was unable to test any of the cloud features because of this.
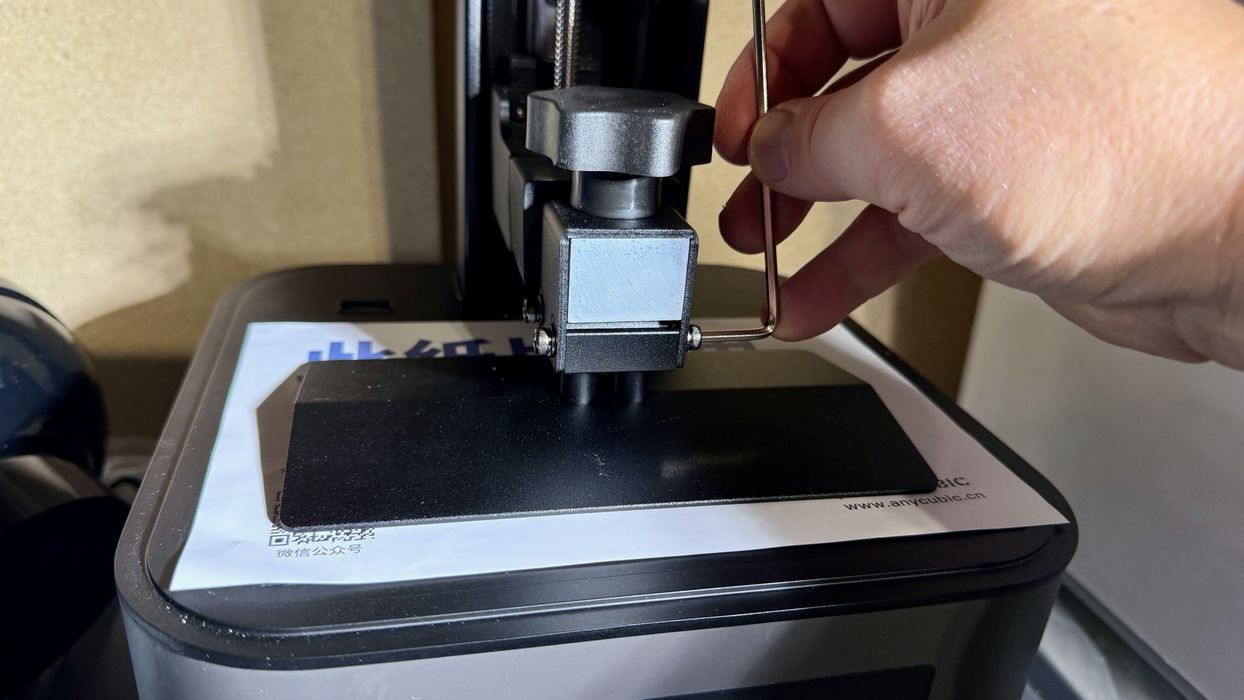
I proceeded with the levelling, which must be done to ensure the print plate is perfectly aligned with the light engine. It’s easy to do, just loosen the bolts and home the machine. Then tighten the bolts. Remember, we already loosened them above to mount the plate.
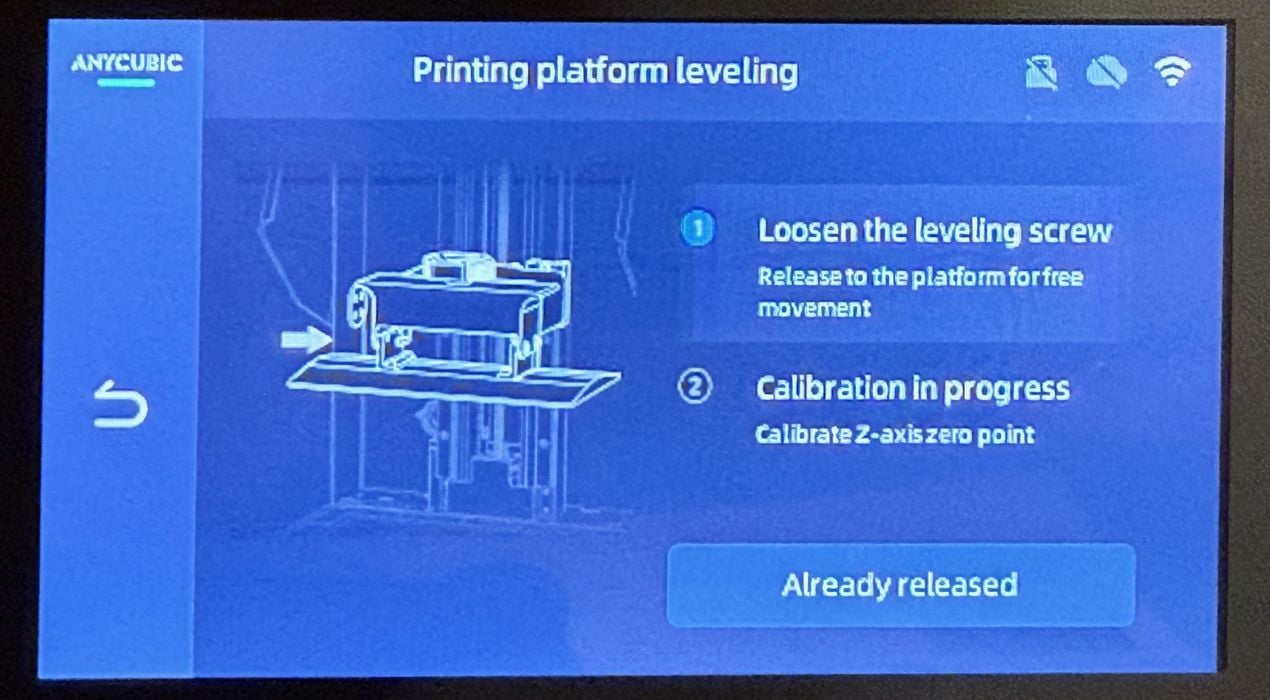
There are on-screen instructions that take operators through the levelling process, which seemed pretty friendly. I knew what to do already, but I believe new operators may find this useful.
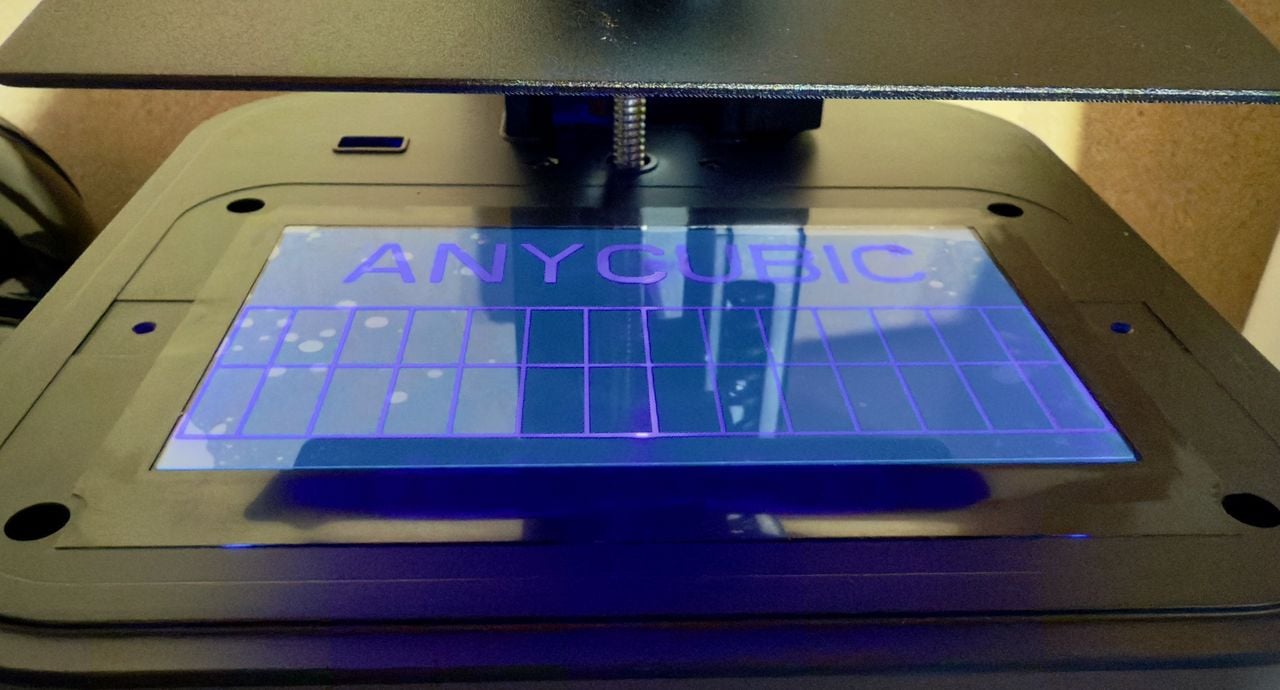
It’s always a good idea to run the light engine test to make sure the light works. It did on this Ultra.
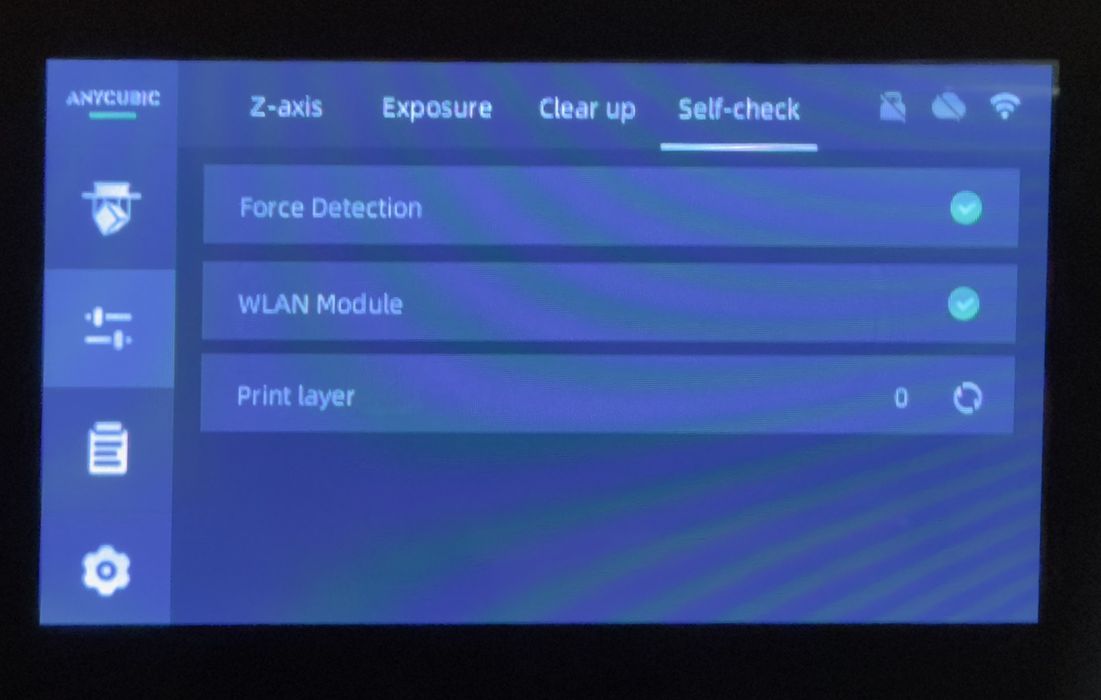
One of the key features of the Ultra is force detection. This is a kind of strain gauge on the plate to measure when objects are encountered. It can detect the lowest point in the tank, of course, but also when there is debris in the tank, or a previous print that hadn’t been removed. This feature should help prevent many accidents that damage the tank film.
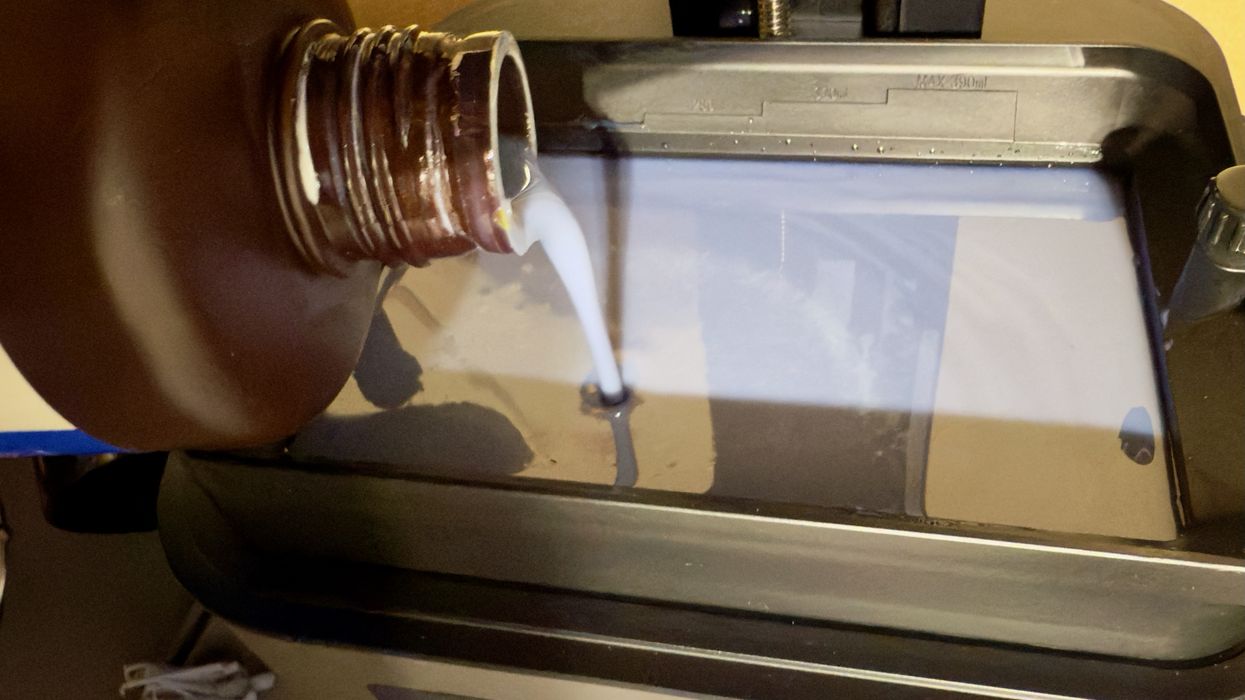
Filling the resin tank is easy, although manual. This is quite a small machine, so very little resin is required to fill the tank.
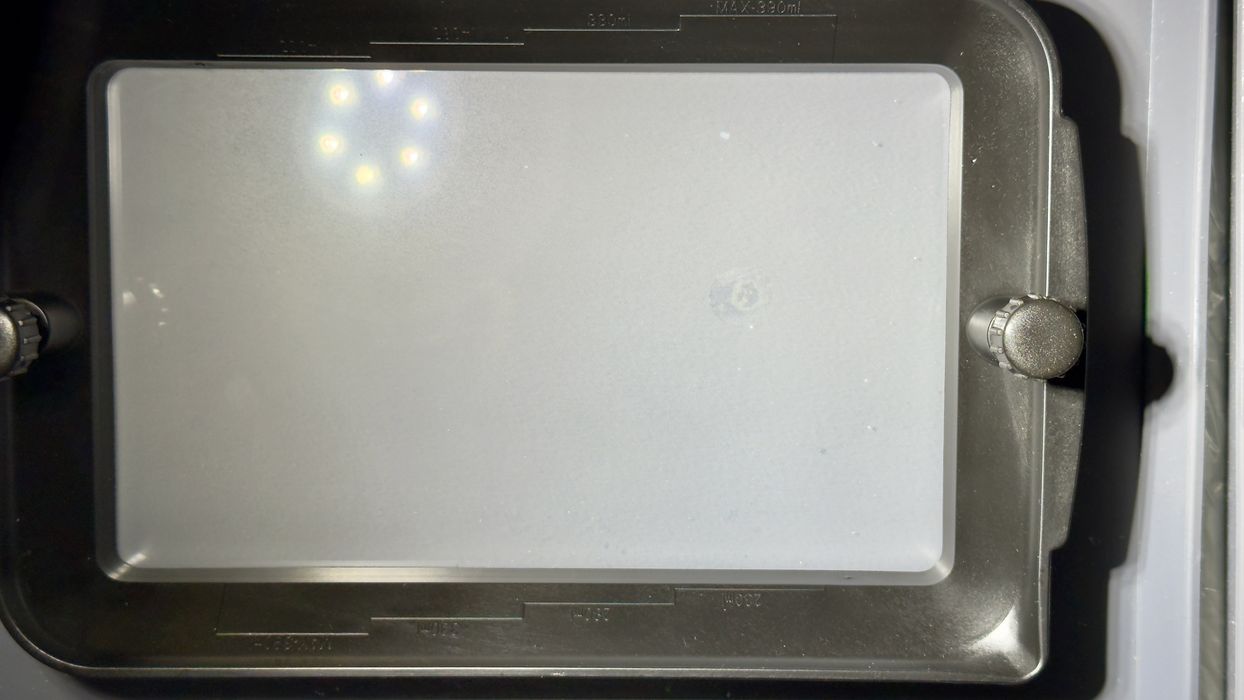
During filling, I noticed the handy level indicators on the side of the tank’s interior. These actually appear on both sides, making the tank reversible. However, the drain spout is only on one corner.
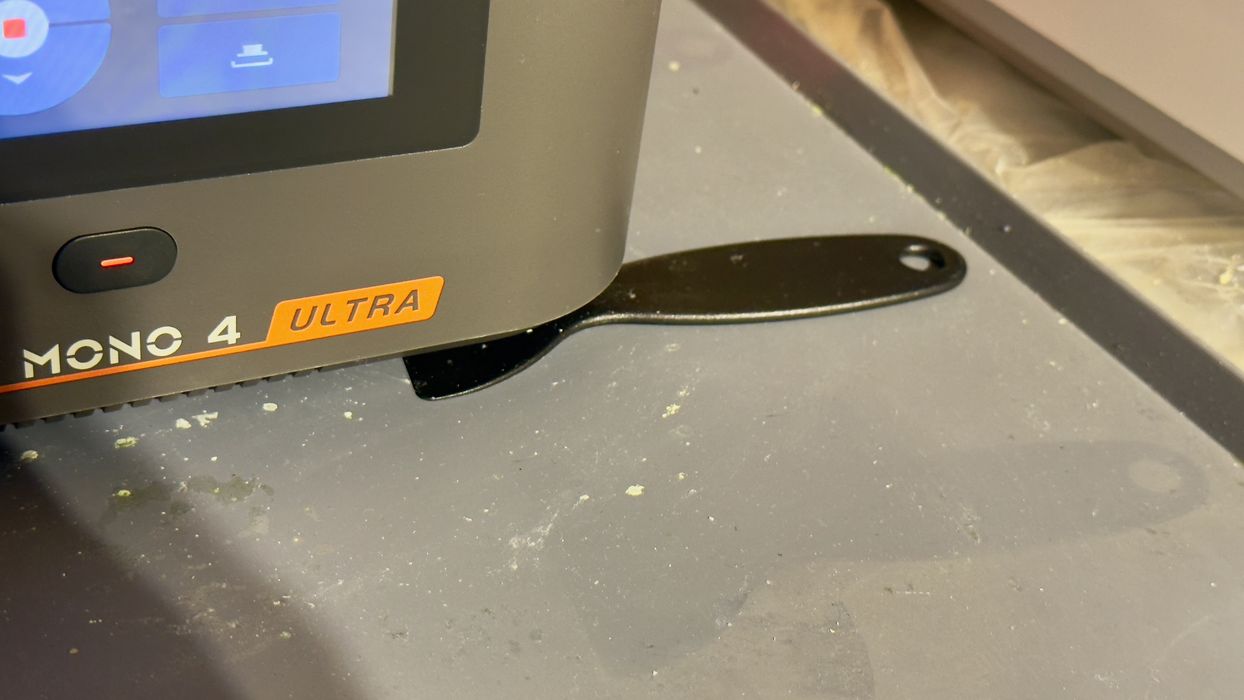
After filling the tank, I realized the Ultra was not level. My work table isn’t exactly level, so this wasn’t unexpected. However, it is impossible to level the Ultra: it does not have adjustable feet, just a couple of rubber rails. Instead, I had to improvise to provide basic levelling, as you can see above.
Photon Mono 4 Ultra Operations
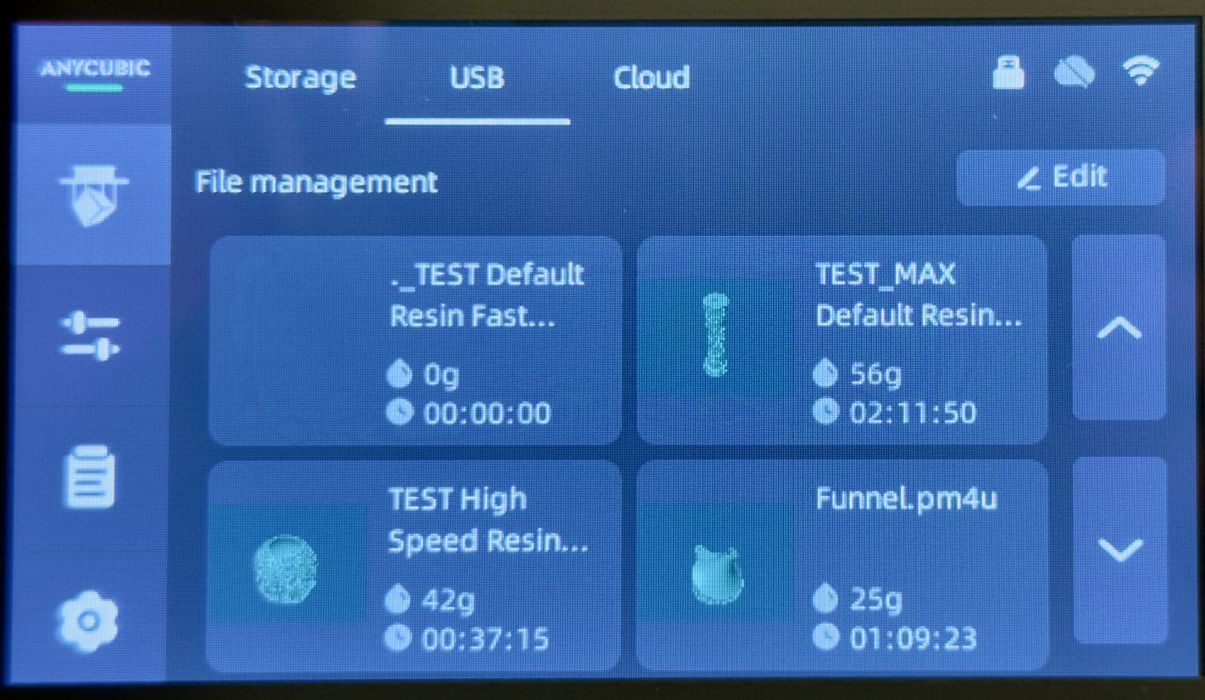
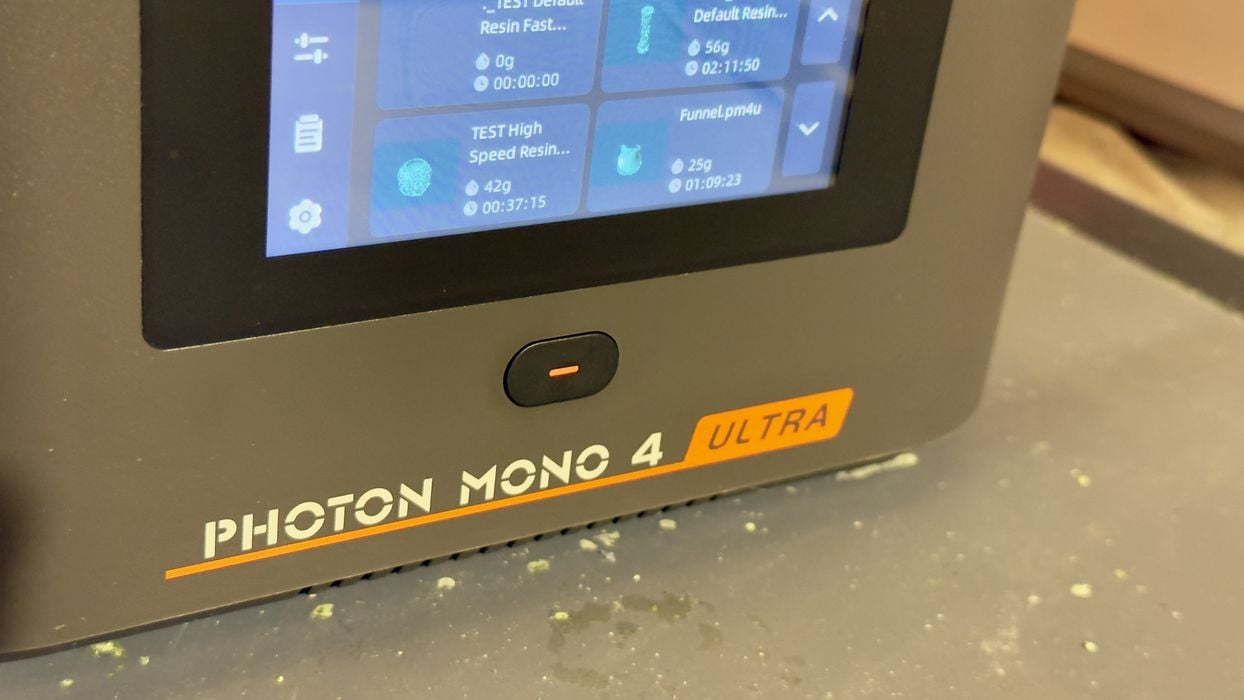
It’s quite straightforward to operate the machine from the touchscreen. However, as you can see above, the small size of the machine limits the amount of information that can appear on the display. Longer filenames are not really visible.

To see them, you have to go into each one, where the full data for the jobs are displayed. This is necessary because the provided files on the USB stick include test files for not only the Ultra, but its larger cousin, the M7 Max. These would not run on the Ultra, but do appear on the list of files.
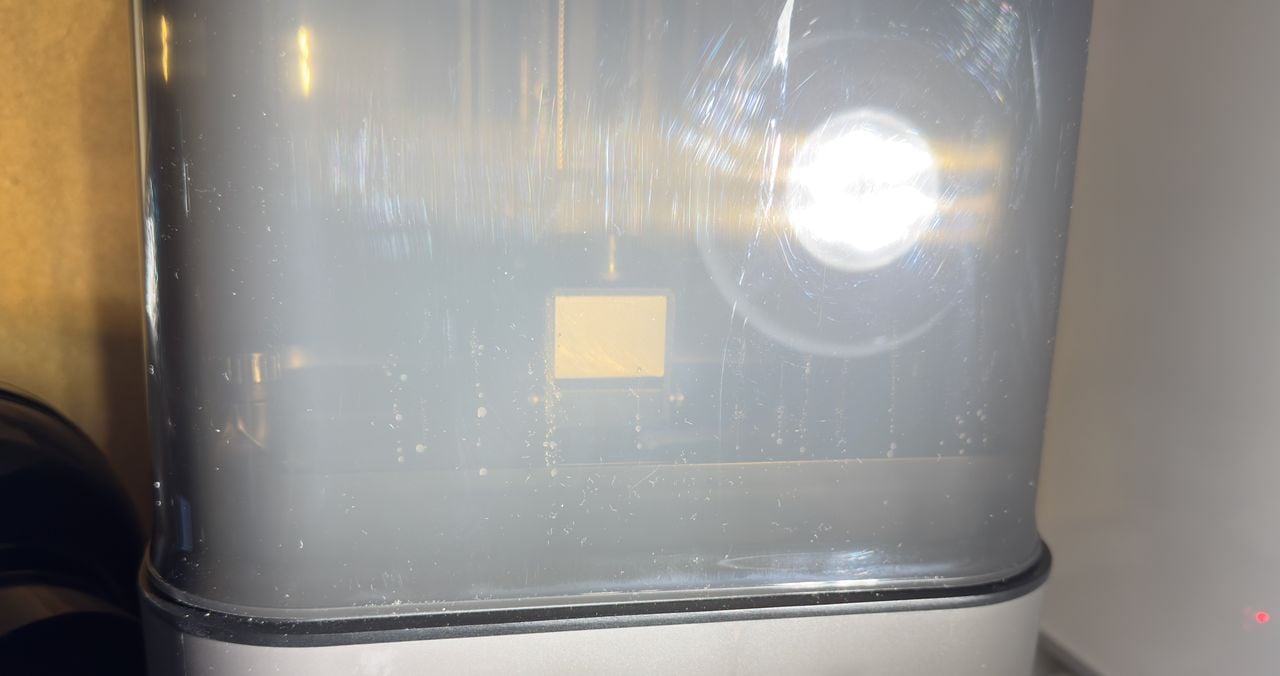
Most desktop resin 3D printers use a transparent amber lid to prevent stray UV rays from curing the resin — sunlight, for example. Here, however, Anycubic uses a translucent grey lid. I found this quite difficult to see through, so it was sometimes difficult to see what was going on inside the build chamber. It gets even more opaque if you shine a light on it.
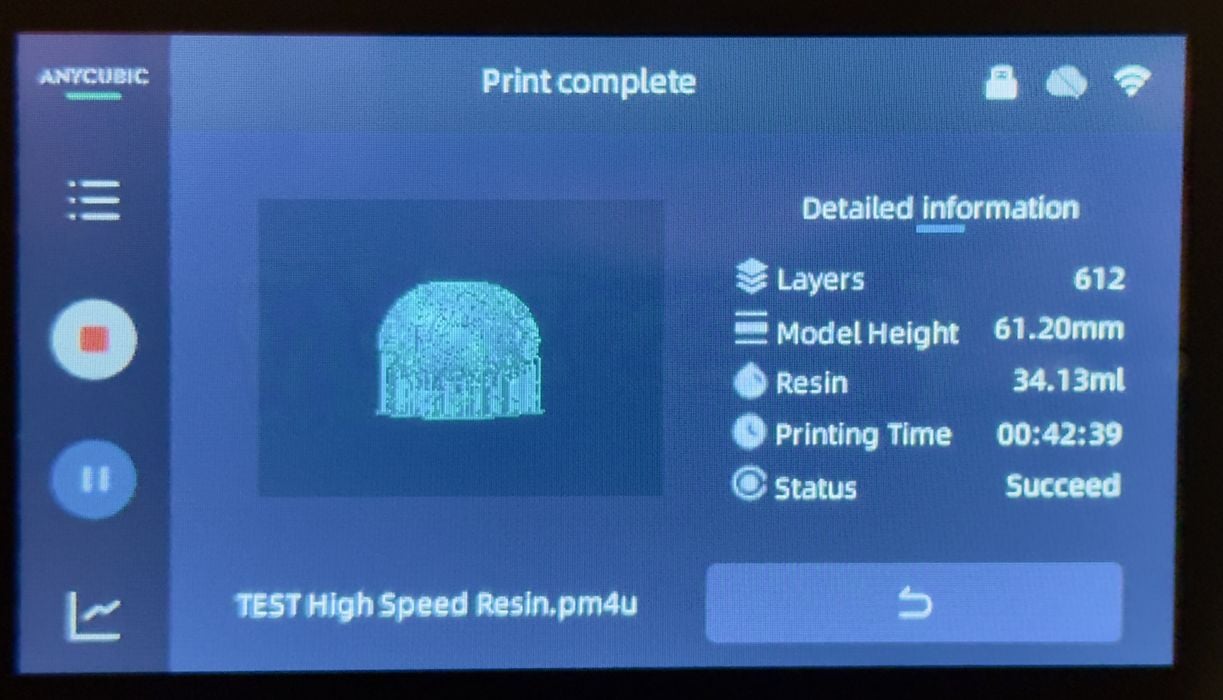
I tried the sample print on the USB stick because it appeared to be sliced with the same resin I was using for the test: Anycubic’s High Speed Resin.
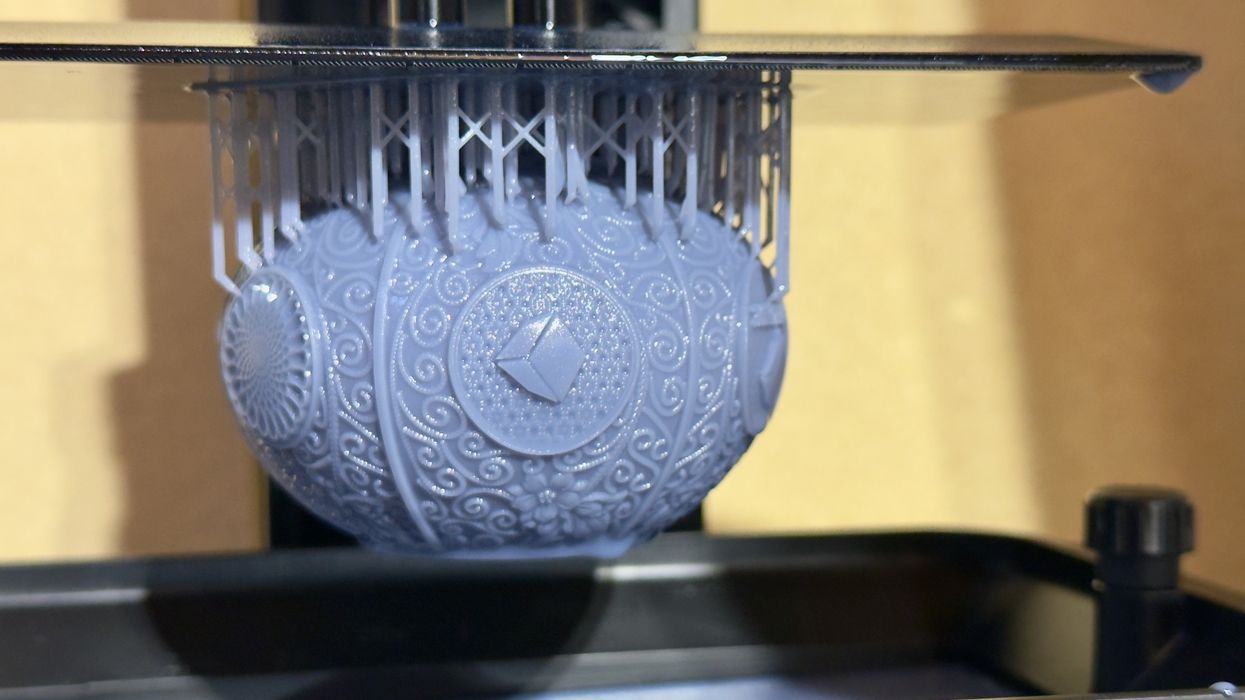
The sample print came out perfectly and seemed to have good detail.
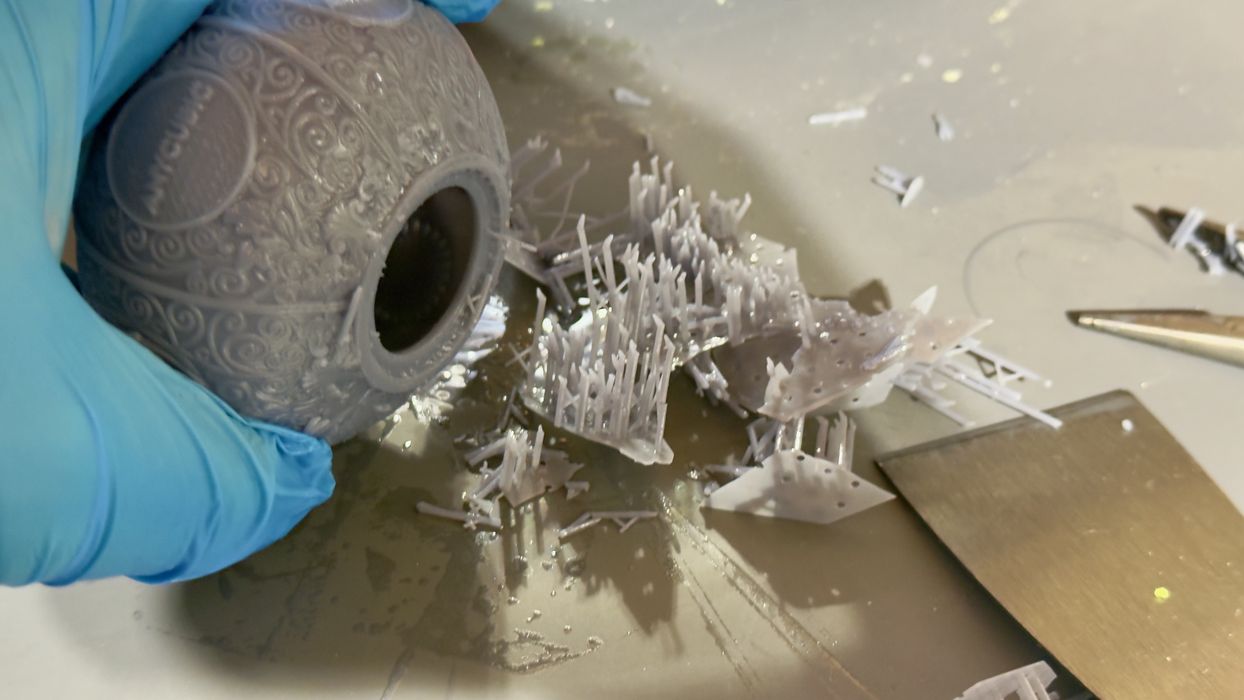
I was surprised to find that the support structures on the sample print came off very easily. It seems that Anycubic has dialled in the parameters for this job. I’ve printed the same item on other machines but have had problems when the resin isn’t quite the same as the slicer expected.
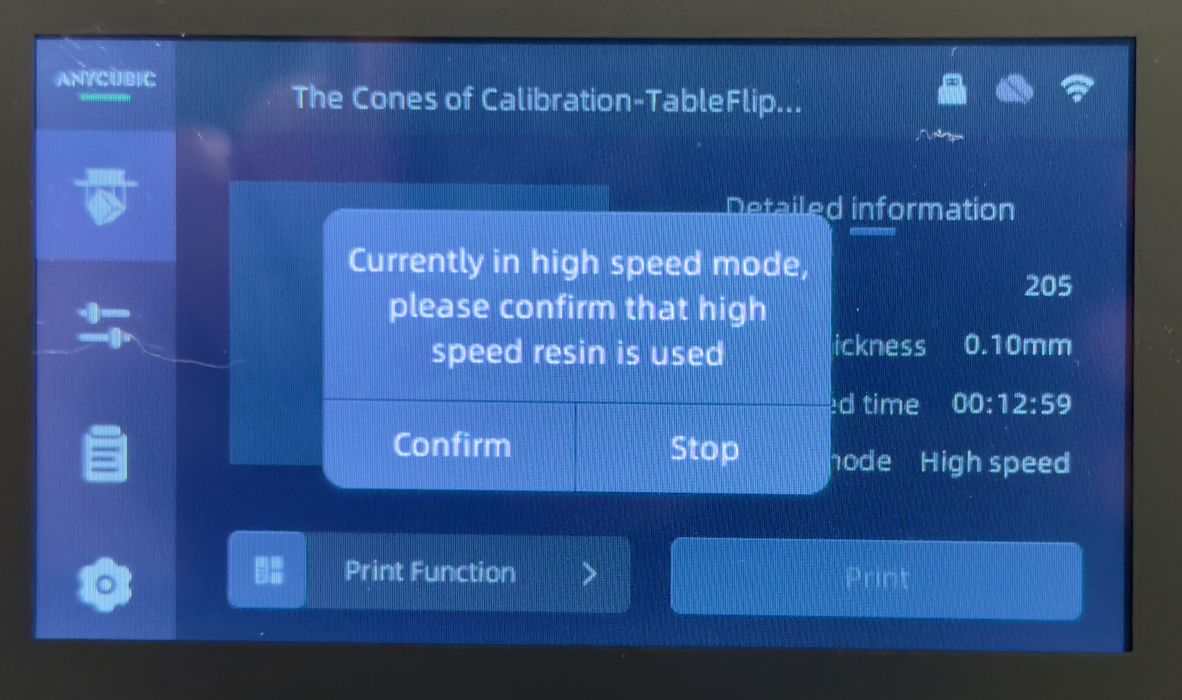
When starting a job that’s been sliced specifying High Speed Resin, the Ultra has a question to confirm that you actually have loaded that resin. This is a very good idea, as it is easy to mix up resins and have failed jobs.
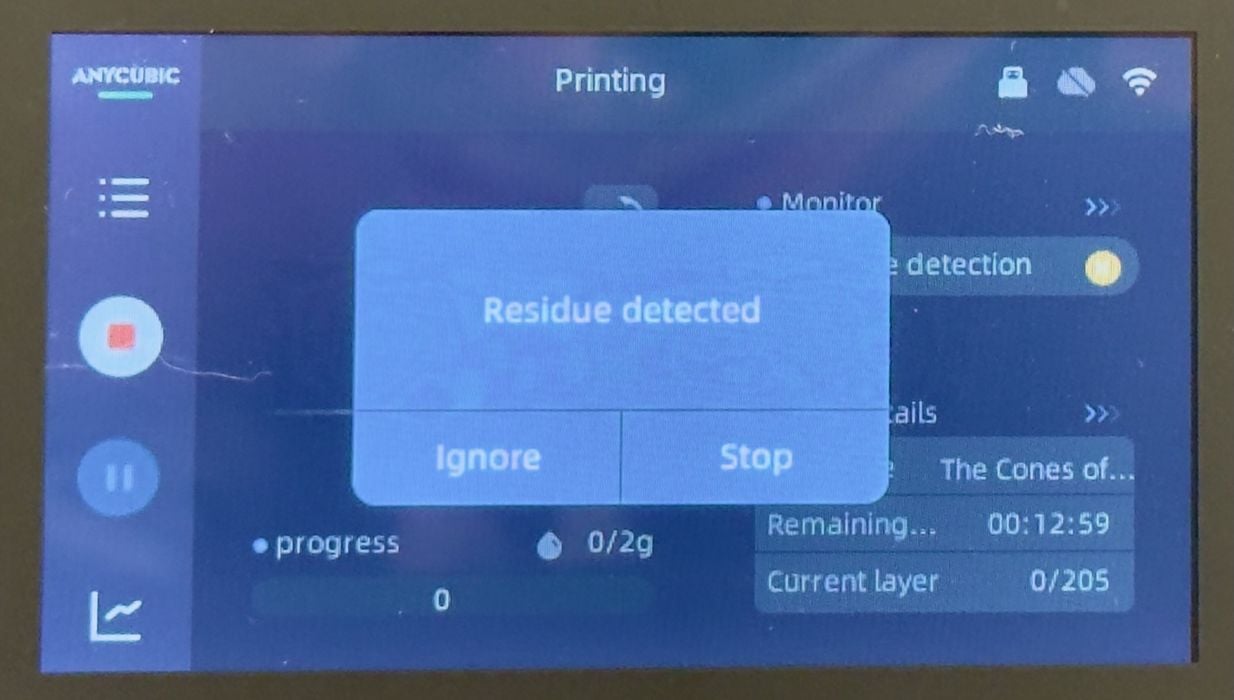
As my second print started, I saw this message. The force detection seems to be working! There must be some debris.
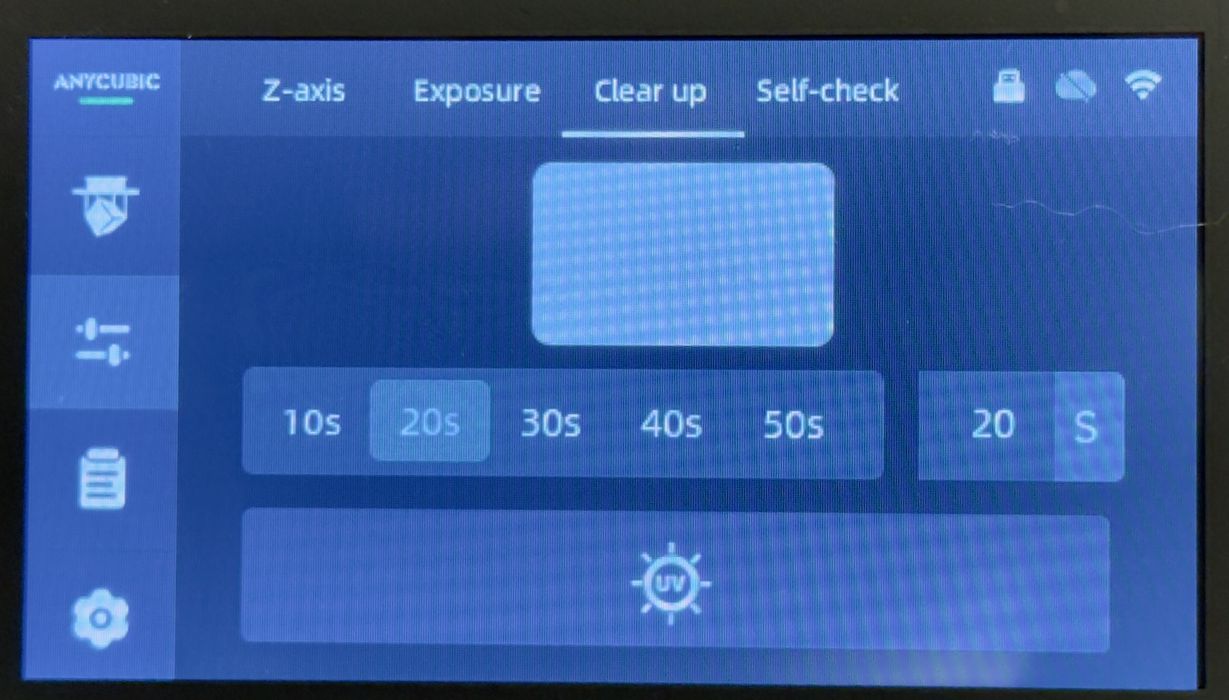
I started by using the “clean up” function. This simply exposes the entire light engine for some seconds to cure the bottom of the tank. This will grab any loose bits.

The cleaning layer then lifts out. It’s good practice to do this periodically to ensure the tank is “clean”. Some actually do this before every job.
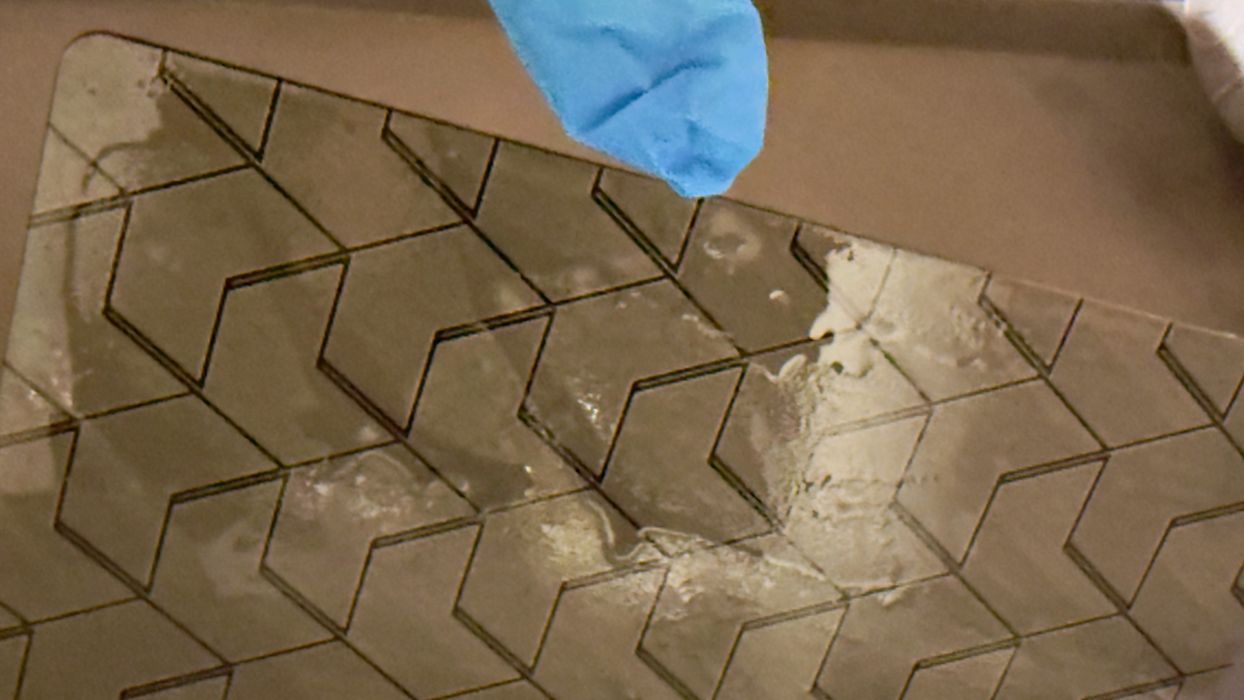
I then inspected the print plate and found some bits that hadn’t been scraped off (by me). I removed these and re-ran the job.
Unfortunately, “residue detected” came up again. I rechecked the plate and tank, and there was definitely no debris. The residue detection was false. I told the Ultra to ignore the detection and continue printing, which was successful.
In fact, every job after the first one would declare “residue detected”, falsely. I would then ignore it and proceed, with jobs always working and no tank punctures.
I could have turned off force detection in settings, but I chose not to. That’s because I want the machine to detect debris during the jobs, should something fall off the plate.

I asked Anycubic about this, and they suggested I recalibrate the mechanicals through a super-secret menu option. I completed this calibration, but it didn’t help. I am fated to hit “ignore” on every job on the CN-less machine.
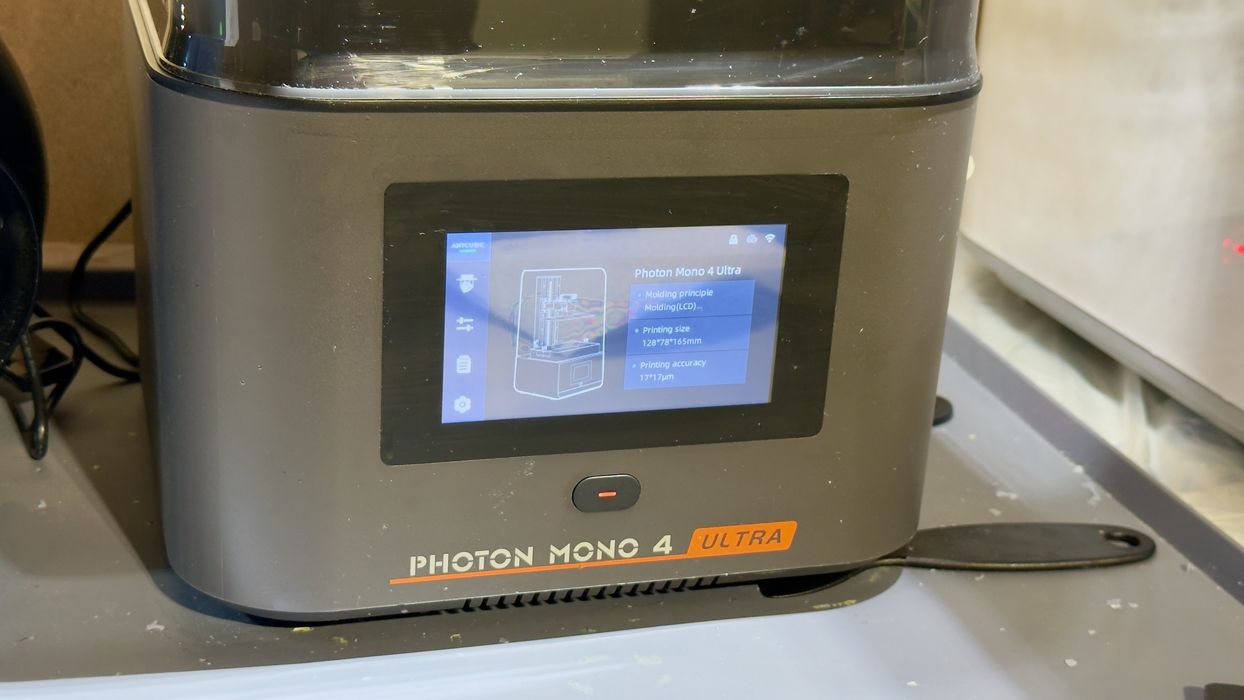
One issue I noticed is that the screen can be hard to read. Its surface is highly reflective.
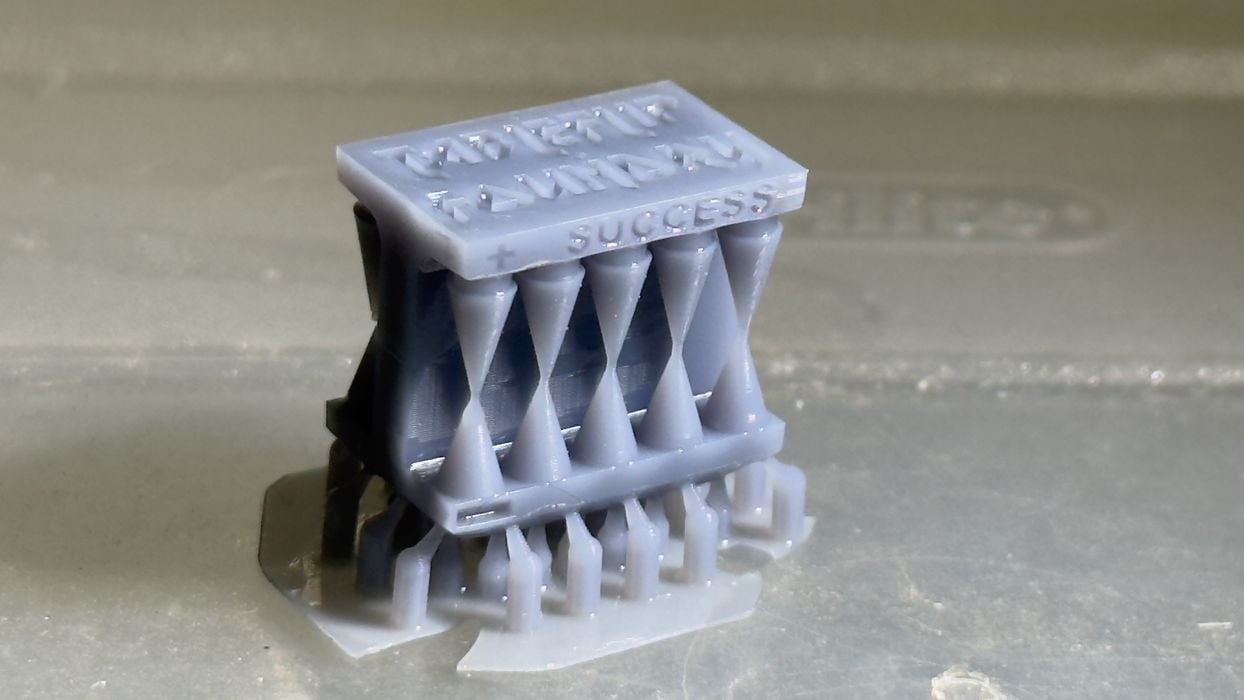
I ran the Cones of Calibration (earlier version) to see how well Anycubic’s High Speed Resin print profile was developed. The cones turned out perfect, and Anycubic has nailed the profile.
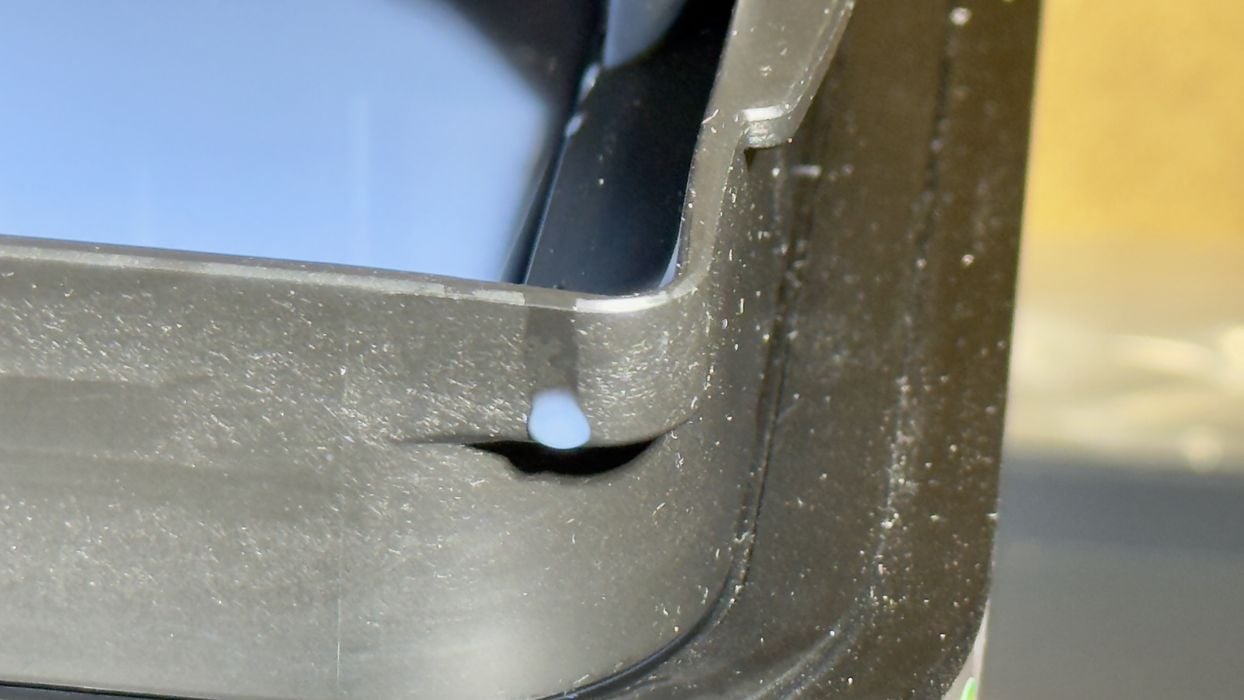
Finally, in spite of being careful, there is still the possibility of resin drips. I remind readers to be careful around resin and take steps to ensure the machine and surrounding areas are cleaned of wet resin.
This is part two of a three-part series; please read parts one and three.
Via Anycubic
