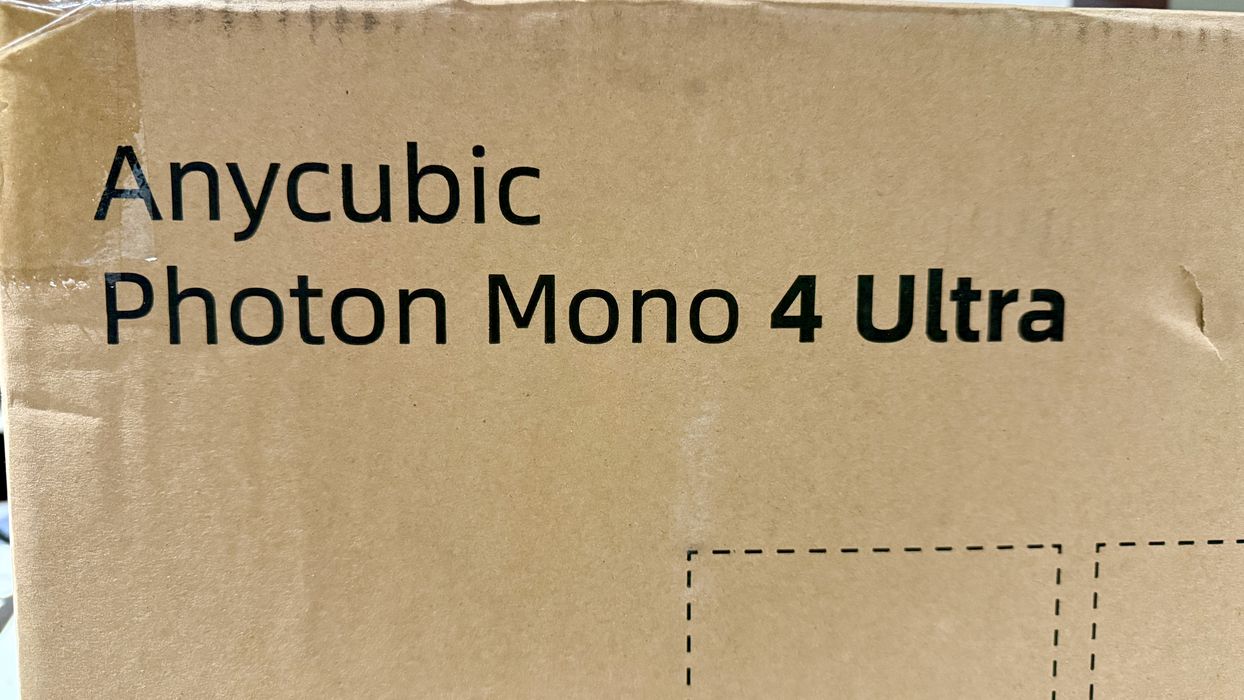
We tested the new Photon Mono 4 Ultra resin 3D printer from Anycubic.
This is part one of a three-part series; please read parts two and three.
Photon Mono 4 Ultra Background
Anycubic is one of the leading producers of desktop 3D printers, and they have a comprehensive line of resin equipment. We’ve tested a number of these machines and found each new model seems to improve the user experience.
Now we’re testing their latest small-format resin device, the Photon Mono 4 Ultra. It’s not big, but that’s ideal for many who use these machines to produce gaming accessories.
Photon Mono 4 Ultra Specifications and Features
The Photon Mono 4 Ultra is a relatively small machine with a build volume of only 154.22 x 87.04 x 165 mm. That’s drastically smaller than most desktop FFF units, but here the machine is for a very different purpose. It’s designed to print small, highly detailed objects. This makes the Photon Mono 4 Ultra ideal for producing gaming pieces.
The “Mono” in the product name refers to the type of light engine. Standard light panels have a mask over the top with RGB tints, meaning there are three cells to create colors. Instead, a mono panel simply has cells that are on or off in a single color. This provides better resolution and more light energy because there’s no mask to travel through.
Like all of Anycubic’s machines, the Photon Mono 4 Ultra uses any 405nm resin. However, the device can print quite a bit faster when using Anycubic’s High Speed Resin. Or at least they have provided a print profile that works with this resin, as you will see. There’s nothing stopping you from attempting to run the machine at higher speeds with other resins, as all the parameters can be set manually.
Photon Mono 4 Ultra Unboxing and Assembly
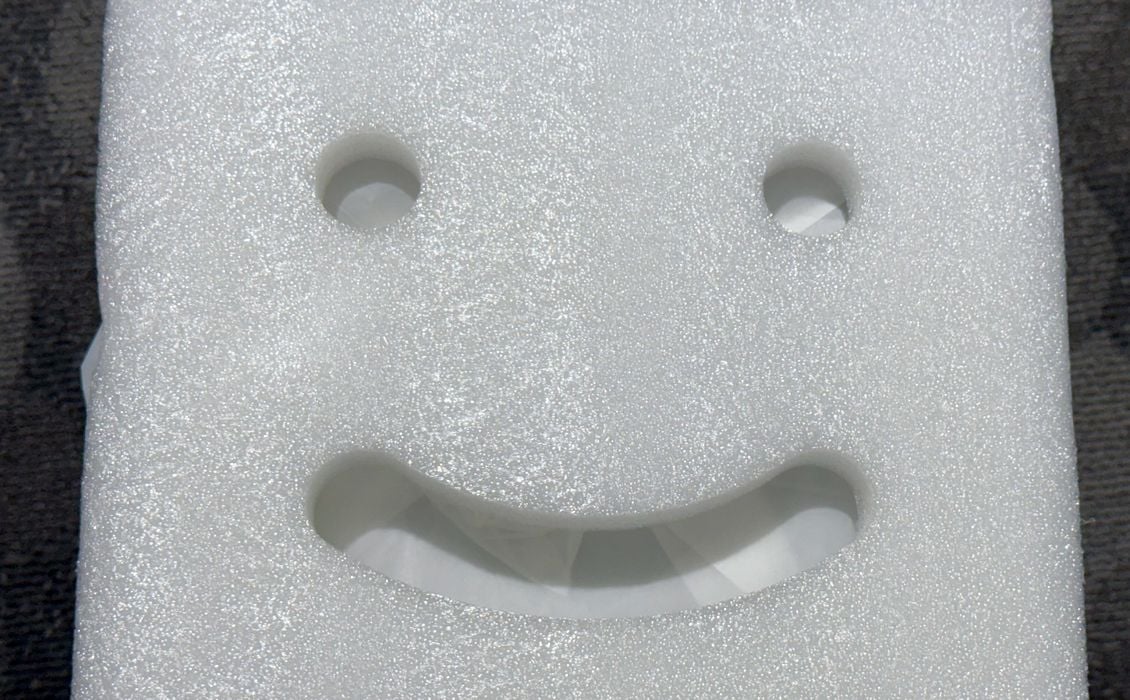
My favourite feature from Anycubic is their uncanny habit of placing a happy face foam insert at the top of each shipment. This is the first thing that you see when opening the box. It’s not candy, but it does pack a smile.
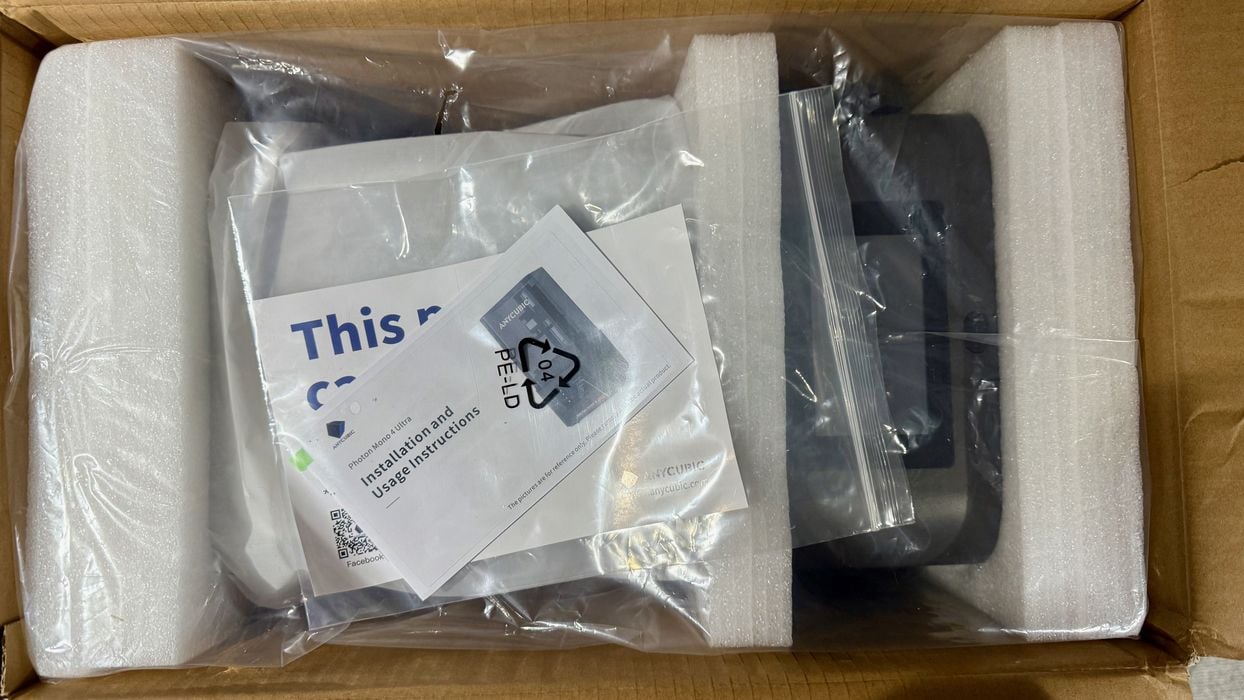
The Ultra seemed to be packed very well, as is usually the case with Anycubic shipments.
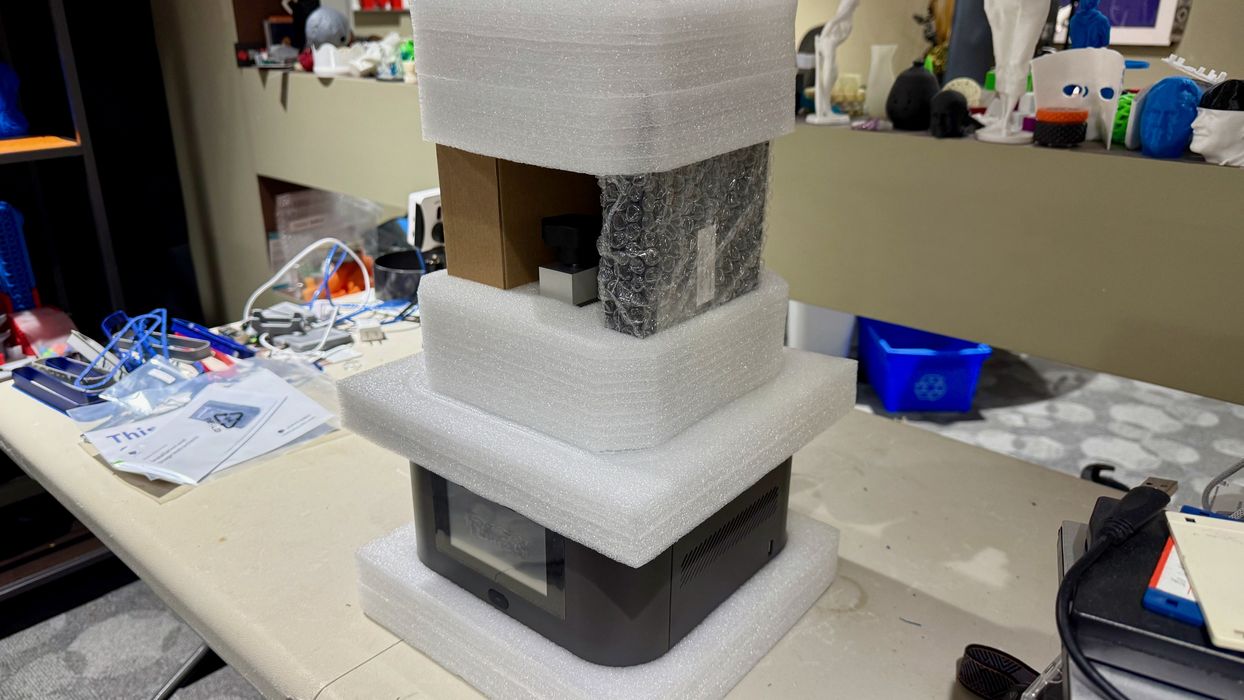
However, once I got the parts out of the box, I was astonished at exactly how well this item was packed. There is literally no way for any of this to shift during shipment. This is easily the best-packed shipment I’ve seen, and a far cry from the early days of 3D printer shipments when it was relatively common to receive damaged equipment.

Since the Ultra is fully assembled, there really aren’t a lot of parts, with the major one being the print plate. There are quite a few tools and accessories, however. These are the standard items you’d find in almost any resin 3D printer package, including some basic PPE, scrapers, etc.
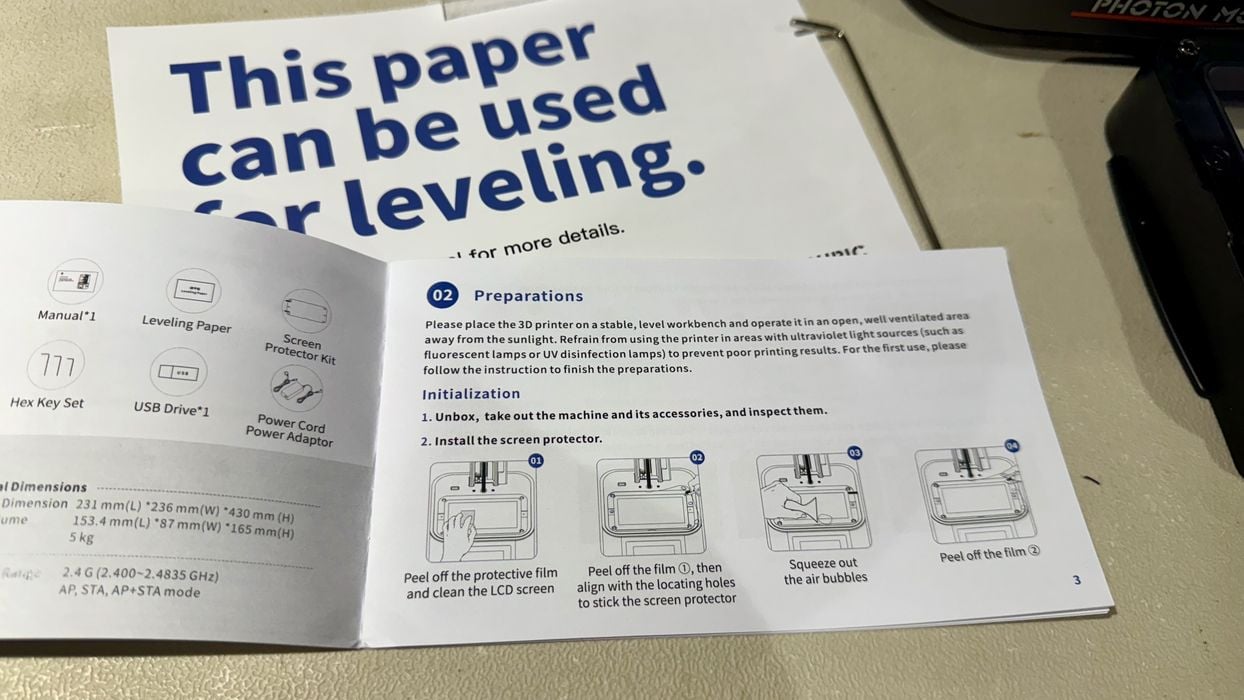
A small booklet of instructions is included, and aside from some minor language quirks, it does explain how to get the machine going. However, it is a bit light on safety aspects.

I started peeling off protective films, and this was only the first of many. It seems that Anycubic’s packaging obsession includes protective films.

One immediate issue: the shipment I received had a European power plug, and no other included that I could use. Not a big problem because the Ultra’s power plug is the standard three-wire connector you see on almost all electronic devices. I simply pulled a spare cable from inventory and proceeded.

More protective film peeling occurred. This was a bit strange because I was peeling off a protective film, and then the next step was to install a protective film in the same place. The second film protects the light engine’s glass plate from damage.
Specifically, it’s because if there is a leak in the resin tank, some resin will be directly on the glass. The light will cure it solid, and when you’re scraping it off with the metal scraper, you will damage the glass. It’s best to use the protective film, even though the machine will run without it.
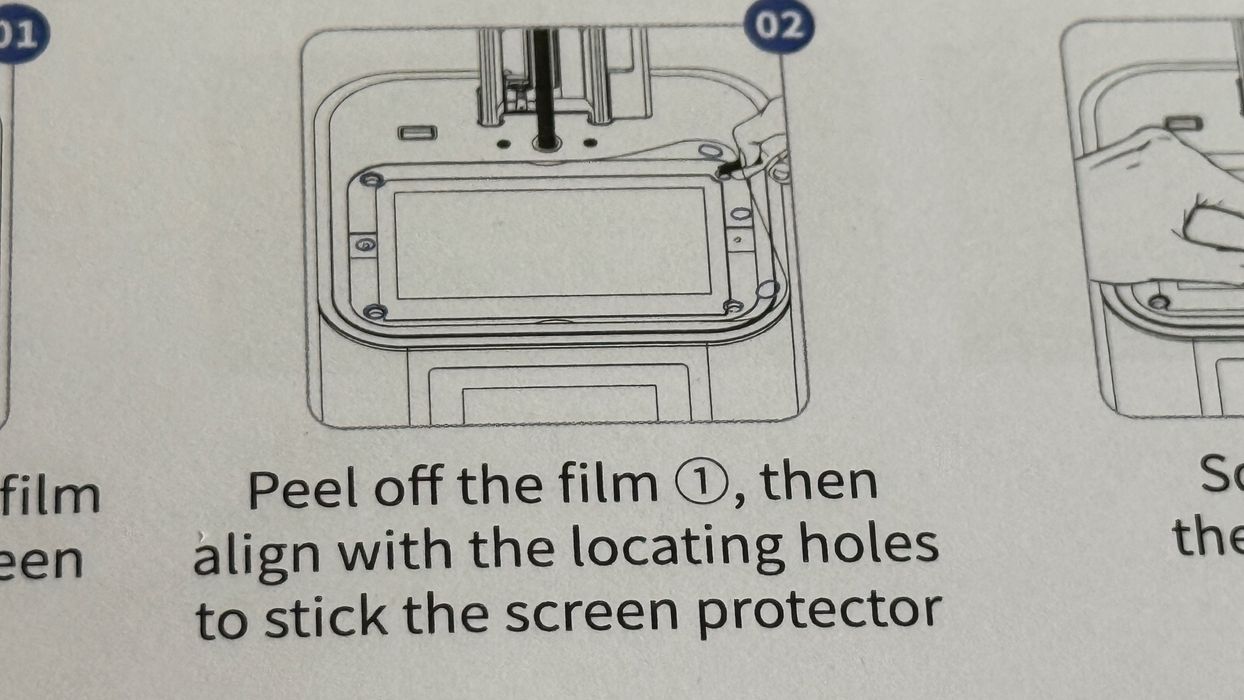
Here’s what the instructions say. They indicate that I need to line up the holes to ensure alignment. Needless to say, there were no holes in the protective film.
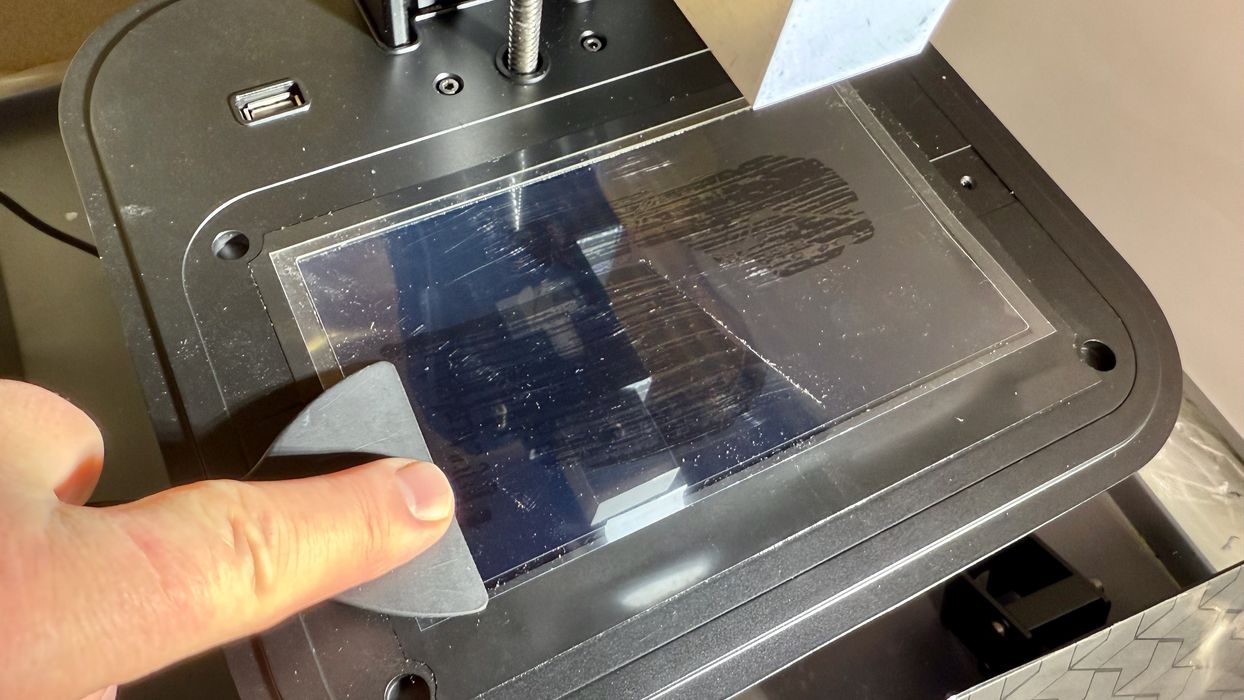
Nevertheless, it’s easy to install. Use the plastic scraper to push out as many bubbles as possible to avoid light distortions.
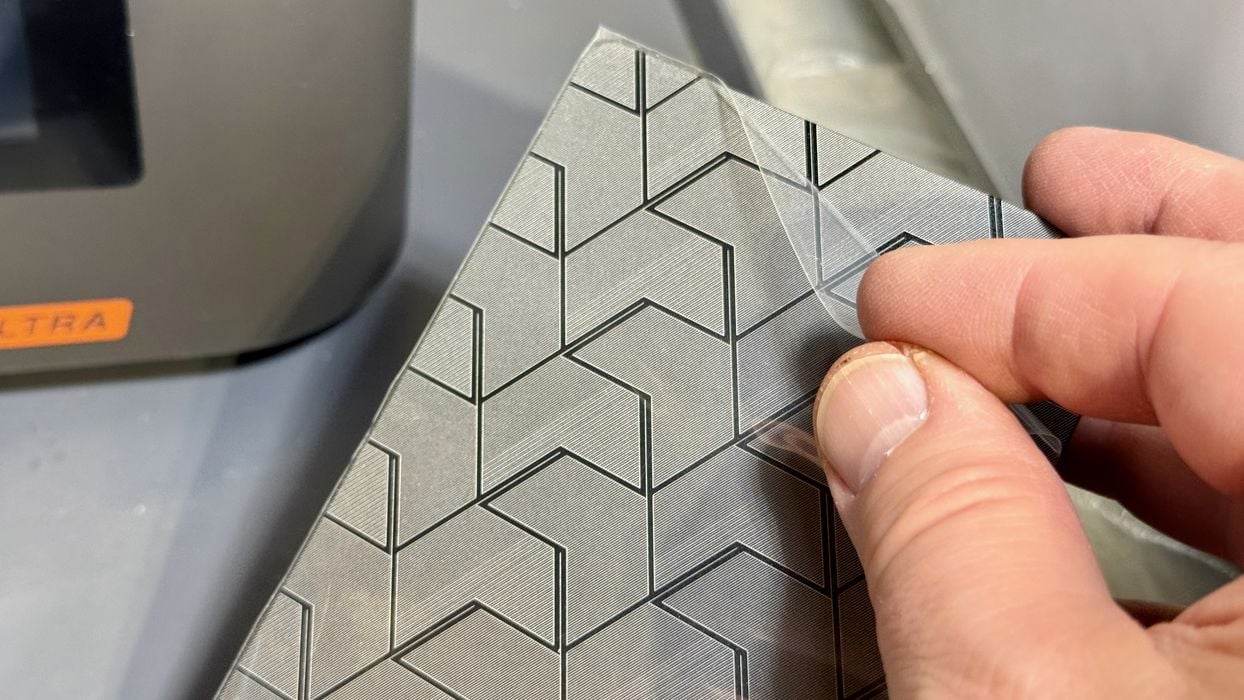
Yes, the print plate has protective film, too. It must be removed, and then you can see the brilliantly etched surface of the plate. These etchings make it easier for prints to stick, and they’re quite attractive, too.
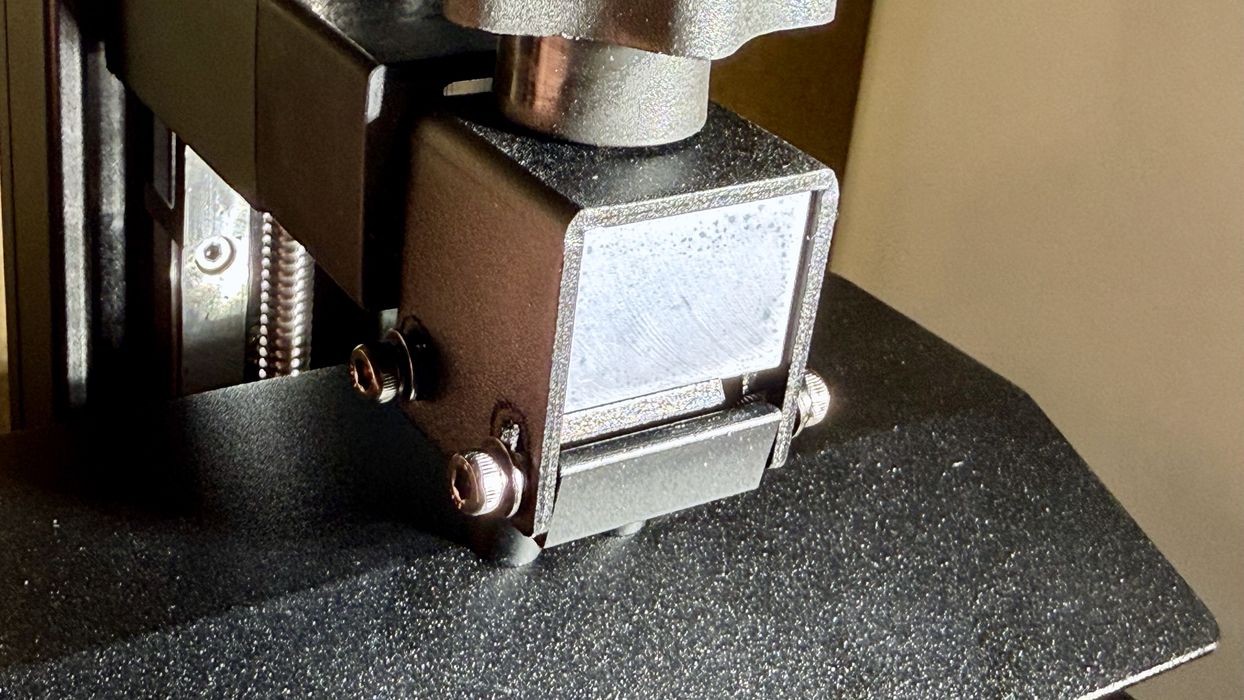
Mounting the plate is very easy; it aligns very well. However, Anycubic ships the plate with the adapter pulled in tight. This makes it impossible to mount the plate until you loosen the bolts.
I believe this is a procedural hint from Anycubic: you have to level the plate, which we’ll see later. By forcing you to undo the bolts, you increase the likelihood of operators actually doing the levelling. A very good idea!

Aha, there is another protective film on the control panel. It’s an easy-to-read color touchscreen.
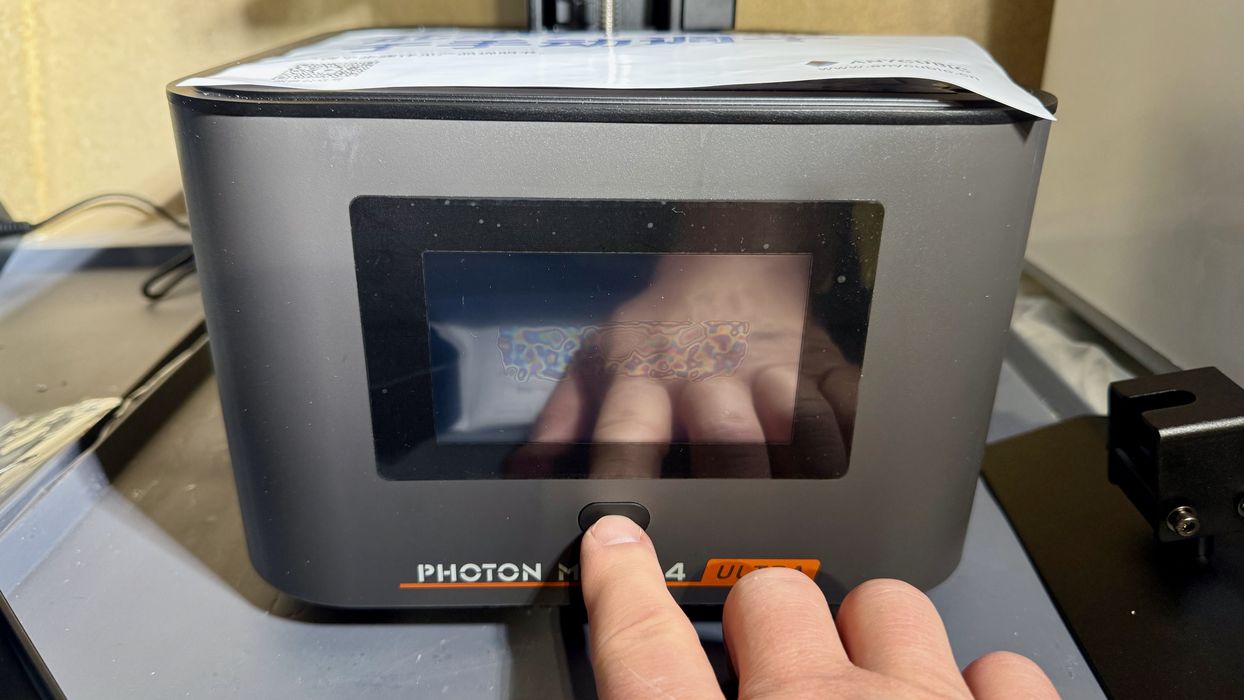
At this point, I was ready to power up the Photon Mono Ultra 4.
This is part one of a three-part series; please read parts two and three.
Via Anycubic
