

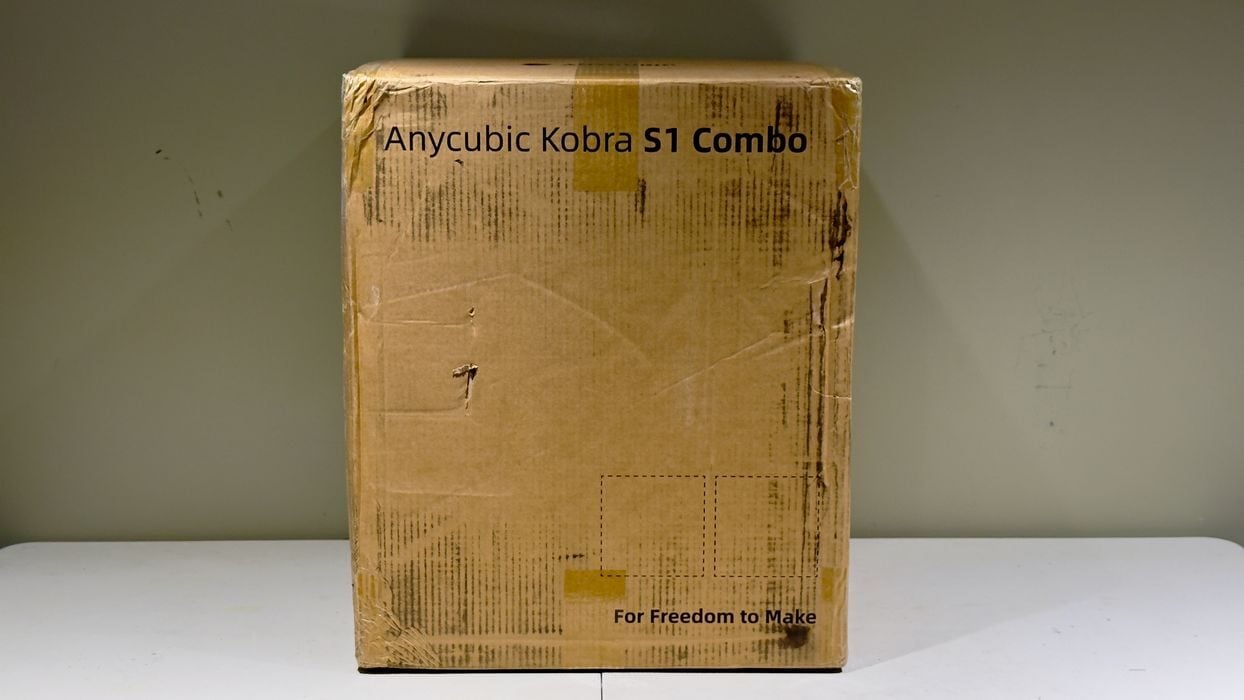
We were quite excited to test the new Kobra S1 Combo from Anycubic, and we had quite an adventure, as you will see.
This is part one of a three-part series; please read parts two and three.
Anycubic Kobra S1 Combo Background
Anycubic is one of the leaders in desktop 3D printers, producing increasingly sophisticated equipment year after year.
We’ve tested a number of Anycubic machines, both resin and FFF, and found them all to be quite good. Recent equipment from the company is significantly more advanced than their earlier products.
The Kobra S1 is definitely advanced. It is perhaps the most advanced 3D printer yet produced by Anycubic, as it includes more features and components than any previous product.
Anycubic Kobra S1 Combo Specifications and Features
Anycubic is following the design lead set by Bambu Lab with their X1C. Many 3D printer manufacturers are now providing their take on this 3D printer format, and the Kobra S1 is Anycubic’s version.
The S1 is a fully enclosed 3D printer with a healthy 250 x 250 x 250 mm build chamber. It’s a single nozzle, 1.75mm FFF device, with a color touchscreen mounted on top. The touchscreen can be tilted to match your eye position.
The S1 operates at a very quiet 44dB and includes a filtration system.
It’s a high-speed device, with maximum print speeds in optimum conditions being 600mm/s. In practice, however, the normal print speed is around 300mm/s, much like competing devices.
The extrusion system can reach a high 320C, which is a bit higher than other systems of this format. It also sports a quick swap nozzle mechanism to install alternate nozzle diameters if desired.
The main feature, however, is that the S1 integrates with Anycubic’s ACE PRO unit. This is a separate item that can hold up to four standard spools of filament and automatically change colors during printing.
The ACE PRO is, as far as I can tell, the same ACE PRO that the company previously shipped with the Kobra 3.
Anycubic Kobra S1 Combo Unboxing and Assembly
Anycubic always packs their equipment quite carefully, and I expected the same on the S1.
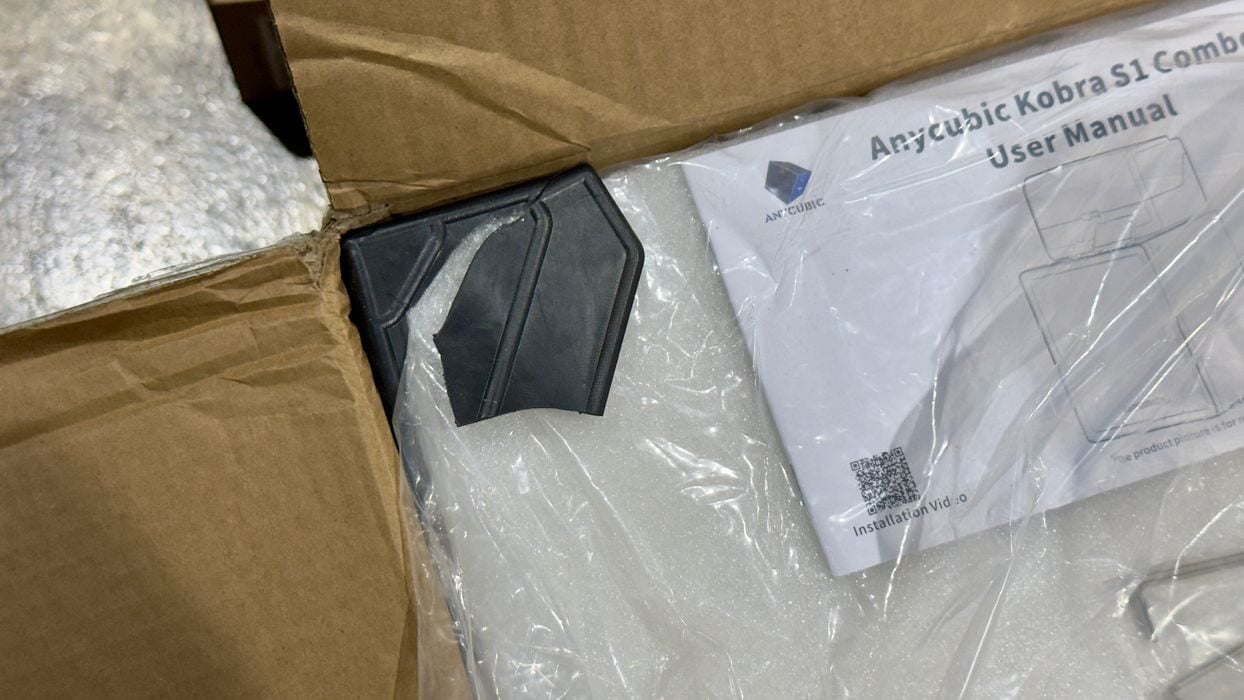
My shipment seemed to have some impacts, as one of the corner guards was cracked. This indicates the package was dropped on the corner at some point. Most 3D printer manufacturers do not even include these corners. Nevertheless, we didn’t see any damage in the machine, showing that their packaging strategy worked.
One question I immediately had was, “Where is the ACE PRO?” The shipping box was the size of the ACE PRO, which ships separately from the Kobra 3. Where was it on the S1?
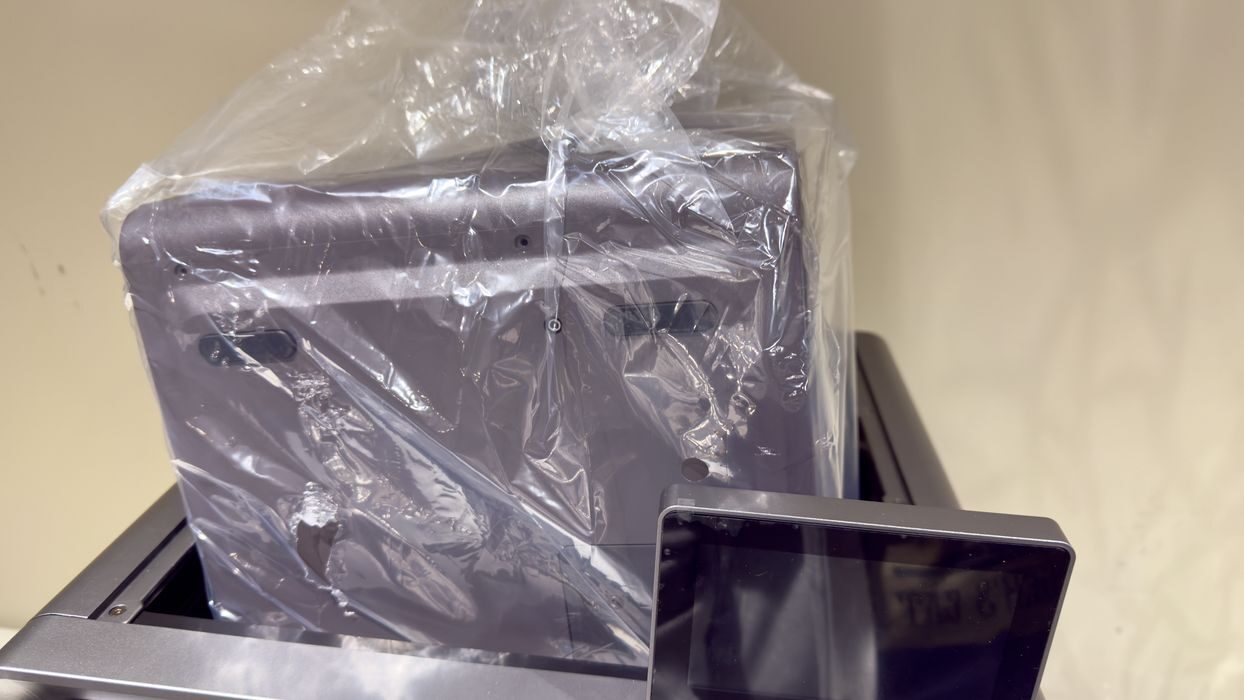
It turned out that Anycubic found a way to insert the ACE PRO inside the S1! This is a totally ingenious approach and maximized the use of space. The ACE PRO easily lifted out of the build chamber for installation.
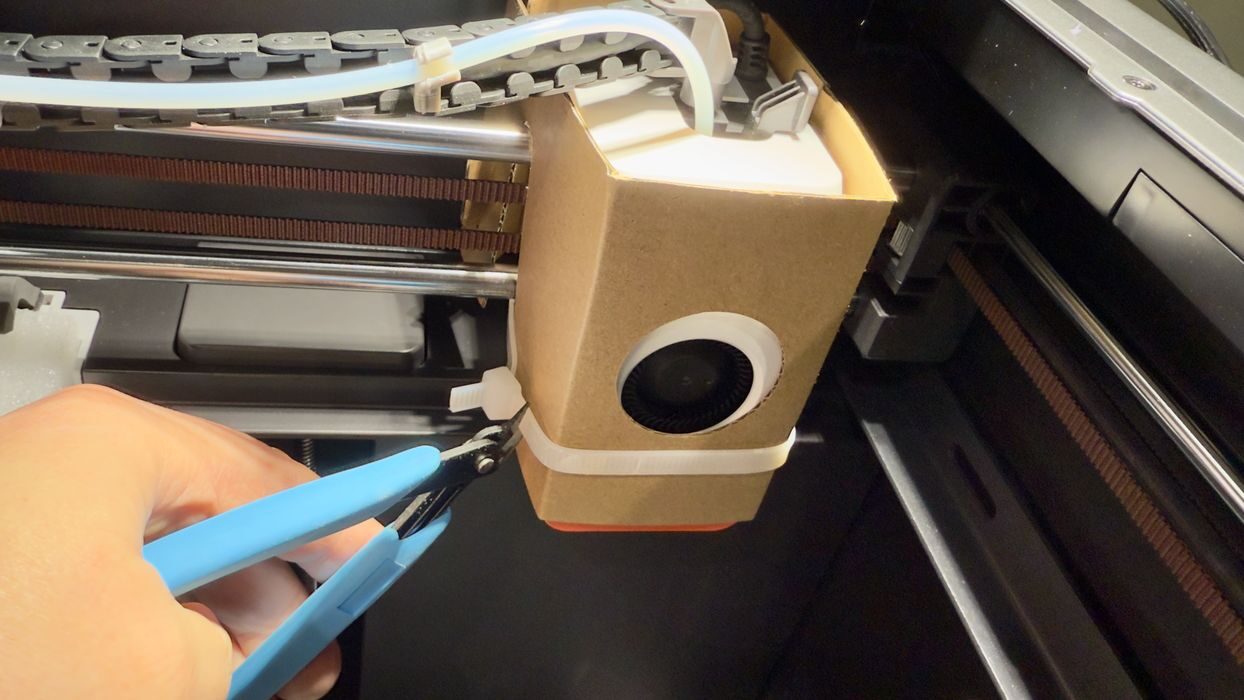
As usual, there were numerous tie wraps to cut off to release the moving parts of the machine.

Some of the components are literally bolted down during shipment, making it necessary to remove the mounting bolts. Anycubic made it easy to find them by the use of these red arrows. There are quite a few of these bolts, so make sure you get them all.

Inside the build chamber was a separate box with all the goodies, which we laid out here. There were no surprises.

One thing to note is that the S1 does not include any filament other than this near-useless tiny coil of PLA. I’m not sure why this is even included, as I just toss these out immediately. You really need to buy spools to go with the S1, and especially with the ACE PRO: four spools are ideal.
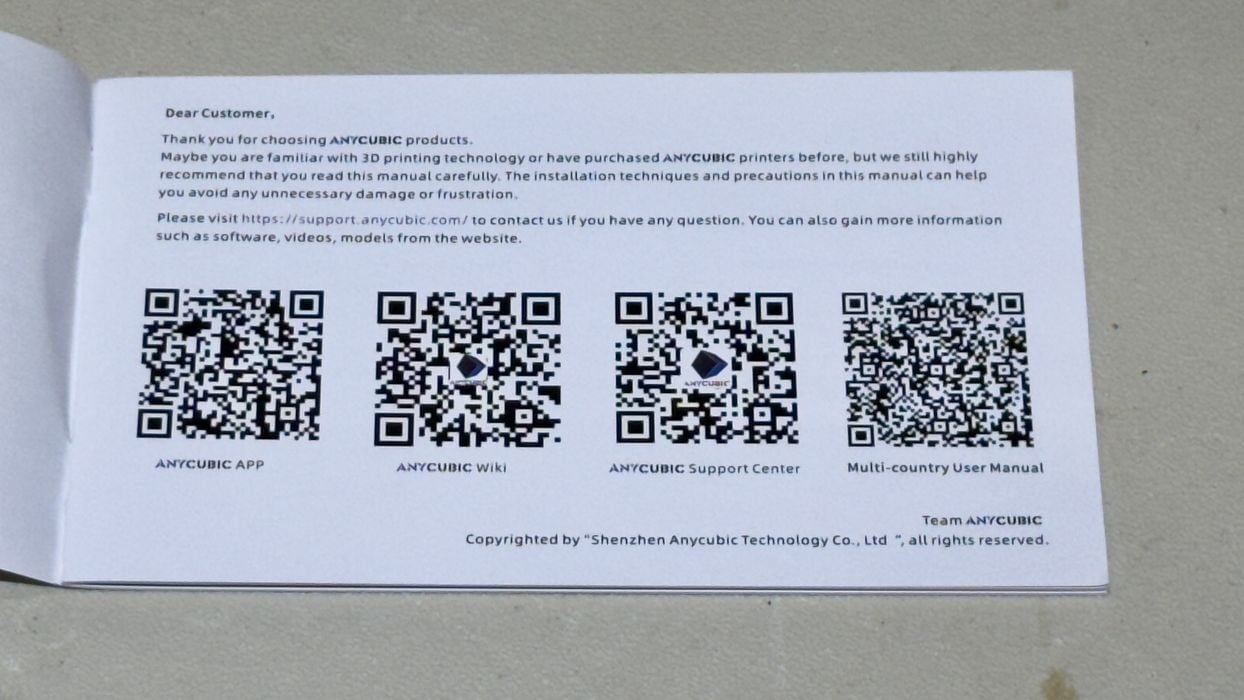
The paper instructions are well-laid out, and include QR codes to go online and get more in-depth data. This even includes videos to help you through assembly and operations. There’s also a large wiki with detailed procedures, should you need them. It turned out we did, later on.
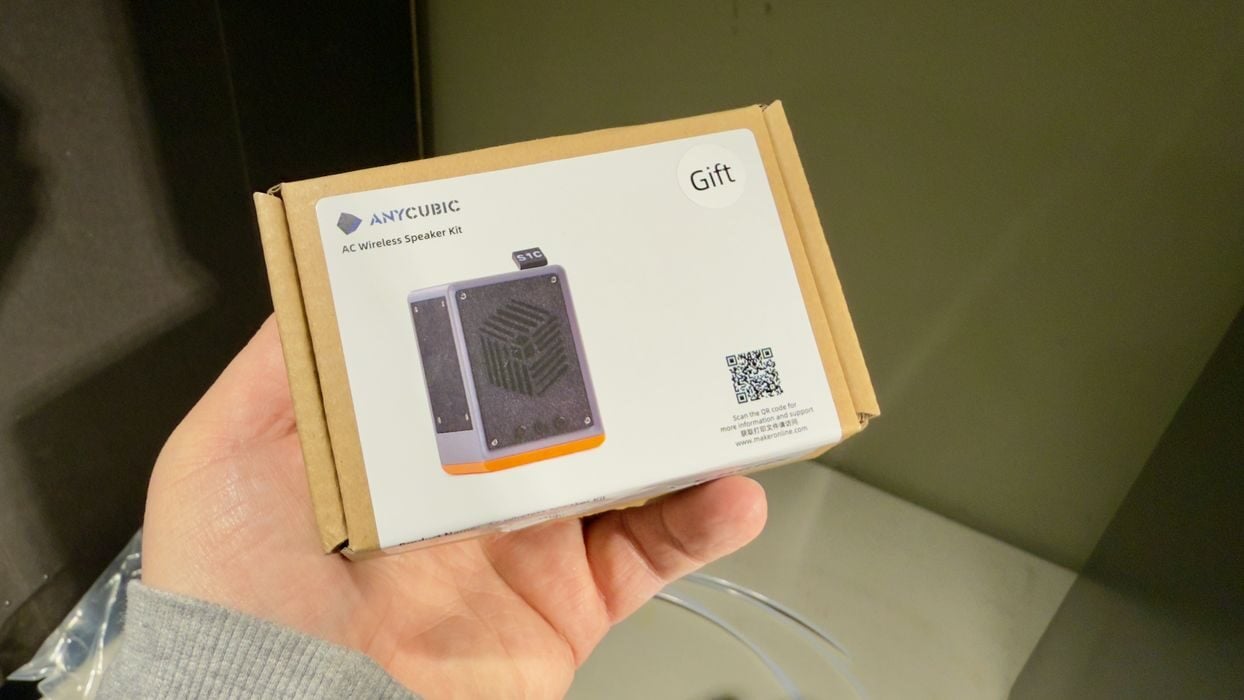
What’s this? It’s a project kit to build a Bluetooth speaker. You print some parts and then assemble them with these components to complete the project. We’ll look at this later when we get the machine going.
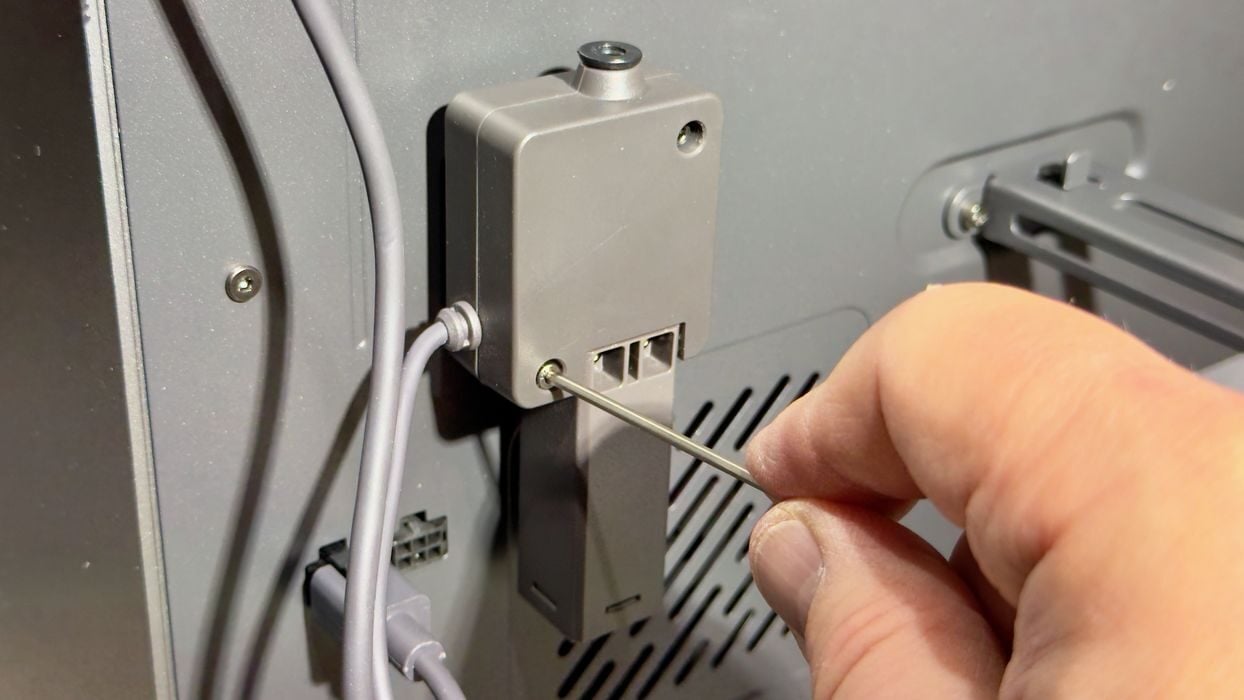
Assembly of the S1 was mostly straightforward, and here we can see the mounting of the four-way filament adapter on the back of the machine. Make sure you put it in right side up; I thought the filament tubes came from the top, but in fact they arrive at the bottom.
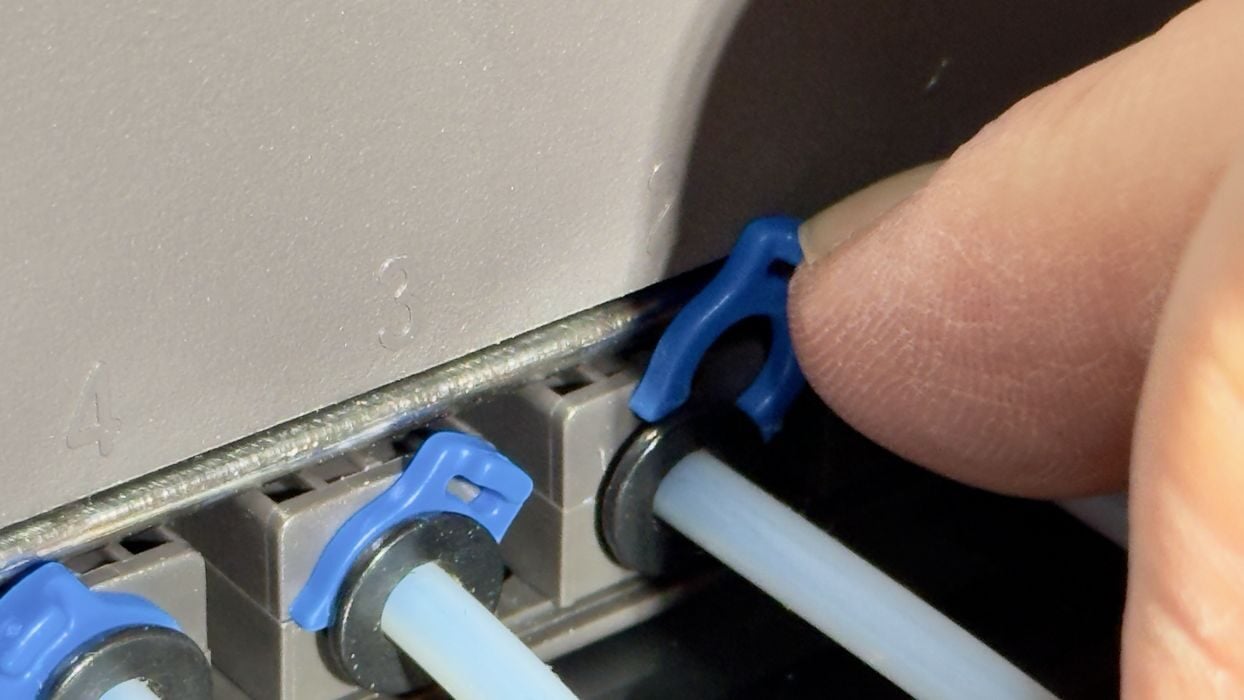
When attaching the PTFE filament tubes to the ACE PRO, you are supposed to use these blue clips to lock the tube. I found them nearly impossible to handle with my big fingers. Eventually I used needle-nose pliers to get them in place. Later I removed them, as they make it quite difficult to disassemble the ACE PRO during a jam. We’ll get to that a bit later.
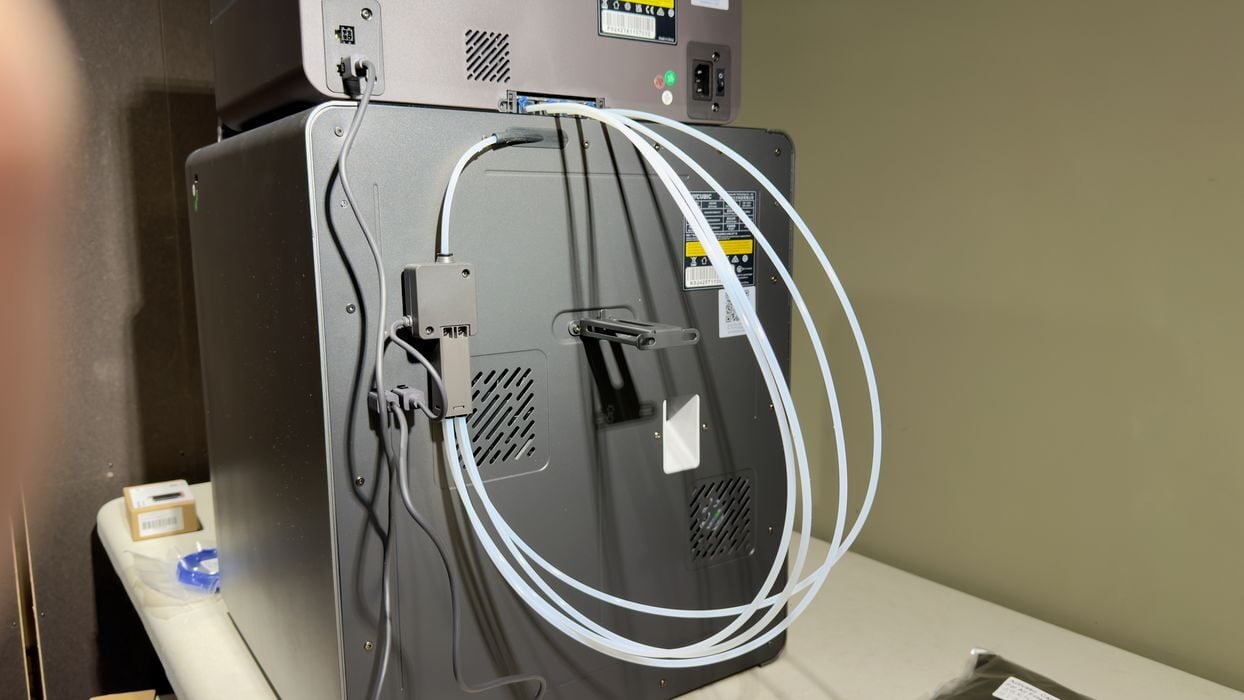
When all are installed correctly, this is what it looks like. Note that there is a spool holder on the back of the machine for use with single materials or TPU. To use it, you simply unplug the top tube and feed filament into it manually.
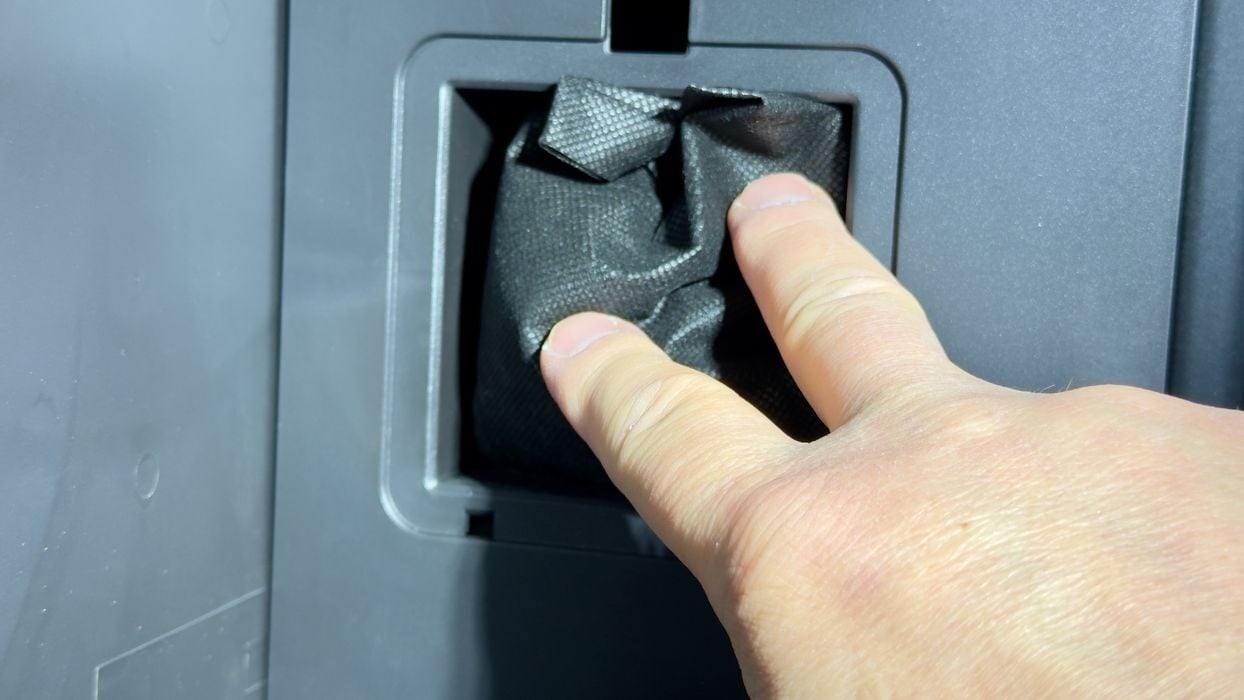
Inside the S1, there is a filtration system. There is a chamber where you drop in an activated carbon bag that supposedly absorbs emissions from printing.
At this point, we were ready to power up the S1.
Anycubic Kobra S1 Combo Setup and Calibration
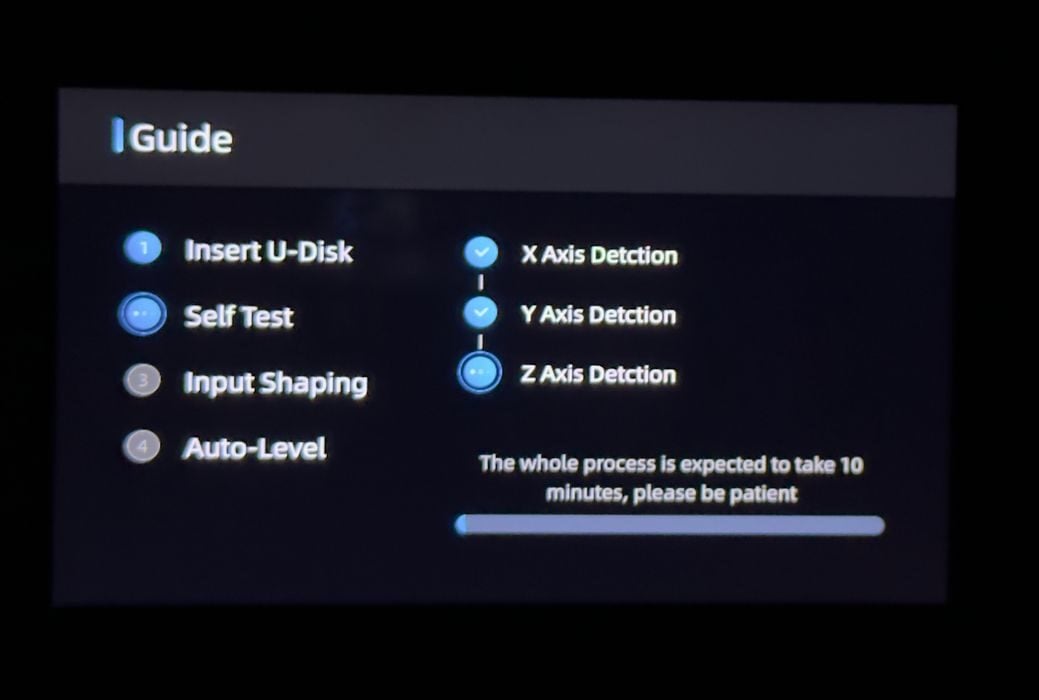
The first thing the machine does is a self-test and calibration sequence. This takes a fair bit of time to complete but is necessary.
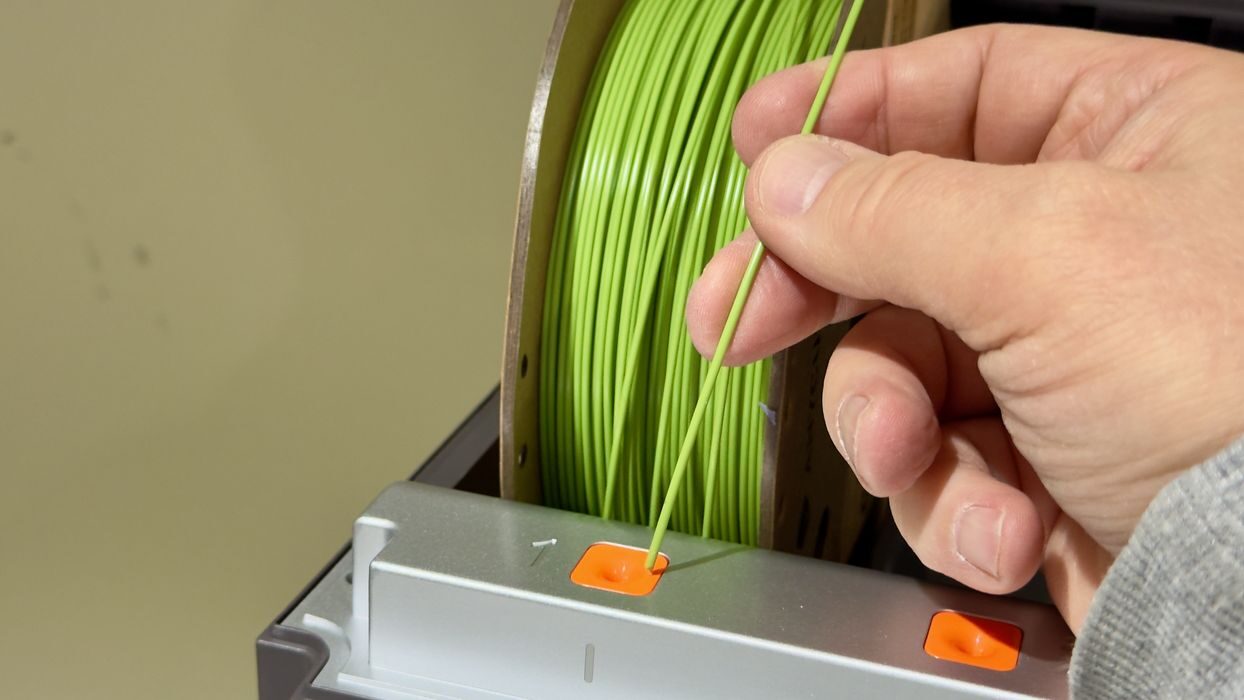
I decided to start with the ACE PRO for filaments, and it turns out to be really easy to load them: just push the filament into the hole, and the ACE PRO will grab it right away. I did this for all four spools. The S1 maneuvers these filaments to a “parking” area within the tube.
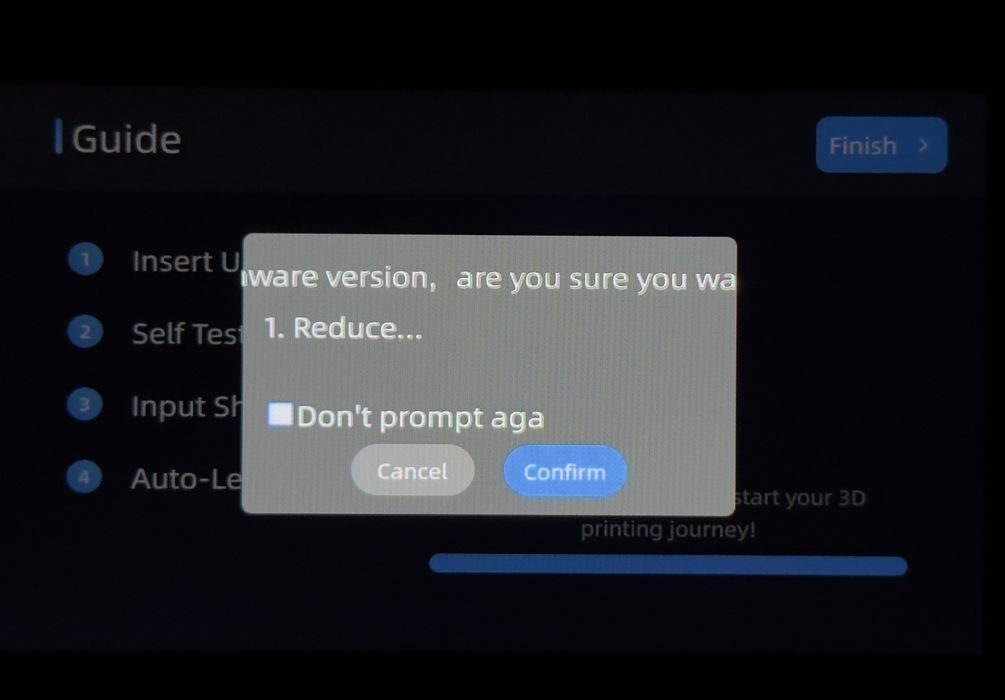
When loading filament, I noticed this message on the S1. The text is horribly wrapped, and I don’t really know what it’s trying to tell me. This was the first of many minor software issues that I encountered while testing.
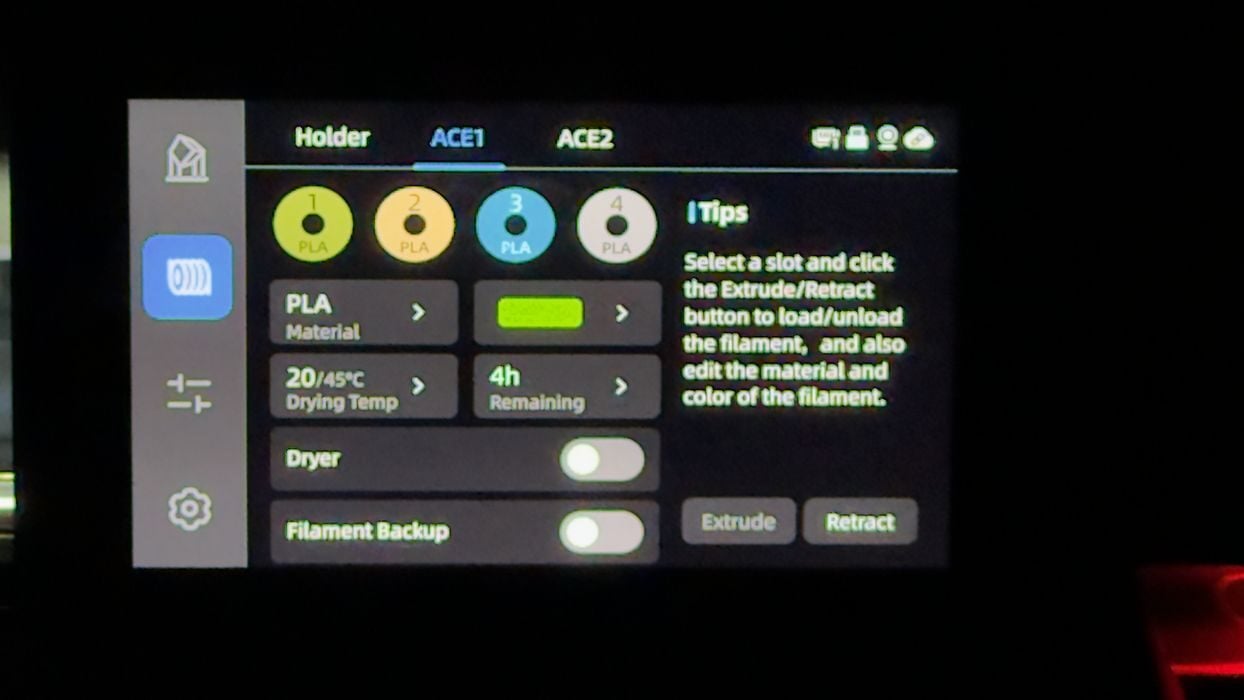
After loading the spools, the ACE PRO can read the RFID chip on recent Anycubic spools. It understands the material type and color. For third-party spools, you have to manually tell the ACE PRO that information, which is very easy to do.
Unless you have a spool of PCTG, which is not on their pop-up menu of material types. We’ll get to that later.

My ACE PRO was fully loaded and ready for action.

The S1 has an internal memory that comes with a number of pre-made print jobs. Here you can see some of them.
Unfortunately, the display cuts off the filename quite severely, meaning you often cannot know what material each job is intended to use. Fortunately, I was able to identify a couple of jobs with known materials and was able to proceed.
Via Anycubic