
Our hands-on look at the Anycubic Kobra 3 Combo continues with setup, calibration and operations.
This is part two of a three part series, please read parts one and three.
Anycubic Kobra 3 Combo Setup and Calibration
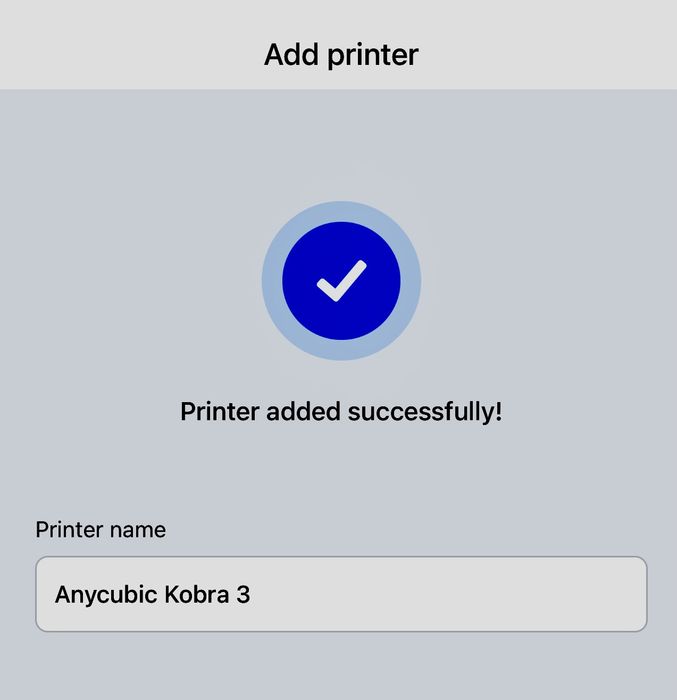
At this point the Kobra 3 asks you to set up the machine on the Anycubic app, which is straightforward to do. I already had it from using other Anycubic devices, but those new to Anycubic will have to install it and sign up for their cloud service.
From the app you will be able to monitor and control the printer, although by default the Kobra 3 does not come with a webcam. You can attach one, however.
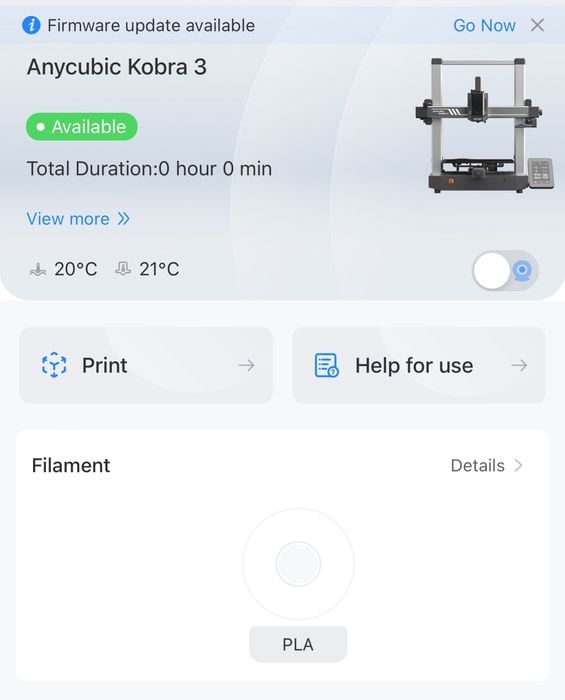
The app informed me that there is a pending firmware update, which is convenient.
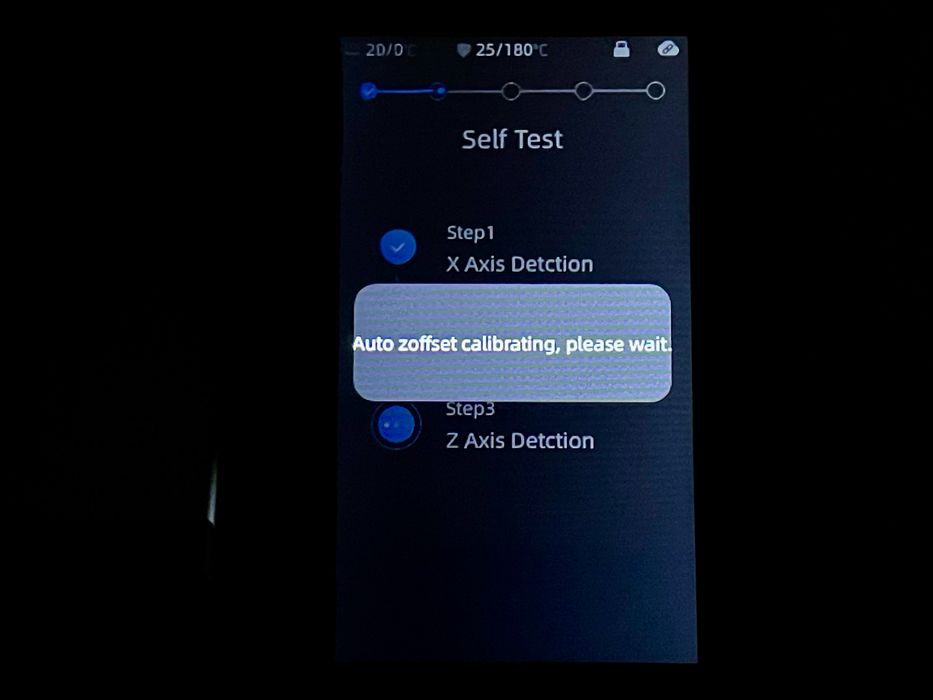
The Kobra 3 performs an auto calibration routine where it detects axes and sets the Z-gap automatically. This is a very welcome feature as the Z-gap is critical for print adhesion. Having it set perfectly by the machine itself is ideal.
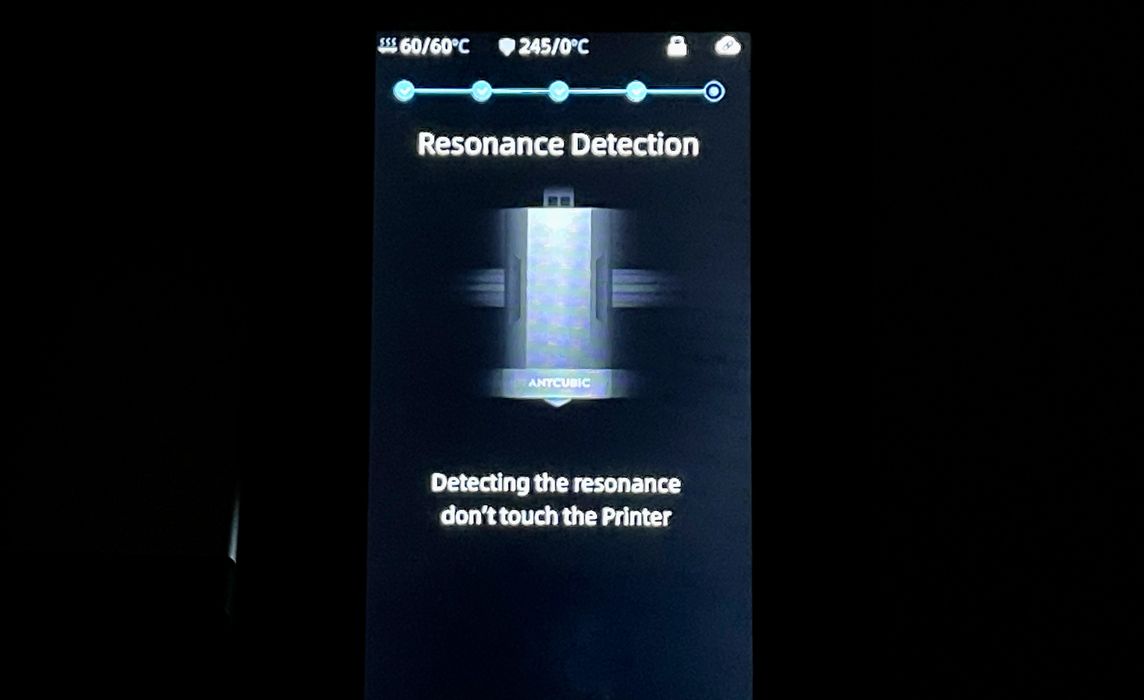
The Kobra 3 is a high speed FFF 3D printer, and to achieve high speeds it must perform a vibration test. The test calibrates the parameters required to compensate against vibration, which should ensure high quality prints at extreme speeds.
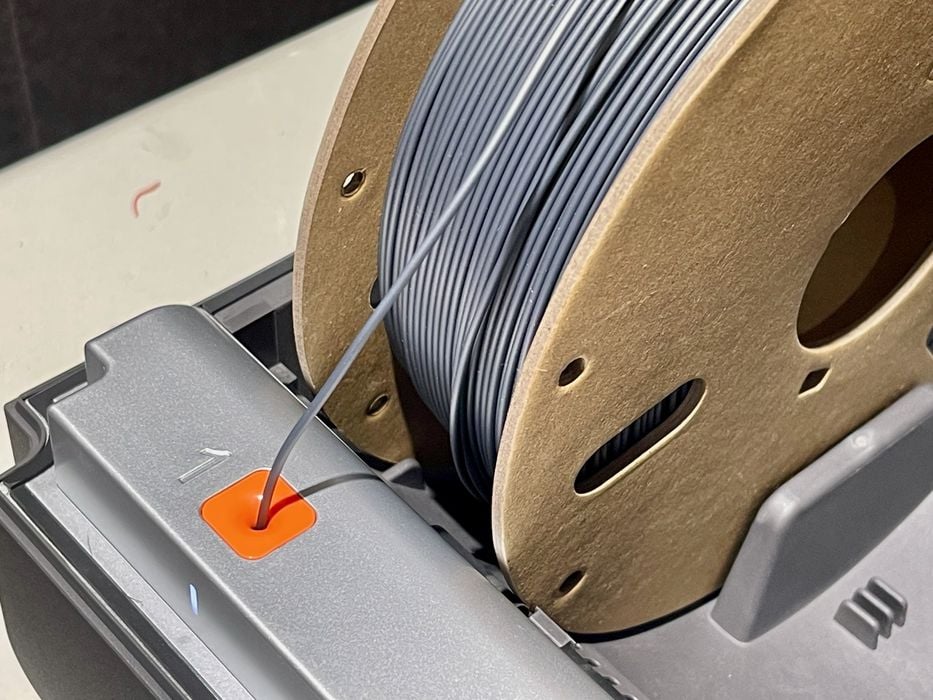
Loading filament into the ACE PRO turns out to be quite straightforward. Spools are mounted into one of the four slots, and the end of the filament is pushed into the corresponding ACE PRO hole until it is detected and slurped up. The ACE PRO fires the filament down the tube towards the toolhead.
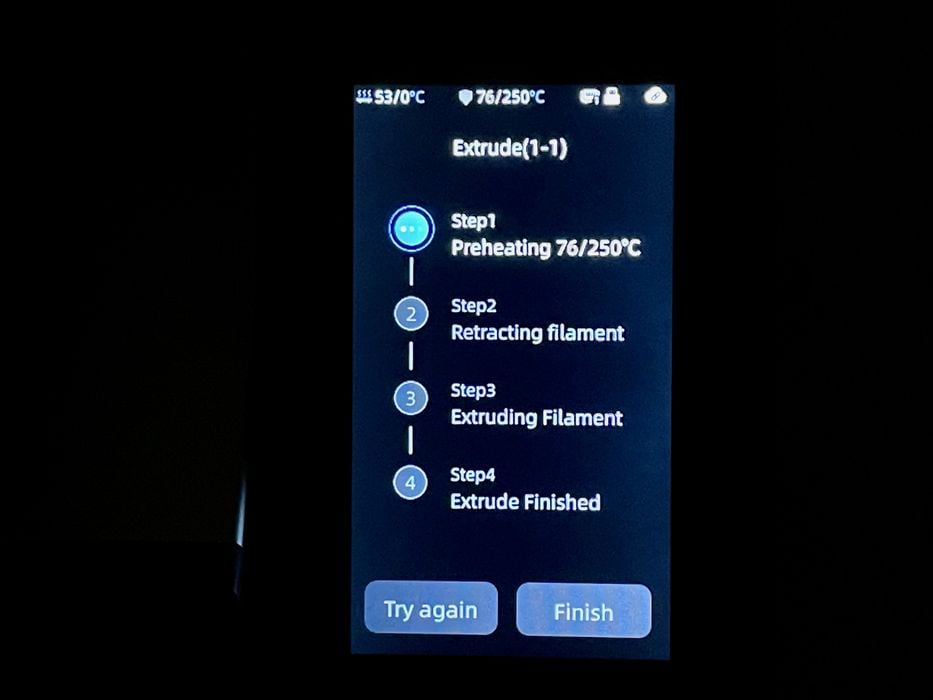
Using the touchscreen I attempted to extrude some filament. I noted that the filament load and unload processes always set the toolhead to a whopping 250C to ensure any common material is handled properly. In fact, it won’t let you extrude or retract without first going to 250C.
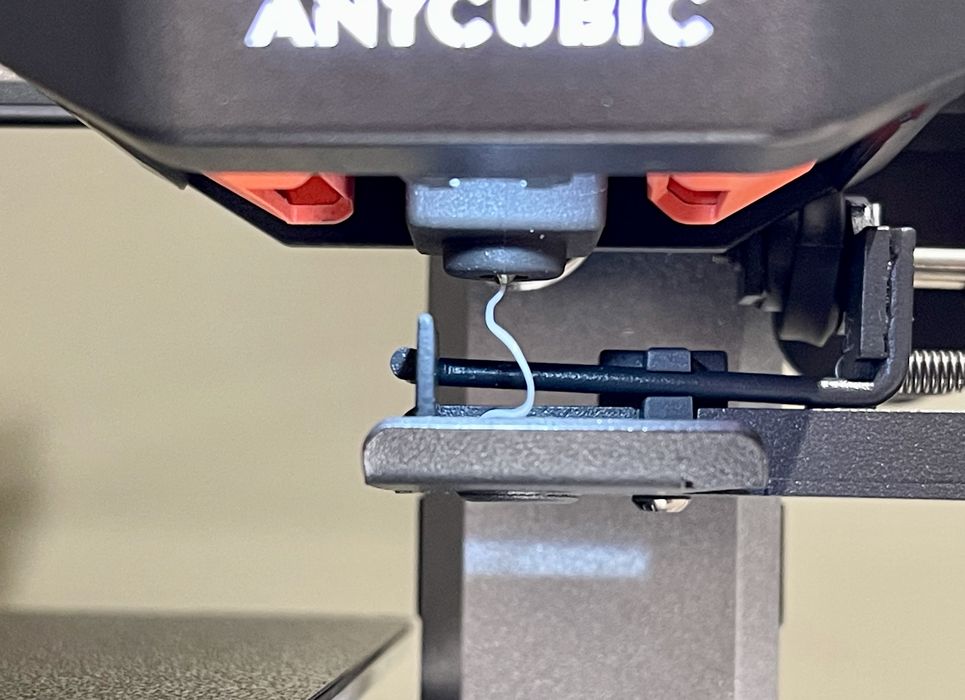
The toolhead rapidly heated up, and I was soon seeing material extrude. It appears that the factory had tested this toolhead with white material previously.
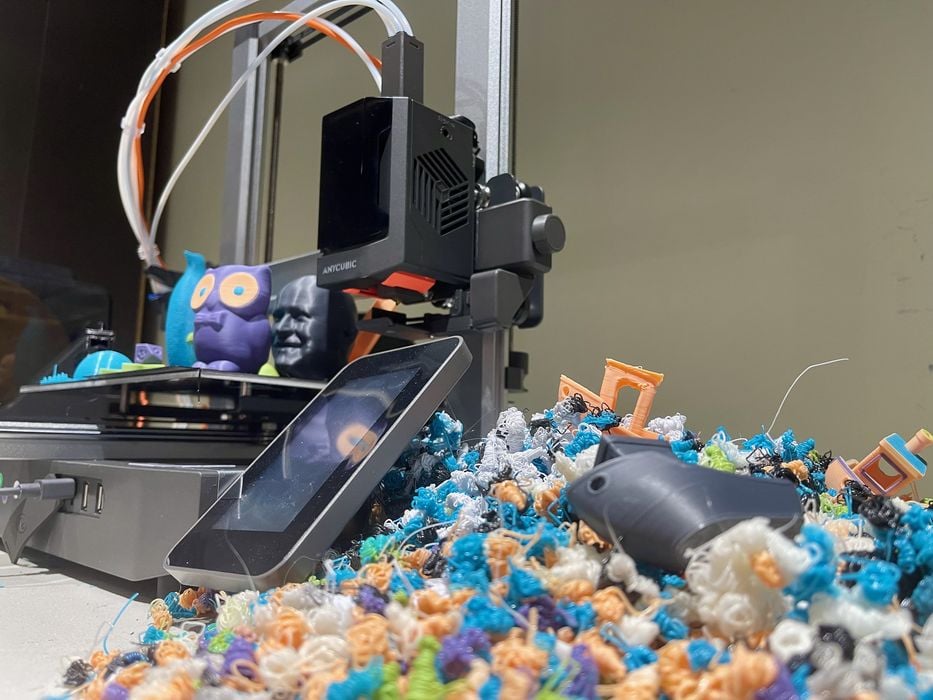
Then something interesting happened: the Kobra 3 performed its first “poop” by ejecting this extrusion to the right-hand side of the Kobra 3. This turned out to be the first of very many poops, as we will see.
Anycubic Kobra 3 Combo Operations
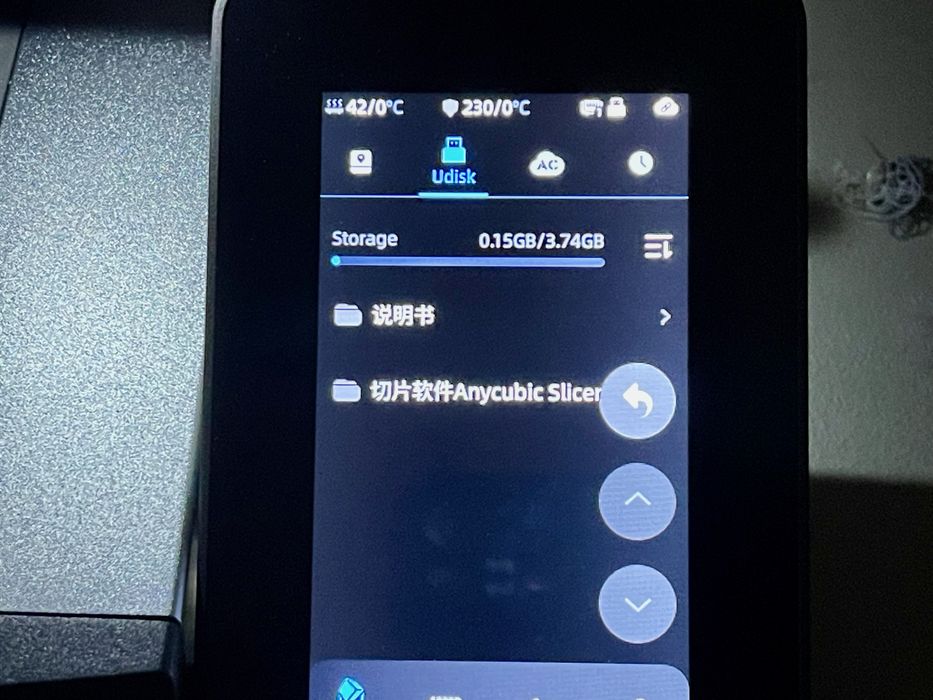
I went looking for some pre-sliced files to print, as they are typically provided with new 3D printers and will almost certainly work. However, when looking at the supplied USB stick where such files typically are stored, I was presented with Chinese filenames.
Using Google Lens I was able to visually translate this, but it seems that the stick contained only the manuals and software. Anycubic might consider having file folders for the different languages.
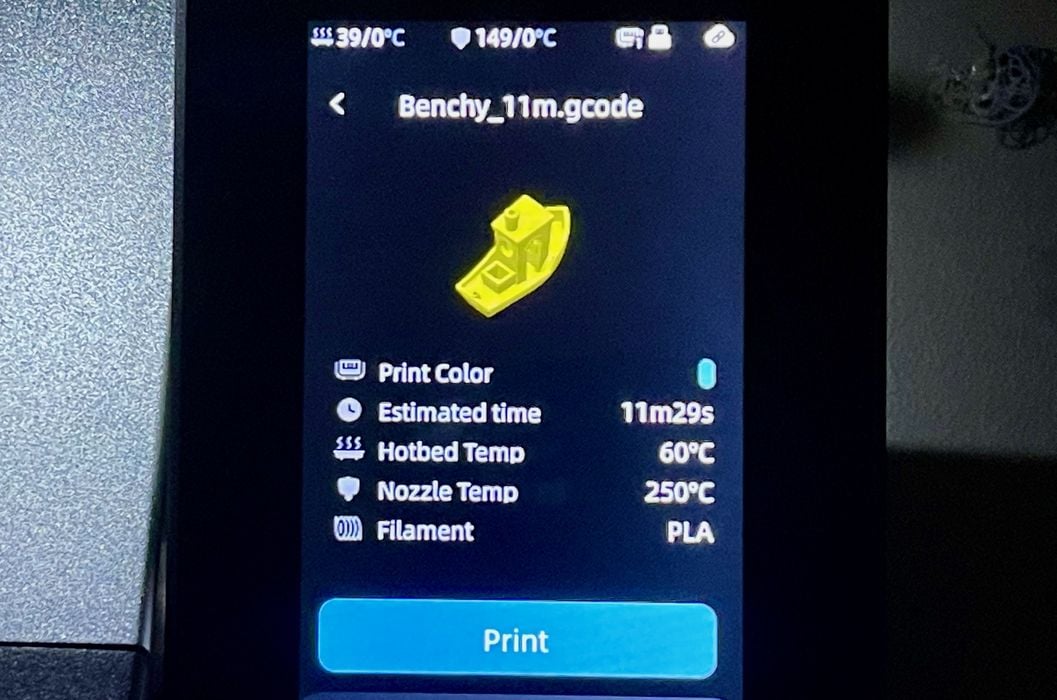
Eventually I found a pre-sliced #3DBenchy file on the machine, and noticed it was to print in only 11:29, which is very fast.
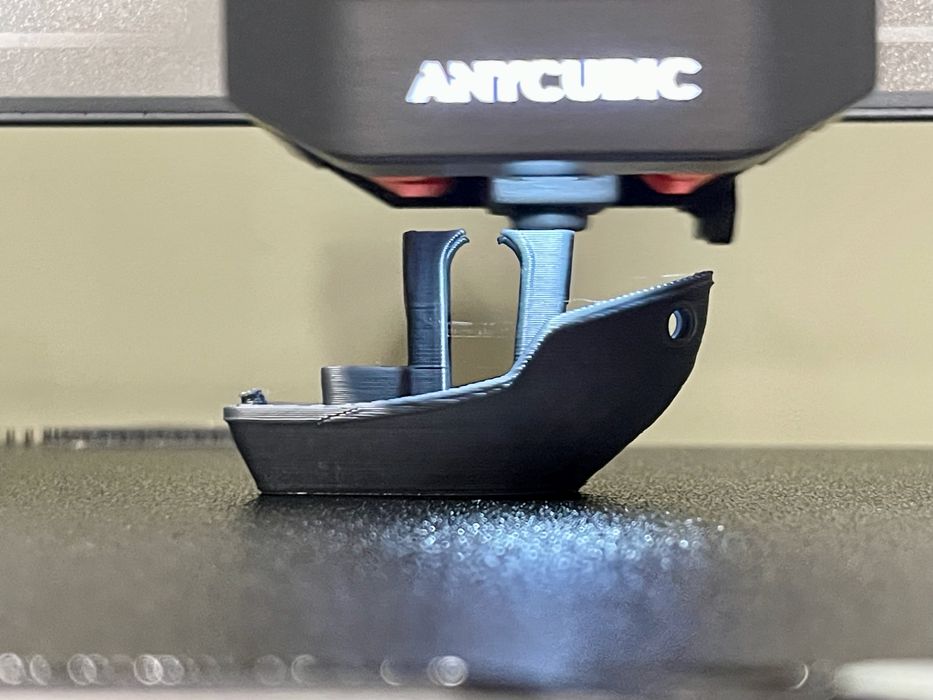
The pre-sliced #3DBenchy did indeed finish in 11:29, and came out with pretty decent quality. The Kobra 3 can print quite fast, if you have the right settings. However, I later discovered that the stock print profiles don’t have the settings used to achieve the high speed #3DBenchy. The stock settings slice the boat to print in a huge 43 minutes. To get faster prints you will have to figure out how to tweak the settings yourself.
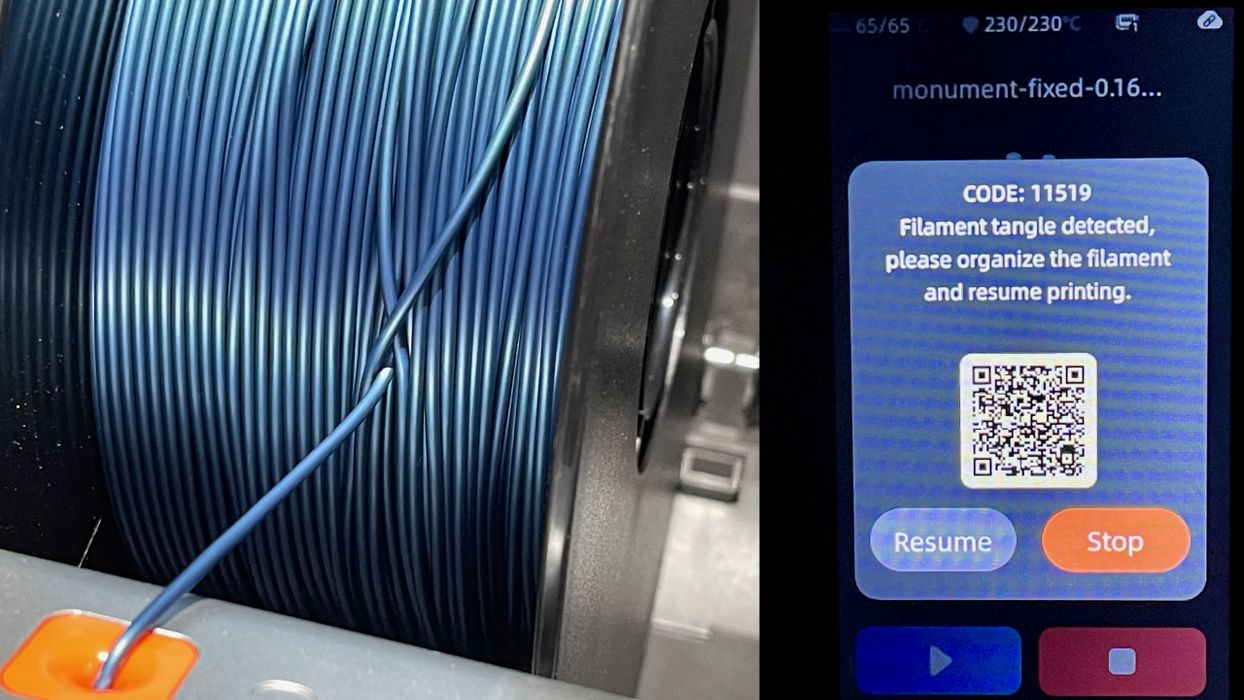
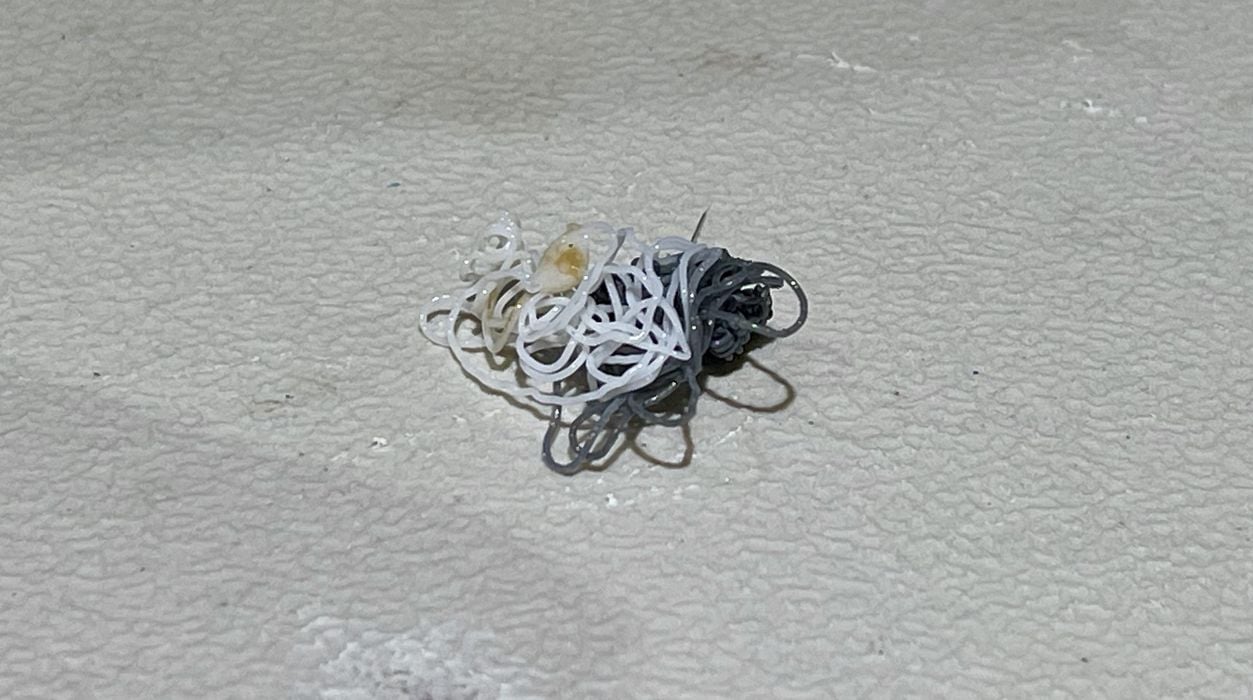
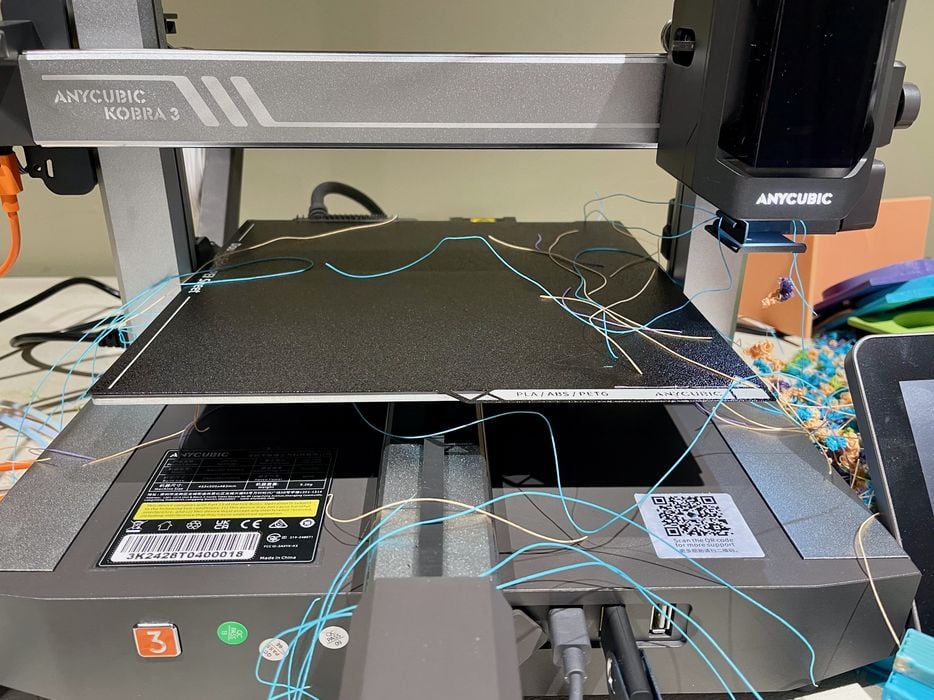
The Kobra 3 includes some intelligent sensors to identify several common problem situations. One of them is a filament tangle. Here we see an actual, live tangle in progress. The Kobra 3 correctly detected the tangle, which I then resolved by removing the filament.
The ACE PRO will detect filament spools automatically through an RFID chip in the spool. However, this works only for certain Anycubic spools. Newer spools from Anycubic worked fine, but some older (last year) spools from the company don’t seem to have the chip.
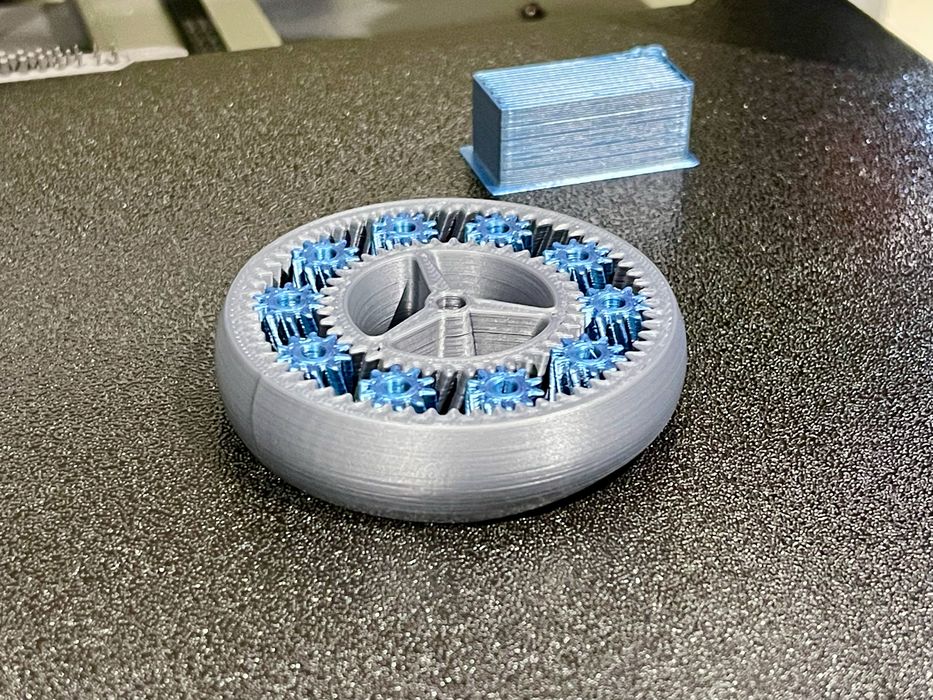
I attempted a multicolor print using AnycubicSlicer desktop software. This particular model has two shells, so I simply assigned one color to each. The print came out pretty well, except that the first layer had a touch of elephant foot, fusing the gears together. I wondered about the automatic Z-gap calibration, as this should not happen if the Z-gap was correct.
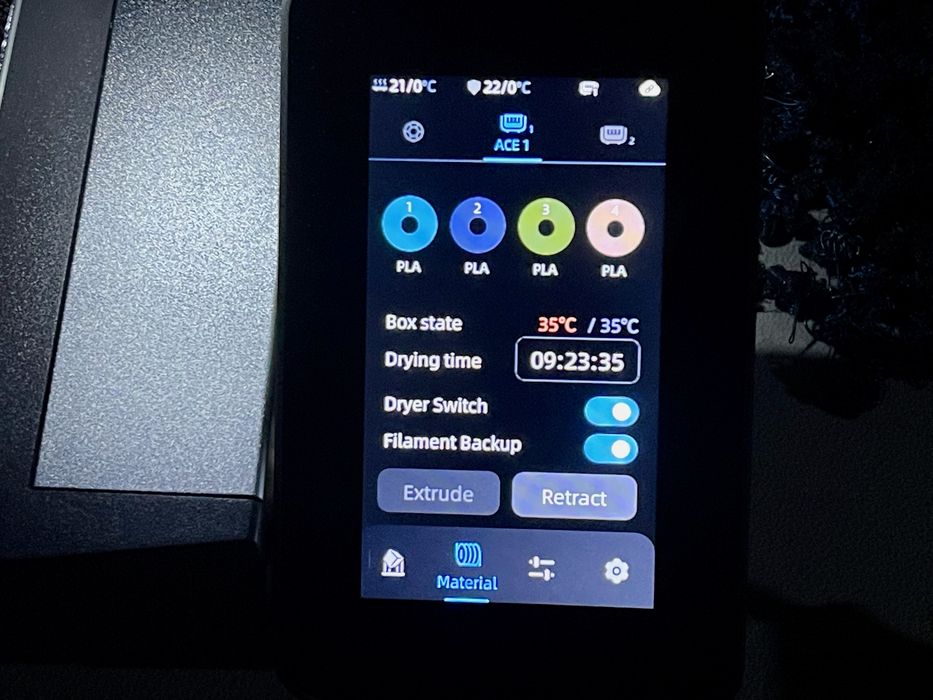
This is the touchscreen interface for the ACE PRO. Spools automatically show material type and color if RFID detected, but if not you must touch the spool and edit in the correct data. This data then can flow back to the AnycubicSlicer software when preparing jobs.
Also note there is a “Dryer Switch”, which turns on the dehumidifier in the ACE PRO. You can set a drying time, after which the dehumidification stops. This is very handy.
There’s also a “Filament Backup” toggle. The idea here is that if you have two identical spools, the ACE PRO will automatically switchover if one is empty. That means you don’t have to swap spools on a long job!
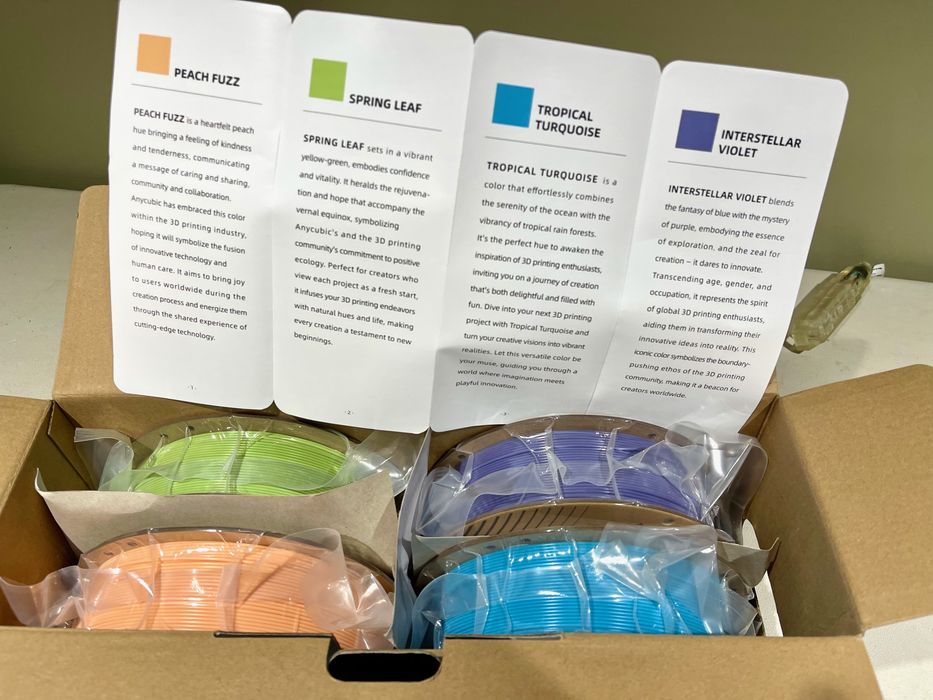
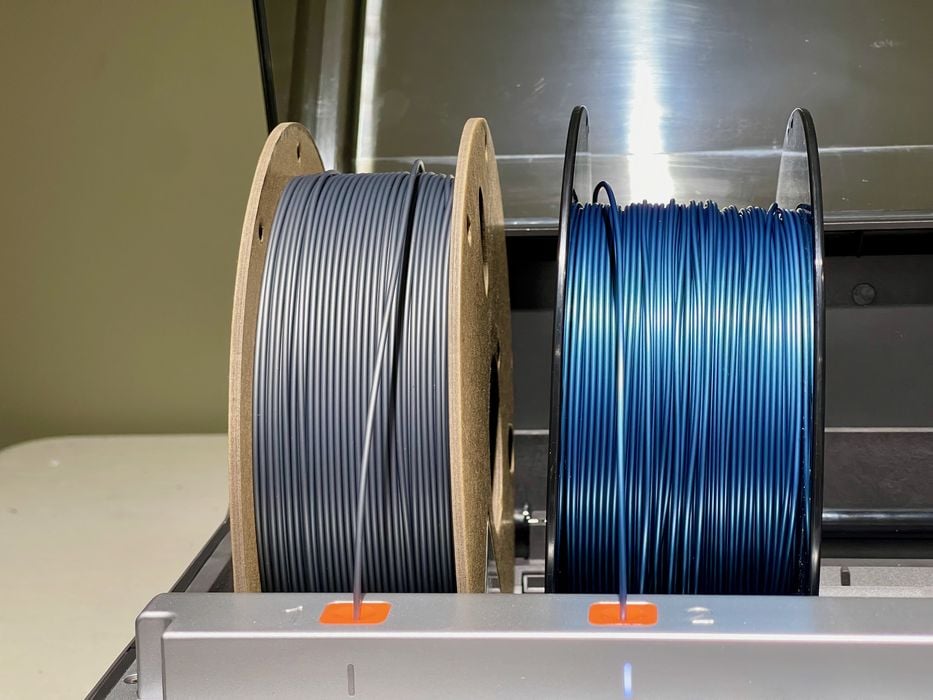
Anycubic sent along a box of their latest filament colors. These are really attractive, with orange, green, blue and purple. Of course, they have fancy brand names, but they look really good.
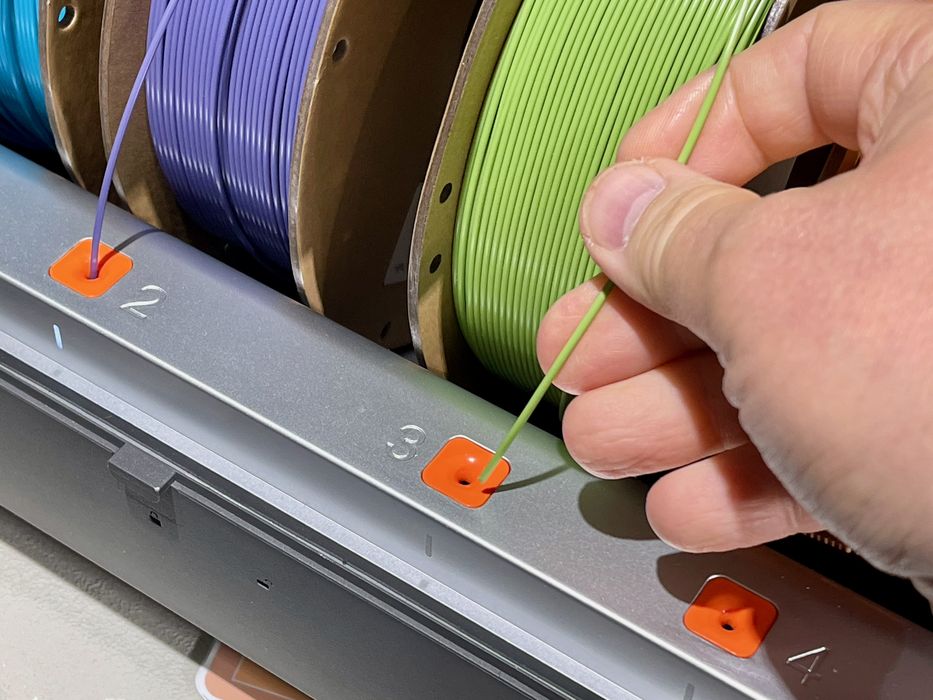
Loading these colors was again very straightforward, you just pull out the old filament — which isn’t normally fused to the hot end — and insert the new filament.
I was getting a bit concerned by the growing poop pile beside the Kobra 3.
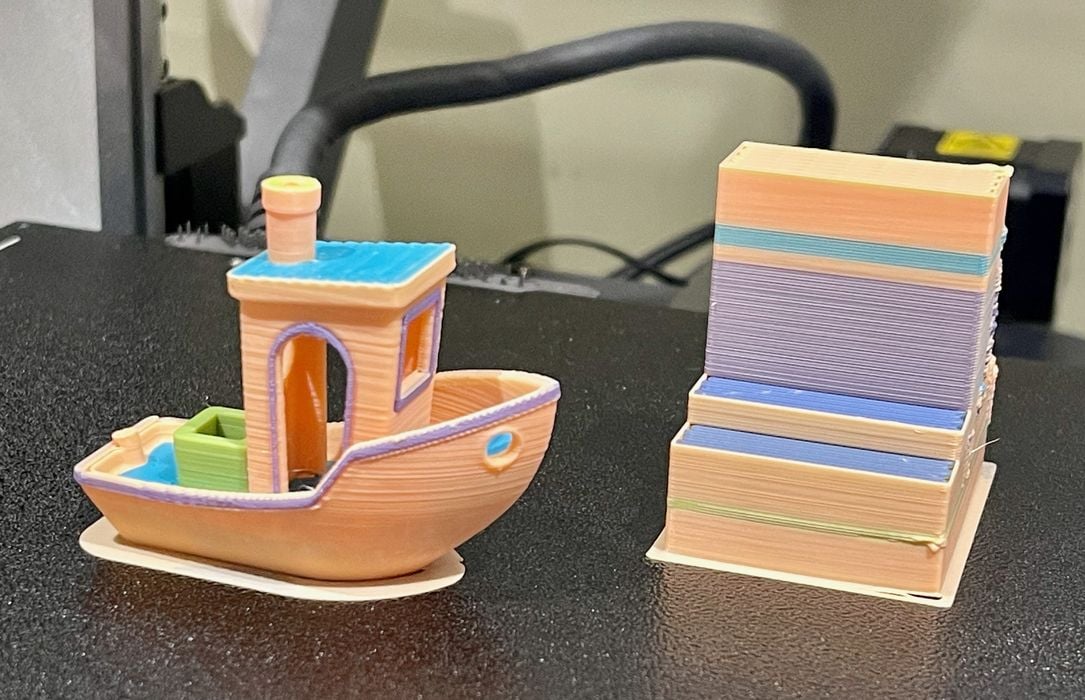
I attempted to print a multicolor object by painting. I chose the #3DBenchy, and used AnycubicSlicer to paint sections of the boat.
I found AnycubicSlicer not particularly helpful when painting, as it didn’t really have a “paint all of this surface” option. I ended up spending most of an hour tediously dragging the mouse over triangles to color this model.
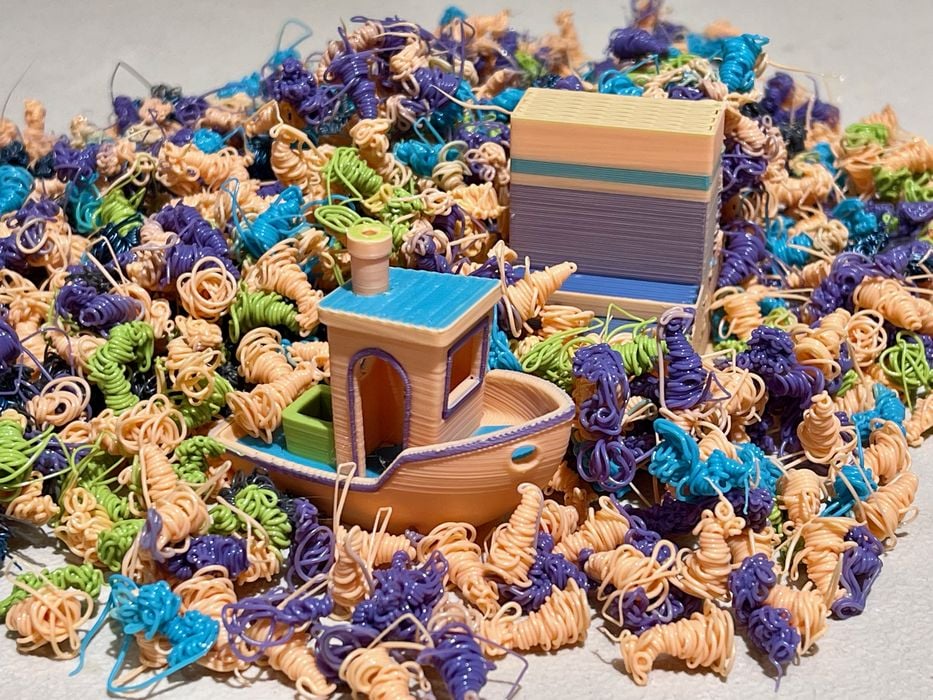
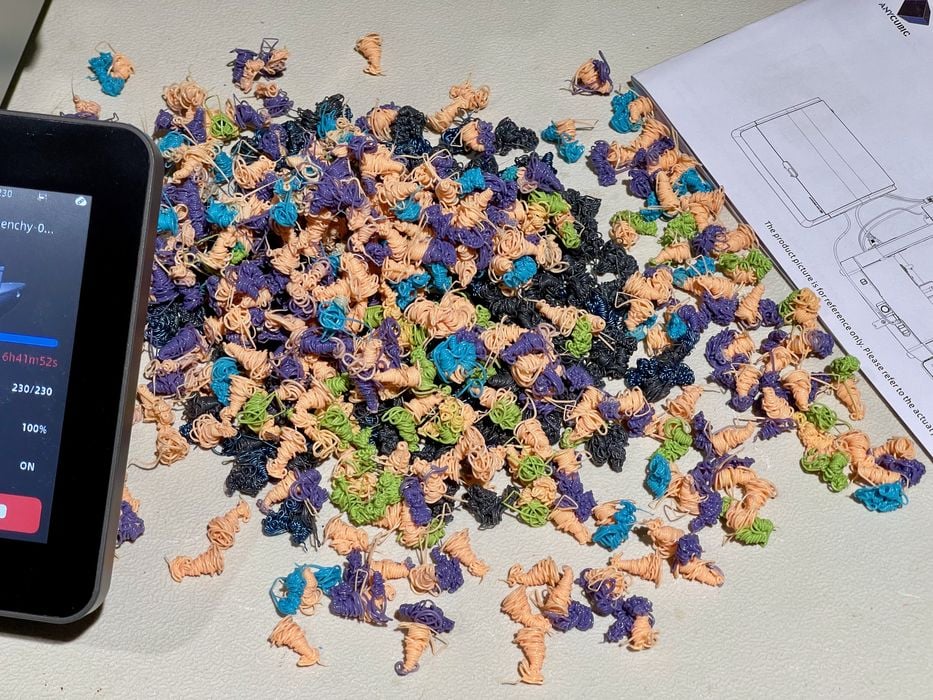
While the print finished successfully, it took almost seven hours to complete. A bigger problem was the enormous amount of waste produced by this otherwise straightforward print job. Note that the default slicer settings also required a massive purge block. I am familiar with 3D printer poop, having used multiple other multicolor devices. The Kobra 3 seems to produce more than the others.
I was actually sad to see how much material was wasted just to deposit a couple of millimeters of color on many layers. I’m guessing this job was more than 80% waste and less than 20% model.
This became an ongoing concern, as it appears that Anycubic has not optimized purging in their print profiles. It would be entirely possible, for example, to retract the filament before cutting it. That alone would eliminate a huge amount of waste. You can also “purge into infill” and other settings to reduce waste, but they aren’t used in the default profiles.
It’s possible to optimize these yourself, but the default profiles from Anycubic perform as I’ve shown. There doesn’t seem to be any advice from Anycubic online for operators to do this optimization.
This multicolor print had good results, but the elapsed time was almost nine hours. That seems way too long, and a great deal of the duration was taken up by length filament purges. These produced even more poop for my growing pile.
An interesting observation is that the ACE PRO does not continuously feed filament when printing like other spool switching accessories. Instead it seems to give a short push of filament every couple of seconds, remaining stationary inbetween — even though the toolhead is consuming filament. I’m not sure how this works; perhaps there is sufficient slack in the tube for the toolhead to use?
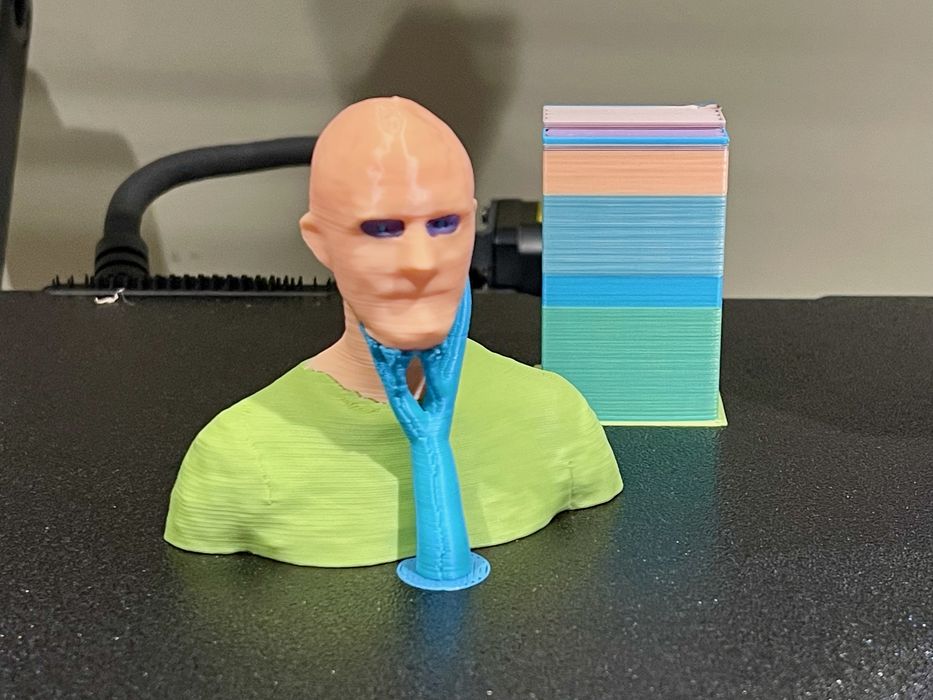
Monocolor prints worked reasonably well, and often had better surface quality than multicolor prints for some reason. However, the default print profiles aren’t nearly as fast as the machine can run. The stock 0.20mm profile tops out at 300mm/s for infill, for example, with a lot of the job running at 200mm/s or less. I had one instance of some type of overhang failure, but normally this wasn’t happening.
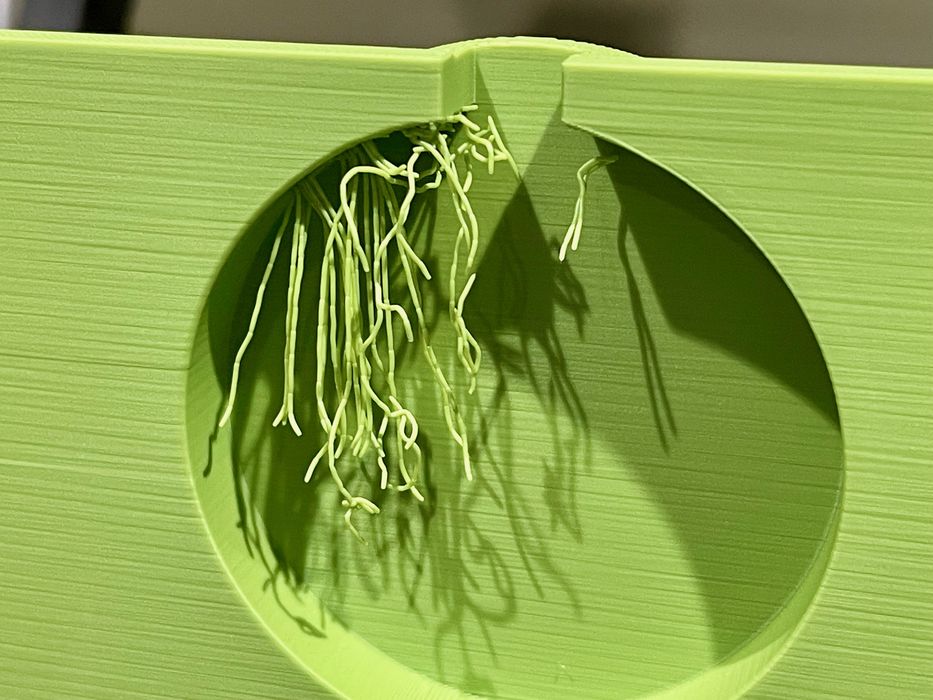
Then things started getting strange. Here you can see my supports fell off the print plate. I did notice that the adhesion was not very good; material easily detaches from the plate even when hot. I began to have a series of adhesion problems.
To rectify this, I repeatedly washed the print plate, dried the filament, etc. Nothing would make the adhesion better.

I should point out that when I toggled the dryer switch on the touchscreen, I received this strange message. I don’t know what it’s trying to tell me. Should I NOT dry the filament? That seems to be what it’s saying.
I dried the filament anyway.
A normal step to solve the adhesion issue would be to tighten up the Z-gap, squishing the filament harder into the plate. However, I could not find any way to do this on the Kobra 3! The Z-gap was set automatically during calibration and there was no way to adjust.
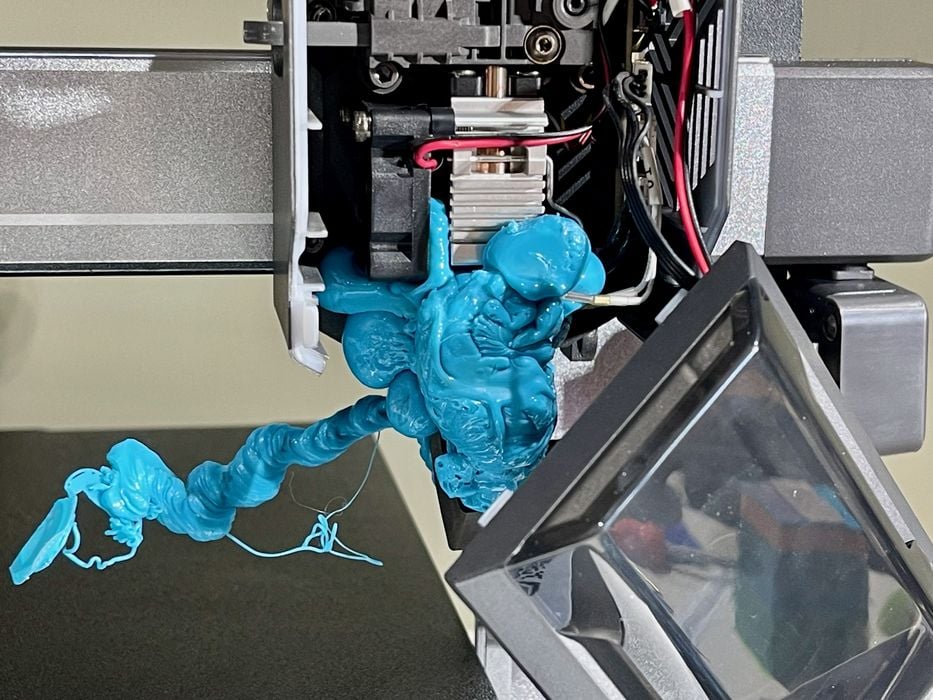
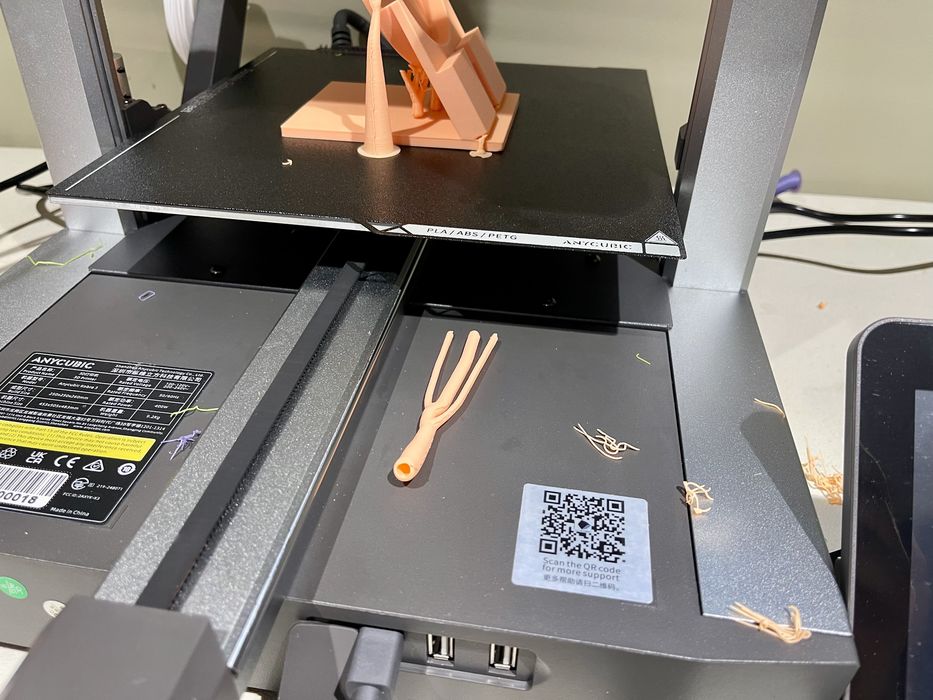
A massive print failure happened, as you can see above. The print came loose from the plate, as had been happening repeatedly. Somehow the blob of material got stuck on the nozzle and it all backed up into the mechanism. This is by far the worst 3D printer mess I’ve ever experienced.
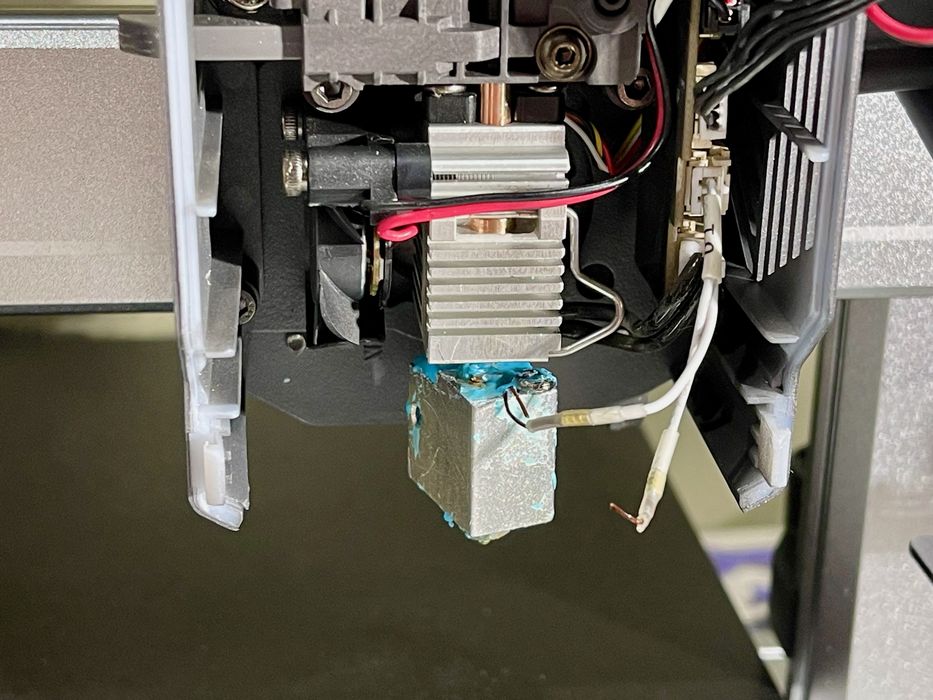
I heated up the toolhead and very carefully picked off the plastic, but found that the expanding plastic had grabbed one of the thermistor cables and ripped it off. The toolhead was dead.

Fortunately, Anycubic quickly rushed out a replacement toolhead for me, which was just as easily installed as the original, and I was back in action.
I was getting very wary of print adhesion issues. Almost all print attempts would fail in spite of any moves I made. I was told by Anycubic that the new firmware release added an ability to dynamically adjust the Z-gap, which should be now available on all Kobra 3 units.
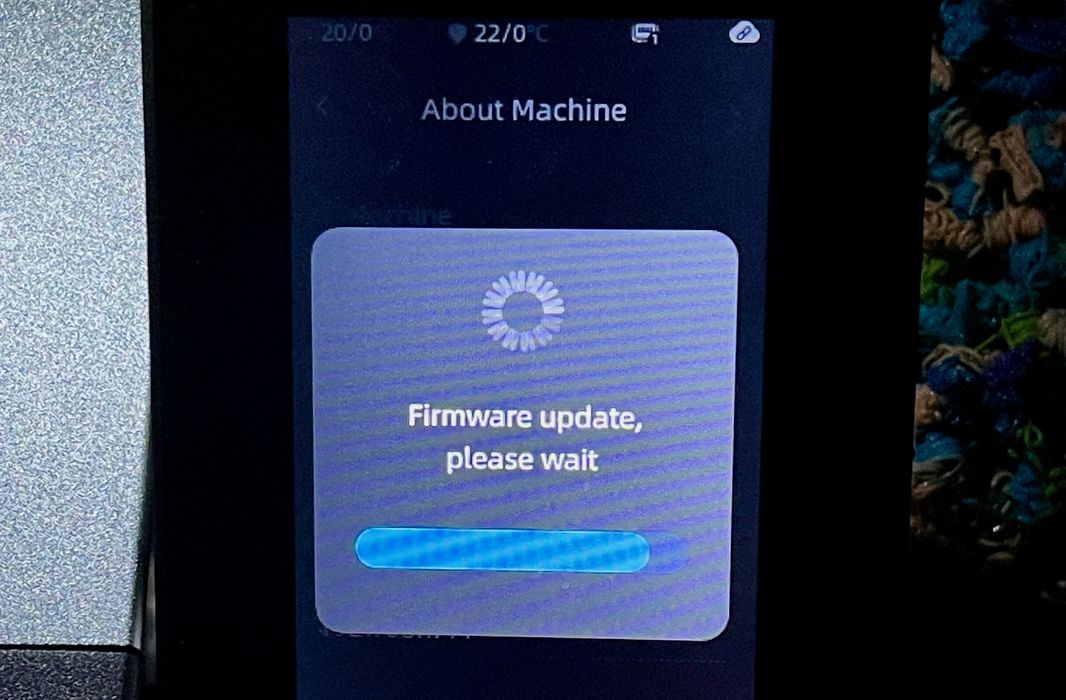
I recalled there was a firmware update available, so it was time to use it. However, the online update stalled every time I tried it, and I could not do the online update. Eventually I had to ask Anycubic for the firmware update file, which still does not appear on their support website. This I manually installed via a USB stick.
Afterwards, I tried the Z-gap adjustment, and it’s very tricky to use. You call it up on the touchscreen, but the Kobra 3 keeps resetting the Z-gap to the default value after I changed it. I found that I had to wait until the toolhead was literally laying down my job before I could change the Z-gap.
There does not seem to be a way to permanently adjust the Z-gap, so on every subsequent job I sat at the machine to make the manual adjustments on the first layer. This wasn’t optimal and basically eliminates any benefit of starting a job from the app or slicer.
This is part two of a three part series, please read parts one and three.
Via Anycubic