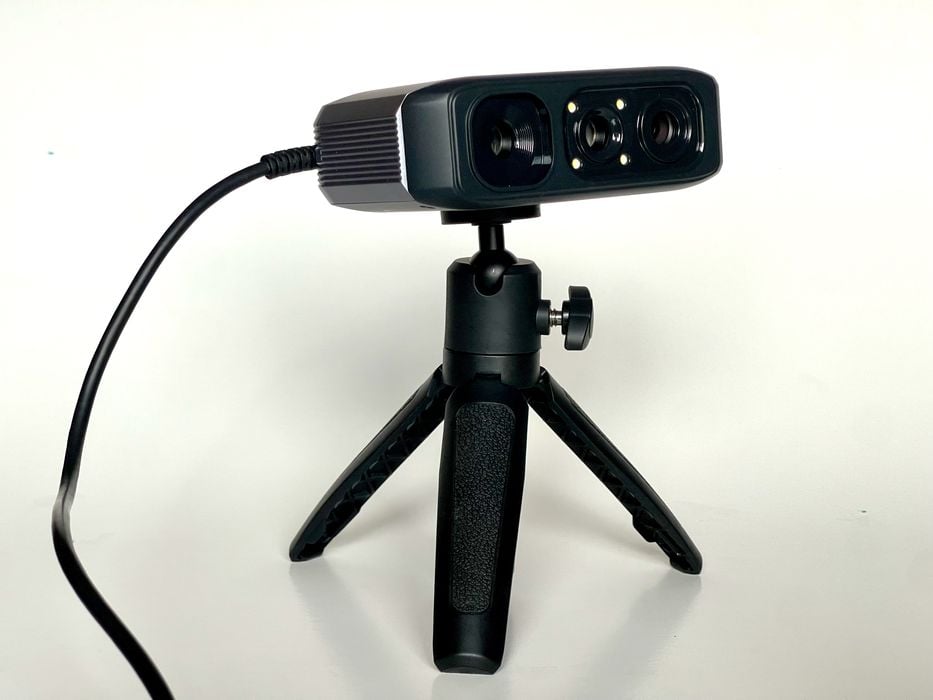
We’ve been testing the new Moose Lite 3D scanner from 3DMakerPro.
This is part one of a three part series, please read parts two and three.
3DMakerPro Moose Lite Background
3DMakerPro produces an increasing number of different format 3D scanners, several of which we’ve previously tested (Mole, Seal). This week we’ve been working with the new Moose Lite, which is part of the new “Moose” series. There’s actually only two models in this line, the Moose and Moose Lite.
What’s the difference between the two models? They are essentially identical except for two things: the Moose uses a blue light for scanning, while the Moose Lite uses near infrared; and the Moose captures color textures, while the Moose Lite captures gray-scale textures only.
Oh, and there is one more difference: the price. The Moose Lite retails for US$544 currently, while the Moose is quite a bit more expensive at US$953.
3DMakerPro Moose Lite Specifications and Features
The Moose Lite can operate in turntable or handheld mode, much like the company’s previous models. It can scan in either “geometry”, or “texture” modes, which refer to the method by which it identifies shapes.
In turntable mode (which 3DMakerPro calls “Table Scan”), a small object can be placed on an optional rotating turntable. This is a quick and easy way to obtain 3D scans, as you will see later.
The other mode is handheld (which 3DMakerPro calls “Easy Scan”) involves carefully moving the scanner along the subject until it’s entirely captured. This mode is more challenging to use, and I wonder why it’s called “Easy Scan”.
The Moose Lite offers some significant performance. It can resolve details as small as 0.10mm, with a positional accuracy of only 0.05mm. That’s quite amazing for such an inexpensive 3D scanner. Note that its sibling, the Moose, resolves 0.05mm with 0.03mm accuracy, should you require even better quality 3D scans.
One interesting feature included in both models is AI functionality. This manifests in two ways. First, the AI tech somehow assists with tracking objects in handheld mode. That’s important, because loss of tracking is one of the biggest issues when operating a handheld 3D scanner.
The second AI benefit is a way to reduce the occurrence of what I call “shadows”. These are duplicate 3D structures that occur when the 3D scanner loses track of its position and re-scans the structure. Evidently the AI positioning feature is able to reduce this effect.
3DMakerPro Moose Lite Unboxing and Assembly
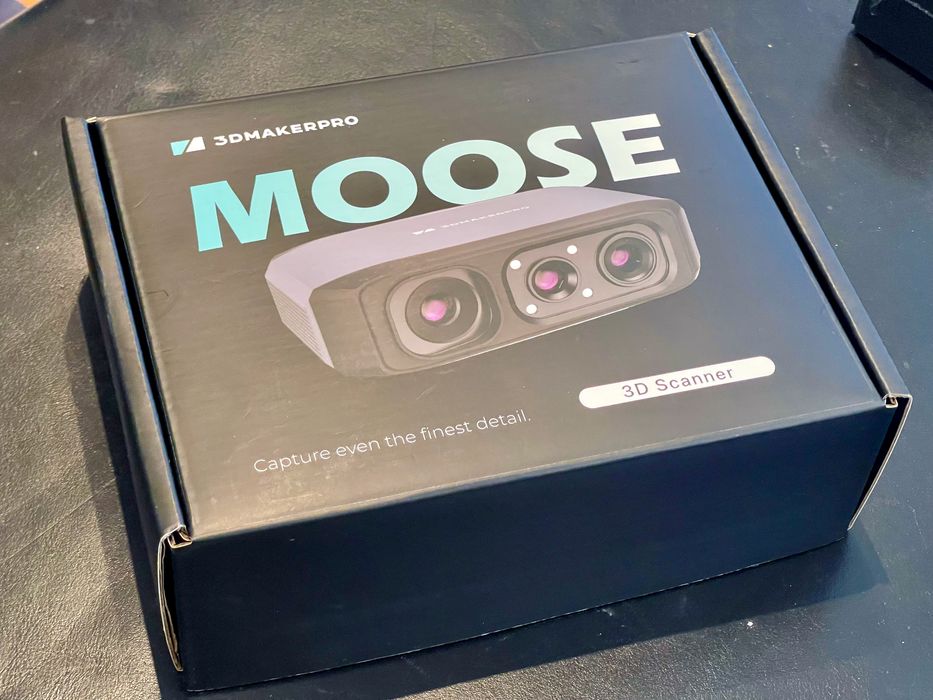
There’s not much to say here. The Moose Lite is shipped in a small box with protective sleeve. Included with the unit I tested were the optional mini-tripod and optional turntable.
The Moose Lite easily bolts onto the tripod, although you’re doing that only when using turntable mode (sorry, I refuse to use 3DMakerPro’s names for these modes).
If you have your own tripod it’s very likely the Moose Lite can bolt onto it because it has a standard mount, so the optional tripod might not be necessary.
3DMakerPro Moose Lite Setup and Calibration
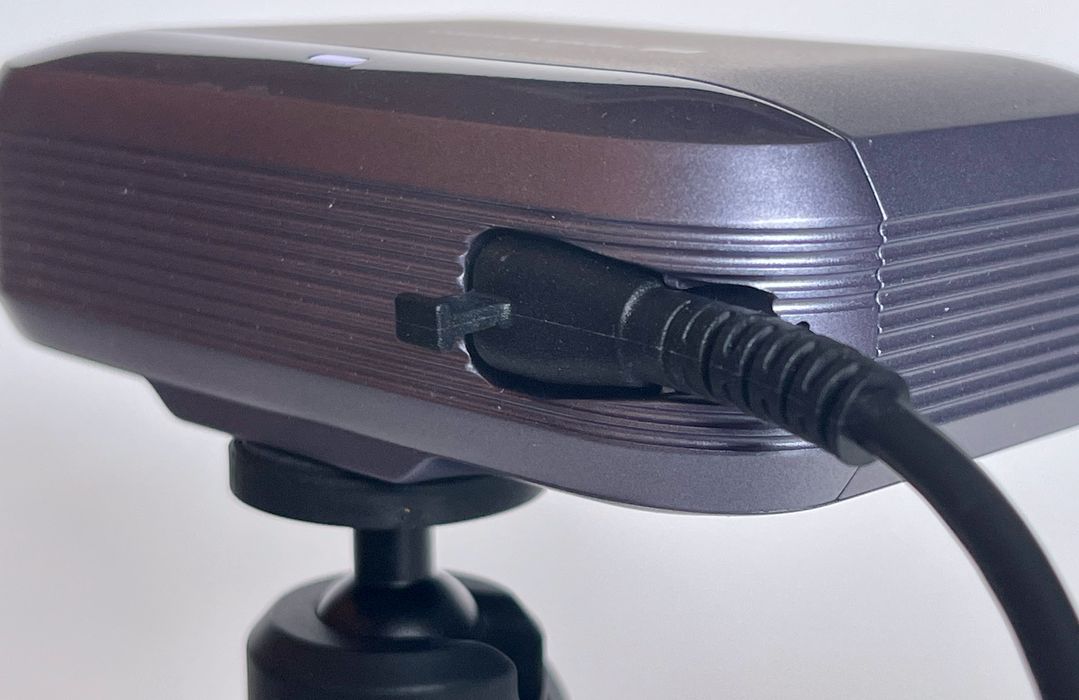
Setting up the Moose Lite is easy: there’s a three-ended cable that connects the scanner, power supply and computer. You can’t mess these up because they are all different connectors. Note that the cable to the scanner is angled for handheld mode, and they provide a cool little tab to make it easy to pull out.
The calibration process is interesting, and I both like it and not like it.
If you’ve used other 3D scanners they typically require a considerable process to calibrate them properly before use. This may involve use of special target accessories and lengthy procedures.
None of that is required for the Moose Lite.
Instead it seems that the device has already been calibrated at the factory, and you have to import the calibration details from 3DMakerPro to the software on your PC, JMStudio.
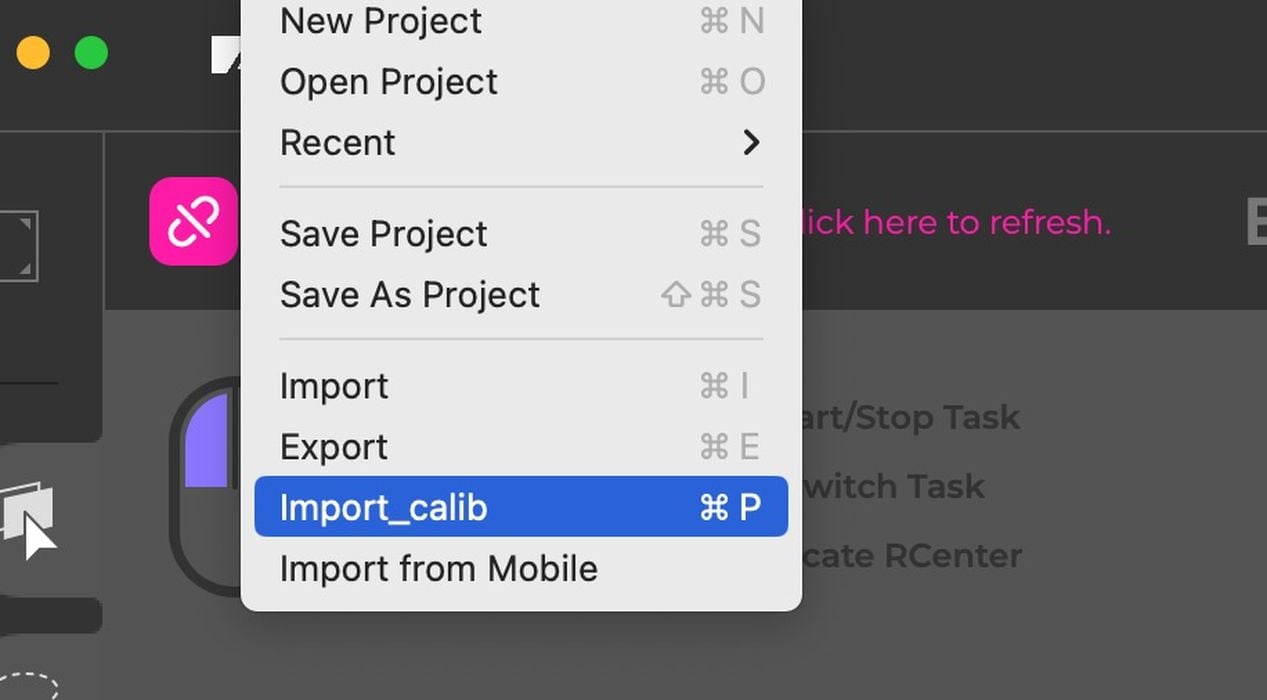
JMStudio has a simple process for this: File->Import Calib. This function can use the network to pull the calibration file from 3DMakerPro, and that’s what happens most of the time. In some rare circumstances it is also possible to manually import the file, if you have one provided by 3DMakerPro.
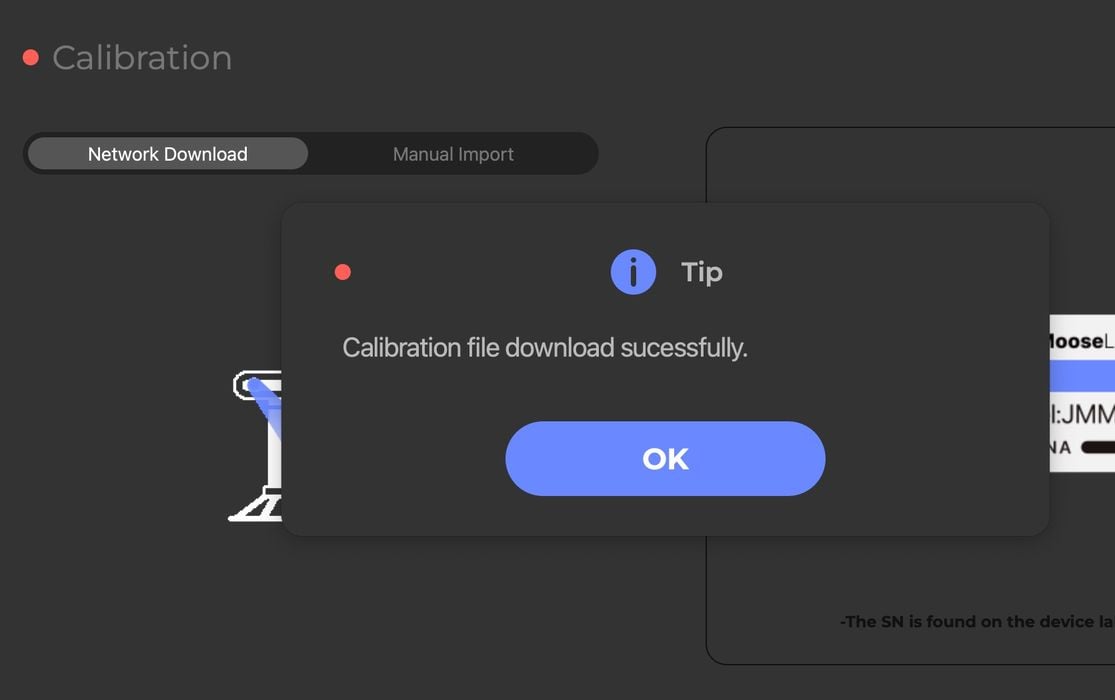
But I encountered an issue. For some unexplainable reason, 3DMakerPro requires that each 3D scanner must be matched to your 3DMakerPro online account. Did I say that you must login to JMStudio before proceeding?
When I launched JMStudio, it of course found that the scanner was unknown — it was new to me and my account. I imported the calibration file via network, and it’s all ok.

Except when I launched JMStudio a second time. It seems to have forgotten my Moose Lite! Then I got into an endless loop of logging in, and I was unable to proceed. Eventually I figured out a workaround, and here are the steps, should you find yourself in a similar situation:
- Disconnect scanner
- Launch JMStudio
- Go to scanning mode (either one)
- JMStudio complains there is no scanner
- Attach the scanner
- Import the calibration file (via network)
- Ready for scanning
Unfortunately this continues to happen each time I launch JMStudio. I have reported this bug to 3DMakerPro, and I expect it will be fixed. The other 3DMakerPro scanners I have do work correctly, so there’s something amiss with the Moose registration.
[UPDATE] 3DMakerPro advises this was an issue specific to only the initial batch of Moose 3D scanners, of which our test unit was from. They provided me with instructions on how to fix the issue, which involves completely removing the device from my account and then rebinding it. This issue should not be present in any of the current Moose 3D scanner units.
This is part one of a three part series, please read parts two and three.
Via 3DMakerPro
