
There’s a new craze in desktop 3D printing: bleach printing.
It’s a simple process that can be done by almost anyone with a desktop 3D printer and some imagination. It lets you “print” complex 2D patterns on textiles.
This video by “Mikey makes things” shows how the simple process works:
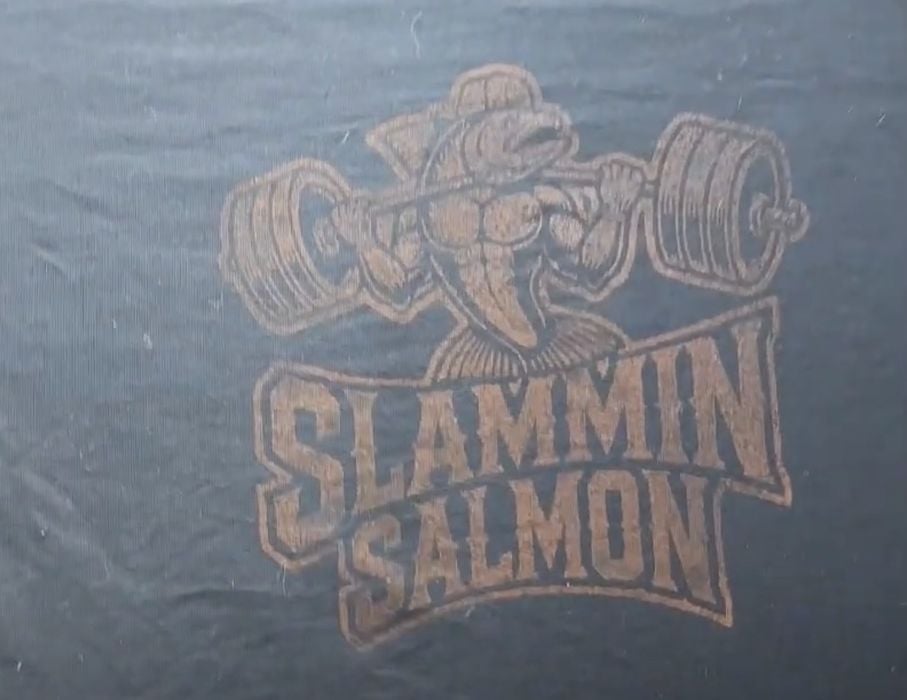
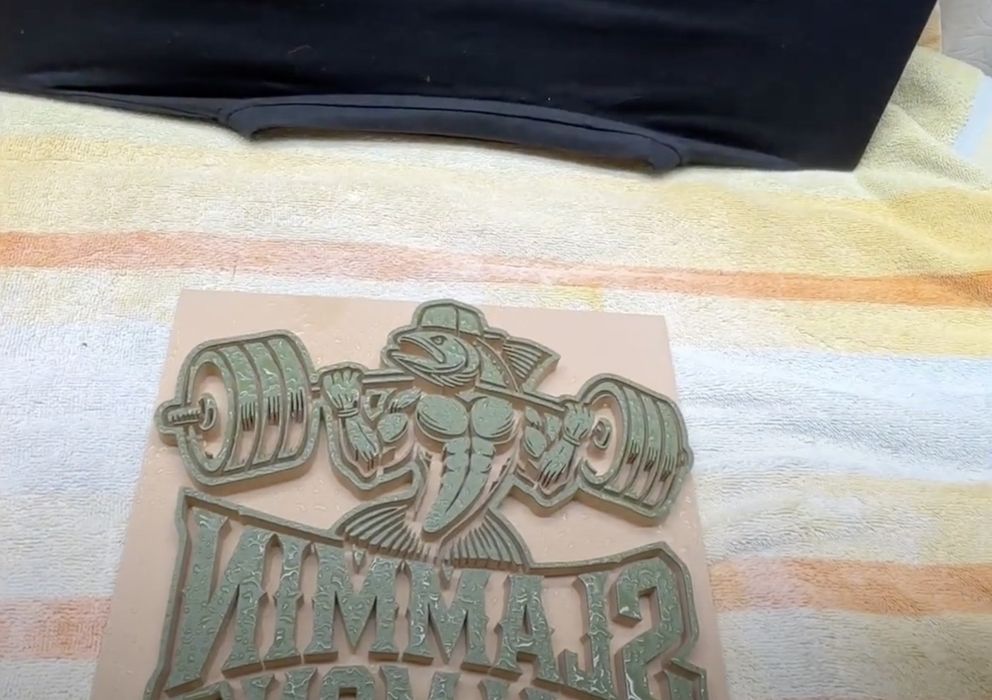
The idea is to print a “stamp” of a design, which is then sprayed with standard bleach. This is then pressed into a fabric, such as a T-shirt, where the bleach lightens the color to create the pattern.
With the easy access to image-generating tools like ChatGPT, it’s then possible to very quickly create amazing designs even if you aren’t a graphics professional.
There is some software work required to get the design to the 3D printer, however. Here are the steps involved:
- The outline of the design must be identified by a graphics tool, such as Adobe Illustrator or an equivalent.
- The outline is imported into a 3D CAD tool like Fusion 360, Blender, or others.
- The outline is mirrored because it will reverse again when stamped.
- Portions of the outline are extruded upwards 10mm or so to create the stamp.
- A flat base is added to the extrusion to hold all the pieces together.
- The final stamp model is 3D printed in a rigid material.
The rest is easy, as shown in the video above.
An interesting twist to the process is that the liquid bleach can bead on the stamp surface, and these beads add a texture to the bleached area. This can be quite attractive, but it also means you probably won’t get a “smooth” color using this process.
Another item of note is that this will work only on dark-colored fabrics. You can’t bleach a white T-shirt!
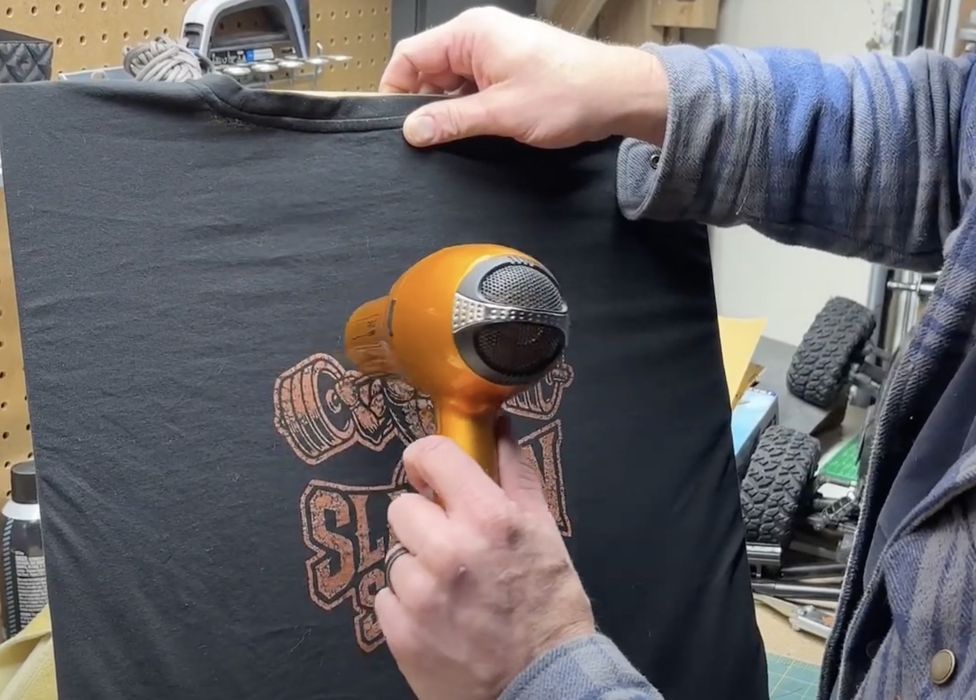
In the video you’ll also learn that it is critically important to dry the bleach as fast as possible to develop the highest contrast.
This process is so straightforward that I’m sure almost everyone with a desktop 3D printer and software can do it, and that includes you.
Via YouTube