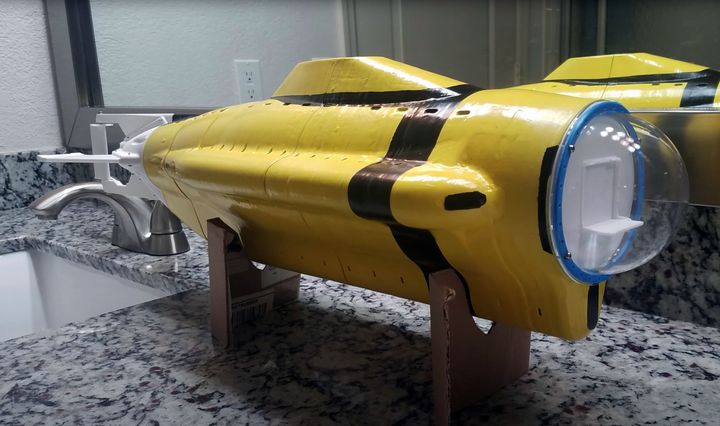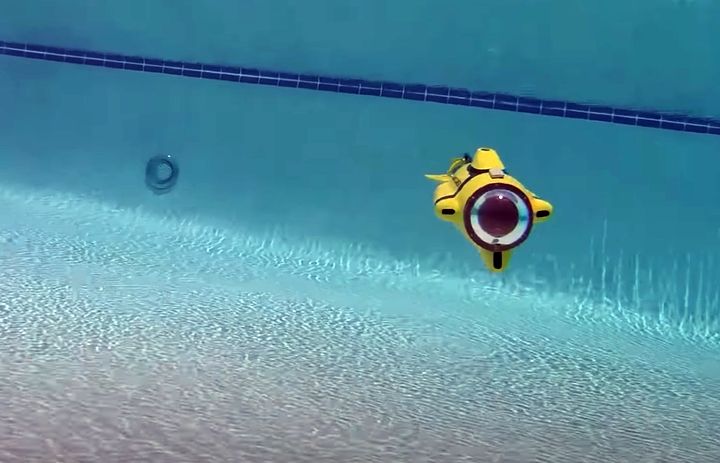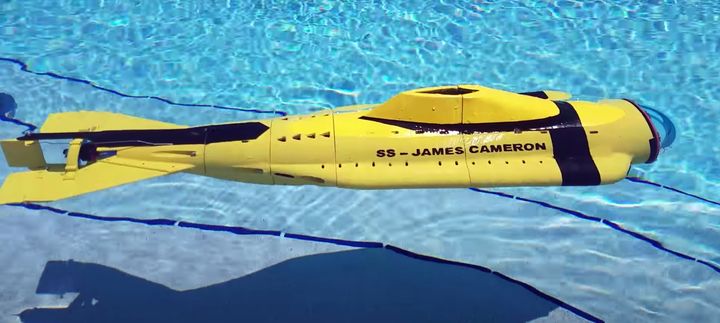
This week’s selection is the astonishing 3D Printed RC Subnautica Cyclops Submarine by Robert Cook.
I’m not sure where to start, as this must surely be one of the most amazing 3D print projects ever undertaken by an individual. Cook designed and built a fully functional radio-controlled submarine based on the Subnautica game.

While there are plenty of air and land RC vehicles, operating an underwater RC vehicle poses some additional and tremendous challenges. The most obvious barrier is that the vehicle, powered by electricity, must work perfectly while submerged. Secondly, there is the small matter of radio signals being largely unable to penetrate water.
Cook set out to design a submarine using 3D printed components and off-the-shelf parts to save money. It seems there are actually commercial RC submarines and components, but they are incredibly expensive due to their unique nature and the relatively small market size.
The design is composed of two major sections: the body and an air-tight chamber for the electrics. That simplifies the problem of water incursion by isolating the important parts.
Another challenge in the design is to provide a means for raising and lowering the submarine in water. This requires a system using a chamber and a pump, which Cook implemented with a syringe as the ballast tank. As air is pumped into the syringe, the sub will rise. Cook even included a special mode to immediately dive or surface by pushing the ballast system to either complete position.

For radio control, Cook realized that typical 2.4Ghz RC systems would not work as the high frequency waves simply don’t penetrate water. Instead he located an older RC system that employed an analog 72hz protocol that was able, just barely, to penetrate the water. Cook reports that if the depth of the sub was not too much he could control it over the entire area of a swimming pool.
One of the problems I wondered about was the permeability of the 3D printed parts. As most 3D printer operators know, typical filament-based 3D prints are quite leaky, as there are significant numbers of gaps between the numerous layers of each print. Cook used XTC-3D as a sealing agent. It’s an epoxy system that dries to a hard, clear crust that’s quite waterproof. Cook recommends at least three coatings to properly waterproof all the parts.
Cook’s systematic design process is fully documented in two long videos explaining everything in exquisite detail. You’ll see all the design decisions, parts used, assembly techniques, testing iterations and much more.
Part 1:
And part 2:
Kudos to Cook for such an incredibly detailed journey through his lockdown project, which will certainly be attempted by many others worldwide.

Not only has Cook provided detailed information, he’s also provided the STL files for direct 3D printing for free download on Thingiverse. But before you download them, please watch all the videos to make sure you know what you’re getting into — this is not your average project by any means.
Via Thingiverse

Hi great project, well done. The frencency of the older Tx is 72 mHz not 72 hz.