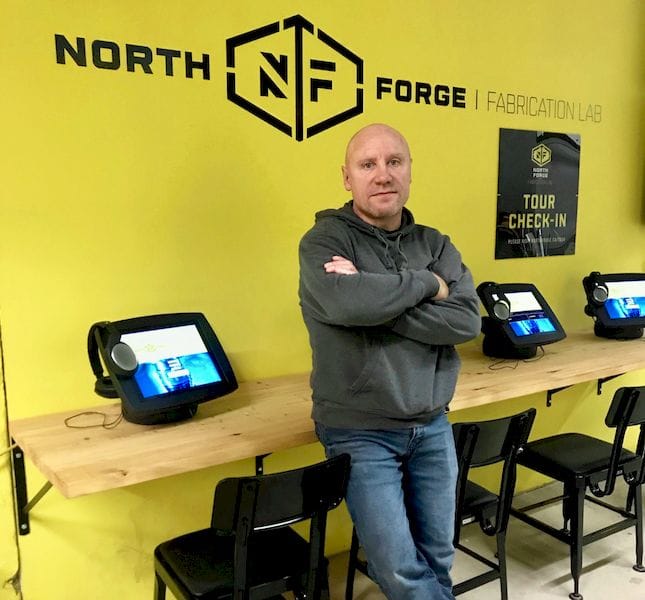
![Jeff Stobbe, Maintenance Manager, North Forge Fabrication Lab [Image: Fabbaloo]](https://fabbaloo.com/wp-content/uploads/2020/05/JeffStobbe_result_img_5eb0a35169532.jpg)
Jeff Stobbe is the Maintenance Manager for North America’s largest fabrication and rapid prototyping facility.
North Forge’s Fabrication Lab is a training-focused facility where ideas are transformed into something tangible. Jeff’s daily workflow includes designing 3D printing parts for repairs, and we recently had the chance to hear more about some of his work.
Fabbaloo: Why were you interested in becoming the Maintenance Manager at the Fabrication Lab?
Jeff Stobbe: I grew up fixing things. It is an extension of my life at home. Friends and family leave me things to fix. I’ll arrive home with something on my doorstep with a note asking me to try to fix it. I always do. My Dad and Grandpa were the same way. My Grandpa would build things after merely looking at something. I guess I came about my job rightly.
Fabbaloo: As the Maintenance Manager of the North Forge Fabrication Lab, you are constantly using your 3D Printers in the shop to print replacement parts for repairs. Can you tell me about the first part you printed?
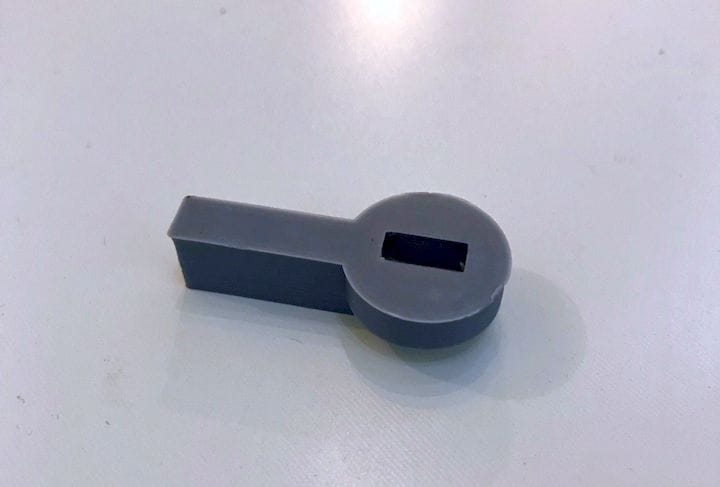
Jeff Stobbe: The first thing I 3D printed was an air handle for our Helix laser cutter. It was faster to create a 3D model and 3D print one than to purchase one. I couldn’t purchase only the required handle. I would have had to purchase the handle and another piece (shut off) that was not required.
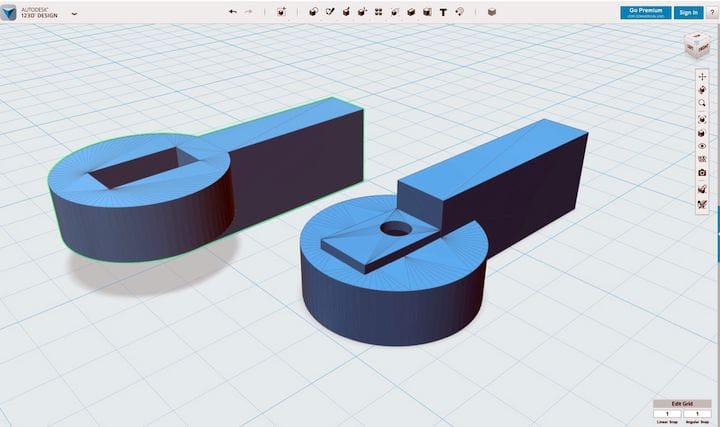
The air handle was 3d modeled from scratch using 123 design. I taught myself in about an hour and found what appeared to be the easiest 3D modeling software that I could find. It was a simple object made out of basic shapes. It was a circle extruded, a rectangle extruded and merged to the circle. I then took the circle extruded and displaced from the circle (for a screw to pass through) and a square extruded and displaced from the circle for the shaft. And voila, instant handle.
Fabbaloo: What else have you 3D printed in the shop for your repairs?
Jeff Stobbe: I modified a 3D model to print a wheel for a broken chair and a wheel for a broken vacuum. I found a 3D model on Thingiverse to modify to fit our needs with our hardware. If I had not been able to do this, both the chair and vacuum would have either been thrown in the garbage or used as spare parts.
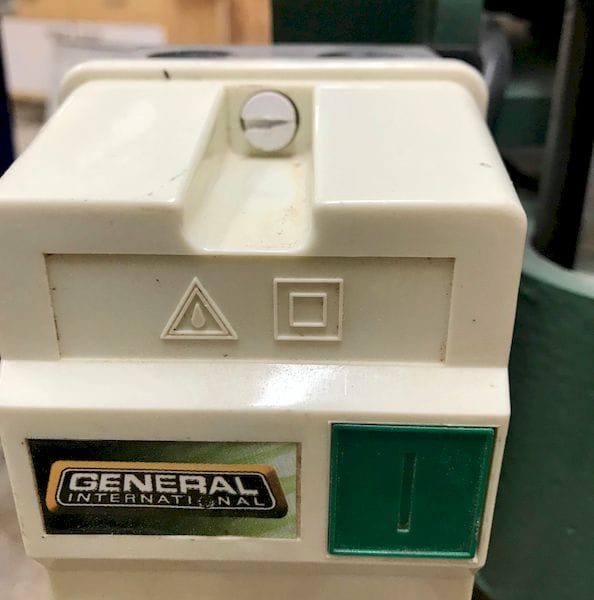
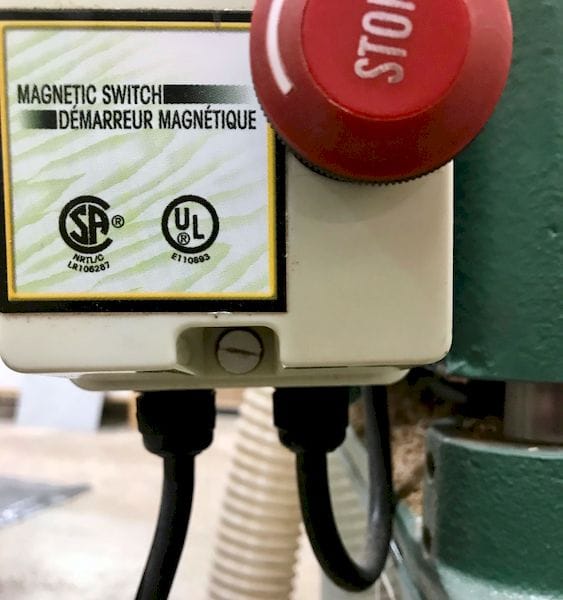
I also 3D printed bolts to put on a safety switch enclosure on the thickness planer. I decided to 3D Print the bolt because a plastic bolt was needed, I knew the thread size and I couldn’t find the required bolt to purchase.
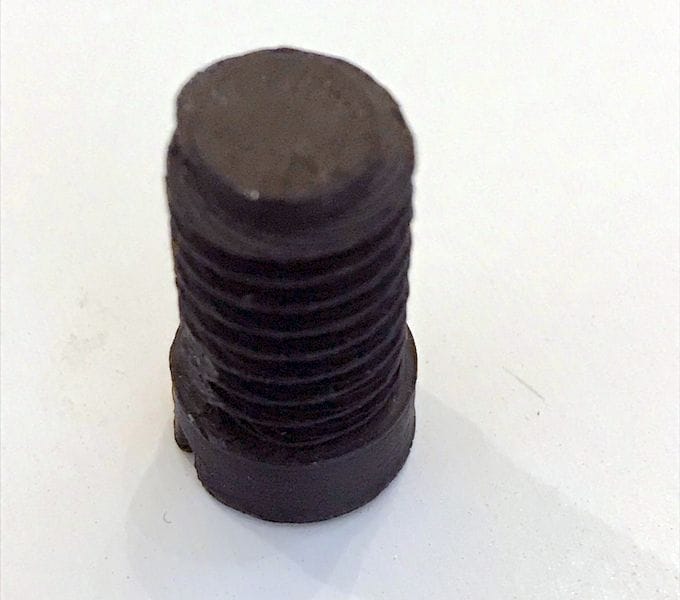
We purchased some refill coils of filament that required filament spool. I decided to 3D print the required spools and they work very well. We also 3D printed spool holders for our filament on our Prusa 3D printers.
![[Image: Fabbaloo]](https://fabbaloo.com/wp-content/uploads/2020/05/FilamentSpool_result_img_5eb0a3537ddc7.jpg)
I 3D printed a temporarily lost focus gauge for out Helix Laser cutter.
I 3D modeled a quick part and I have slowly been refining the model. I am now on version 4 that includes ball bearings to have it stay in place by the magnetic force.
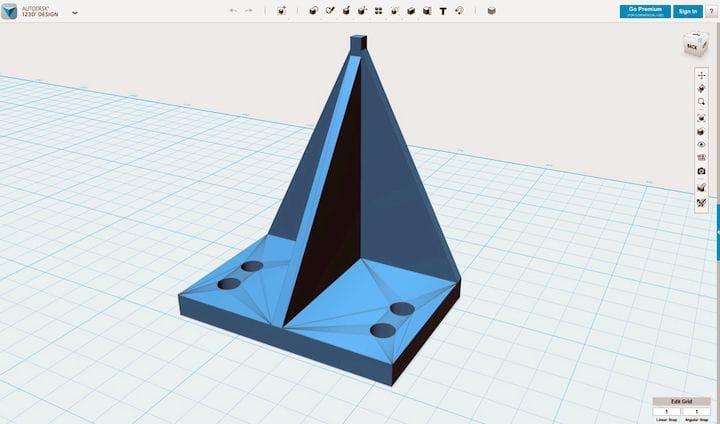
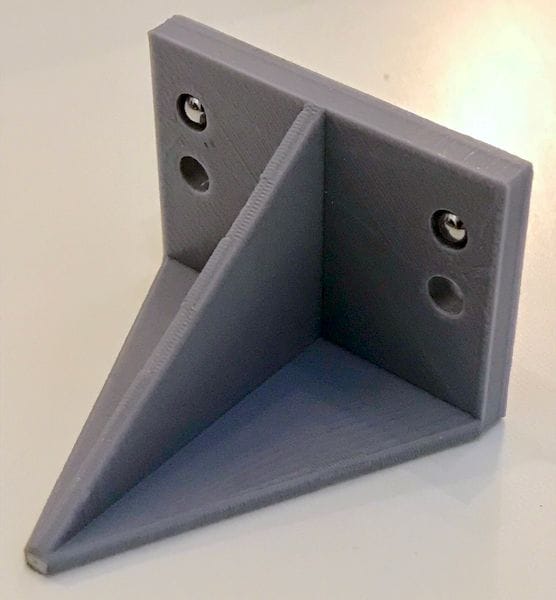
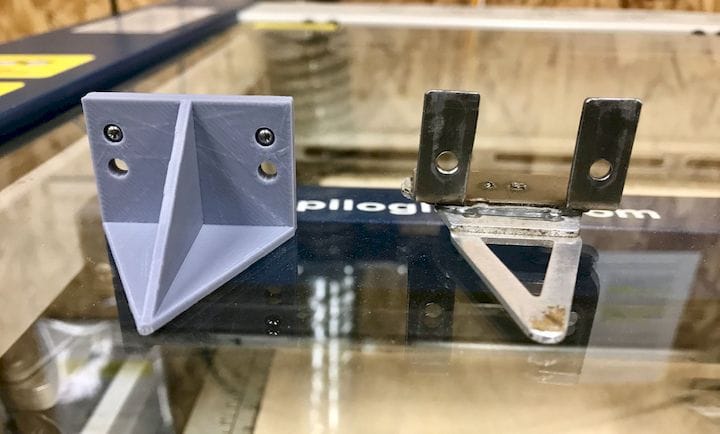
I needed a switch to replace a broken switch on our air assist for the Helix Laser cutter. I 3D modeled a new one and quickly 3D printed it.
![[Image: Fabbaloo]](https://fabbaloo.com/wp-content/uploads/2020/05/AirAssistswitch_result_img_5eb0a354c35df.jpg)
As part of our Safety Program, we required Lock Out Tag Out (LOTO) procedures and enclosures. I researched what they looked like and the box looked like plastic and they are very expensive to purchase from a specialized safety business and for us, they will be rarely used. I 3D modeled the entire enclosure and we can 3D print as many as we need. They will all be on a display affixed to the wall in our shop. When a piece of equipment is unsafe and the LOTO procedure is activated, I only need to unplug the piece of equipment, place the plug in the enclosure and lock it with an actual lock.
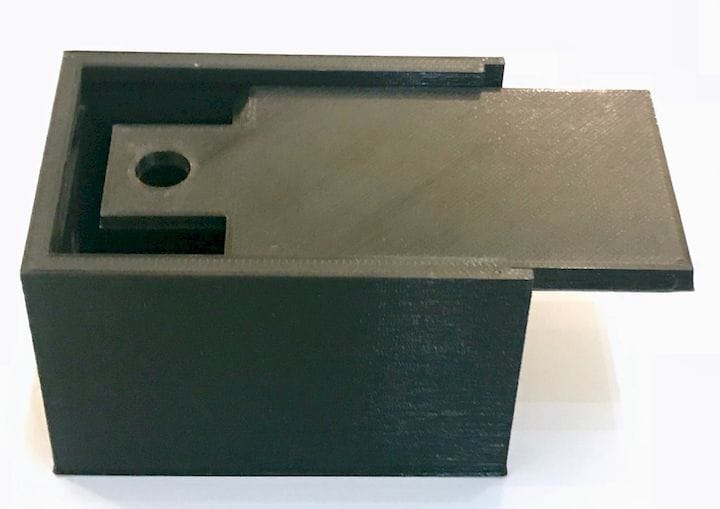
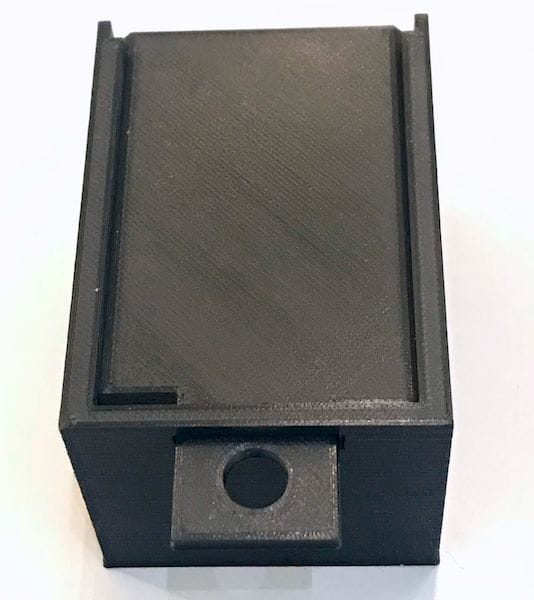
I feel like we can 3D print out whatever we want whenever we want.
![Replacement parts made at North Forge Fabrication Lab [Image: Fabbaloo]](https://fabbaloo.com/wp-content/uploads/2020/05/parts_result_img_5eb0a355d962b.jpg)

