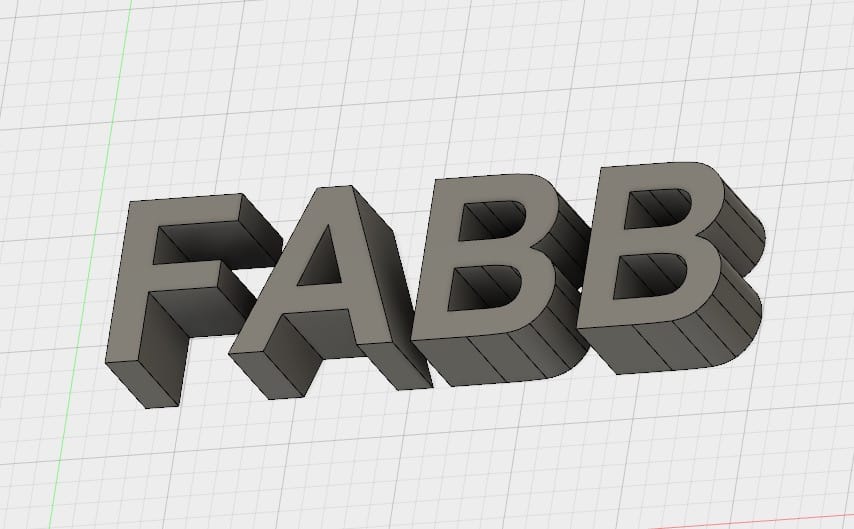
One of the most popular things to do with a desktop 3D printer is printing words or names. But there’s a huge problem.
3D printers are terrific for producing one-time, customized objects, often personalized. And one of the most personal items one can 3D print is someone’s name, in text. This is very often done by applying a name to an object, but sometimes you want to print just the name itself – or any set of letters that forms a meaningful word.
If you 3D print the letters individually, you have a collection of letters that are independent objects and they will not maintain their position and you lose the “word”.
There are several 3D modeling techniques for ensuring your word can be stabilized after 3D printing, each of which may be appropriate for different scenarios.
Plating
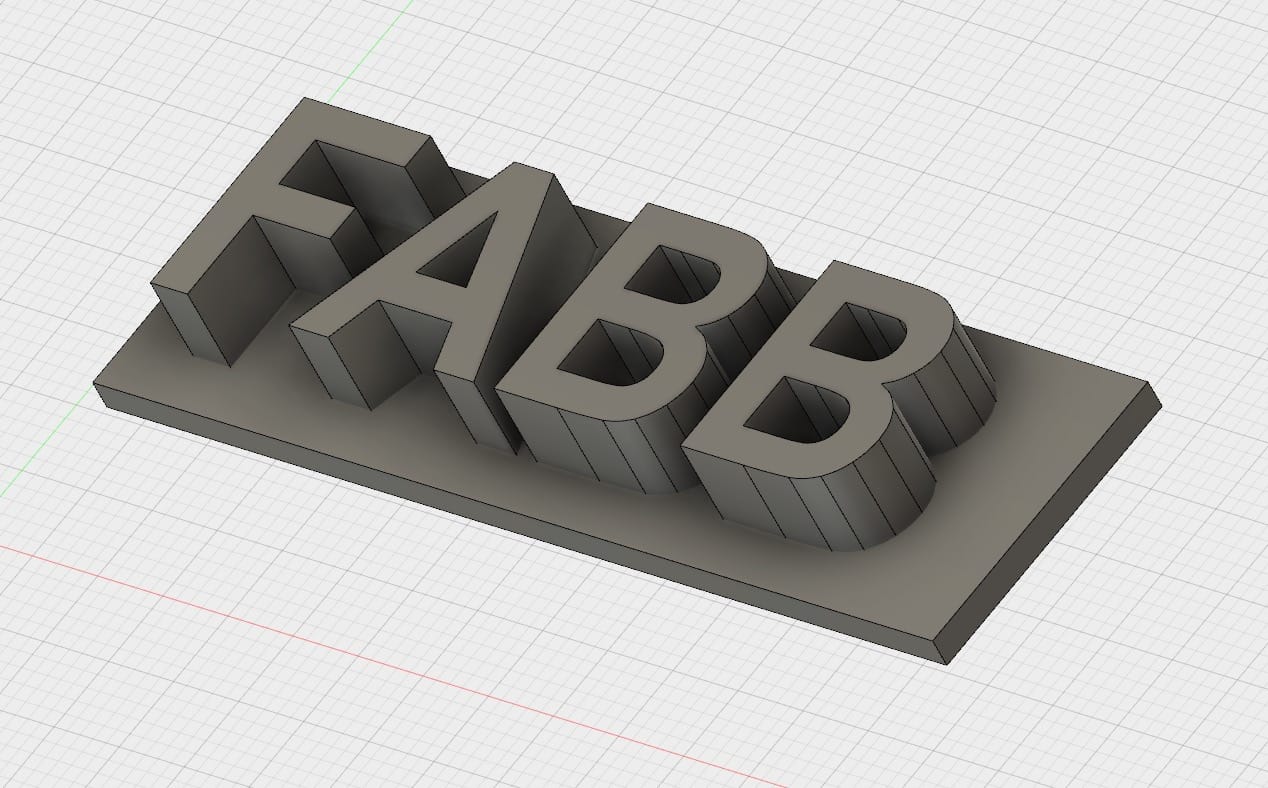
The most obvious approach is to add a large plate to the bottom of the letters. Here we’ve taken the “FABB” from the top image and plated them with an appropriately sized margin.
This is a very easy 3D modeling task and can be done by almost anyone with a usable 3D modeling tool. However, it does produce a larger print and uses more material than some other approaches. It is also possible this style of model may be challenging to 3D print on desktop machines that do not have a heated print surface: the large flat area is susceptible to warping at the corners.
Line
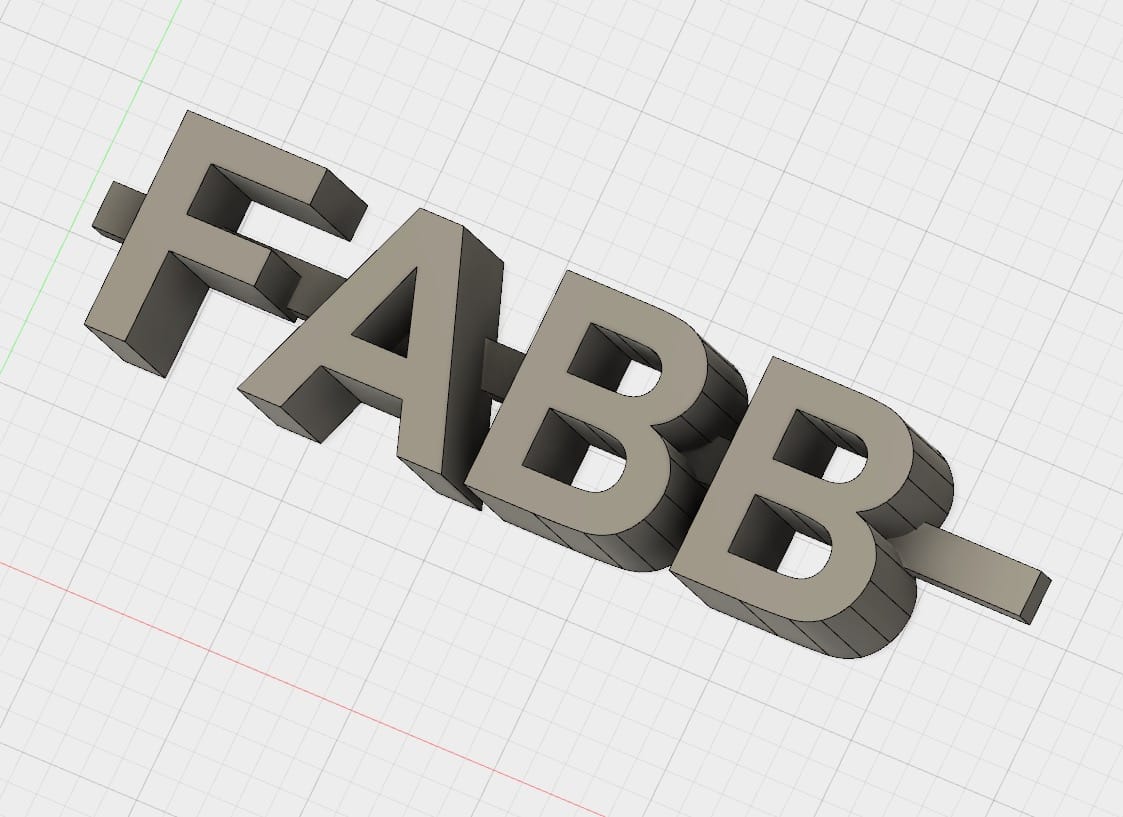
If the plate is obnoxiously large, it can be reduced to a much smaller size, such as a line. Here you would position the line in an appropriate place that both functionally holds the letters together, yet also doesn’t disturb visual recognition of the words.
The problem with this approach is that it doesn’t always work. Consider if the word included a dot on top of an “i”. How’s that going to work? You may need to consider a different approach. Or add more lines.
Squeezing
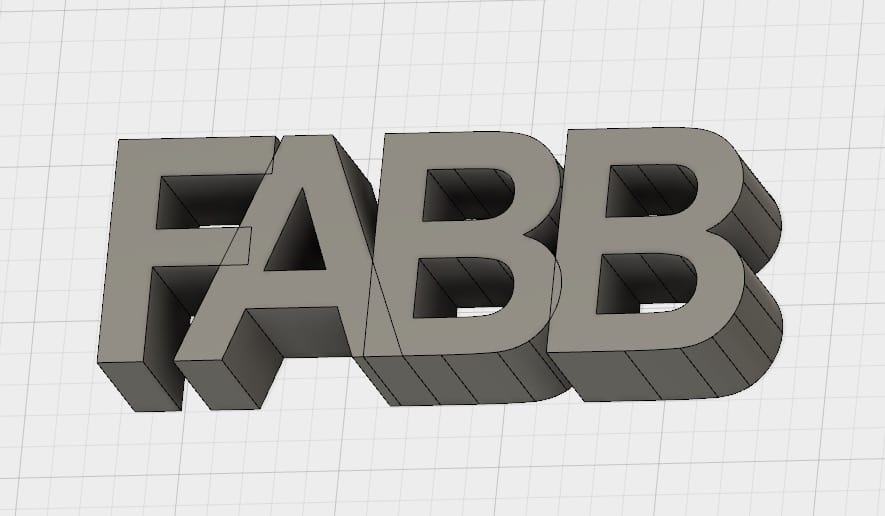
This approach is also useful, but not always applicable. The individual letters are simply moved close together so that they touch.
The touch has to be sufficiently large to structurally secure the next letter in sequence. If not, you risk the word breaking when someone holds it on one end. This may require some experimentation.
Again, this approach is not always applicable, as the shape of the letters may not cooperate. Two side by side “I”s would not work very well.
A variation on this approach is to find a font that is designed to flow together, like certain script fonts. However, you will end up having very little choice for font style, and some 3D modeling tools will require you to adjust the imported object path manually to “join” the letters together.
Objects
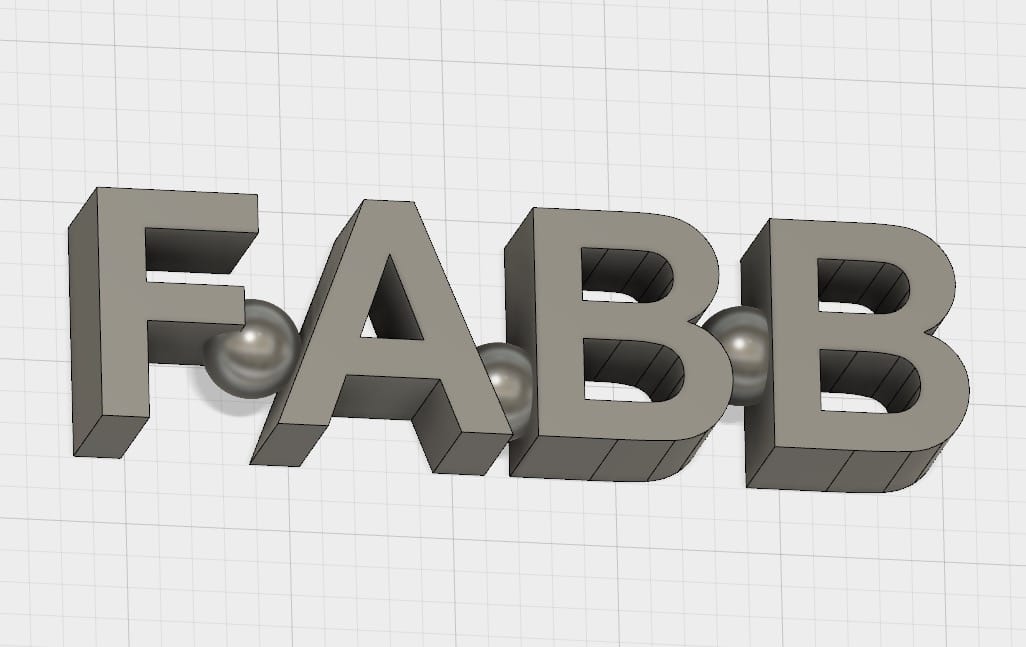
A final approach is to drop innocuous objects in-between the letters in strategic spots. Here I have used spheres, but you could use anything. I imagine hearts might be quite appropriate for some applications, but maybe skulls in others.
As you’ve seen, these approaches are not universally applicable. But I will end with a thought to consider: mix them together. In the two “I”s scenario, maybe you could add a line bridge between just those two letters, while using another approach for the remaining letters. You get the idea.
Now you can try imaginative ways to 3D print your name.

