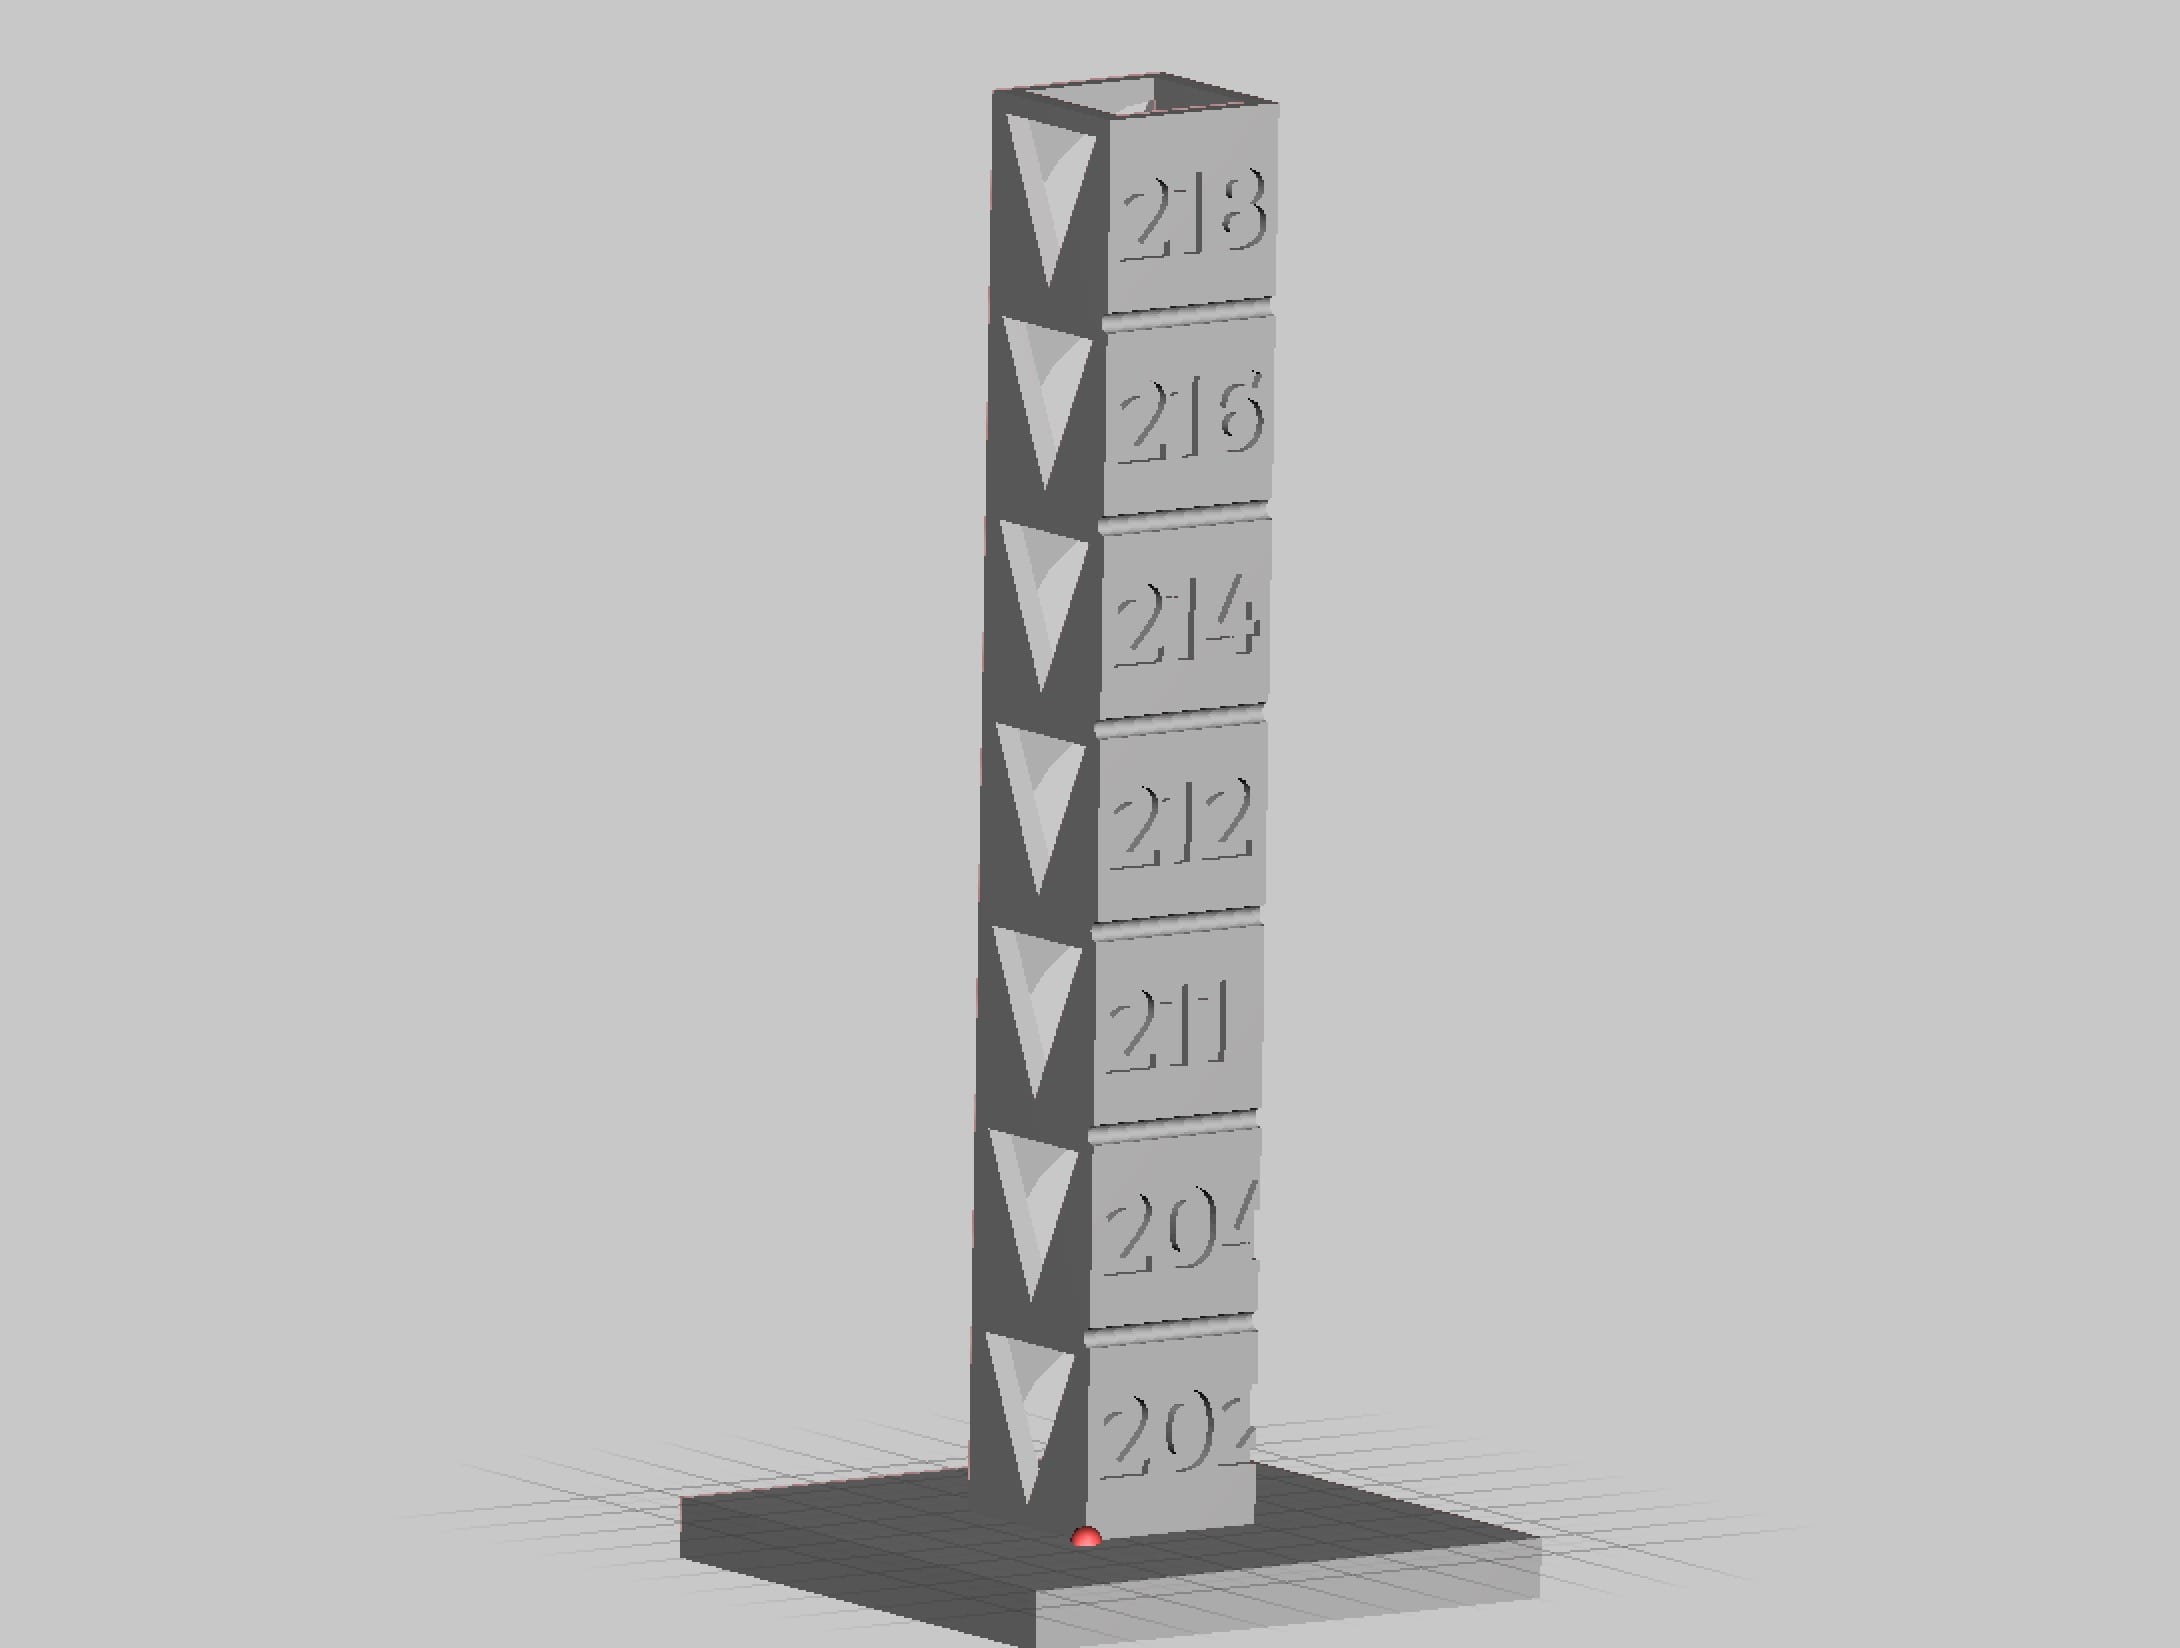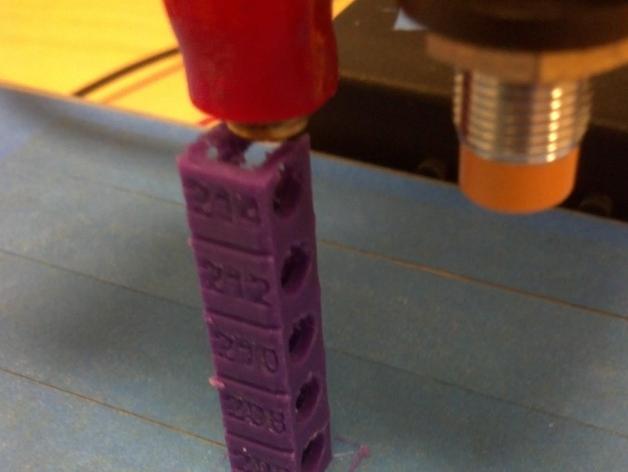
This week’s selection is the highly useful Customizable Temp Calibration Tower by Thingiverse contributor eibwen.
Why haven’t I seen this before? This item would be of great use to anyone using new kinds of filament in their desktop 3D printer. It’s a 3D model of a tower (obviously), but the tower is divided up into several labelled levels.
Each level can be labelled as a specific temperature. The idea is that you adjust your GCODE to change the hot end’s temperature to match the label’s temperature at each level.
Then when you 3D print the column, you can see the effects of changing the temperature on that particular filament on your specific desktop 3D printer.

The tower’s shape includes overhangs, curves and crisp text, so flaws in extrusion should become visible, particularly when you are able to directly inspect temperature tests beside each other.
Theoretically, you would see slight differences in quality as the print rises. At the bottom, where extrusion temperatures are lower, you might see poor layer adhesion, for example. Meanwhile, towards the top you’d possibly experience sloppy printing where the plastic is so hot it may slump after extrusion.
As you might guess, the temperatures might vary from situation to situation. That’s why eibwen has deployed this 3D model as one of Thingiverse’s “Customizer” 3D models.
The Customizer version permits you to modify the labels to account for the specific temperatures being tested, and also lets you change the size of the tower somewhat. One tip: the Customizer script includes a question you must verify before proceeding: you must indicate you are capable of modifying GCODE.
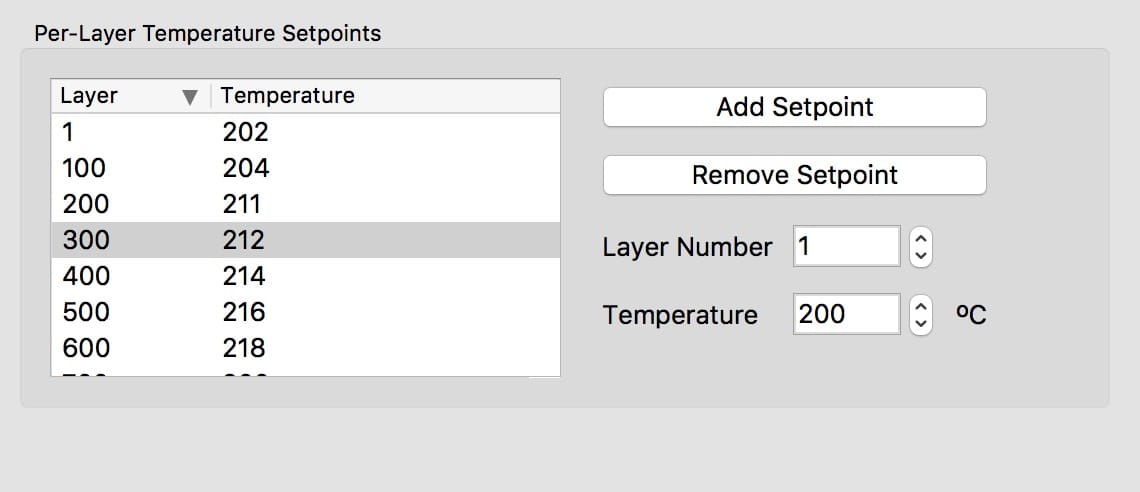
Modifying GCODE is required to properly use this 3D model, as temperature settings are not part of the 3D model itself. You would slice the 3D model for printing with your usual 3D printing software, and then before pushing the resulting GCODE to the 3D printer, you’d first manually edit it to include matching temperature settings before each layer.

While this sounds tricky, there are easier ways to modify the GCODE. Some slicers permit you to change settings at specified layer boundaries, like Simplify3D. I used Simplify3D to slice the 3D model, but created temperature changes at various layer heights. You’ll have to calculate the layer numbers to change temperature based on the height of each tower cell (10mm) and the layer height you’re using in the slice operation.
This highly useful 3D model is available at no charge from Thingiverse. But you will need to do some work to use it as designed. If you do, you will no doubt determine the optimum extrusion temperature for your filament.
Via Thingiverse

