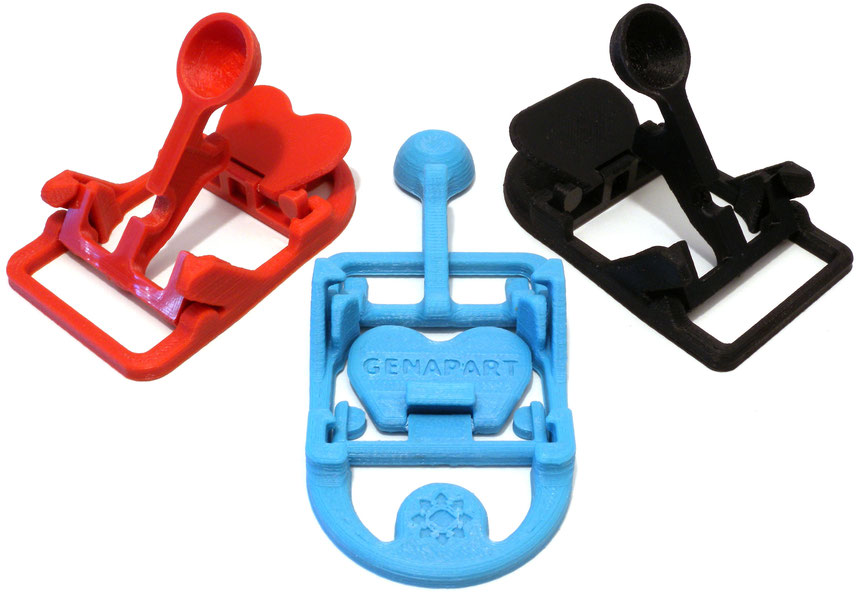
This week’s selection is the well-designed “Assembled printed catapult without support” by France-based Genapart.
While the part itself is fun, what’s most interesting about this project is the design. It’s actually a multi-part machine that is printed in one single piece – that becomes articulated. And it’s also printed without any need for support material.
Of course, it’s recommended you print the catapult in ABS plastic as PLA may prove brittle while firing the device. Of course, you can try this in PLA, but you might not get the same “spring” and payload thrust as with ABS. Apparently this catapult can launch a small coin as far as five meters distance.
While the printing may be straightforward, Genapart makes a number of recommendations about print settings to ensure the catapult is sufficiently strong to operate as intended. Genapart explains (Google translation):
To maintain adhesion to the platen during printing, it is preferable to be able to maintain the tray between 100C and 110C, all the more so if you use ventilation to solidify faster the parts with small cross section. To obtain a good cohesion of the layers and therefore a good resistance of the assembly, it is important that the deposited material is at a good temperature, the performance of the print head plays an important role in this operation.
Prefer a filling from the inside to the outside which allows better maintenance of the cantilever areas, even if this degrades a little the external surface condition because the last deposit amplifies the defects of the previous ones. The fill rate of our example is 40% (a higher density allows a small power gain, but increases the printing time and the material consumed). I chose a crossed linear internal structure which seems to me more apt to resist the torsion of certain parts.
It’s a quick print as well, estimated to be only around 90 minutes on a typical desktop 3D printer.
That’s good, because you’ll want to print two: one for you, and one for your opponent.
Via Thingiverse and Genapart

