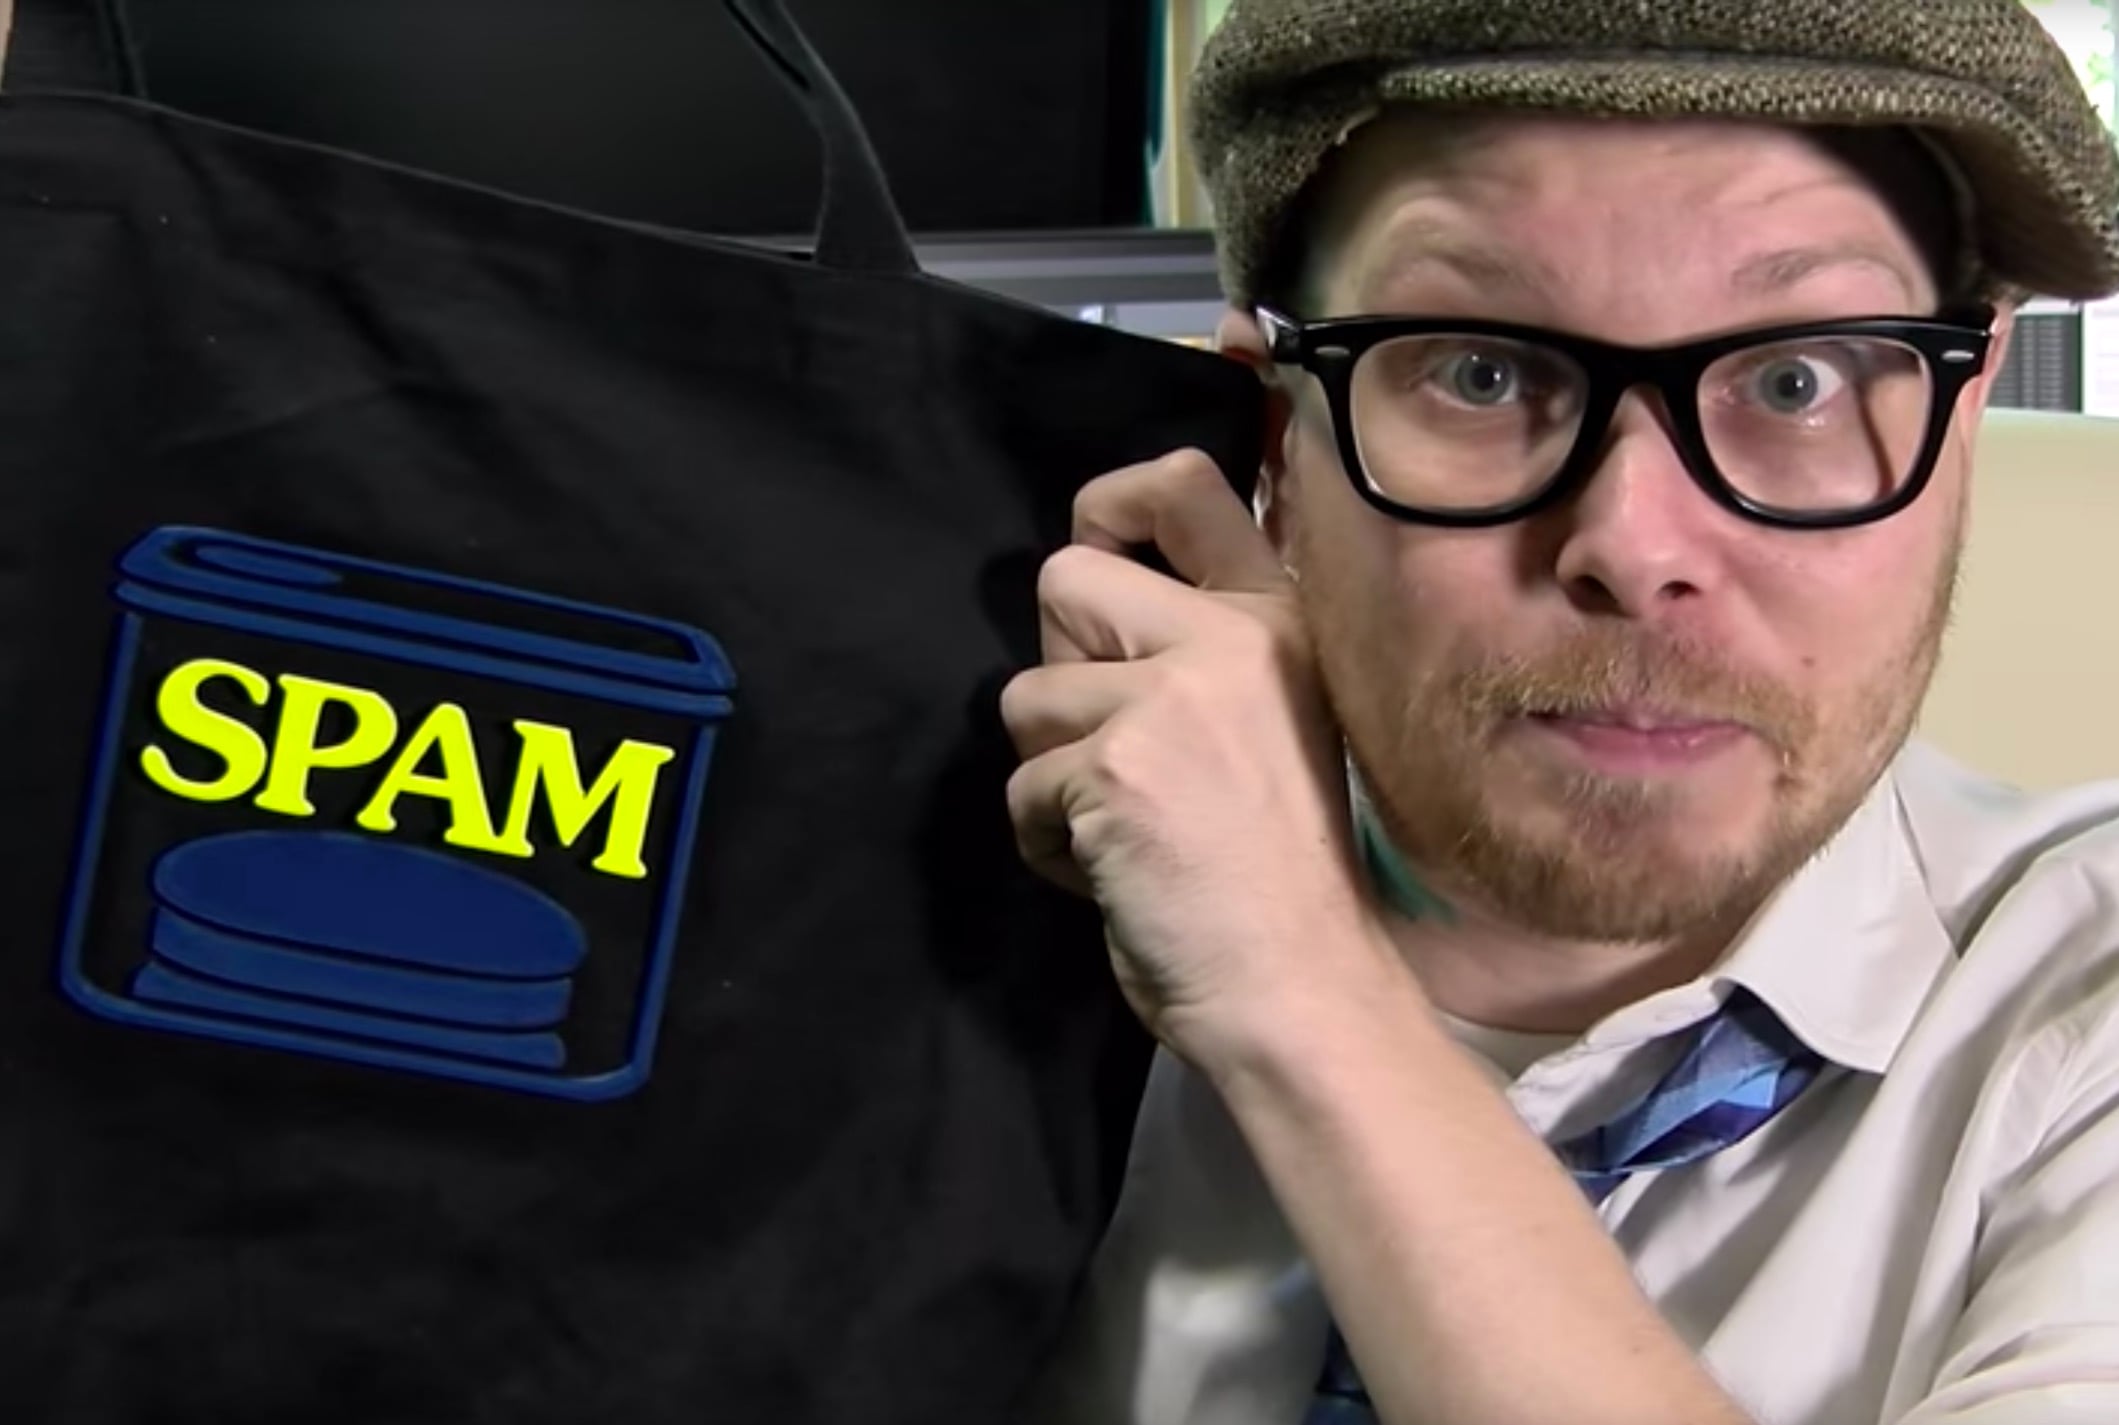
Fabric is definitely a 2D product, but it’s possible to make it 3D by integrating fabric and 3D printing.
Wait, what am I talking about? It’s a tricky process that’s possible on certain plastic extrusion desktop 3D printers in which the print is literally embedded in a piece of fabric.
Using this technique you could, for example, print a no-lose label on a shirt, or a decorative 3D figure on a dress.
Theoretically, this is a simple process: the first layer of the print must ensure the molten plastic seeps into the fabric and solidifies. Subsequent layers can be built on top to form a complete object that will be permanently attached to the fabric.
The process is documented in a great video by YouTuber Preston of PRESS RESET:
There’s another video of fabric printing here, by Joshua Hughes:
To do this you’ll have to have a filament-based desktop 3D printer that provides very good access to the print bed. Likely those machines with open sides are most appropriate. However, you definitely want to try this with a machine that does not move the bed. Some cartesian systems have a fixed bed, while others push the bed forwards and backwards to create a Y-axis. Those machines could cause problems if your fabric extends beyond the build plate, which is almost certainly true.
In the video, Preston describes the problem of keeping the loose fabric flat. He correctly recommends ironing the fabric first, then applying a sticky sheet to it. It’s not required to do double sided tape here, as you just want to keep it flat. A sticky sheet keeps the fabric from folding, flipping or bubbling. Then just clip that sheet to the print surface and it will remain flat.
You’ll have to adjust the first layer thickness and speeds to ensure you get good contact. If you have too fine a layer size, then the nozzle might get caught up in the fabric and mayhem will ensue.
One very important point by Preston is to review your machine’s priming sequence. On a MakerBot, for example, the machine primes itself by drawing a single extrusion line across the entire print bed before starting on the actual print. Imagine the horror if you forgot about this and dropped a permanent plastic line on your new shirt! He advises to simply place a piece of thin paper on the print bed when starting and remove it promptly after priming completes.
You’ll need to print at least several layers to ensure a proper attachment, but that’s easy once you’ve got the first layer down. Preston recommends several millimeters of thickness, but it’s quite possible to print larger items too. Imagine a fabulous sculpture emerging from a dress, for example.
One design concern is flexibility. If you print a large, solid object, it won’t bend when worn. Instead, consider breaking your design into smaller parts that will as a whole bend at the joints. Either that or consider using flexible filament, which may introduce other printing complications.
You can also change colors during a print, as is often done in non-fabric printing. This technique is particularly applicable to fabric applications, as the objects being printed are typically flat and well suited to color changes as the layers increase. You could, for example, highlight text by changing the color on the higher layers, as Preston has done in his “SPAM” print.
One concern I have in this regard is that to get things right you will have to practice a few – or even several – times to determine the right parameters and fabric placement and orientation. This isn’t going to work if you have only one fabric sample to work with.
I’d recommend getting a few old t-shirts to try this out. You can easily toss them out when you inevitably fail before succeeding.

