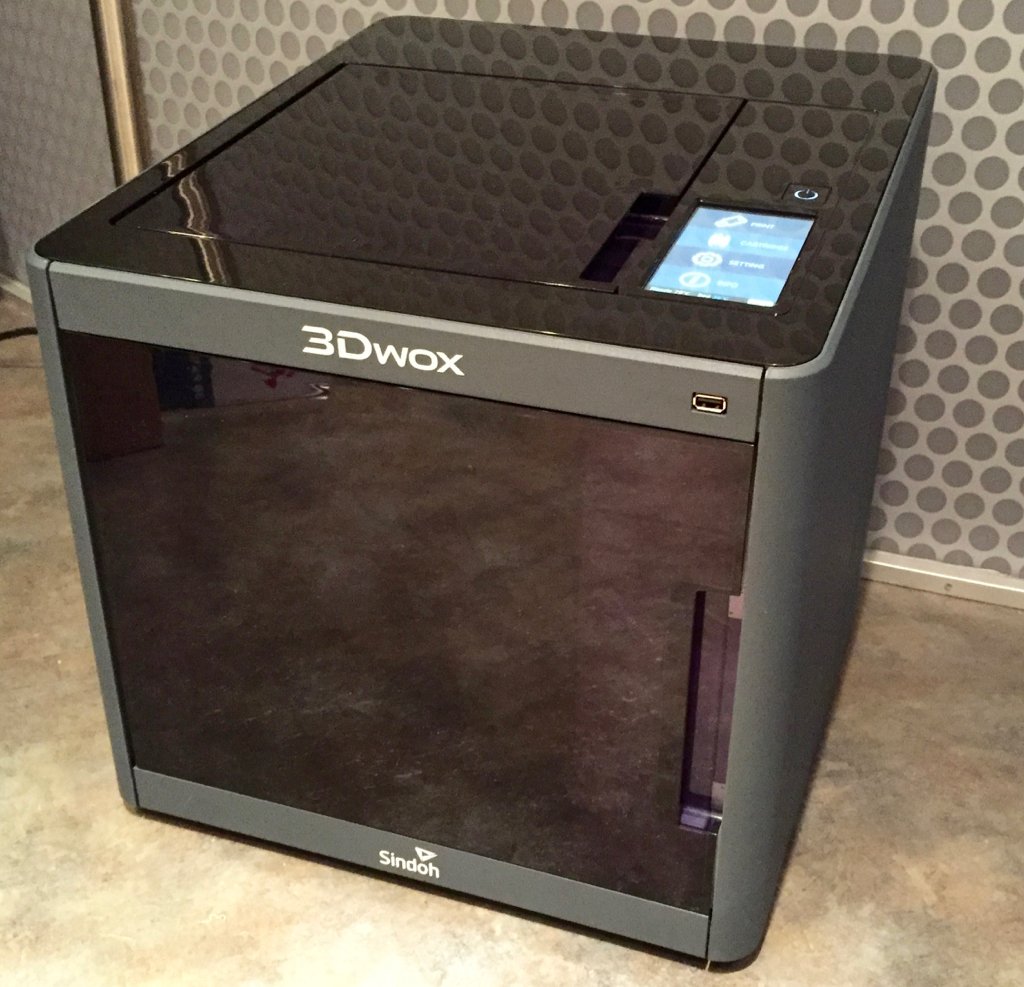
Our lab has been testing Sindoh’s new 3Dwox desktop 3D printer, and it seems to be a fundamentally different device that we think could be the first “real” 3D printer usable by consumers.
Sindoh, based in Seoul, is a large company with a history producing 2D printers and copiers. In fact, that’s what they’ve been focusing on for decades, and they’re very good at it, consistently beating all others in the Korean market. The 3Dwox is their first desktop 3D printer.
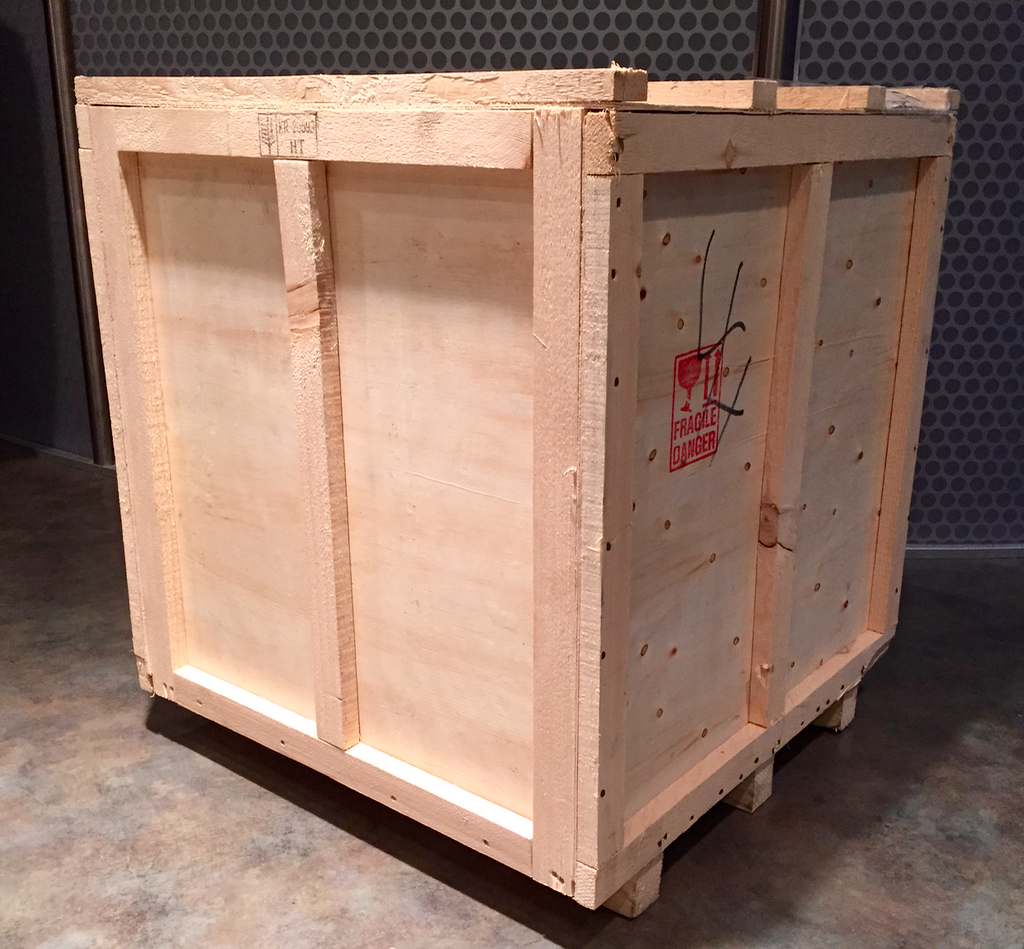
Our test unit arrived directly from South Korea, shipped in this very sturdy wooden crate, which required special action with a claw hammer to extricate the device.
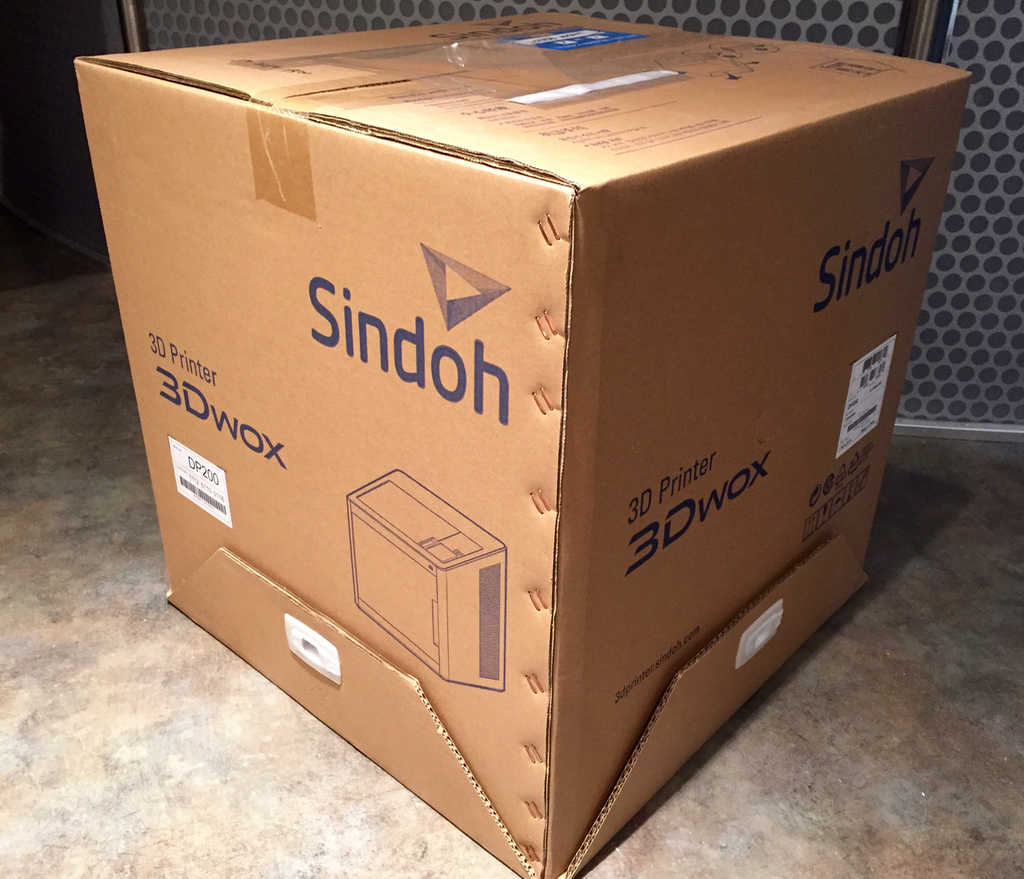
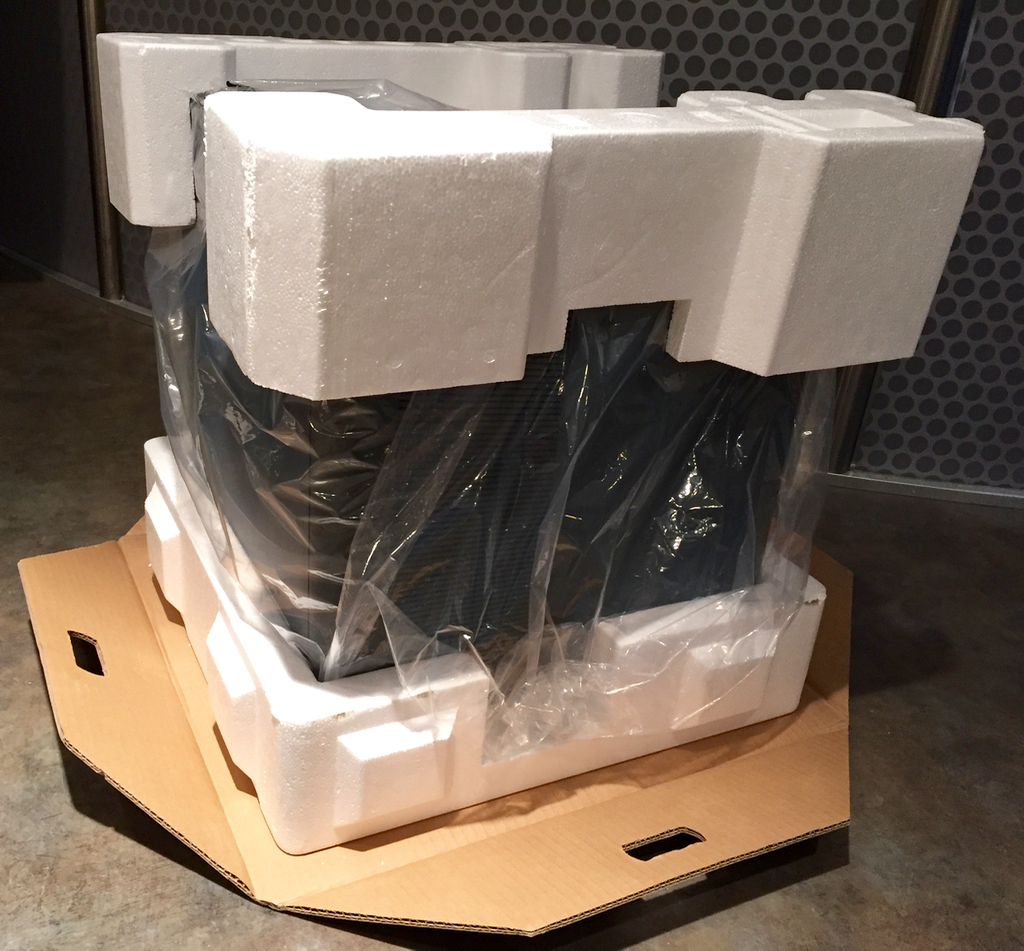
If you’re intending on ordering one of these versatile 3D printers, you’re more likely going to get one of these boxes, which we found inside the protective crate. The packaging is quite impressive, and we found an unboxing feature you don’t usually see in machines of this size: bottom opening. Do you see those white handles at the bottom of the box? Open them up on all four sides and the top just lifts off to reveal the machine – there’s no need to break your back struggling to pull a styrofoam-wrapped machine out of an uncooperative box. Here’s how it looks.
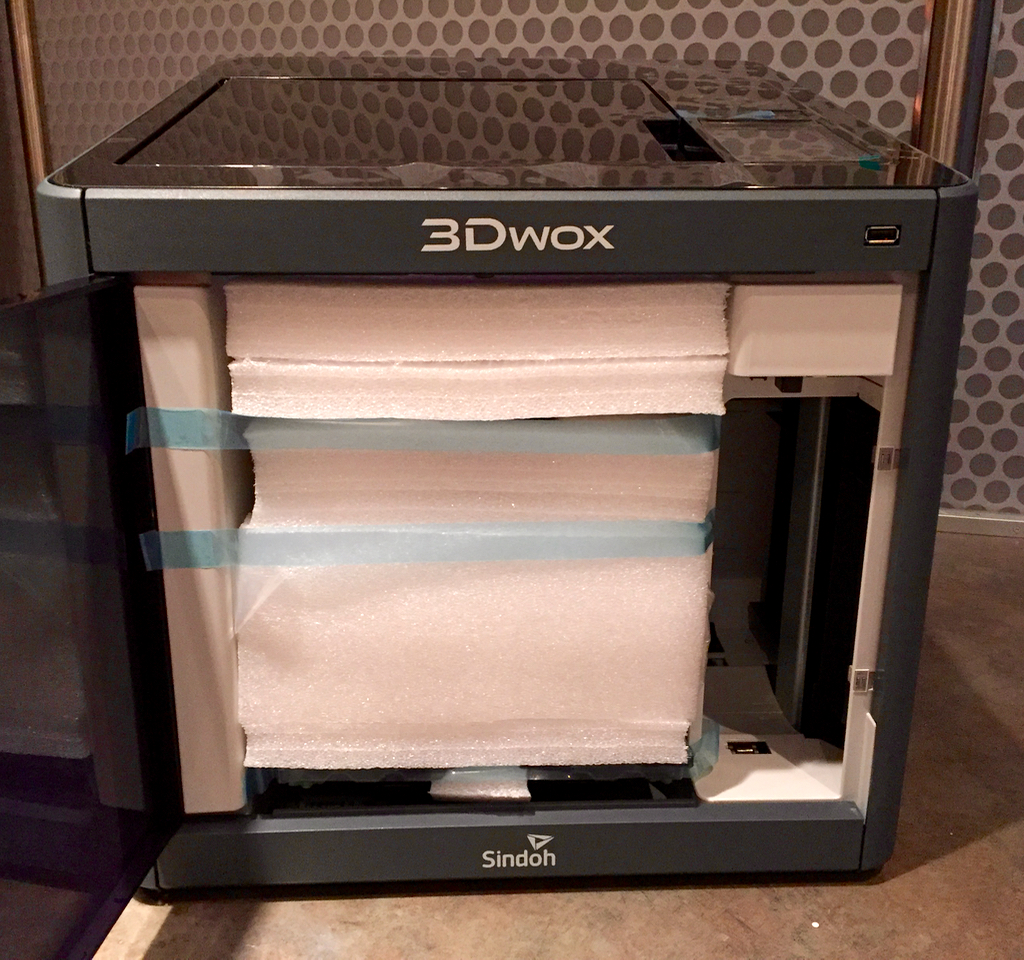
Once you extricate the machine, you’ll discover the styrofoam is also present inside the machine – and lots of it.
After removing these blocks, you’ll find the print material hidden inside the foam.
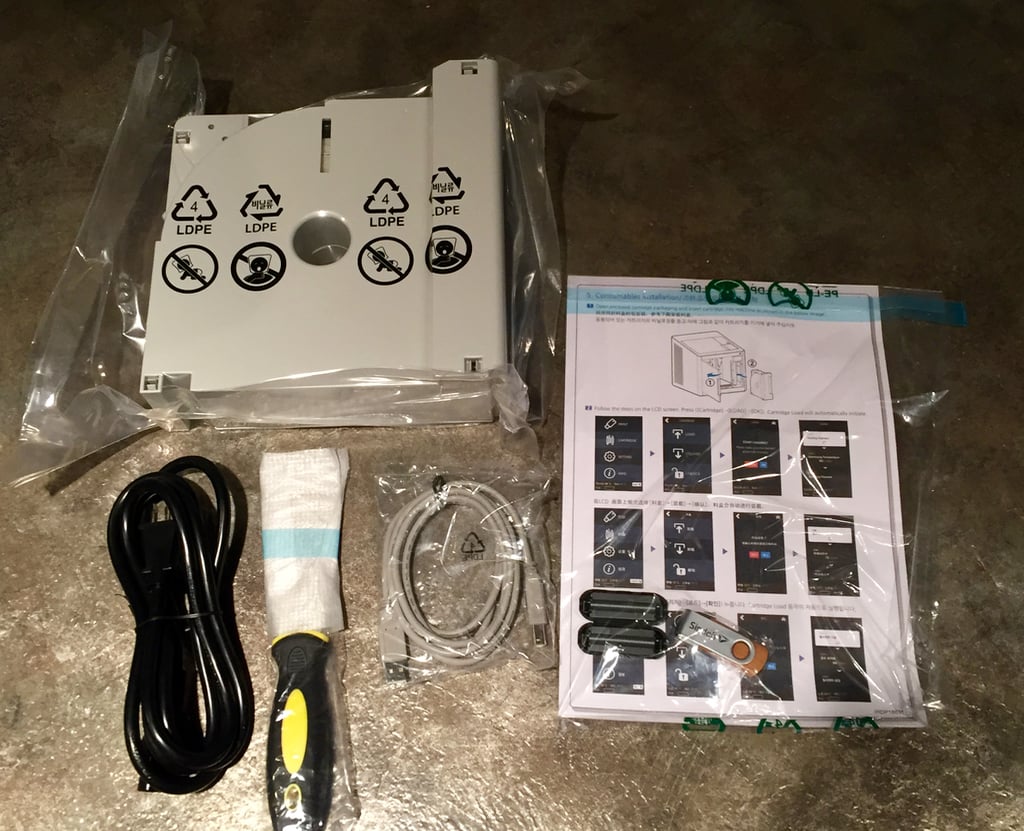
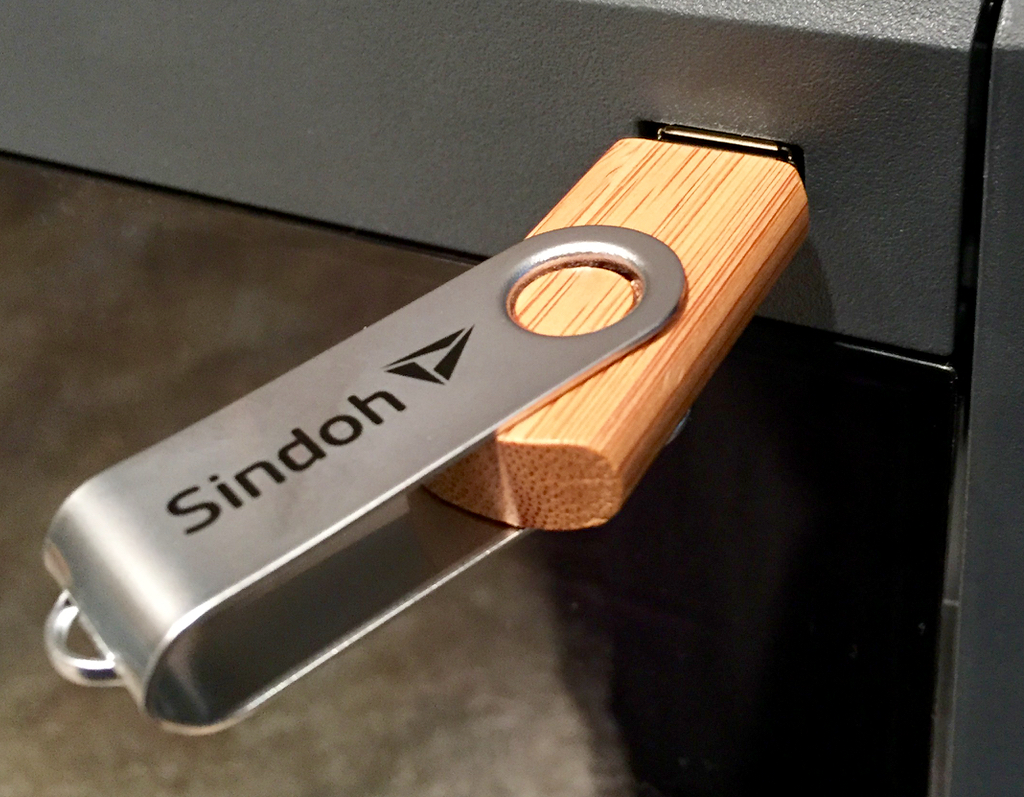
The 3Dwox is accompanied by a relatively small number of parts, including cables, instructions, a scraper to remove completed prints and a very interesting USB stick.
The contents of the USB stick aren’t so interesting – they’re simply the operational software – but we found the stick itself unusual: it’s made from bamboo!
The 3Dwox uses proprietary cartridges for its material. Yes, we hear you: such approaches are sometimes viewed negatively by users due their cost being higher than that of generic materials, and that’s the case here. But believe us, don’t let that put you off on this device; there’s a lot more to this machine, please read on!
These cartridges do provide a number of benefits:
- Automatic detection of filament type to ensure GCODE and plastic match
- Sets up the printer with correct parameters automatically
- Automatically pauses the print if the filament runs out, permitting an easy swap to a second cartridge
We’re told that the company is working on a way to reduce the cost of filament by re-using the cartridges, but we were unable to test this in our lab. The trade-off with cartridges is that by controlling the material properties, the manufacturer hopes to provide excellent prints.
In the case of 3Dwox, they actually achieve this! But more about that later.
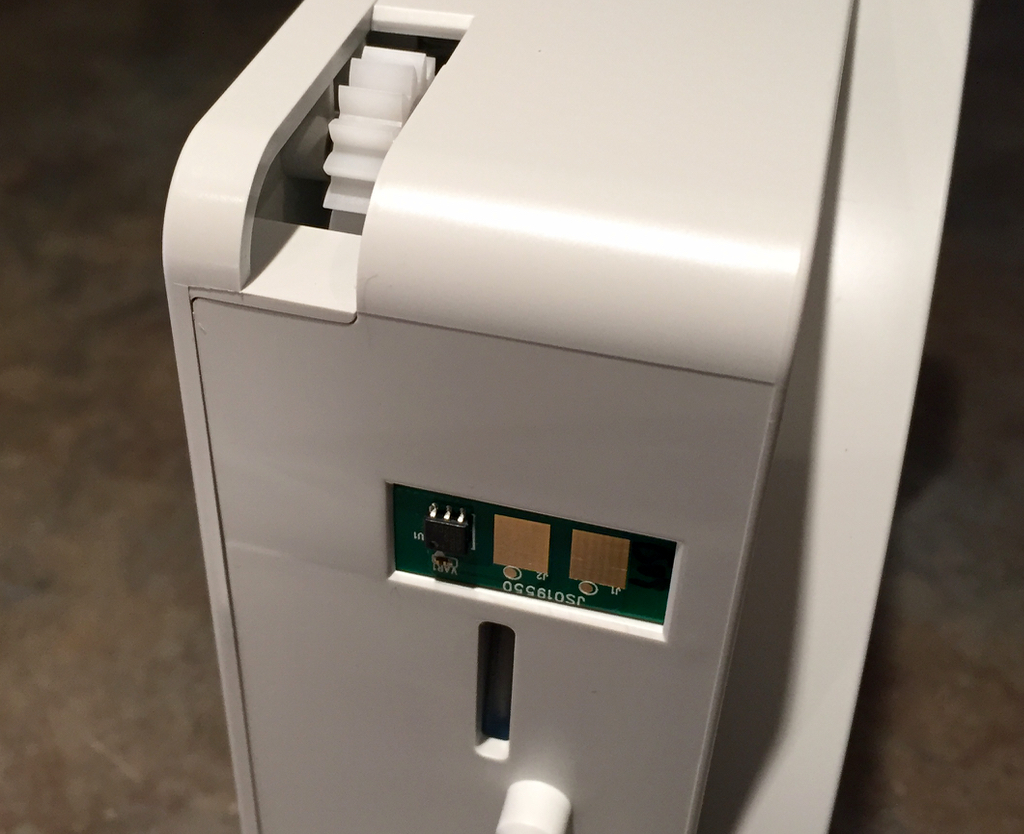
The cartridge contains an embedded chip that keeps track of the contents and activates the cartridge for printing. You can also see a gear that transfers rotational power to the hidden spool, which, by the way, contains 600g of material. White PLA in our case. Evidently the cartridges that ship with the machine will contain 600g, while the separately marketed units will contain 700g.
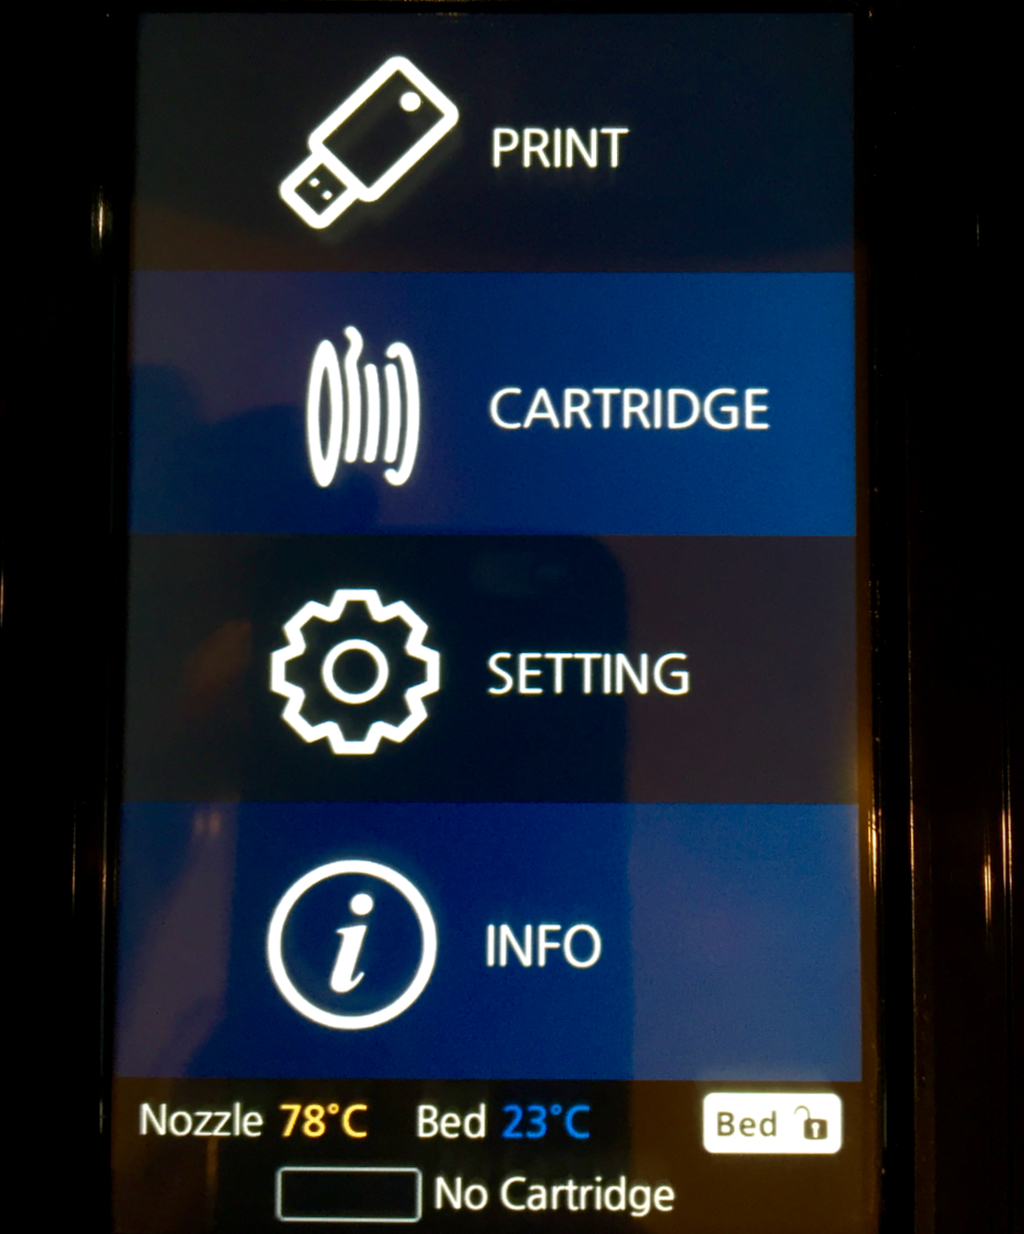
The 3Dwox has a very attractive color touch panel through which the unit is controlled. It’s extremely easy to navigate through the options; anyone could figure this out, even without a manual.
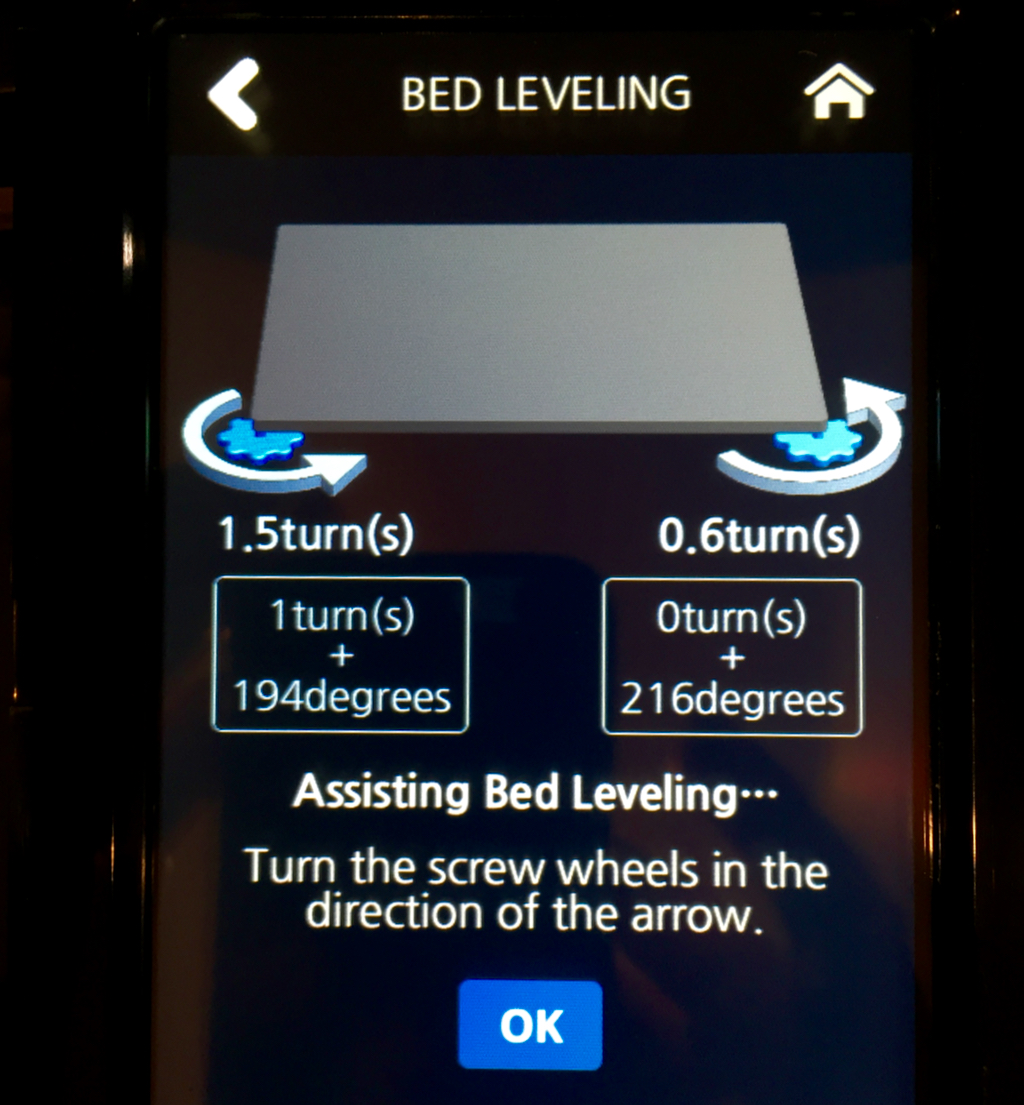
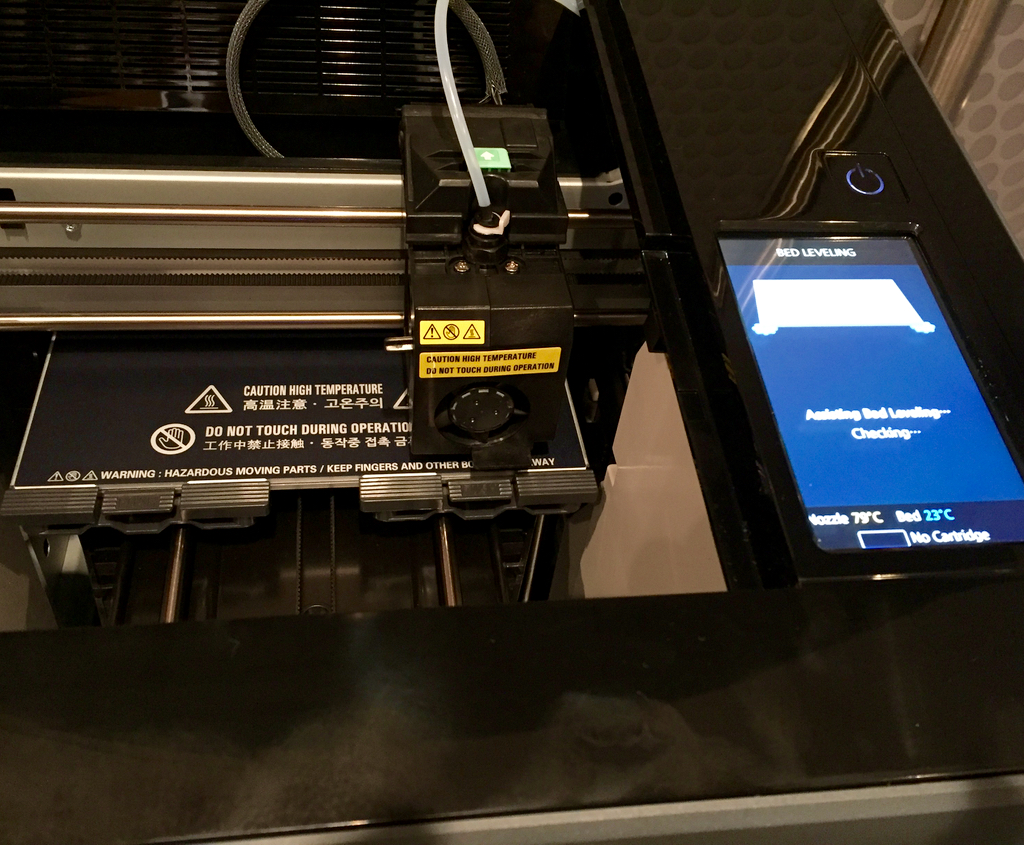
Aside from plugging in cables, the only physical setup activity required is to ensure the print bed is level, and the 3Dwox helps you do this through its “assisted leveling” procedure. The print head automatically touches several spots on the bed and reports precisely what you have to do to make the bed level. Here you can see what it tells you: the number of fractional turns of the two knobs at the front underside of the print bed. We did so and while it took a couple of iterations to get it perfectly flat, it wasn’t hard to do. Subsequently, the bed never required leveling again in our testing.
Here you can see the machine going through its leveling process, which is actually quite quick to complete.
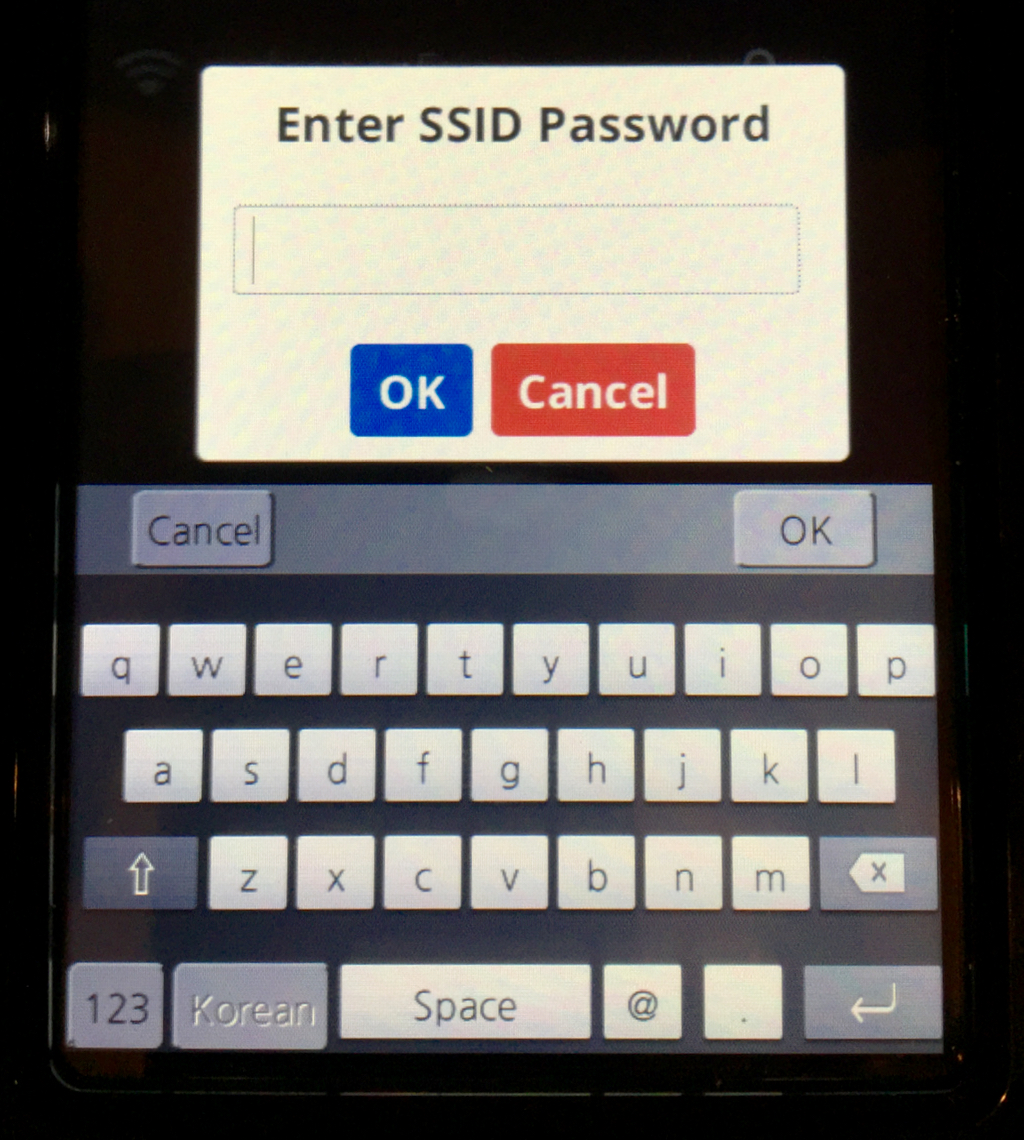
One more setup activity is to connect the WiFi network – yes, this machine includes a network link! While the 3Dwox automatically presents the list of available networks, we were expecting the usual horrifying process of repeatedly keying in long password sequences, but the 3Dwox provides an incredibly easy touch keyboard on its color screen for data entry.
We did find that the 3Dwox’s WiFi network would occasionally drop connection and that we had to manually reconnect from time to time. Perhaps this was due to the proximity of our access point, but other devices in the vicinity were able to consistently hold connection.
We contacted Sindoh about this and they explain that this is actually a feature: they’ve decreased the WiFi signal tolerance to ensure that only a very strong signal is received. The reason: they don’t want to cause a print fail with a shaky connection. This is a very interesting design feature that we suspect other WiFi-equipped machines may not consider.
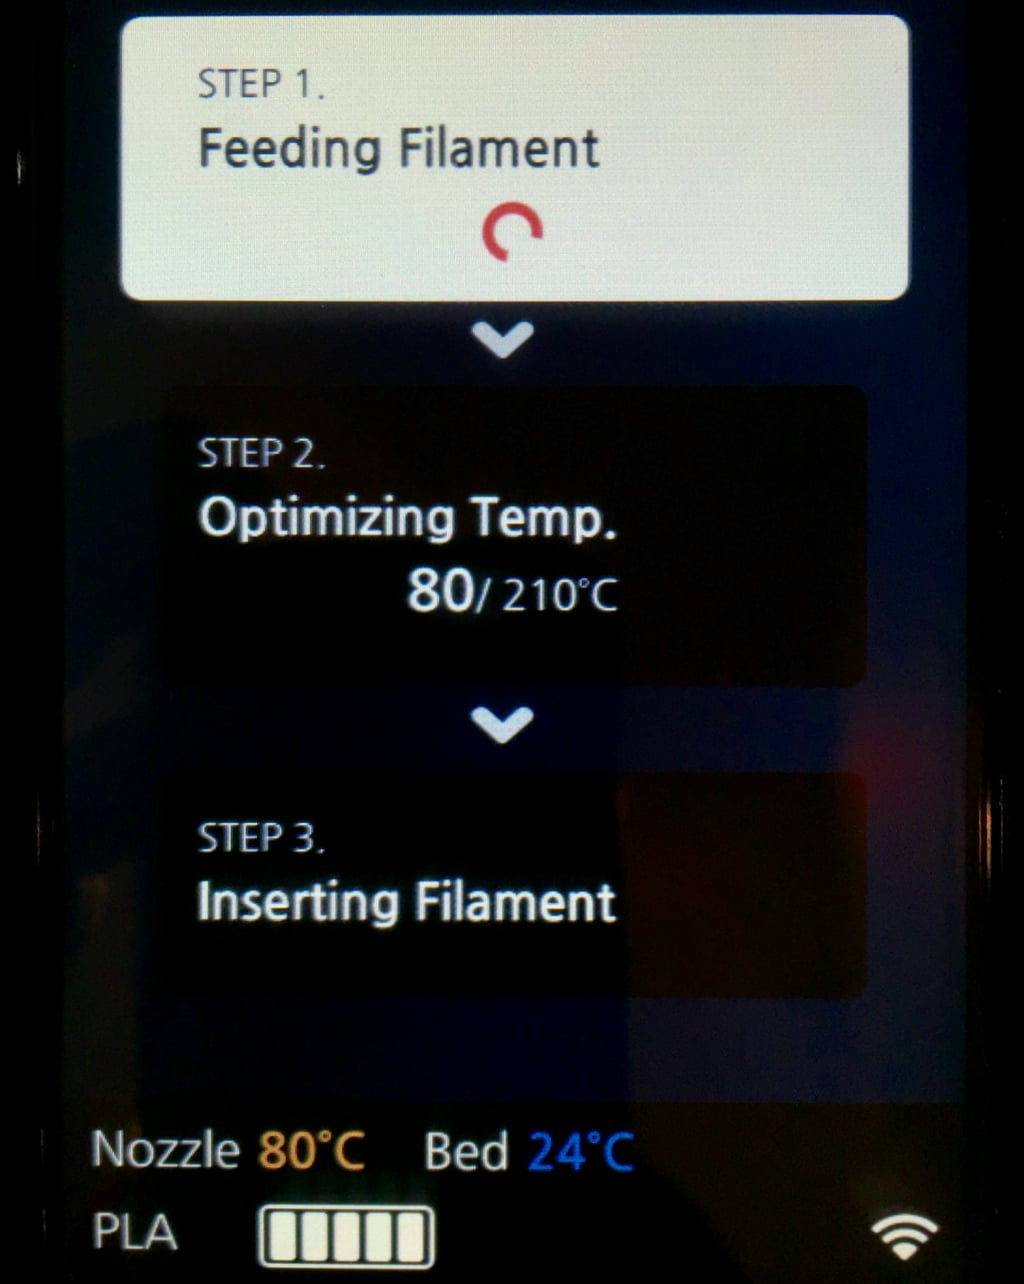
Loading material is ridiculously easy with the 3Dwox cartridge system. You simply insert the cartridge (located just inside the front door panel) and hit LOAD. That’s it. Everything else is automatically done for you. You don’t need to cut the end of the filament or feed it through tubes – in fact, you don’t even SEE the filament! It’s entirely hidden inside the cartridge and within tube paths inside the machine.
The most interesting thing about setting up a 3Dwox is the ease of doing so. During our testing we were able to set up the printer and have it literally ready to print from an unopened box in LESS THAN TEN MINUTES. We’ve never seen a machine this easy to set up, nor as fast. Further, we COMPLETED our first print in less than 20 minutes from an unopened box. Incredible!
Printing on the 3Dwox is a tremendously easy process, and we’ll tell you about it in part 2 of this series. If you’re too excited to wait for our review, the only way to get one today is to visit their Amazon page.
Other parts of this series:


