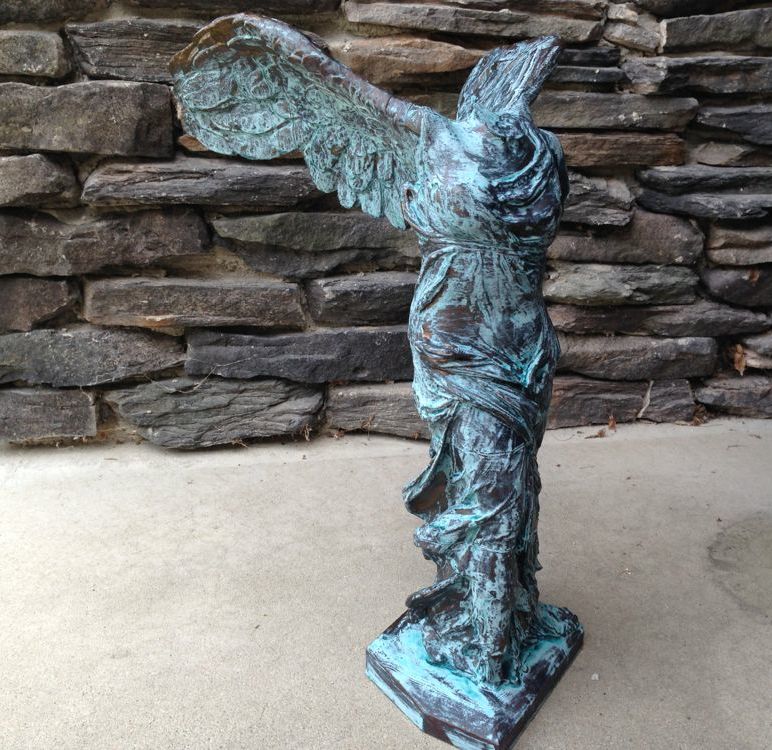
Every once in a while you bump into an incredible 3D print. We did and we wanted to make it, too. Thus began our Winged Victory Project.
We first encountered Cosmo Wenman at the 2013 London 3D Printshow, where Wenman showed us his incredible 3D printed sculptures. Not only are they large (made from multiple parts) but they have been finished with startling metallic finishes that make them look like they were cast in an ancient bronze forge, two thousand years ago.
Wenman has made a habit of 3D scanning famous sculptures and releasing some of them to the public. Even better, he’s sectioned them into bite-sized, easily printable pieces that can be made on almost any personal 3D printer.
But first, let’s take you on the journey we took to produce the classic Winged Victory of Samothrace from Wenman’s models. After downloading the Victory from Thingiverse, we fired up one of our 3D printers and let it print all the pieces. The Victory has been carefully chopped into ten moderately-sized pieces by Wenman.
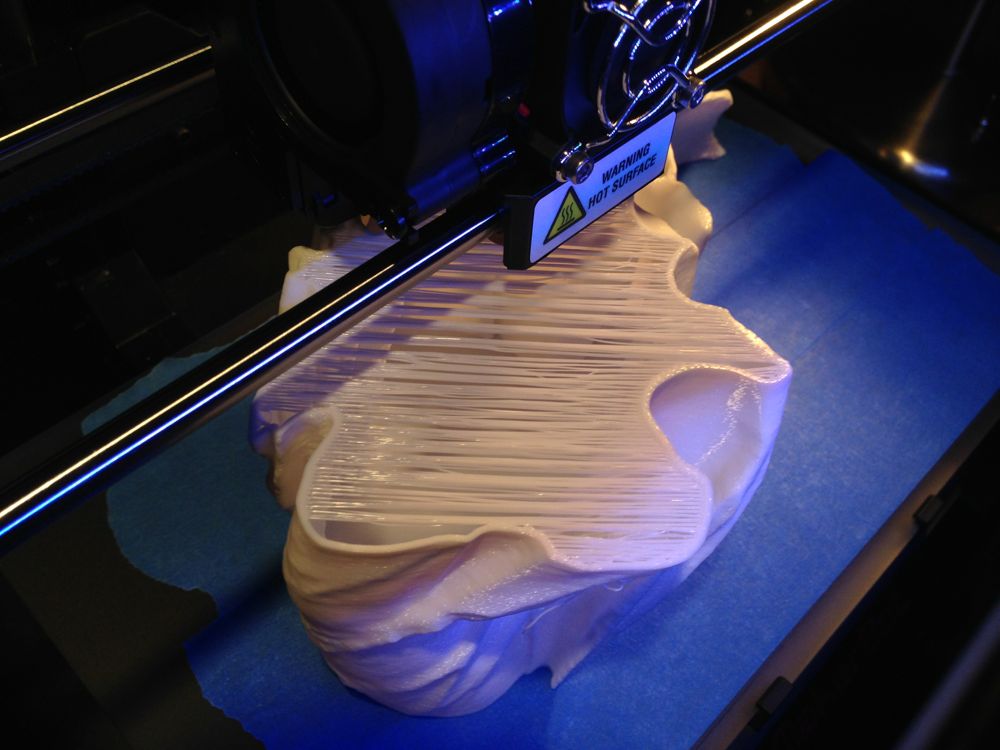
As per Wenman’s advice, we printed them in PLA plastic with three shells and completely hollow. We were skeptical at first, as the hollow pieces required very significant bridging to complete the tops. In some cases, gaps of over 10cm were required. Nevertheless, the printing worked flawlessly.
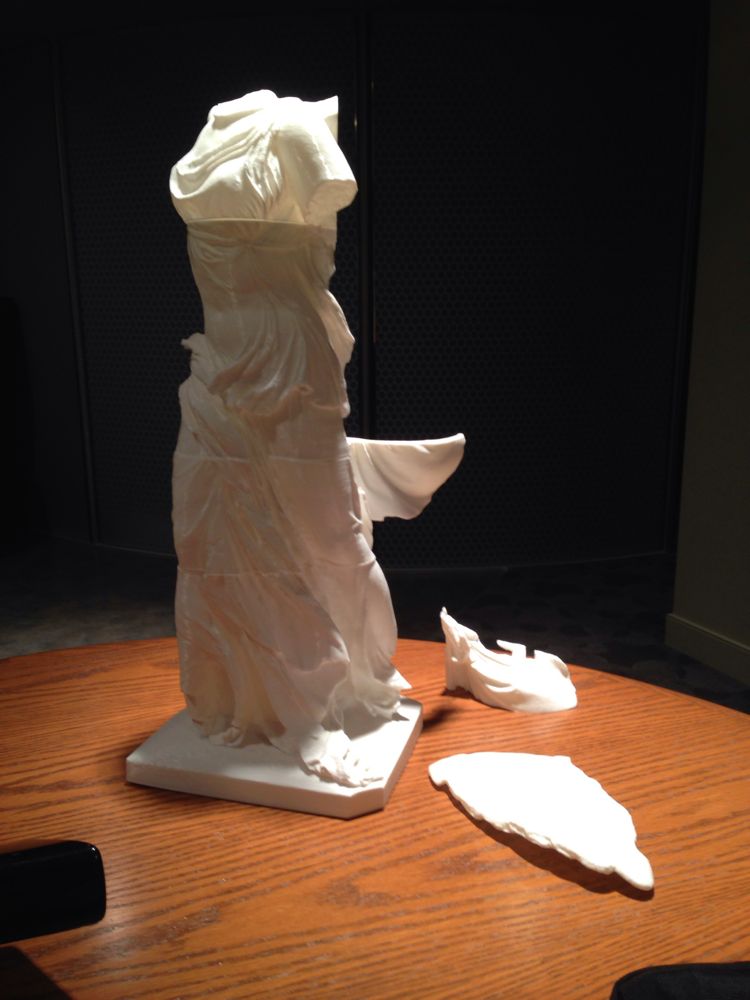
Many, many hours later we had all ten pieces printed and began the process of gluing them together. We simply used ordinary super-glue, obtainable anywhere. A few drops were more than sufficient to hold the pieces together.
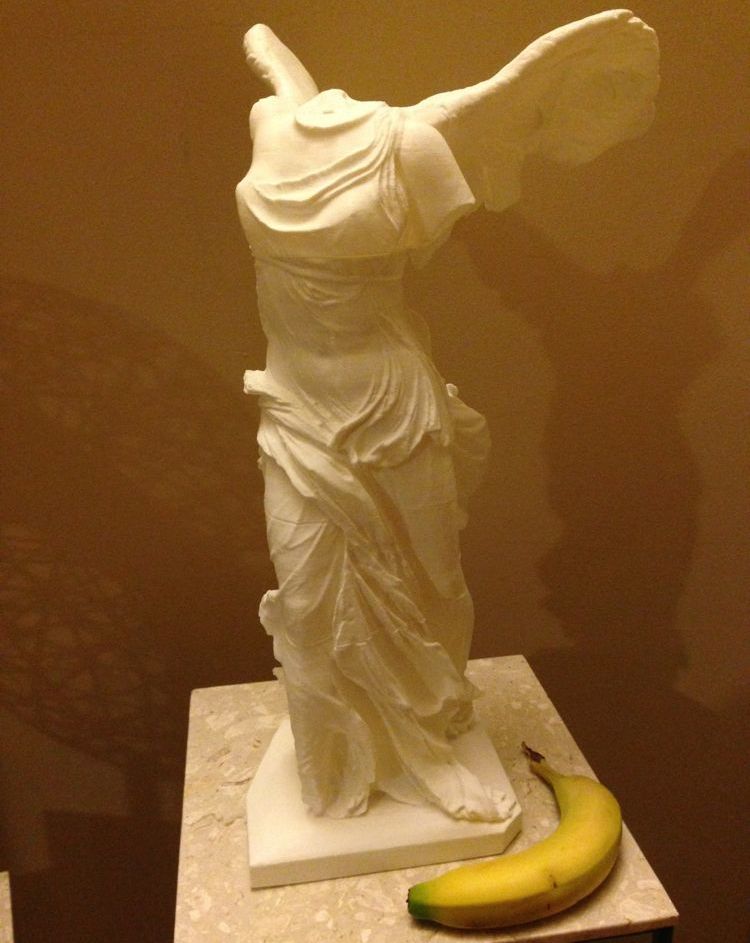
The Victory is massive once assembled (banana for scale). We chose white to make the print look marblish. However, some sanding was required to square off the joints between sections. Gaps were filled with a squishy mix of corn starch and glue.
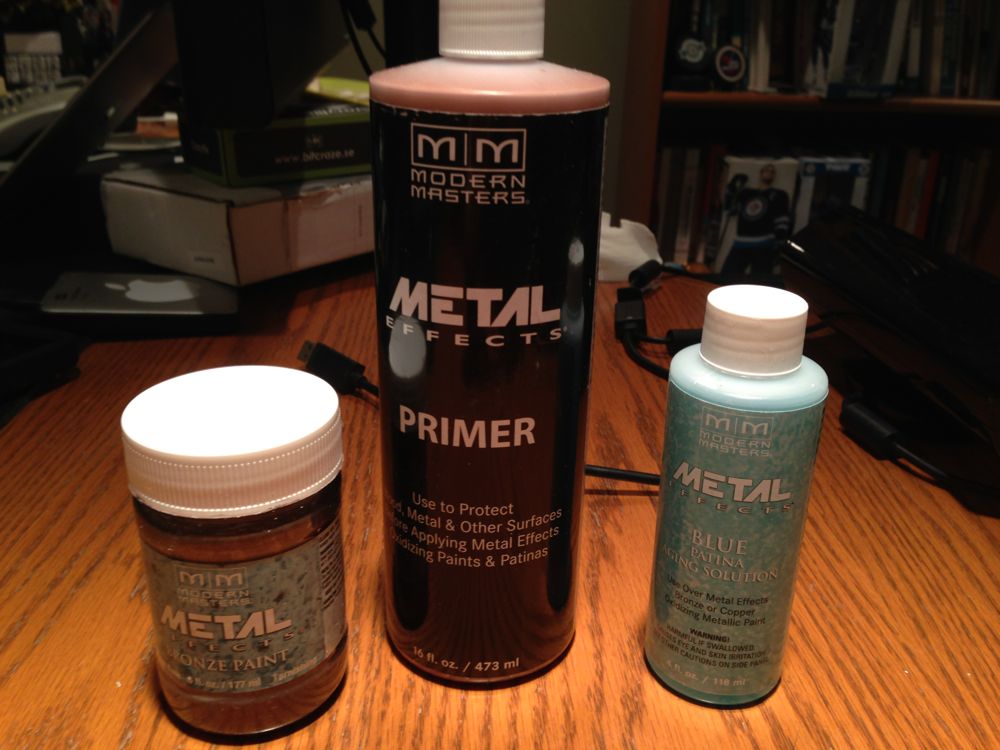
But that wasn’t the end of the process. We had to paint it, too. Wenman’s business is to market finishing kits that produce an amazing metallic patina, simulating aged bronze, iron or copper. As of this writing, Wenman is still developing the kit, so we used an alternate metallic finish from Modern Masters. We selected their bronze kit. Because blue.
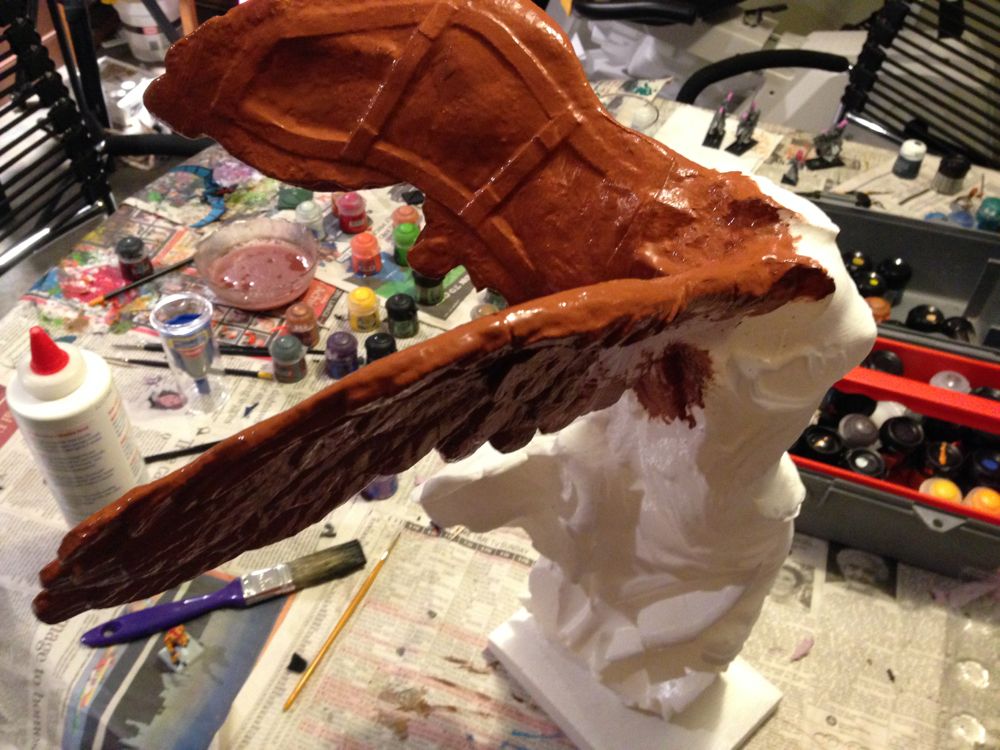
Modern Masters recommends using two coats of their primer to prep the piece, which we proceeded to do. It seemed a little strange to cover up the brilliant white surface, but what the heck.
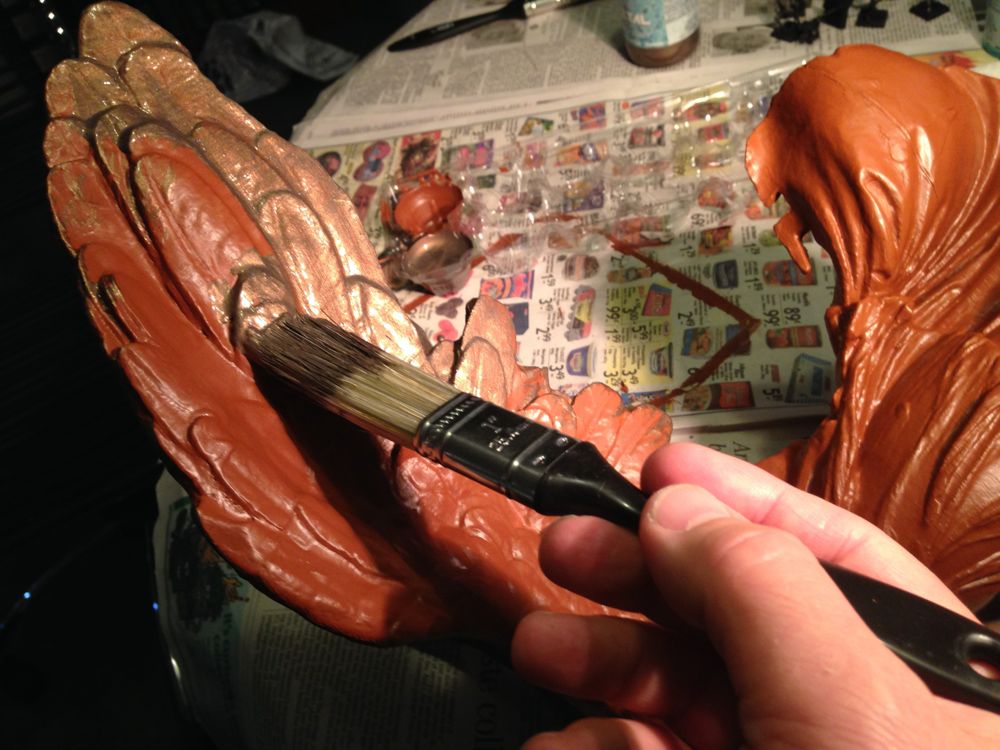
After the primer coats were thoroughly dry, we proceed to the next stage, which is to apply a coat of the bronze metallic paint.
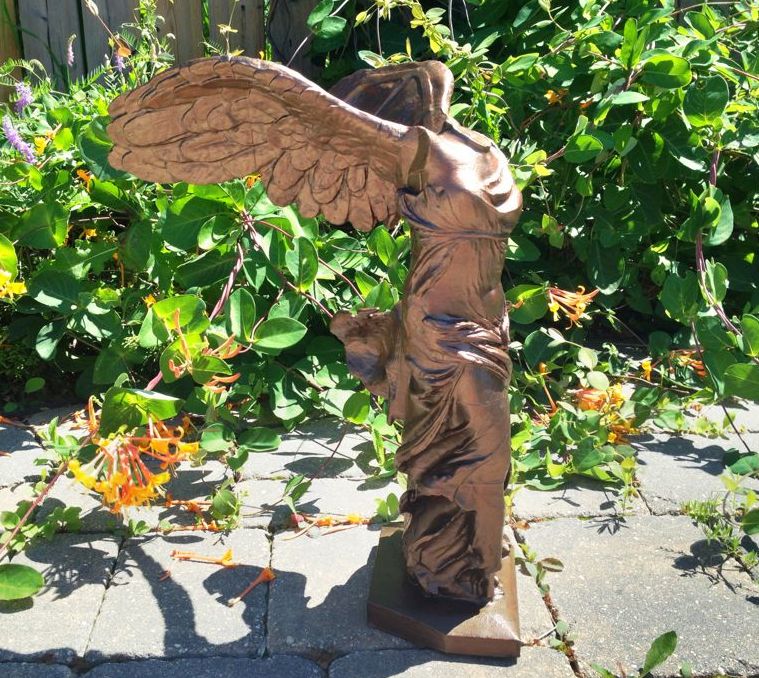
After the first coat of the bronze metallic paint, the Victory began to look amazing.
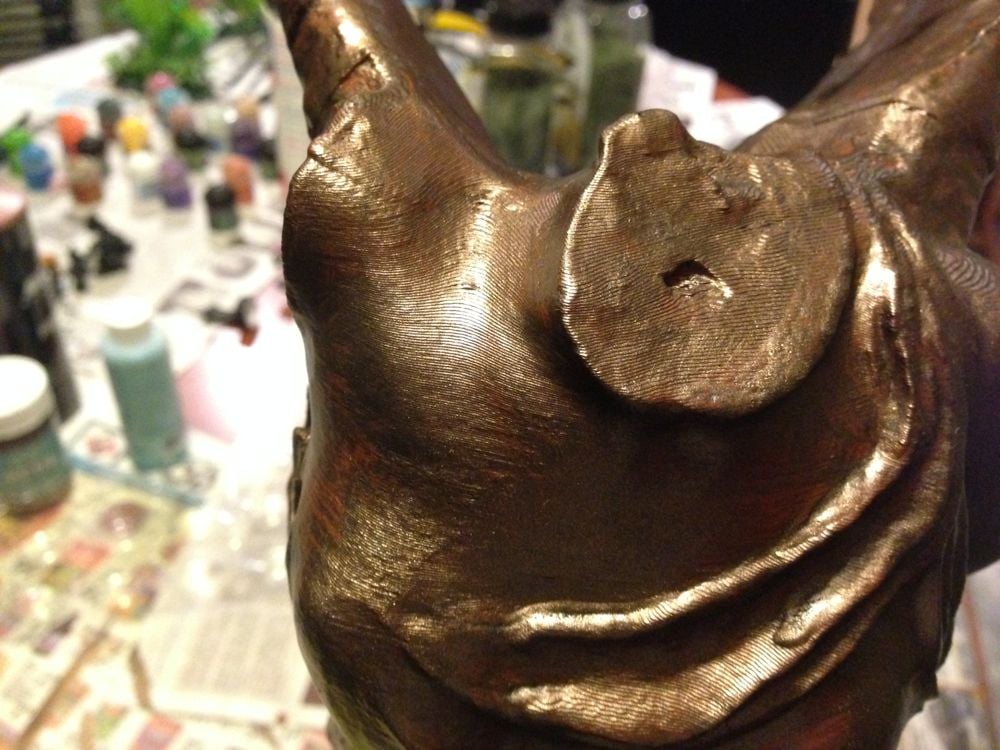
The Victory definitely looked as if it had been made from metal, so long as you don’t look too closely. Here you can still see some of the 200 micron layers produced during printing.
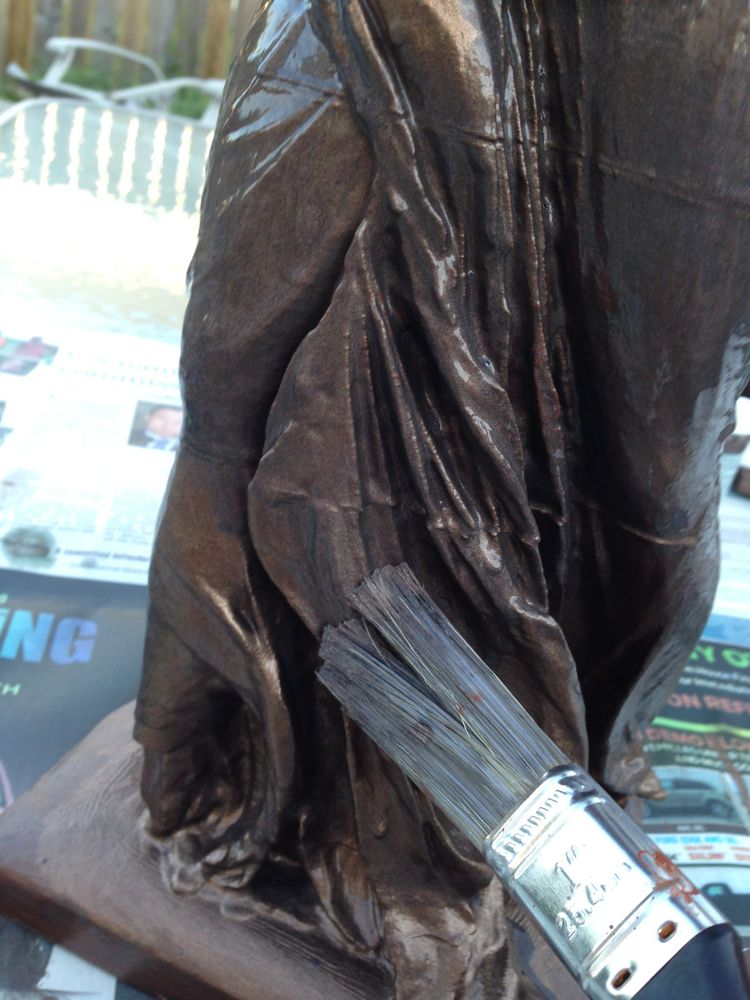
The final step is to apply a second coat of metallic paint and an oxidizer. The oxidizer must be applied while the metal coat is still wet.
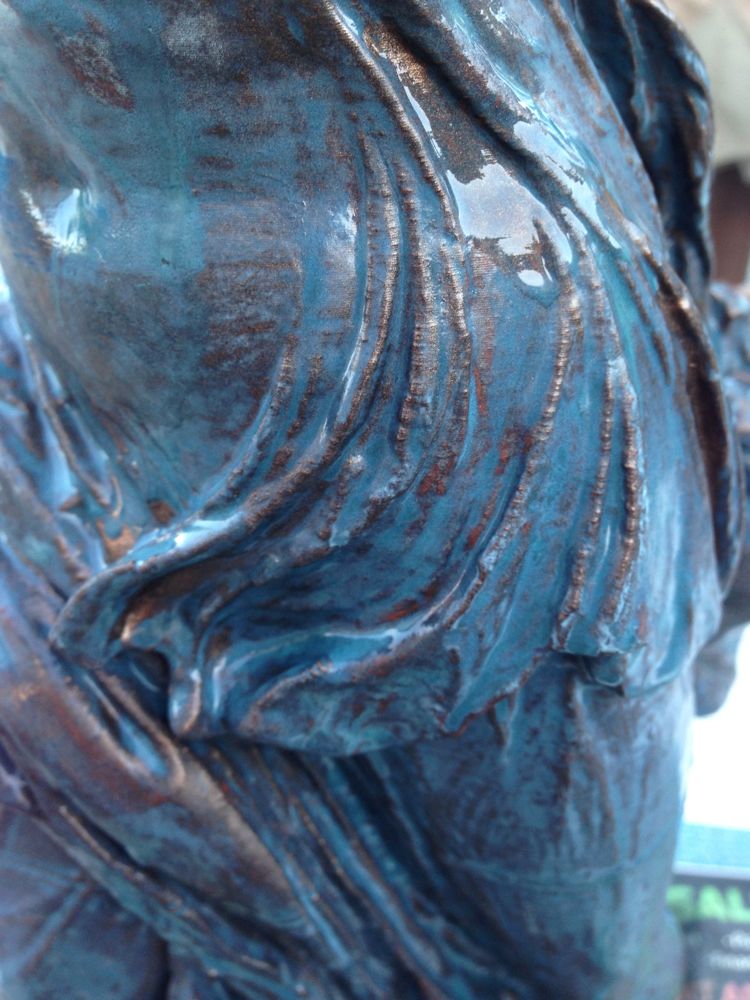
At first the oxidizer doesn’t seem to do much, as it is a thin, water-like liquid. But then after a few minutes you begin to see blue oxidized bronze appearing, even while the paint is still wet.
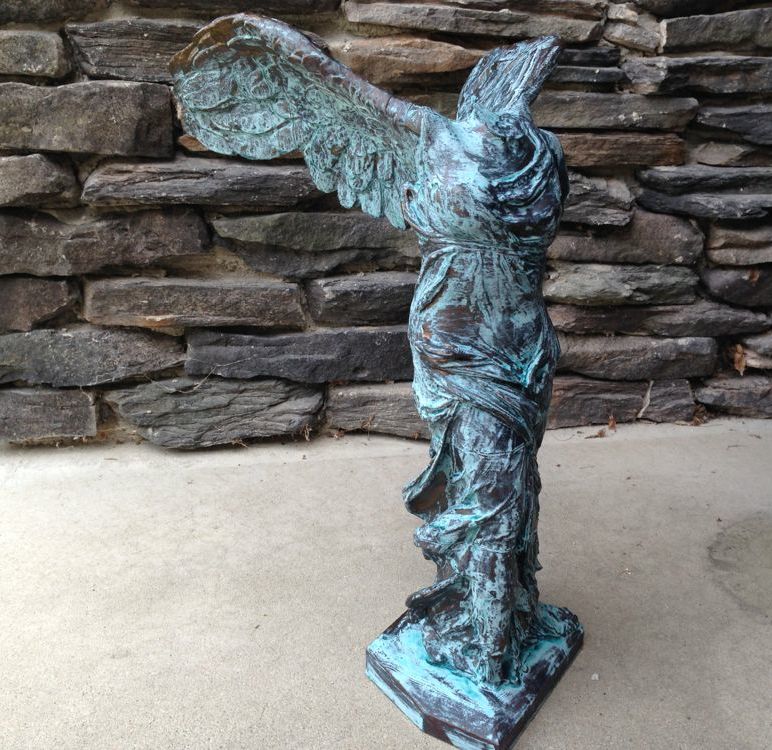
Finally, the sculpture dried and we have completed the process of making the Winged Victory of Samothrace, courtesy of Cosmo Wenman.
Some advice to those attempting this print: we strongly recommend somehow weighting the base, since the hollow pieces are incredibly light. Observers picking up the Victory in their hands are astonished at its light weight, as their eyes tell them it should be a 28kg hunk of solid metal. Were we to do this again (and we probably will), we’d pause the base print midway and pour something heavy into the base for solidification.
This project was a lot of work and took quite a while to do, mainly due to the numerous long prints and lengthy drying periods, but it was definitely worth it. The piece looks simply amazing.

