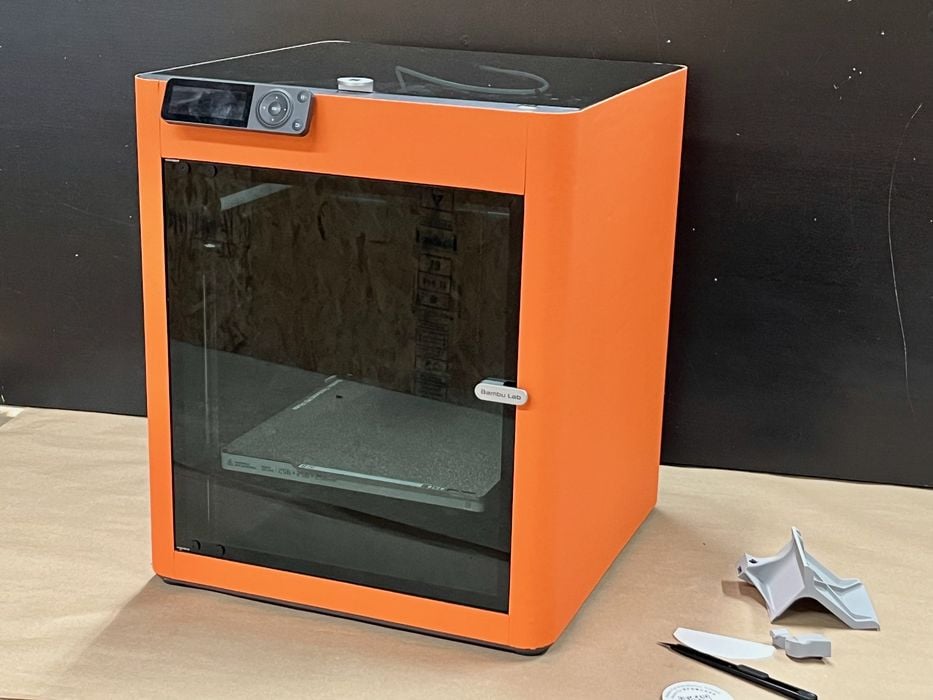
We had the opportunity to test BigTreeTech’s Panda Series of Bambu Lab upgrades.
This is part one of a two-part series, please read part two.
Panda Background
Panda is a brand of well-known Asian manufacturer BigTreeTech of a wide range of 3D printer components. They also produce their own line of desktop FFF 3D printers under the BIQU brand, one of which we tested many years ago.
It’s tough to compete with Bambu Lab’s inexpensive and high-quality 3D printers these days, so BigTreeTech has produced a series of third-party upgrades targeted at Bambu Lab desktop 3D printers, their “Panda” series.
There are quite a few upgrades in the Panda portfolio, ranging from replacement build plates to hot ends to powerful control panels. While some of the components can be used on different Bambu Lab models, like the build plates, some are targeted at specific models.
Panda Upgrades
There were several upgrades in our test, all applied to one of our Bambu Lab P1S models.
The P1S is one of Bambu Lab’s most popular devices. It’s an enclosed, high-speed desktop FFF 3D printer that produces extraordinarily good-quality prints. However, the machine is less well-equipped than its sibling, the X1C.
The Panda series attempts to close the gap by modifying the device in positive ways. The upgrades we tested included:
- Panda Touch: a replacement control panel with a large color touch screen
- Panda Revo: a replacement hot end using the popular REVO standard
- Panda Jet: a more advanced fan duct
- Panda Lux: an in-chamber lighting upgrade
- Panda Fur: a protective leather wrap to help insulate the build chamber
- Panda Build Plates: multiple removable build plates with different properties
There are even more upgrades in the well-stocked Panda series, but this is what we were able to test.
Panda Lux
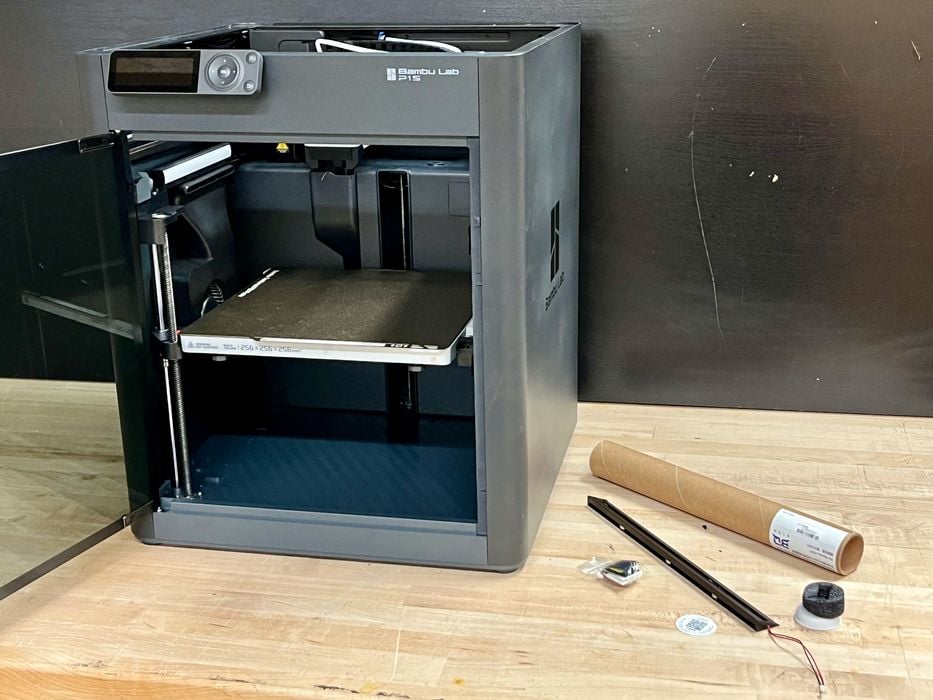
Starting small, we began with the Panda Lux, the lighting upgrade. The P1S does have a wimpy light inside, but it doesn’t throw a lot of photons.
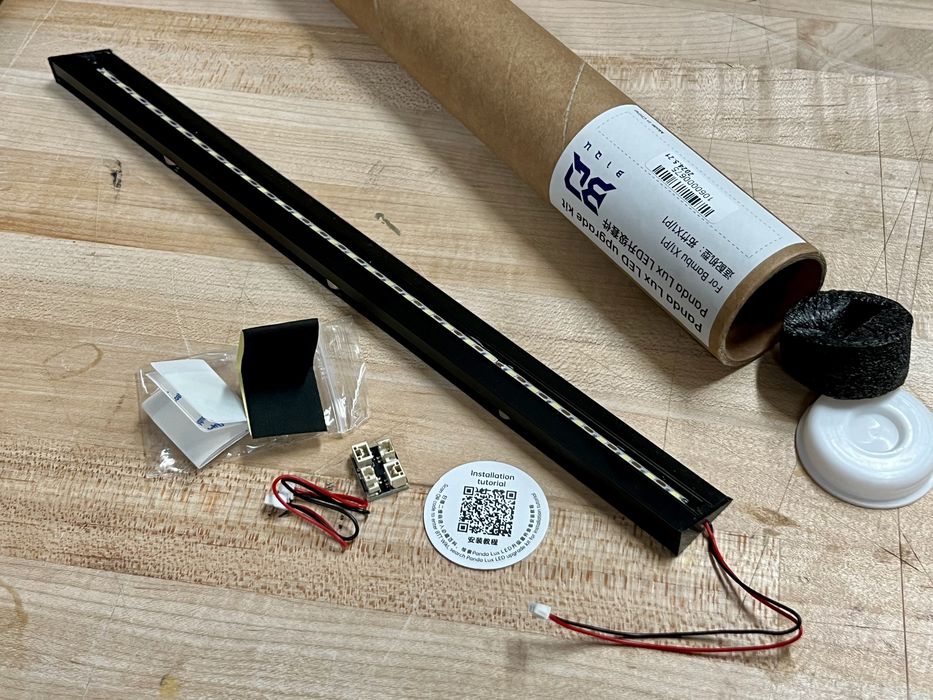
There aren’t a lot of parts for this one. There’s the light fixture itself, along with wiring and a plug port. The P1S must be powered off while this upgrade happens.
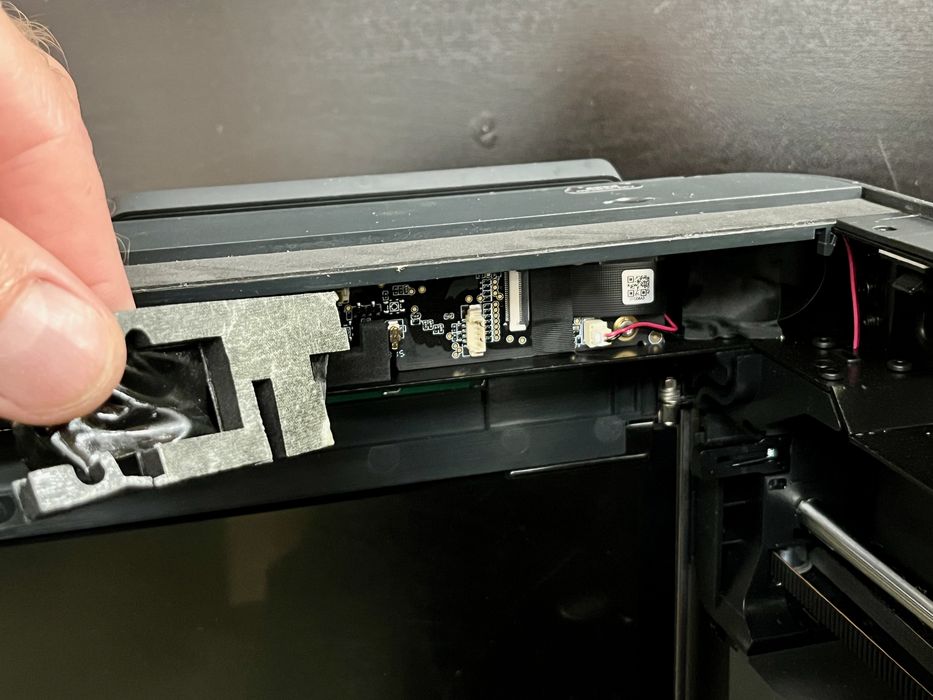
The installation is extremely straightforward. On the inner side of the top of the P1S, you must peel back some tape that hides the electronics. The LED light bar magnetically clips onto the top frame member.
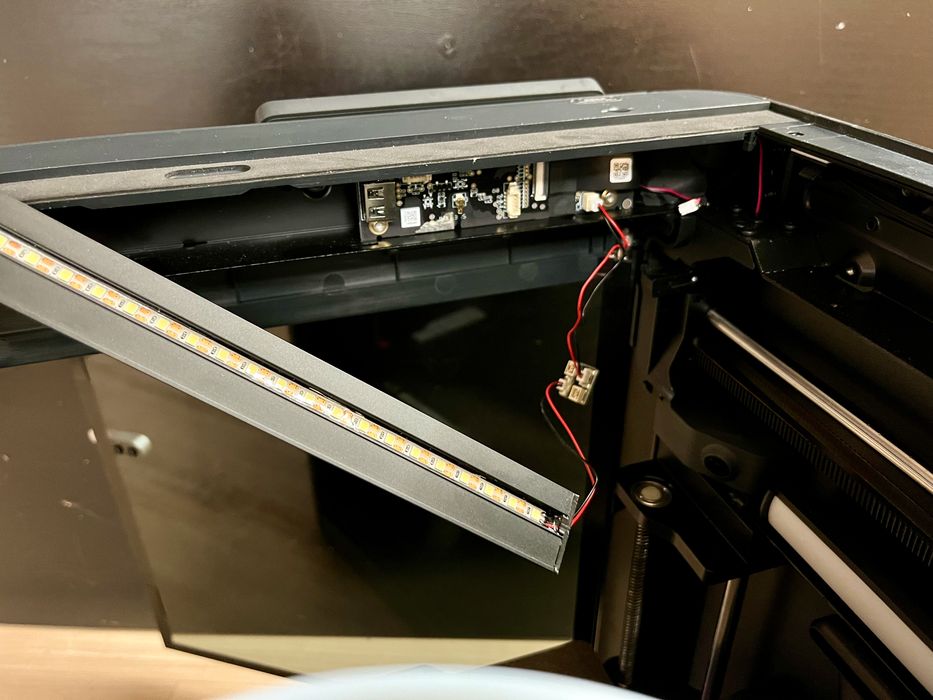
The idea here is to unplug one of the boards to open up a port. Then that gets plugged into a new four-way port, making three new ports available. One is for the Panda Lux, while the others might be used later on. It is suggested to not plug the original LED bar into the adapter board, as this could draw too many amps on the circuit.
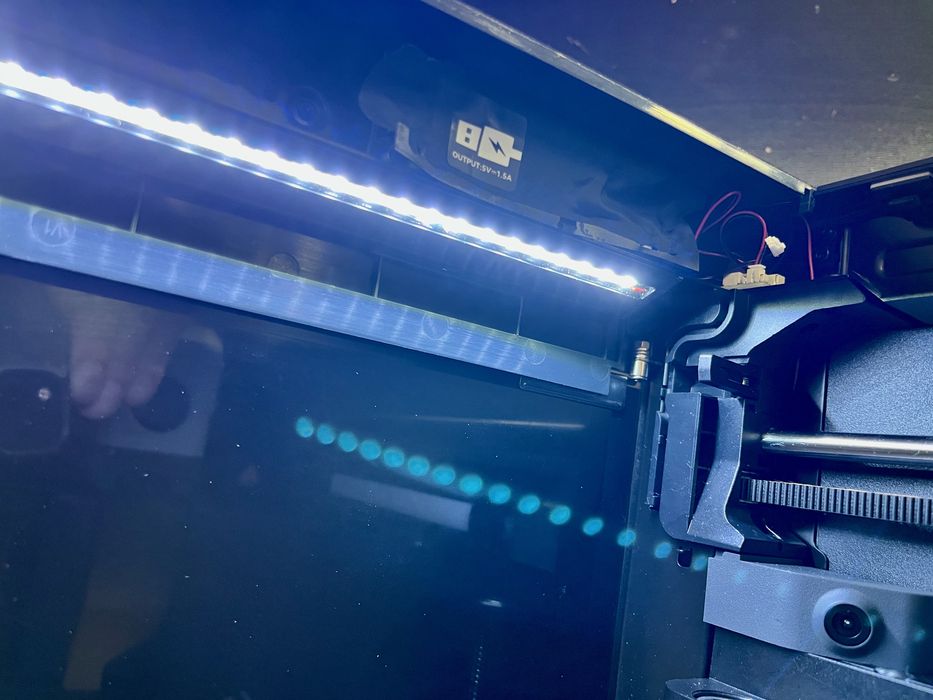
The light is quite bright and has really changed the visibility in the build chamber. This is particularly notable from the onboard webcam; it’s much easier to see what’s happening in the device.
Panda Revo
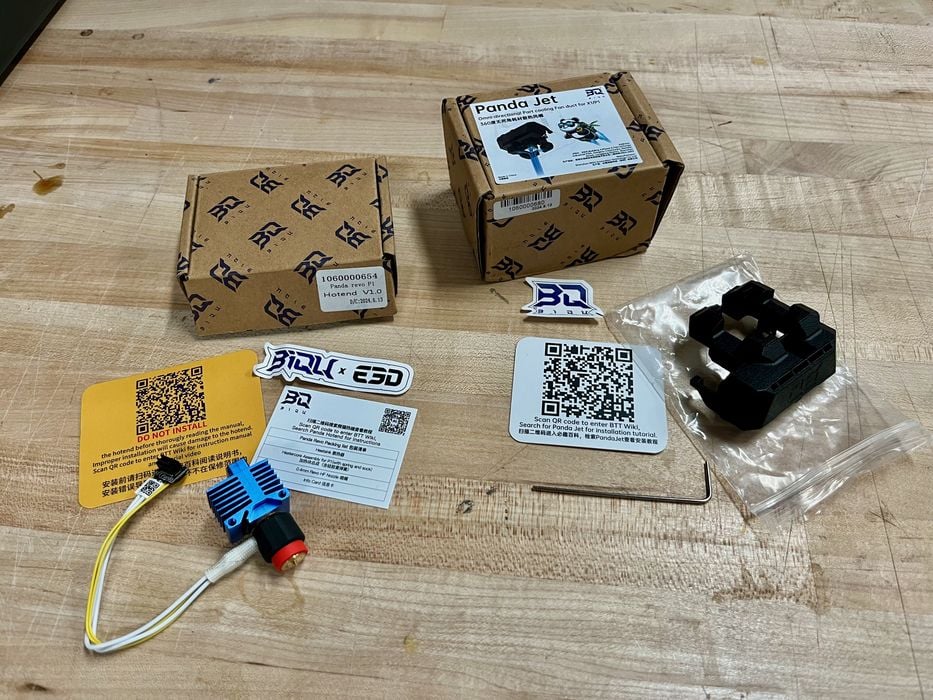
We moved on to the Panda Revo, a replacement hot end. This is more complex than the Panda Lux, but quite similar to swapping a hot end on any other machine.
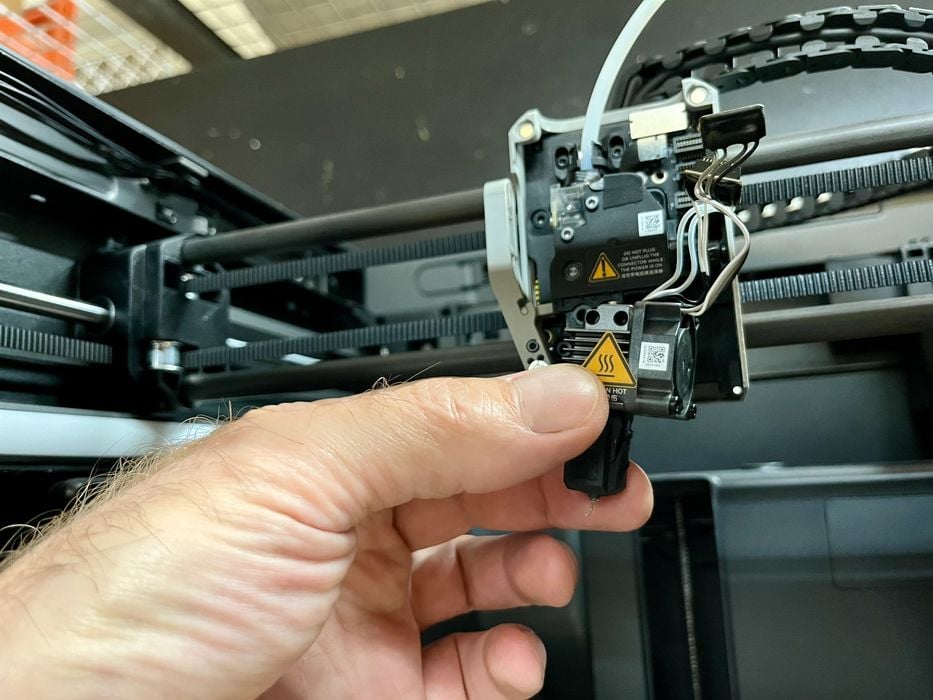
The original Bambu Lab hot end must be removed, and this is easily done with a couple of bolts. The hot end slides out easily.
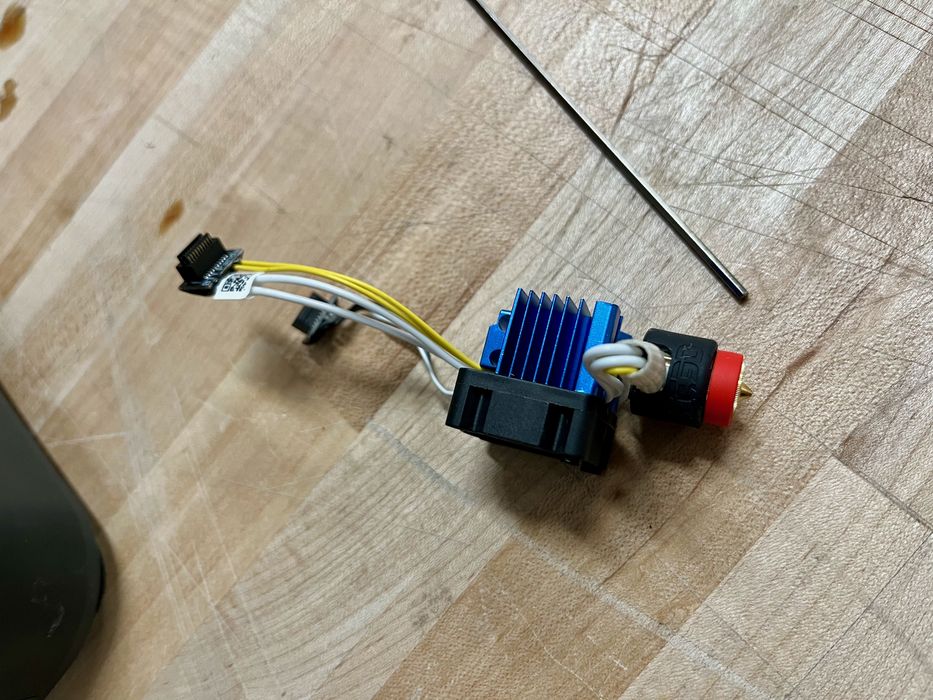
The hot end fan must be removed from the original hot end and re-mounted on the Panda Revo. BigTreeTech doesn’t include a fan with the Panda Revo.
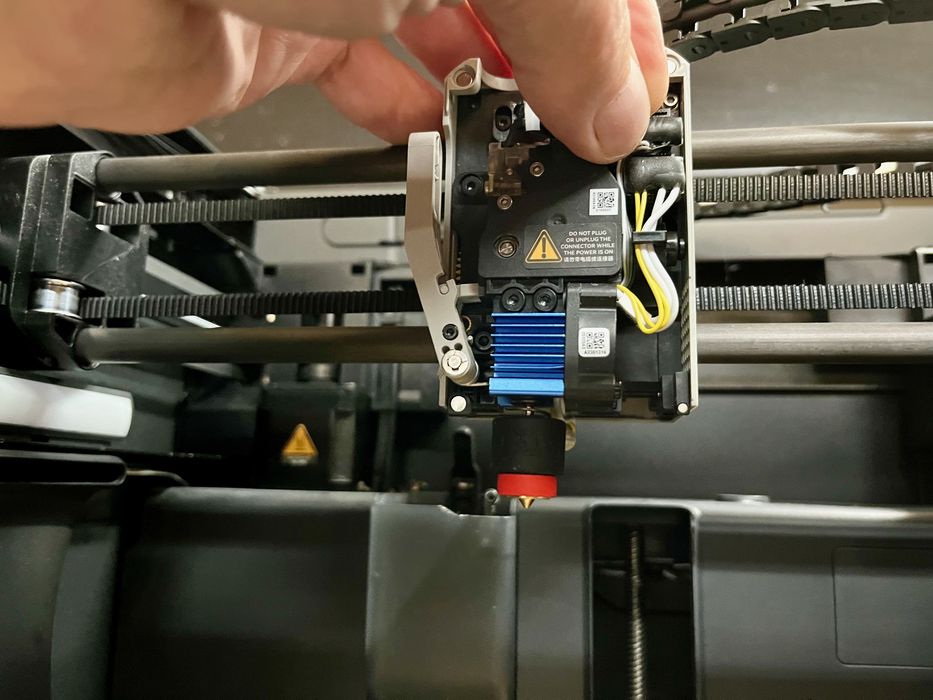
The Panda Revo is perfectly sized to fit into the P1S’ toolhead. It mounts with the same bolts as the original.
After installation and testing, we found no issues with the Panda Revo, and prints came out with the same excellent quality. We believe the benefits of the Panda Revo would be most apparent when pushing the envelope on the machine with higher speeds and engineering materials.
Panda Jet
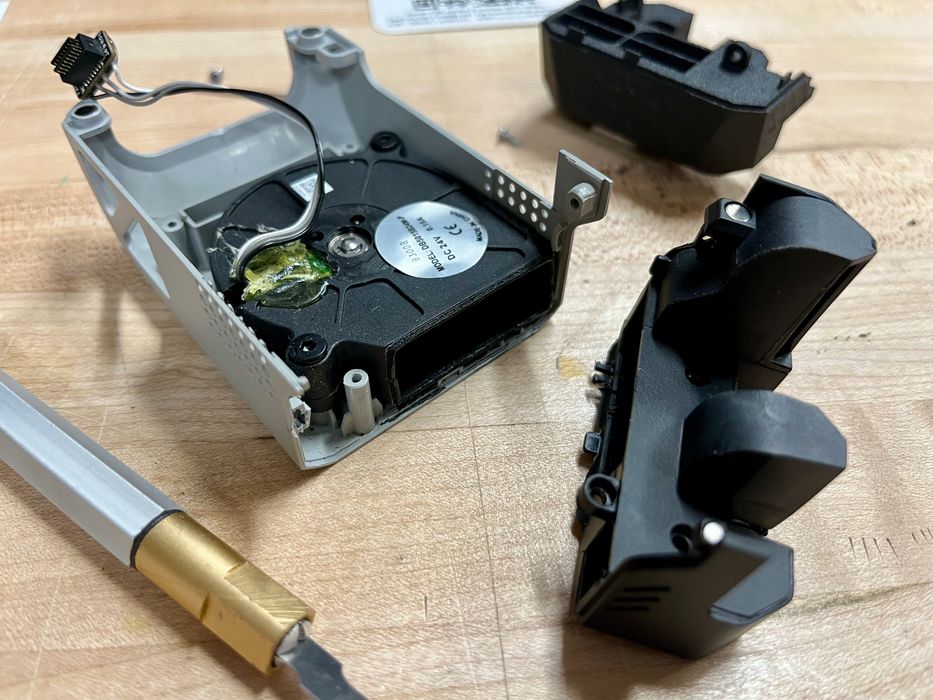
Installing the Panda Jet involves removing the printhead cover, which must be unplugged. The lower portion must be removed, which is easily done with a couple of bolts. The original Bambu Lab duct is screwed AND glued into place and you need to carefully break the original duct free so you don’t break off a mount point for the new duct.

The Panda Jet duct is then simply bolted on as shown here.

Finally, the printhead cover is then plugged back in and remounted. You’ll note the “BQ” logo on the front of the toolhead — and the Panda Revo hot end peeking out from the bottom.
The duct provides better airflow, which is slightly noticeable on high-speed prints. We are getting extremely good-quality prints from the P1S now, somehow even better than with the original equipment.
Panda Fur
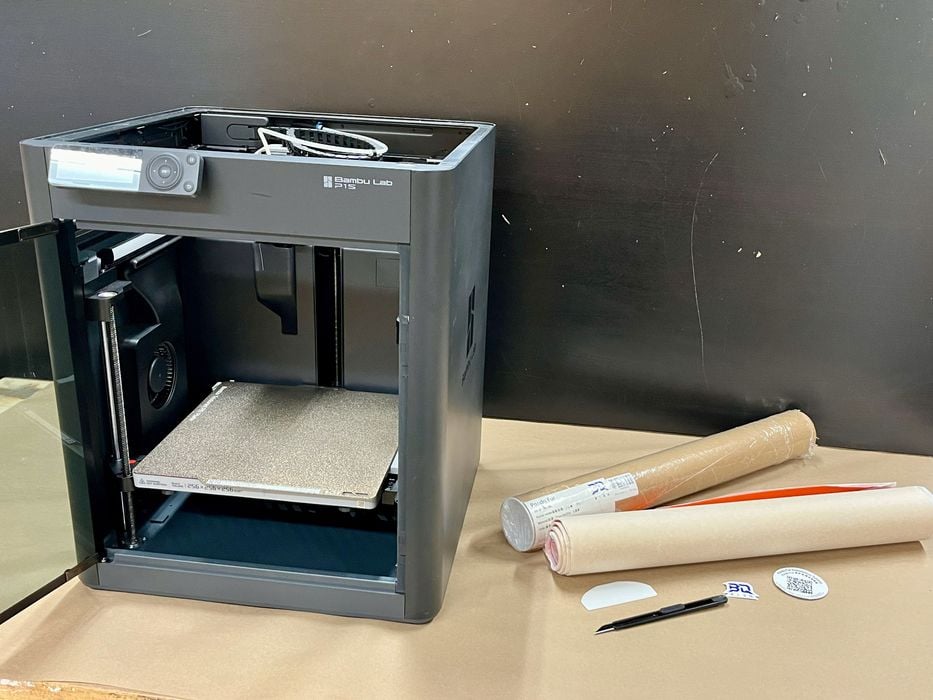
The Panda Fur was perhaps the most challenging upgrade of the bunch, but BigTreeTech provided great instructions and even some custom tools to get the job done.

There aren’t a lot of parts here: just a roll of “fur”, a cutting blade, and a smoothing card. There’s a QR code to get the detailed instructions, which we highly recommend you use. The “fur” isn’t really fuzzy, but is a thick vinyl with a sticky surface on one side.
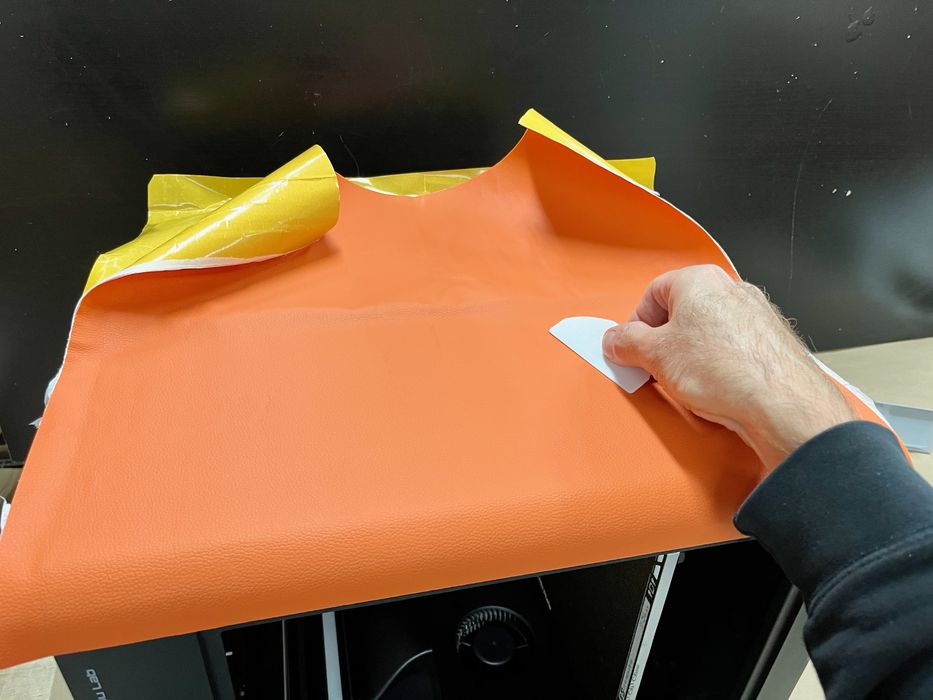
Applying the fur is straightforward, but you must be careful to ensure things are lined up properly. Start on one edge and carefully roll it out. Use the card to take out bubbles as necessary.
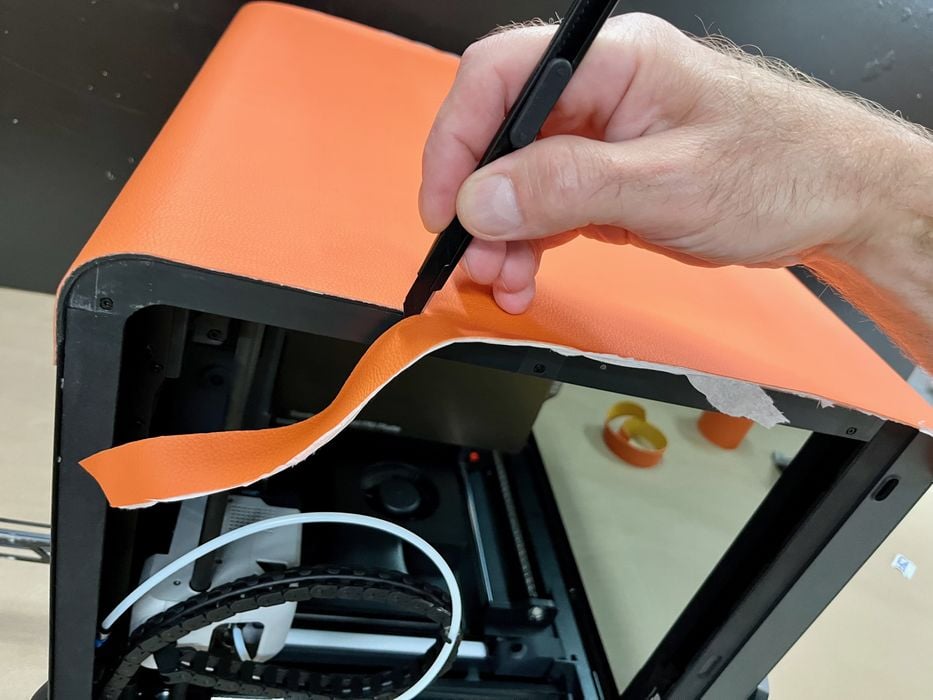
There will be lots of fur slopping over the sides, and that requires trimming with the supplied blade. For some of the trimming spots, it’s easily done with the blade.
However, there are a number of curves and weird angles that would make it pretty difficult to get a clean cut. BigTreeTech recognized this and has a solution.
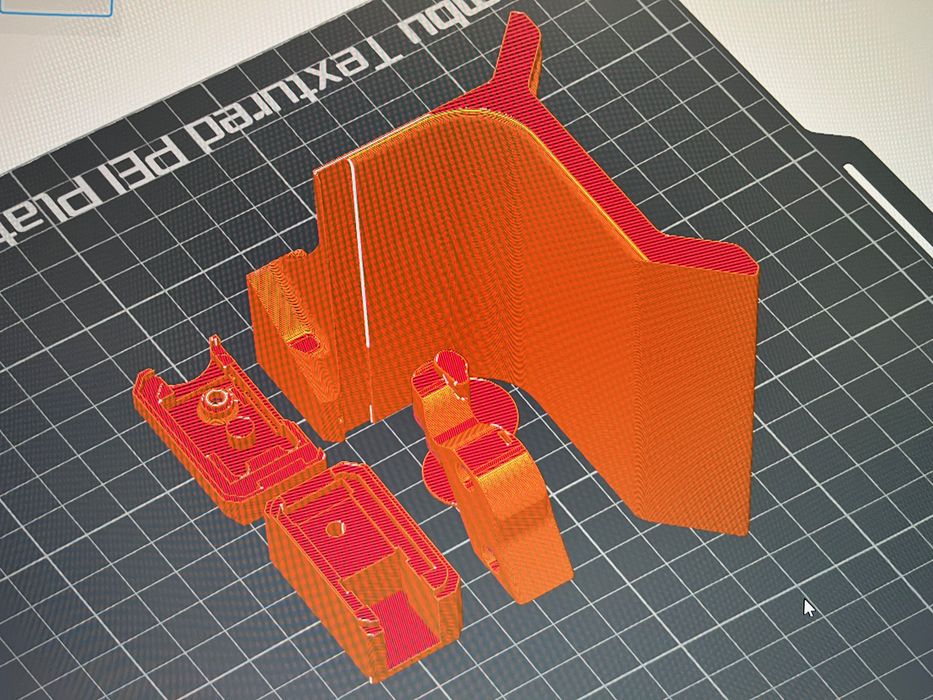
They provide 3D models for some jigs to help guide the blade for these difficult cuts.
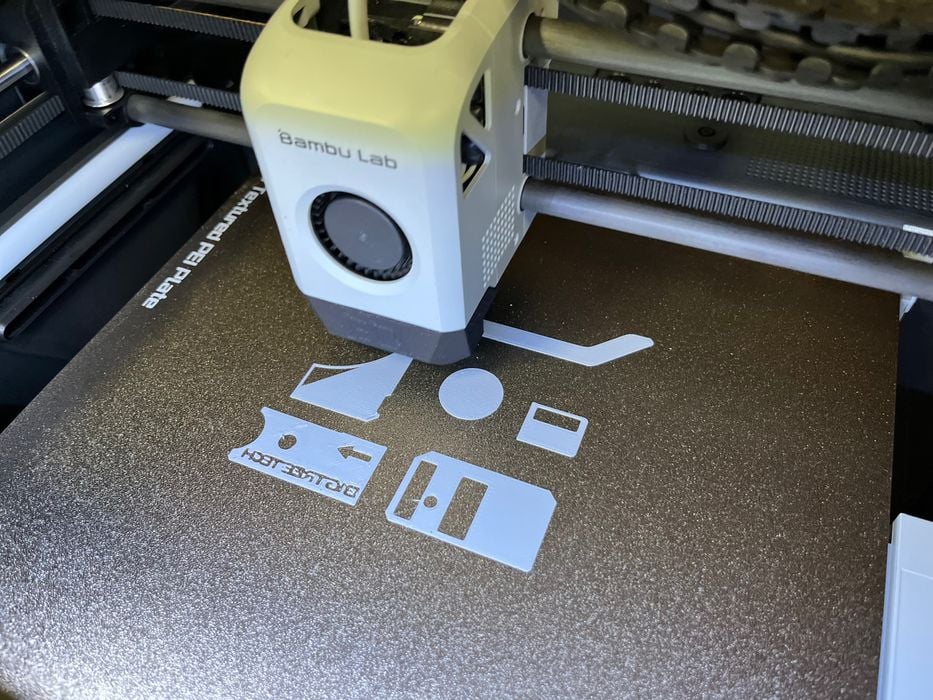
You must print these out yourself, so you’ll need the machine operating to do so. They are an easy print.

This is how it works: the blade is mounted in the guide, which slides along the machine’s contours to perfectly cut the fur.
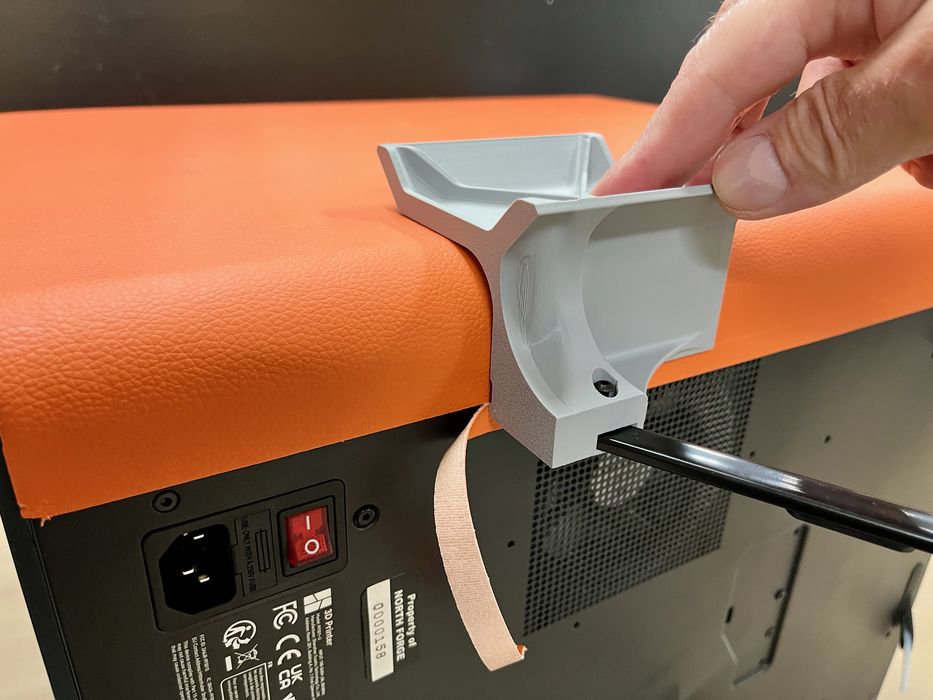
This guide was the most interesting, as it wrapped around the main curve of the P1S’ body.
In the end, the work required to install the fur wasn’t that difficult due to the terrific instructions and tooling provided by BigTreeTech.
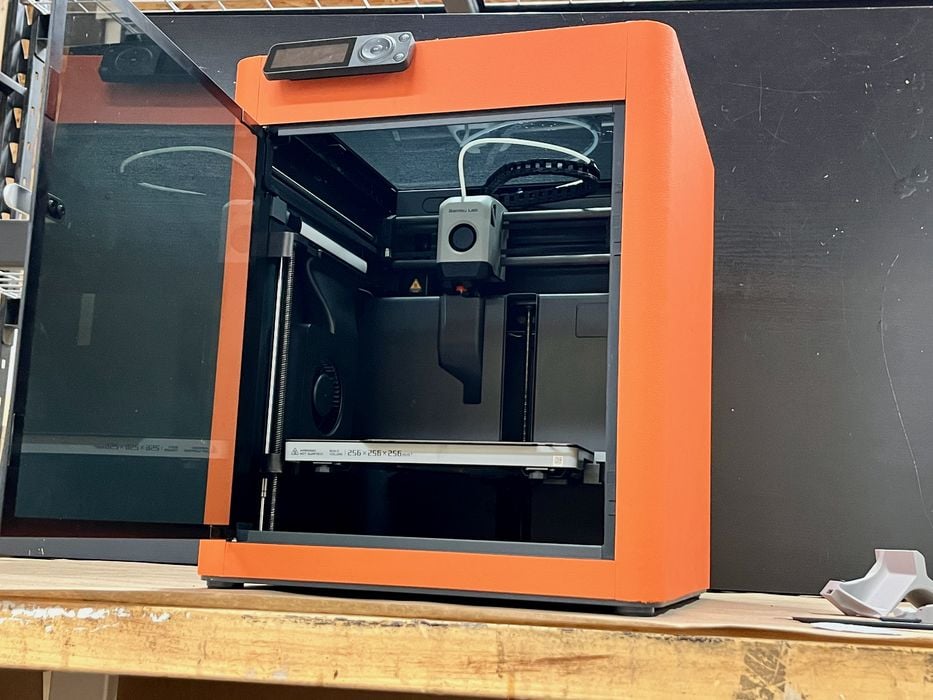
The fur provides an extra insulating layer for the build chamber, which captures a little bit of extra heat. That reduces the thermal gradient between the hot end and the ambient air in the build chamber, which increases print quality.
This is part one of a two-part series, please read part two.
Via BigTreeTech
