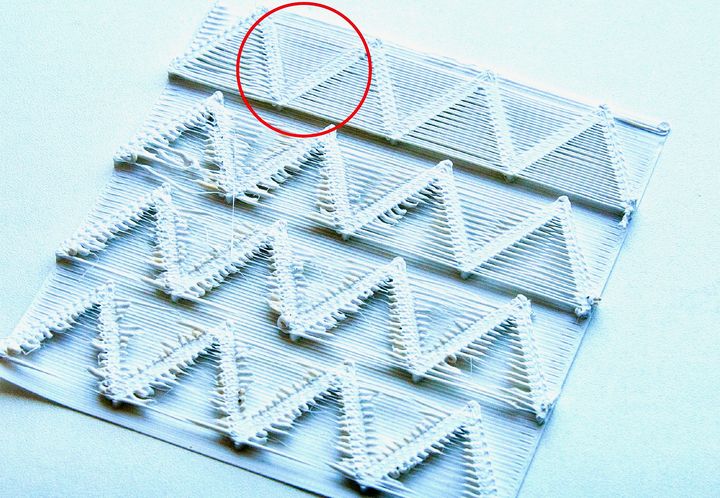
A new online service has emerged that hopes to guide 3D printer operators to better printing parameters: 3DOptimizer.
FabControl SIA, the producers of 3DOptimizer, seems to be a spinoff from well-known 3D printer manufacturer Mass Portal. Their claim to fame was being able to achieve 3D prints of astonishing quality, so there’s definitely skill present. In fact, one of the founders and former CEO of Mass Portal, Janis Grinhofs, is now running FabControl SIA.
Optimizing 3D Prints
Getting the best print is a quest known by any 3D printer operator, and it is usually a tedious affair. Benchmark 3D prints are produced iteratively, each time tweaking this or that setting. Eventually, those skilled in this process can “dial in” on the optimal settings for a specific material on a particular 3D printer model.
Once that’s done these settings can be reused forever without change, so long as the material or printer is not changed. It’s very important for production operations to achieve this, as consistent results are inevitably required in manufacturing.
However, many 3D printer operates now use many different filaments as the choice of material is as wide as it’s ever been. And it’s going to continue to grow. This means 3D printer operators are faced with an increasing amount of “dialing in” over the next few years.
3DOptimizer Service
FabControl SIA has now introduced their 3DOptimizer tool. This is a paid online service that simplifies the dialing-in process by automating the steps. In fact, there’s probably a lot fewer steps involved than the manual equivalent.
The idea is to walk the user through a series of tests that can perform the diaingl-in. The tests try to figure out the best combination of print speed, temperature and material flow.
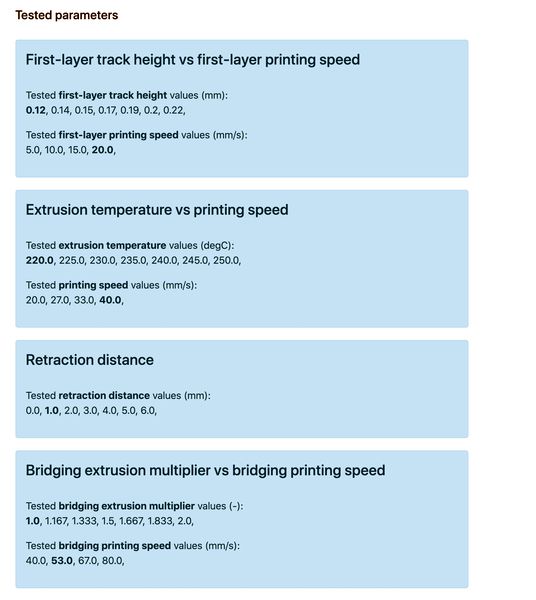
Normally the entire process should take several hours to generate models, print them, evaluate them and proceed to the next step iteratively.
It’s similar to what one might do using 3D printed benchmarks, but that requires repeatedly 3D printing an object, tweaking one or at most two settings each time. If the print takes a while to complete, as is the case with a #3DBenchy, the process can take a very long time to complete. Even worse, some might abandon the process as soon as one “gets close”.
3DOptimizer bundles many of these iterations into each step. Typically it asks you to 3D print an array of thin shapes, each with a different combination of 3D printing parameters. It’s almost like 3D printing a chart where the X-axis might be print speed and the Y-axis is temperature.
Once these prints are completed, you simply select the best one by eye, tell 3DOptimizer, and move on to the next test. The next test will incorporate results from the first test to continue the dial-in process.
Eventually the tests are complete and 3DOptimizer offers to download an optimal print profile. You can download in three formats: Simplify3D, Ultimaker Cura, and PrusaSlicer.
Testing 3DOptimizer
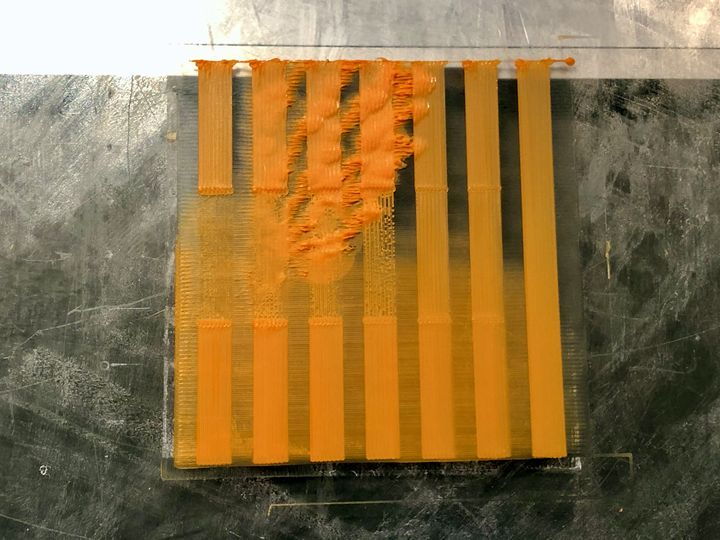
I was able to give 3DOptimizer a quick test, courtesy of their free trial program. You can make full use of the product for a few days and get a feel for how it works.
I attempted to produce an optimal PLA profile for one of my test units, an ANET ET4 3D printer.
The tests were straightforward, and it began with a simple array of rectangles. 3DOptimizer does ask you to verify a few things in advance, such as the maximum temperature you want to use. This puts the testing in a rough “envelope”, in which the optimal answer will be found.
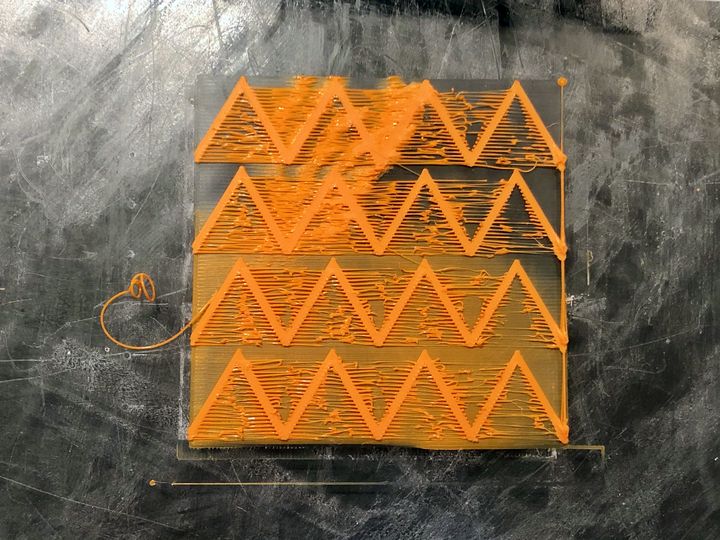
I found the 3DOptimizer test prints were quite quick to print. They are not large in the X-Y axes, and only a few layers thick. Due to the design of the 3D models they can indeed perform the necessary testing with a minimum amount of material used. This is a great benefit over 3D printing 47 #3DBenchys.
Sometimes the test results were a bit confusing, as the “right” selection might not be obvious. However, if you pick one that is good — it is good.
Another issue I found was that you should not rotate the print. If, for example, you removed the thin print from the build plate and then examined it, you might accidentally rotate it and then lose track of which cell belongs to which setting. Do your eye checks while it’s still on the 3D printer.
In the end I downloaded an Ultimaker Cura-format print profile and attempted to 3D print two #3DBenchys. One was using stock settings for PLA, and the other used the optimized 3DOptimizer profile.
I found the results interesting, as you can see below.
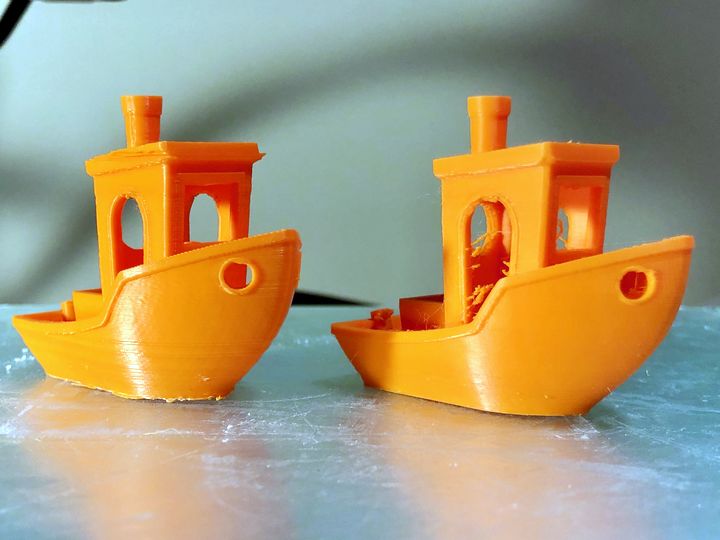
On the left is the “default” #3DBenchy, and on the right is the 3DOptimizer version. Note that there seems to be some stringies on the optimized version. I suspect I might have selected the wrong cell at one point in the printing iterations.
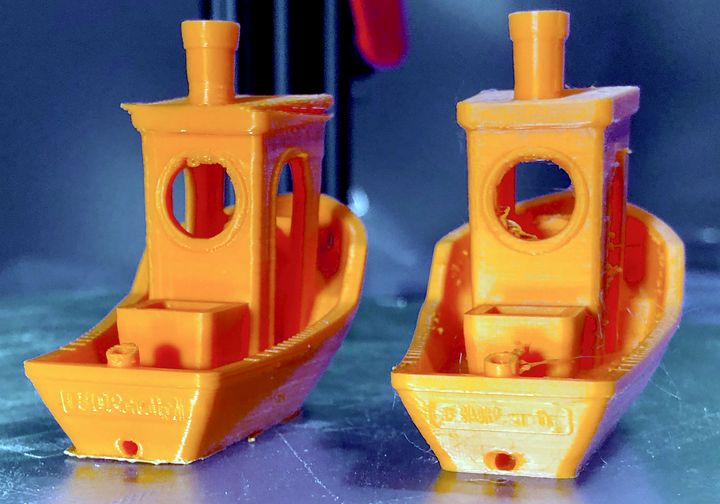
Nevertheless, the rest of the 3D print turned out better than the default profile. The surfaces were smoother and overhangs were handled better, in spite of the stringies. In other words, the 3DOptimizer process seemed to work!
3DOptimizer Availability
3DOptimizer is available now, and it’s easily accessible from a browser. You’d best use a desktop to access it, however, as you’ll be downloading print profiles and 3D models.
FabControl SIA offers a free version of 3DOptimizer, but it’s limited to three days use. After that you’ll have to select one of their paid plans. Fortunately, they have some options that will meet everyone’s needs.
There’s a Week plan for US$4.95. This is ideal for someone who only occasionally would need to dial in a new filament. You’d pay for that week and not the next, as it would only take a day or two to go through the process.
Finally, they offer a Month plan at US$14.95. This is best for a workshop where new filaments and printers are being tested regularly.
I’m surprised no one has thought of doing this process before, but I’m glad FabControl SIA have done so.
Via 3DOptimizer
