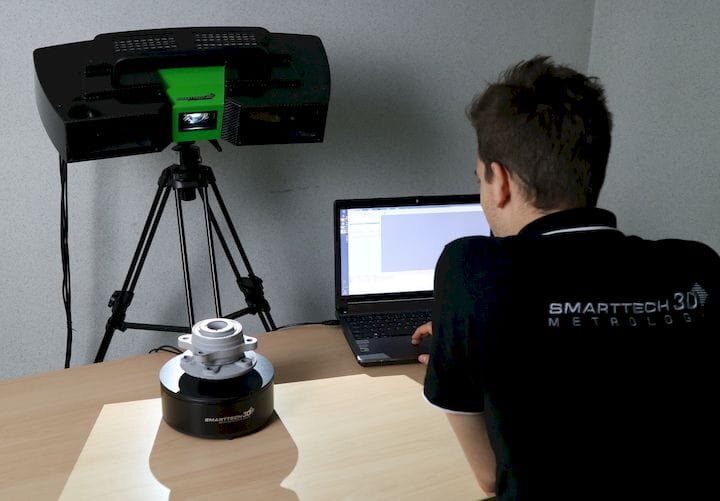
![Technician using the new MICRON3D industrial 3D scanner [Source: SMARTTECH3D]](https://fabbaloo.com/wp-content/uploads/2020/05/image-asset_img_5eb0904649c13.jpg) Technician using the new MICRON3D industrial 3D scanner [Source: SMARTTECH3D]
Technician using the new MICRON3D industrial 3D scanner [Source: SMARTTECH3D]
Poland-based SMARTTECH3D announced a new type of industrial 3D scanner, the MICRON3D.
This is an unusual 3D scanner intended for use in industrial settings, and the company says it “perfectly fits into the assumptions of the idea of industry 4.0”.
3D Scanning for Quality Control
With that statement I take it that the device is likely going to be used in scenarios where continuous production of parts must be carefully monitored to ensure each piece is within specified tolerances. This is a relatively common practice in manufacturing, and is becoming more critical in production 3D printing workshops.
Each item produced would theoretically be 3D scanned and the resulting scan data would be compared against the required 3D model. Any differences in geometry would be easily detected by specialized 3D software. If a piece is out of tolerance, it would be discarded as it did not meet the client’s requirements.
MICRON3D Green Light
However, there are plenty of 3D scanners on the market; why is the MICRON3D special? They explain:
“SMARTTECH3D has developed a method of measuring with green LED light with a wavelength of 520 nm, which, together with the filters used, reduces the impact of lighting changes on measurements. Thanks to this, we can get results up to 30% better than the traditional method of measuring with white light.”
This is critical as in some deployments lighting could vary from optimal, and sometimes even change between scan operations. I think SMARTTECH3D has a good technical strategy here.
MICRON3D Structured Light
![The MICRON3D Green LED 3D scanner for industry [Source: SMARTTECH3D]](https://fabbaloo.com/wp-content/uploads/2020/05/image-asset_img_5eb09046b192a.jpg)
The device uses the structured light process, in which a series of “stripes” are painted on the subject by the LED light source. As the object rotates, it is possible for software to discover the geometry of the object by observing apparent changes in the appearance of the stripes.
But the MICRON3D 3D scanner seems to do this in a slightly different way. While most structured light 3D scanners have a single optical detector observing the stripes, the MICRON3D seems to have two! Thus the stripe-observation can occur from two different viewpoints, creating a kind of stereo view of the subject.
Basically, it is like 3D scanning it twice at the same time. This should significantly increase the accuracy of the scan obtained.
MICRON3D Industrial Features
SMARTTECH3D has also included some features applicable to industrial use: the case is now made from “shock-proof carbon fiber”, which could better protect the device if it’s tipped over (it is mounted on a tripod). The cover is also temperature resistant, so that if something hot were accidentally touching the MICRON3D, it would not necessarily do as much damage.
Another feature is an onboard HEPA filter to dramatically reduce dust exposure within the unit. This could be critical in some installations where the work taking place generates a lot of airborne dust.
Dust, if embedded in sufficient amounts, could decrease the accuracy of the prints or even disable functionality entirely.
You can see that SMARTTECH3D put some thought into the design of the MICRON3D, and likely worked with some production facilities for feedback on features.
If you’re considering a 3D scanner for production quality control, you may wish to investigate the MICRON3D from SMARTTECH3D.
Via SMARTTECH3D

