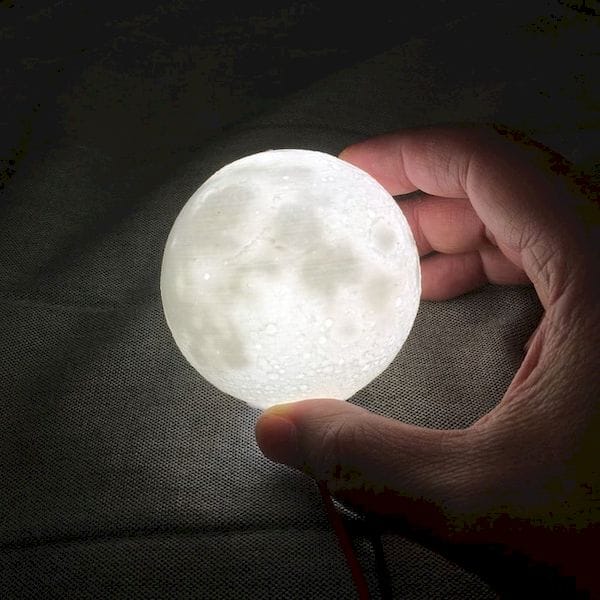
This week’s selection is the fun “Print Your Own Moon” by Instructables contributor 陳亮 (Liang Chen).
Hong Kong-based Chen has provided an incredibly detailed step-by-step process for developing this 3D printed Moon.
You might think this is a simple process, but it is by no means so. Chen explains that there are only two kinds of 3D printed moon models available:
Good Moon surface details but no glowing details when put a light inside.
Good glowing details but not a Moon surface when the light turned off.
And:
I would like to make a Moon that have both details at the same time.
His concept is a good one; I’ve actually searched for such a model previously because of this very issue. But how does he solve the problem?
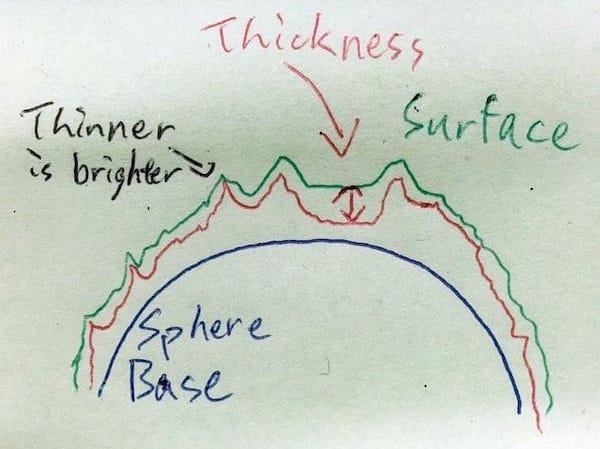
The solution turns out to be to vary the surface thickness of the otherwise hollow Moon model, as shown in this diagram:

That certainly makes sense, but how on Earth does one produce such a variably-thickened Moon skin?
Chen’s very long Instructables post explains his process, which involves using a modified (by him) version of Banate-CAD, a tool I am not yet familiar with (but I’ll be checking it out soon).
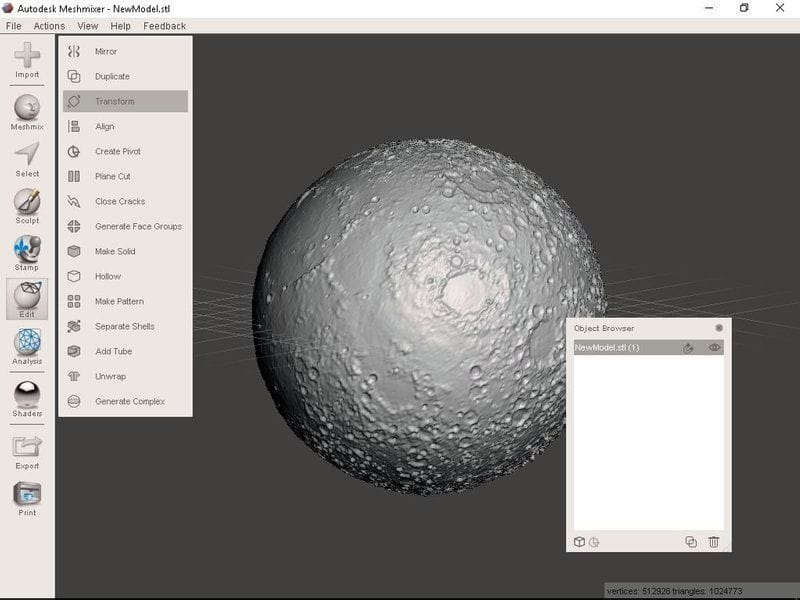
Using this tool he’s able to transform 2D image of the lunar surface into a bump map, which can then be wrapped around a sphere. Finally, Chen takes the model through MeshMixer to finalize the shell thickness.

While the process he describes is complex, it is also flexible. Using the steps he lists you can orient the Moon in different ways and sizes, so that, for example, you could 3D print a version designed to be a ceiling light, or one for a desktop, etc.
You could also use the same process to develop lighted 3D models of other planets, if you have the time and raw data.
If this is beyond your skills, don’t fret: Chen has also uploaded a pre-made version to Thingiverse where you need only download one of the several provided Moon sizes and 3D print. And then put a small LED light inside, of course.
Via Instructables and Thingiverse

