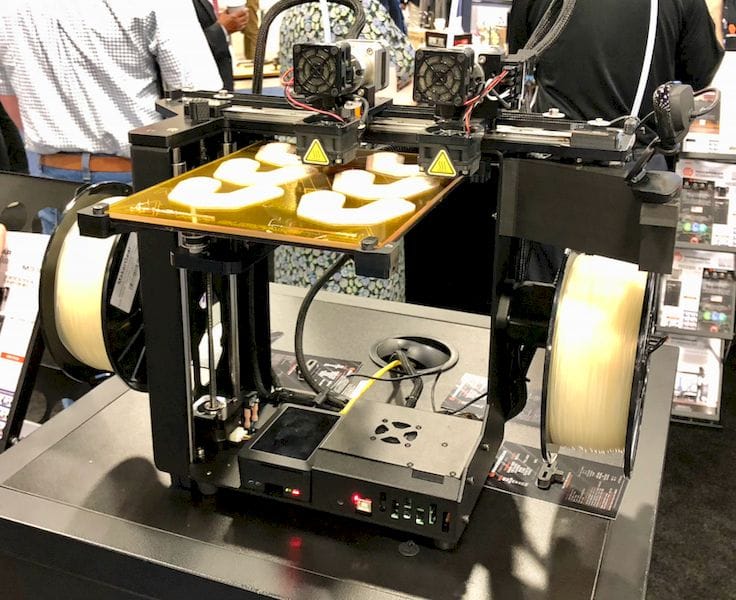
MakerGear announced some interesting changes to their flagship 3D printer, the M3.
The M3 was announced about a year ago, and it’s been quite a successful model for the company since then.
But Rick Pollack, the engineer and founder/mastermind behind MakerGear is not one to let things lie still, and has been constantly upgrading the machine’s design. Some months ago dual independent extruders were added, for example.
What’s the newest features? There are two.
One is an optional enclosure. Previously the M3 was an open format machine, allowing prints to be exposed to ambient temperatures and incidental air flow. These could corrupt the prints and reduce quality, but the new enclosure deals with those issues quite smartly. It also enables capture of residual heat from the heated build surface.
This is not just a “box” that is thrown on top of the M3; it’s instead a carefully designed body that fits tightly to the underlying mechanisms and is securely attached. MakerGear said a plain box does not really work nearly as well. This configuration minimizes the internal air volume, which makes it far easier to heat up.
While it is apparently removable, that’s an unlikely scenario: if you can catch the heat, keep it! The air-tight, sheet-metal enclosure includes attachments for you to safely vent away any noxious fumes generated from 3D printing activities.

The second and perhaps more interesting feature is an entirely new automated calibration system, which MakerGear calls “True Leveling + Auto Leveling”. This requires a bit of explanation.
What many companies call “auto leveling” is in fact a dynamic adjustment to the Z level during printing to ensure that the nozzle remains a consistent distance from the (presumably) wobbly build surface, whose topology is discovered by a sensor sweep before printing.
Another leveling method is often called “assisted leveling”. In this approach, a sensor examines the level-ness of the print surface and then provides advice on how to physically level the print surface. It may say, for example, “turn the left front screw 3.5 turns clockwise”. Systems with assisted leveling are somehow seen as inferior to the fully automated approach, but it can work just as well.
In the new MakerGear M3 Rev 1, BOTH approaches are used!
In their two step process, the operator is first set to perform physical leveling, which as I mentioned is a fairly straightforward process you do once in a while. After that’s done, the new touch probe is used to re-measure the build surface topology, and from there it uses standard auto leveling.
By combining these two approaches I cannot imagine how you could get a better leveled build surface. You get the best of both techniques, and an extremely reliable 3D printer.

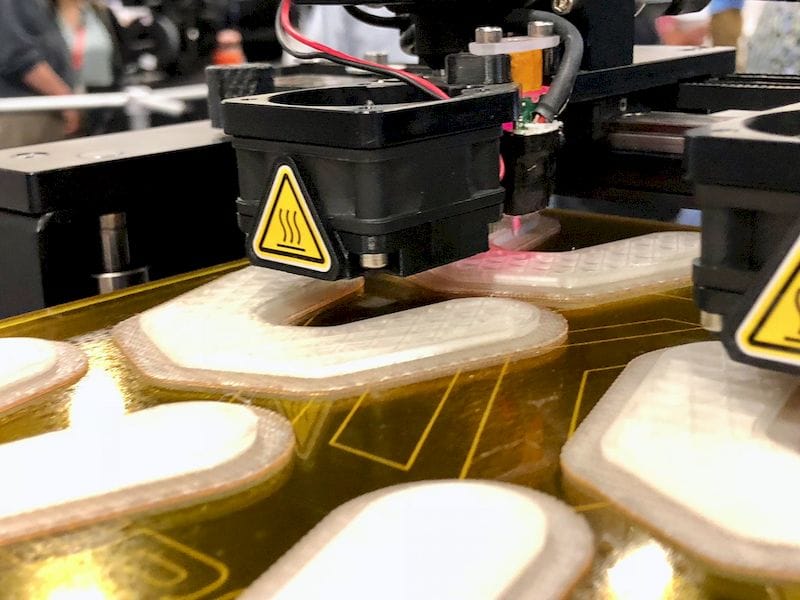
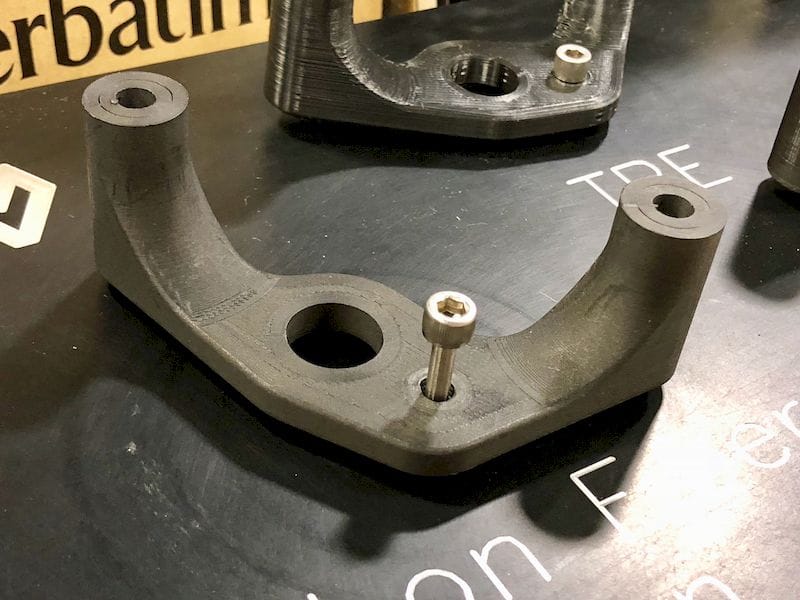
And indeed the prints from the M3 Rev 1 are really incredible. I don’t think I’ve seen a set of better prints from an extrusion machine recently, like this carbon-fiber nylon composite print. It was difficult to even see the layer lines.
One of the reasons the prints come out so well is due to the precision components that make up the M3 Rev 1. Pollack explained that the company operates its own machine shop, and is routinely able to produce components that are within 0.05mm tolerances. We examined some of the internal motion system components and found them to be extremely robust.

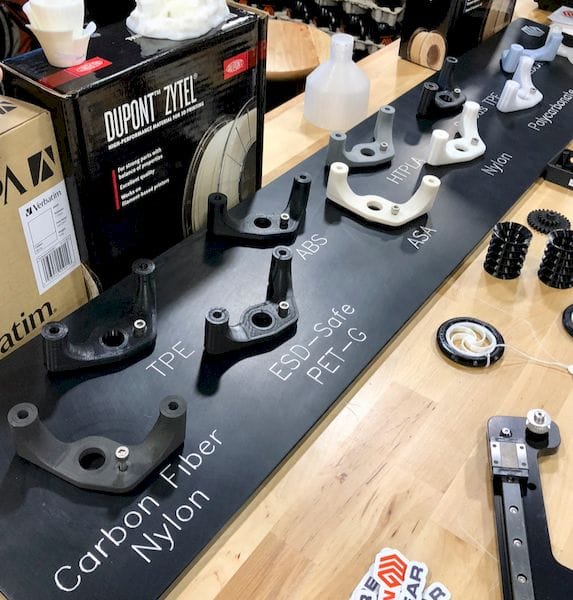
The result of all this effort is to enable the M3 to reliably 3D print engineering materials, some of which you can see in their interesting display here.

This is all part of MakerGear’s move from their initial hobbyist market of years ago towards a more professional audience – one that is far more profitable, as they use the machines for valuable business purposes.
It seems MakerGear has successfully made the transition.
Via MakerGear

