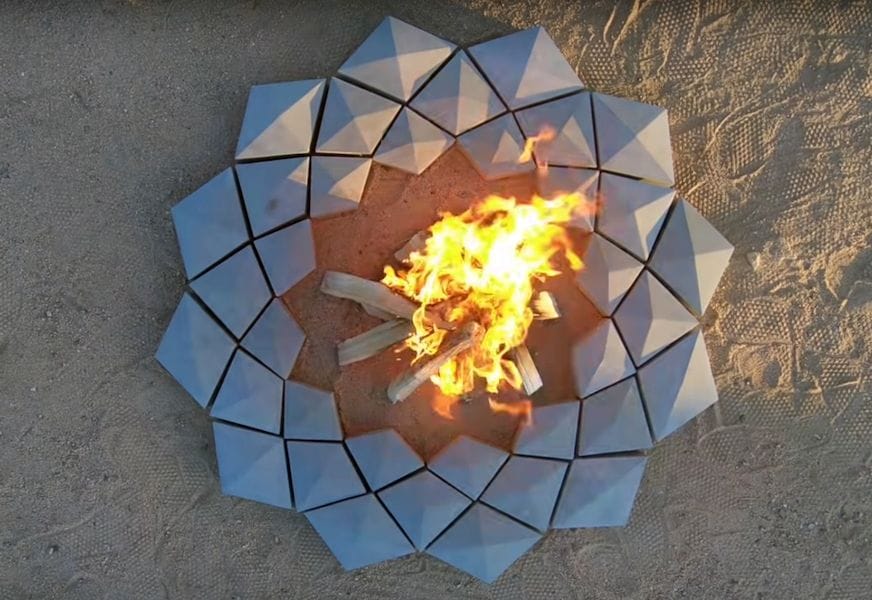
This week’s selection is the fun 3D printed fire pit by builder Ben Uyeda of Homemade Modern.
Uyeda publishes fascinating build projects of many types, and they’re often quite sophisticated. The project is portrayed in a detailed video explaining the entire process, which, by the way, involves many steps beyond the 3D printing activities.
The process for building the 3D printed concrete firepit is relatively straightforward. The concept was first 3D modeled in Fusion 360, a powerful 3D CAD tool that’s actually free for use by hobbyists.
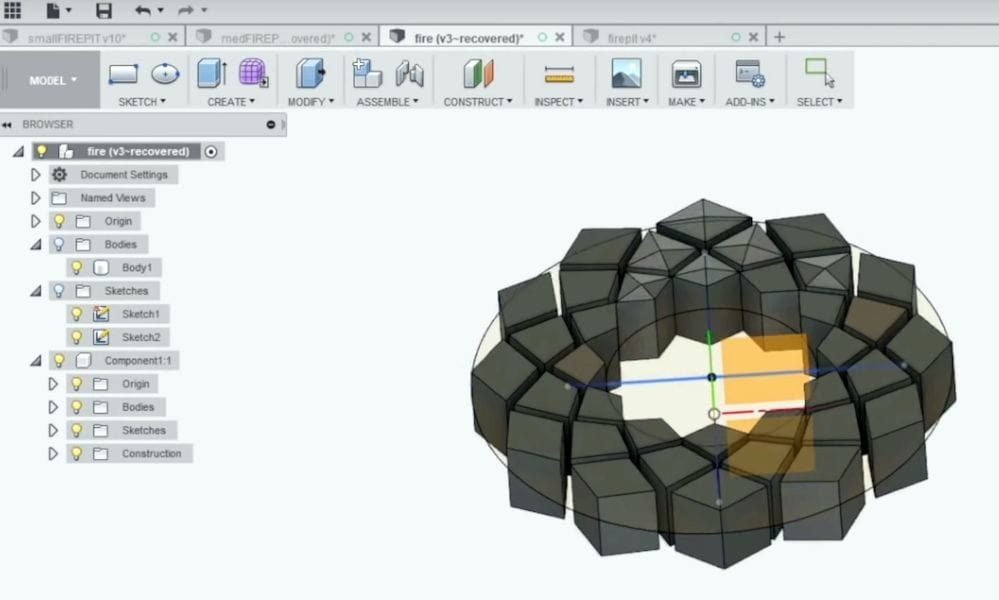
Uyeda smartly designed the visually complex firepit by reusing only three unique brick designs. The repetition technique is powerful, but once you are familiar with it, you will unfortunately find previously complex objects you’ve encountered a bit less impressive as you mentally disassemble how they were put together.
Uyeda designed the bricks to fit within his desktop 3D printer’s build volume. He used a Robo 3D printer, but you can do similar printing on any number of other devices.
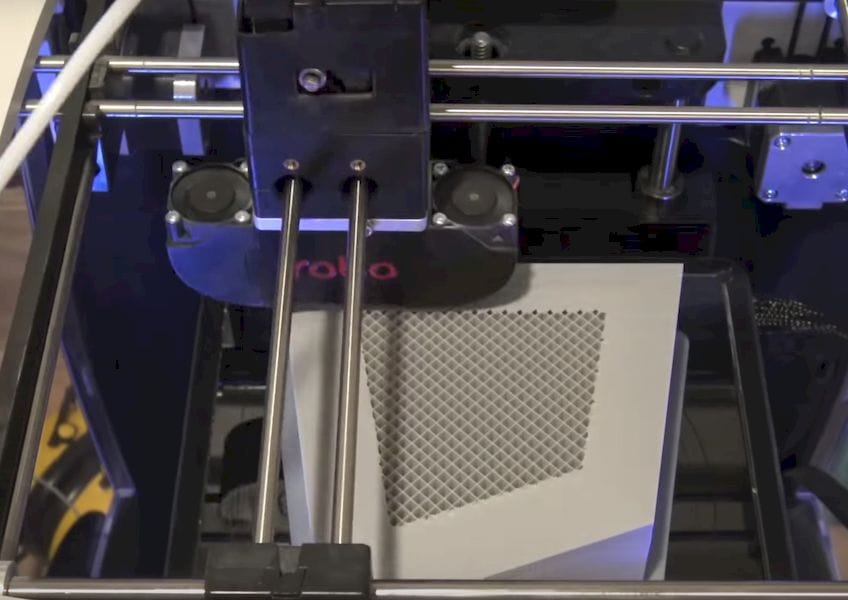
One interesting 3D printing aspect is the thickness of the prints’ shells. While some of the apparent width in this image is due to the slope of the brick’s top, it’s advisable to use a hefty thickness due to the next steps in the process.
The 3D printed bricks must be assembled (if split to fit in the build volume) and then smoothed with an application of Bondo and sanding. No painting required.
Next the bricks are seated and surrounded with a liquid silicone material that hardens into a flexible mold. This mold is what accepts a concrete pour.
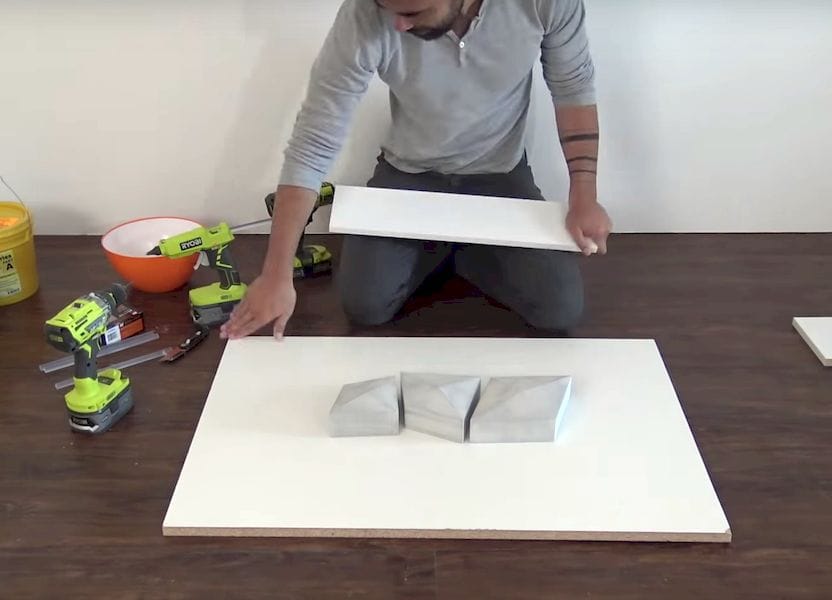
Uyeda designed the mold to include all three types of bricks, so that it would be easy to produce as many as possible by repeating the casting process. The silicone mold is reusable for more than the required number of times for this project.
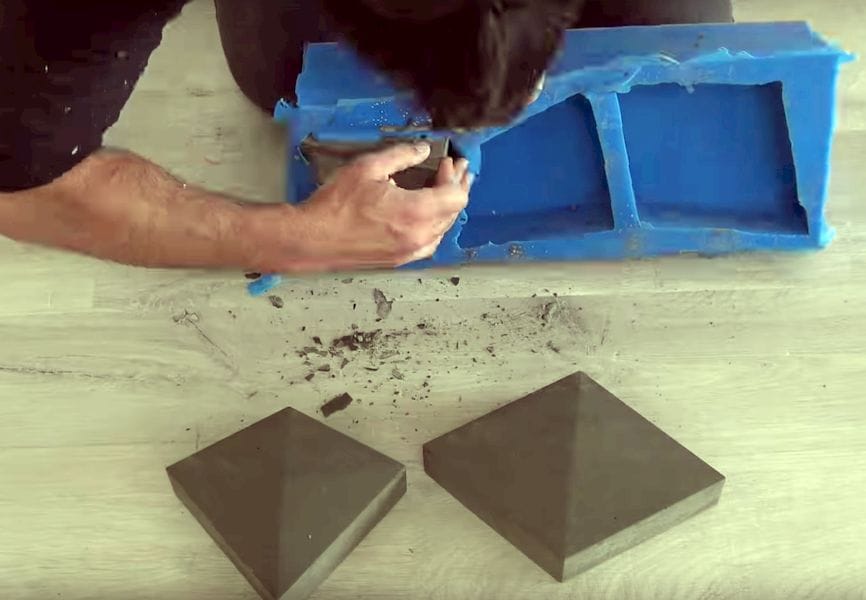
Finally, the completed and 24-hour cured bricks are arranged in the desired pattern to complete the 3D printed concrete firepit.
What I like about this project is its simplicity. By using a common 3D printer Uyeda was able to produce a firepit worthy of commercial sale in any landscaping outlet.
And you can too.
Via Homemade Modern

