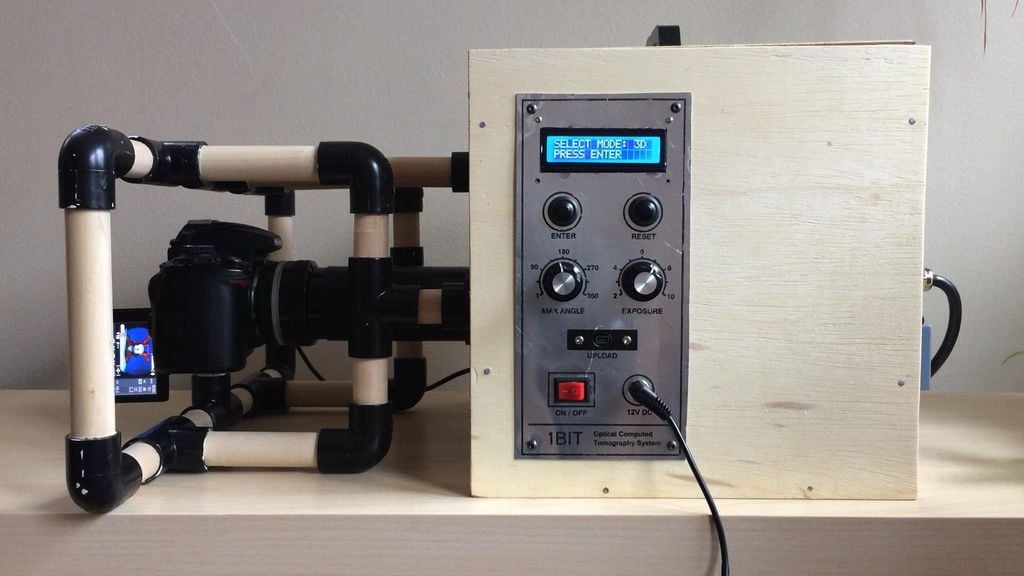
This week’s selection is the detailed Desktop CT and 3D Scanner by Instructables contributor JBumstead.
There are many inexpensive 3D scanner kits and projects, most of which use the basic photogrammetry process in which a series of images of the subject are interpolated by watching the background and foreground move.
But this 3D scanner is quite different.
It’s a CT scanner, too!
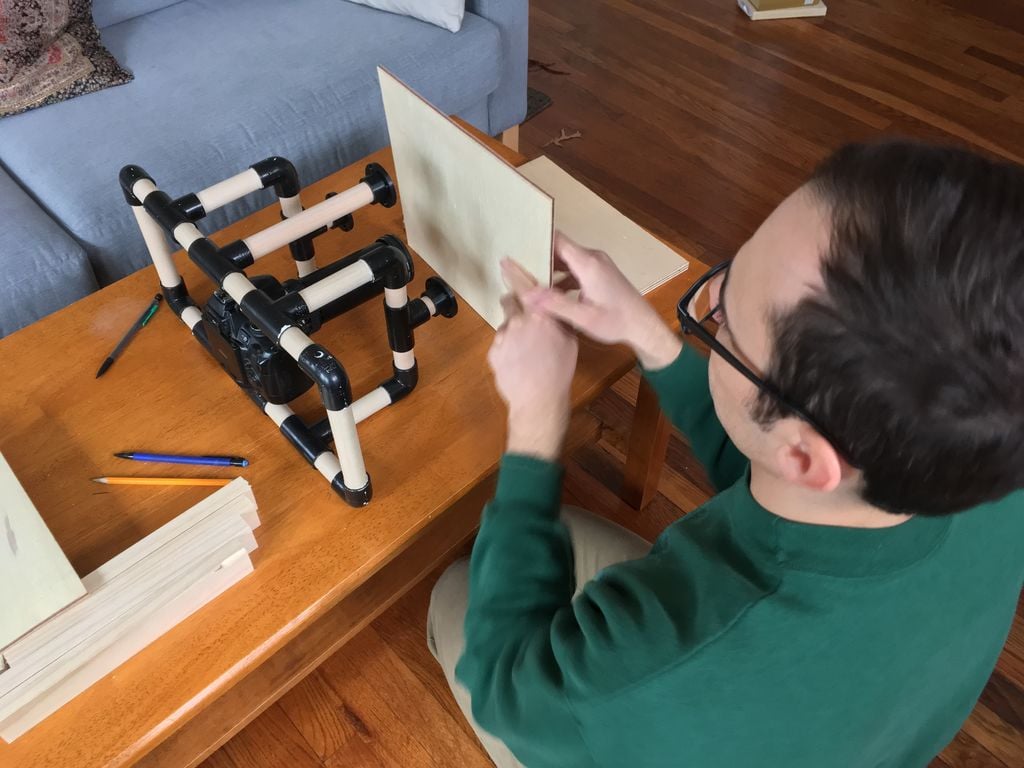
Wait, what is a CT scanner? “CT” stands for “computed tomography”, and it’s a technique that’s been used in the medical industry for years. The basics of a medical CT scanner are that a light source is shone through a subject and a detector captures the electronic “shadow”. If this sounds like an X-Ray, it is, but with one important difference.
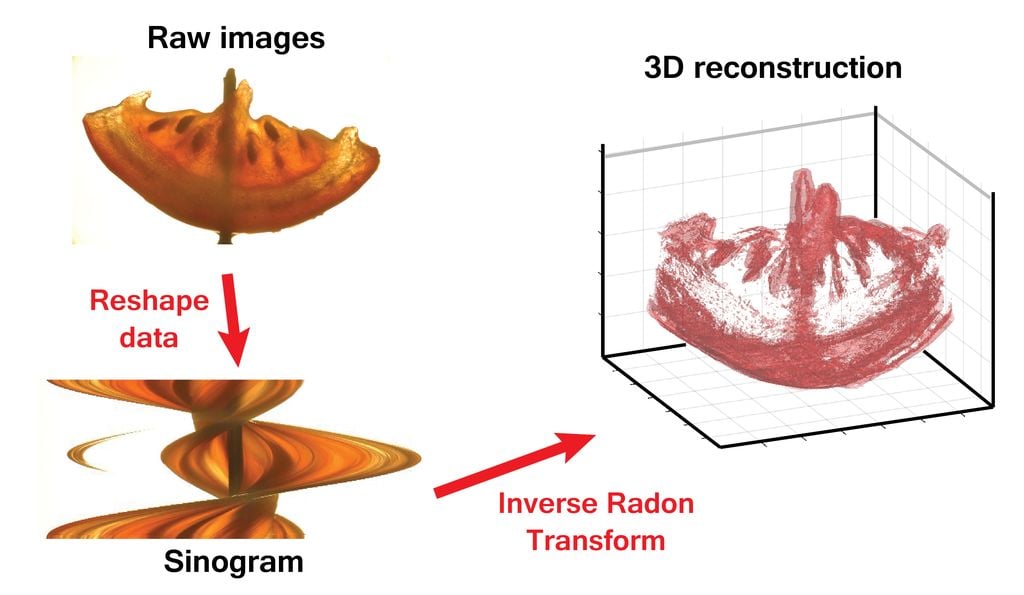
There are a series of images taken from various angles, and these 2D images are then mathematically transformed into a 3D model for analysis.
Of course, this home-built CT Scanner does not use X-Rays as that could be quite dangerous. Instead it uses normal visible light. This means that to use this CT scanner to investigate the interior of a subject, it must be at least partially transparent.
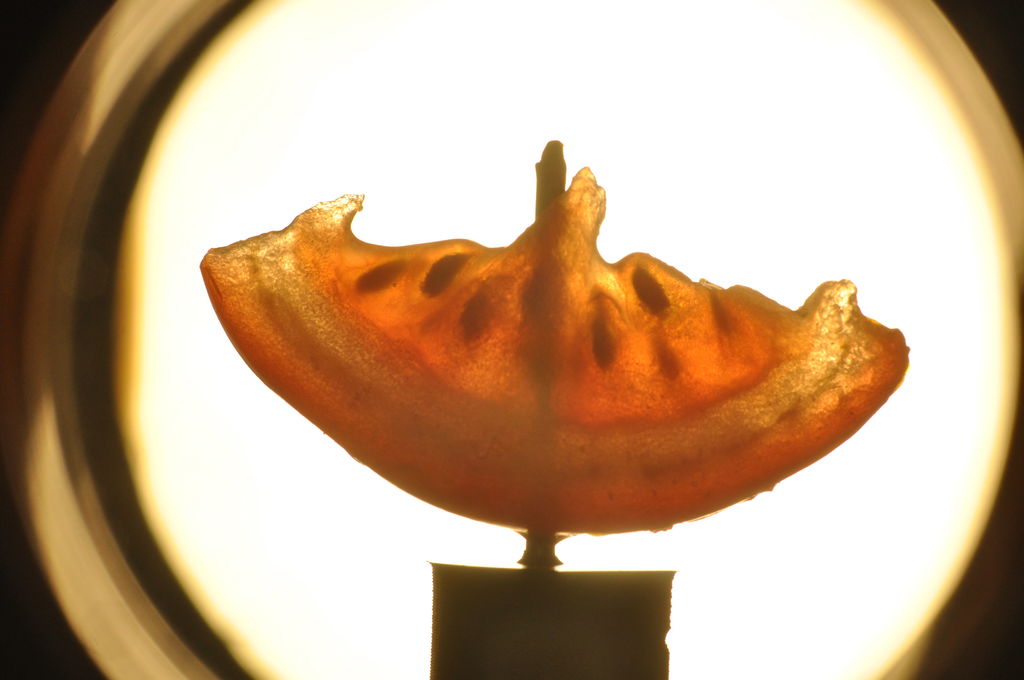
The design also includes a set of front-mounted LEDs that permit the system to also act as a normal photogrammetry 3D scanner that can capture the exterior surface shape and color texture.
The sensor in this system is a typical DSLR camera, equipped with an achromatic doublet lens to ensure the light is lined up correctly. The camera is mounted to an enclosed light box, where the subject and light sources illuminate it. A motor rotates the object slowly in front of the sensor.
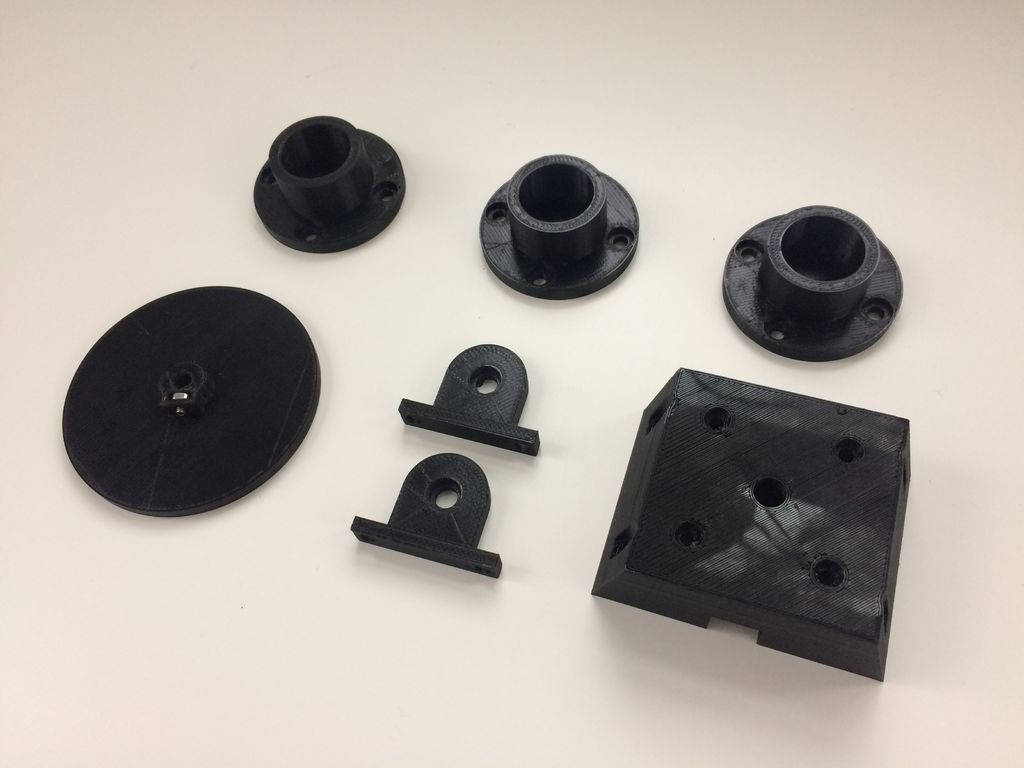
While much of this project is built with traditional techniques, there are quite a few 3D printed parts, particularly to create the mount for the camera sensor.
An Arduino controller is used to manage the activity of the system, but the 3D reconstruction is not performed by the CT Scanner itself. The acquired data must be offloaded and then processed by an external 3D reconstruction tool such as Agisoft’s Photoscan.
This is a pretty amazing project that produces some very good results. If you happen to already have a spare DSLR, this project could be inexpensive as well.
Via Instructables

