You might not have noticed that Meshmixer has been updated and there’s a very interesting new feature.
Meshmixer, the free 3D printing utility produced by Autodesk, is used by many 3D printer operators – and should be used by everyone. Autodesk calls it the “Swiss army knife” of 3D tools, and they’re not kidding.
Meshmixer doesn’t create 3D models, but it can work with them in many ways. Of course it can do the basic stuff like rotation, resizing and plane cuts, but it can do so much more.
Things like mesh repair, sophisticated support structure analysis and generation, interior hollowing or thickening, duplication & patterns. And of course, you can also use a variety of sculpting tools to make adjustments, which is particularly useful when dealing with uncooperative 3D scans.
As a result of these features, 3D printer operators typically use Meshmixer as a means to prep a 3D model for printing, before transferring to the 3D printer’s slicing tool. In fact, slicing tools sometimes have a few rudimentary tools of this type, but are far out shadowed by Meshmixer’s capabilities.
Those features and more are all still there, but version 3.3 incorporates some new functionality that 3D printer operators could find very useful.
They’ve optimized the “Print” feature.
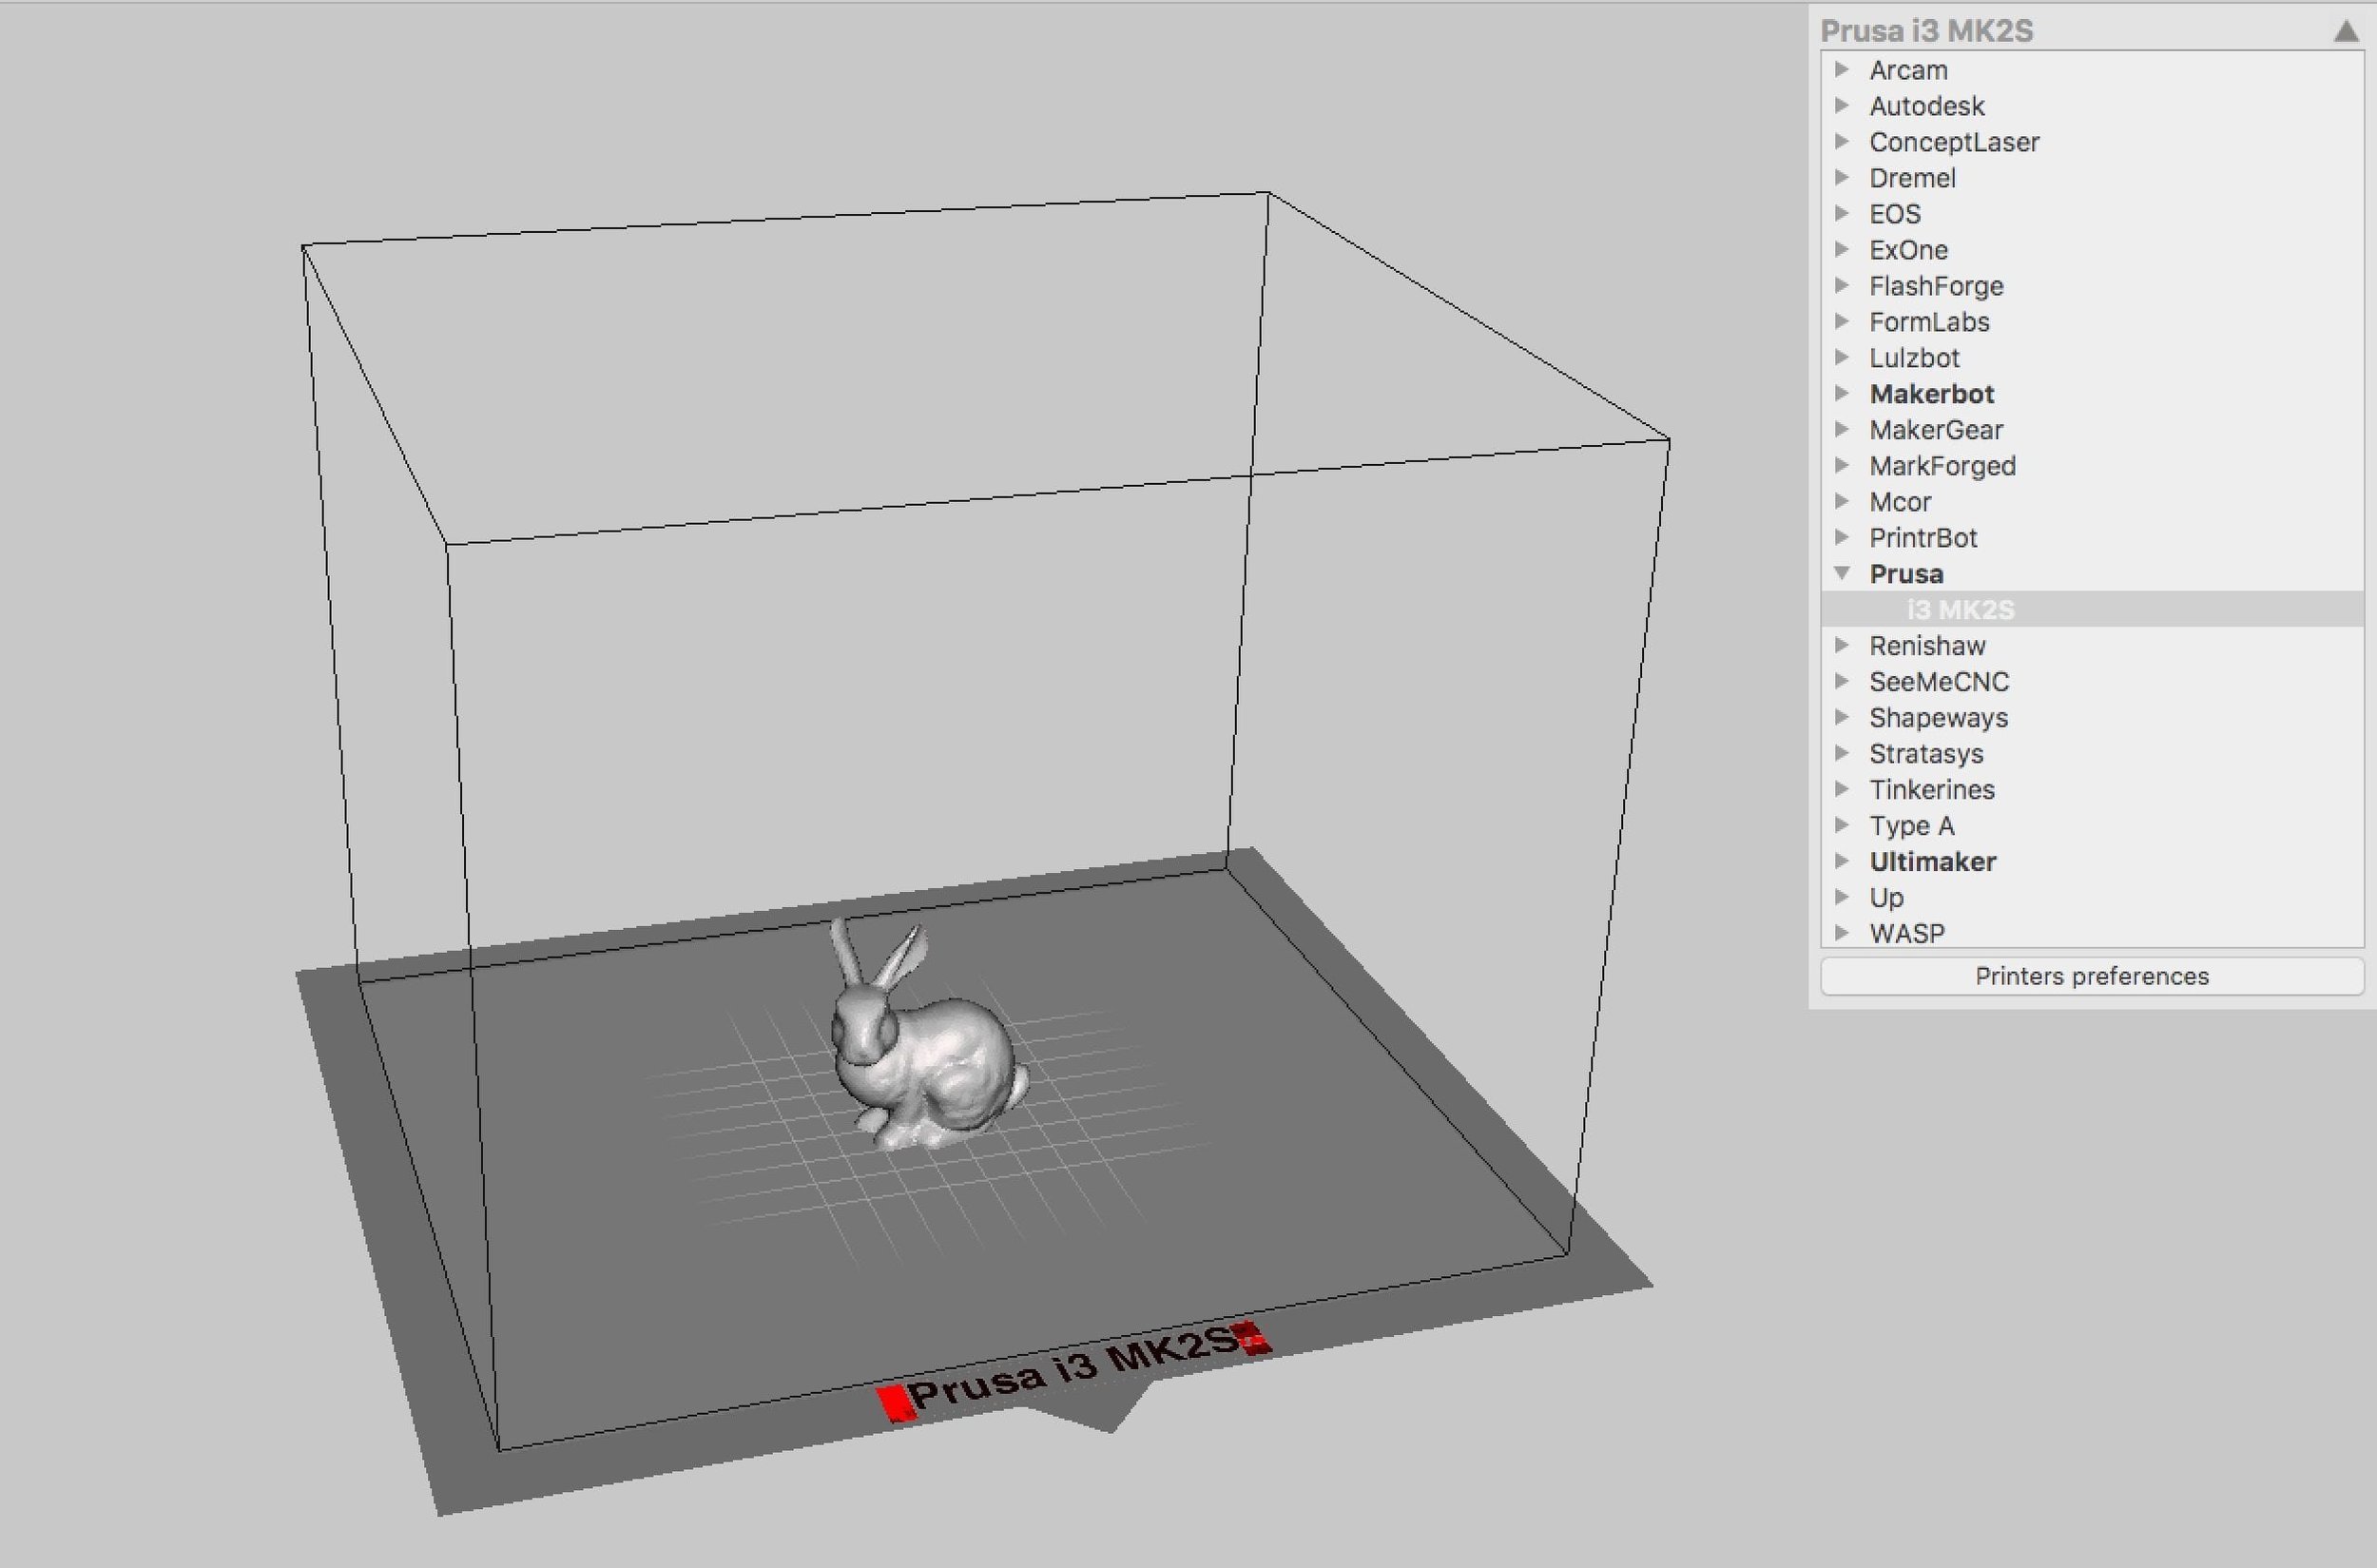
First, you can now define your own 3D printer in Meshmixer by specifying the name and build dimensions. This shows a kind of virtual view of your 3D model on the print bed, and you can verify placement and fit. The system includes quite a number of default 3D printers, but if yours is not present, you can add it in.
That’s nice, but there is more. With each 3D printer definition you can also specify the slicing program to be used for that equipment. You’ll need to name it and the full computer path name to the application, of course.
Once you do you can then directly integrate between Meshmixer and your slicing program. In the image at top I defined a Prusa i3 MK2S, which for some reason does not appear in Meshmixer’s default list of machines.
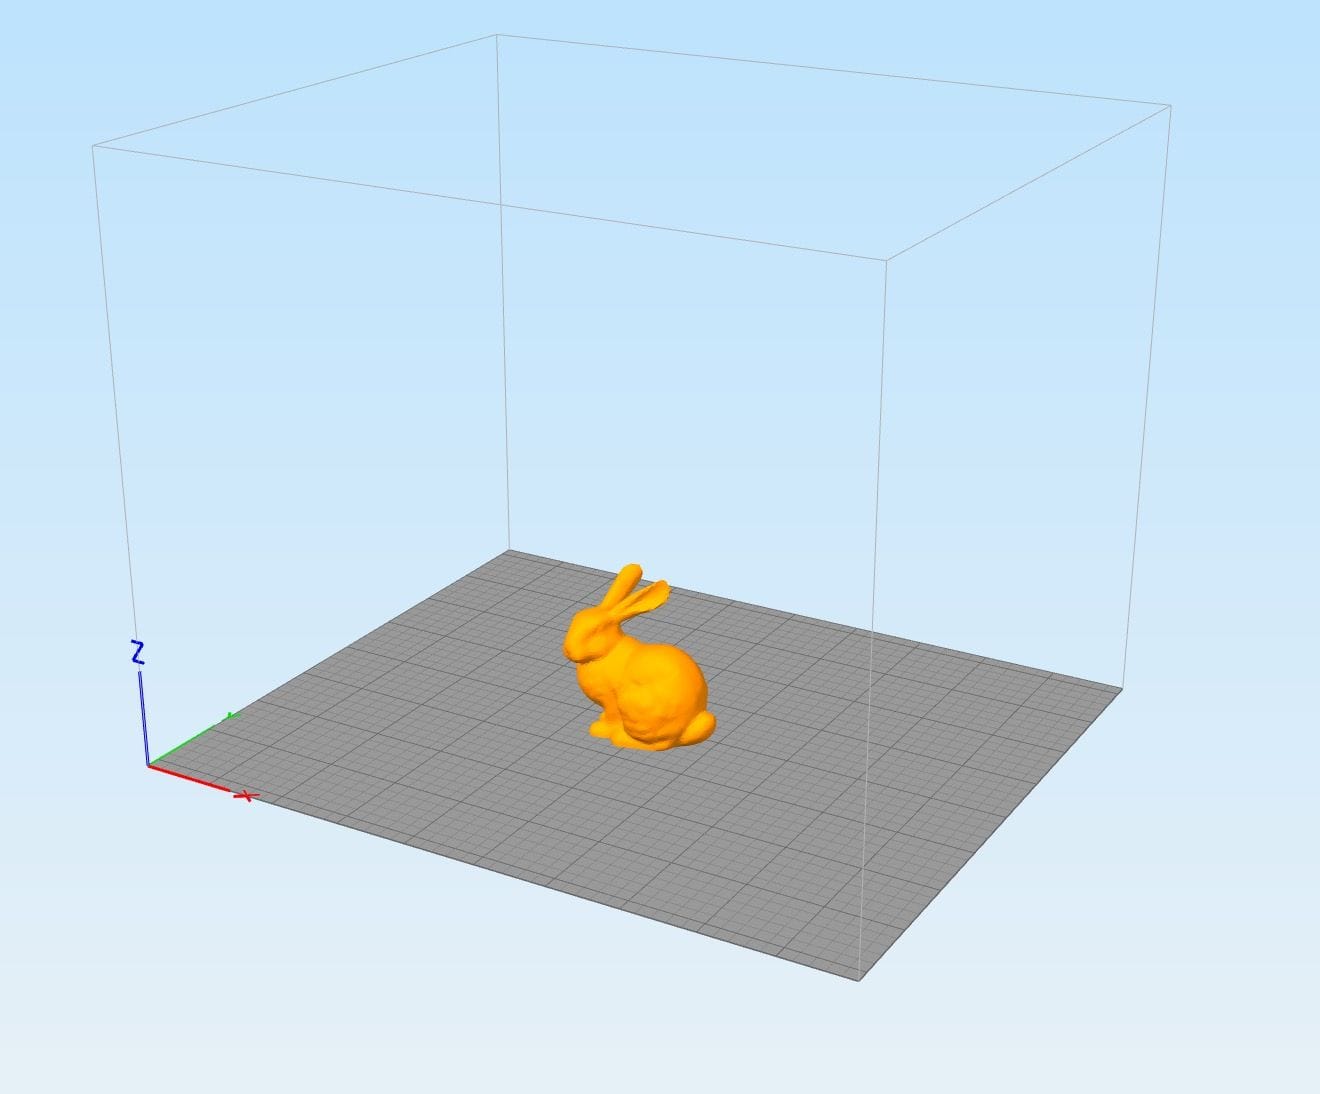
I also defined this printer to use Simplify3D as its slicing program. This produces a small “Send to Simplify3D” message on the print button. What happens if you press it? This happens:

The “print” function in Meshmixer launched Simplify3D and then automatically loaded the 3D model into it. This eliminates the intermediate step of saving and loading the 3D model between the two programs.
And of course, you can use different slicing programs. However, Meshmixer says that notably MakerBot Print is unable to participate in this launch scheme due to technical issues. But other programs should be fine.
What this all means is that there is really no reason for you NOT to include Meshmixer in your workflow, which could look like this:
- 3D CAD tool to create the 3D model ->
- Meshmixer to prep the model ->
- Slicing program to get it printed
If you’re not using Meshmixer yet, you should be.
Via Meshmixer

