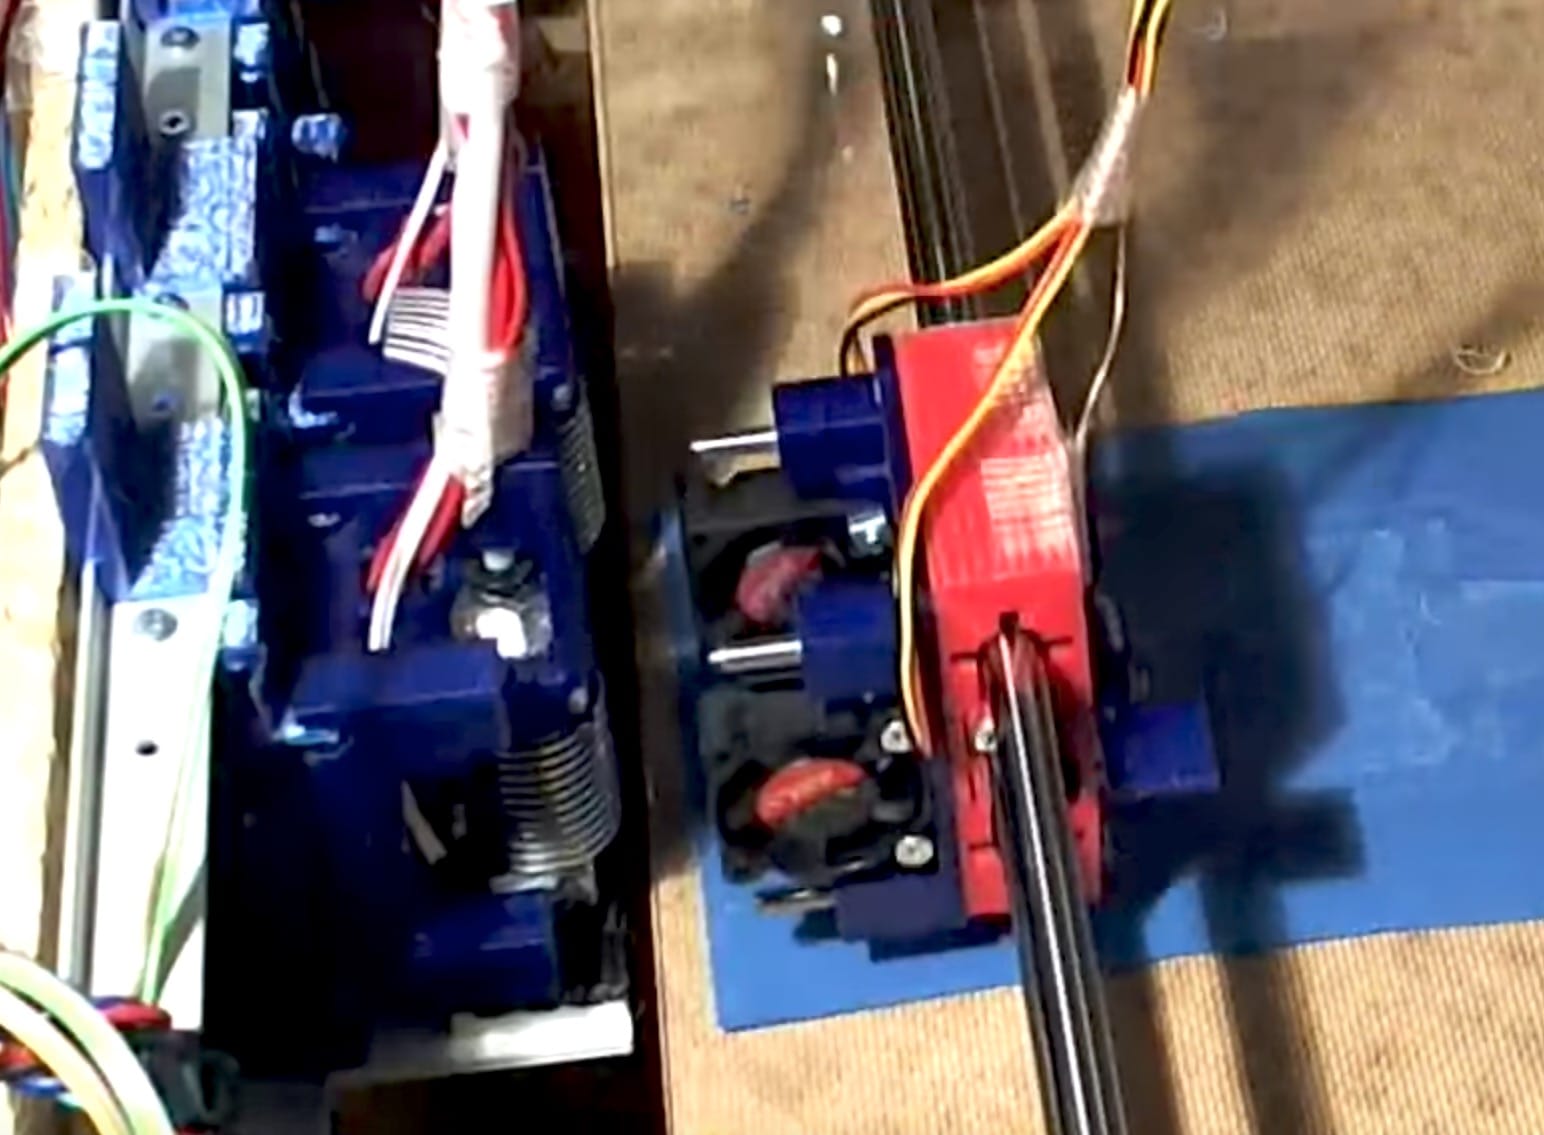
Hackaday contributor rolmie has developed multi-extruder tool switcher concept that could prove quite interesting.
The problem being solved here is the ability to 3D print in multiple materials, which provides enormous advantages if done successfully: you can print water soluble support structures, enabling highly complex prints; you can print in multiple colors; you could print in different materials; you could print materials of different degrees of hardness.
However, the first attempts at doing so on desktop 3D printers were challenging, as the idea was to simply arrange a series of hot ends side-by-side. At appropriate moments, the right extruder was engaged and a different material was extruded.
That may seem to work, but in practice it was challenging for a couple of reasons. First, the linear arrangement of the hot ends meant you literally lost the ability to use a portion of the build volume along that axis.
Another issue was weight. A moving toolhead carrying two, three, or even four hot ends was very heavy, and the inertia of motion prevented abrupt changes in direction. This meant you had to print slowly if you hoped to get any print precision.
Yet another issue was entanglement. If any part of the current print layer just happened to be a bit higher than the print plane – which can easily happen due to the adhesive pull of the extrusion – it might be entangled with an extruder that’s not in use and possibly tear the print off the print surface.
Finally, the entire set of hot ends had to be perfectly aligned in all three directions. If they were not, then materials would be printed in overlapping positions, or alternatively gaps would be introduced. Not good!
Recently a new solution has been adopted by a number of companies: a single hot fed by multiple extruders. This popular approach eliminates the alignment, build volume, weight and entanglement problems, but introduces the issue of hot end cleaning.
When changing materials, the hot end must be flushed of the previous material, requiring a delaying extrusion on the side of the print surface. This works, but wastes some time and materials.
Now rolmie’s solution is another take on the problem. The solution is to employ multiple hot ends, but use only one at a time. Instead of mounting them permanently on the X-axis in a linear arrangement, they are quickly swapped in and out as the print process occurs. Watch this video to see how it works (there’s a swap around 1:40 in):
The “permanent” part of the toolhead includes alignment pins that mate with the awaiting hot ends, which is stored at the back in a garage that may hold several similar hot ends. Each can be loaded with a different material and can be ready to go (i.e. heated) at any time.
When a material change is to occur, the current hot end is dropped off in the garage in an empty spot, and the new one is picked up simply by pressing against it.
One question I immediately had was one of calibration. Since we typically 3D print layers of 0.1mm size, the placement of the new hot end must be quite precise. Far less than 0.1mm, in other words.
This is accomplished by using the pins and magnets to draw the new hot end into something very close to the correct position.
You can attempt to build this arrangement yourself, if you’re up for it, by accessing the necessary files at Hackaday.io.
I believe this is a very feasible concept, and an extendable one at that: there is little to limit the number of detachable extruders. You could include as many as would fit within one axis width of your device.
Of course, this is only a “hack” at the moment, but I suspect the concept may make its way into a commercial product sometime soon, simply due to the increased demand for multimaterial 3D printing and the complexities of other solutions.
Via Hackaday.io

