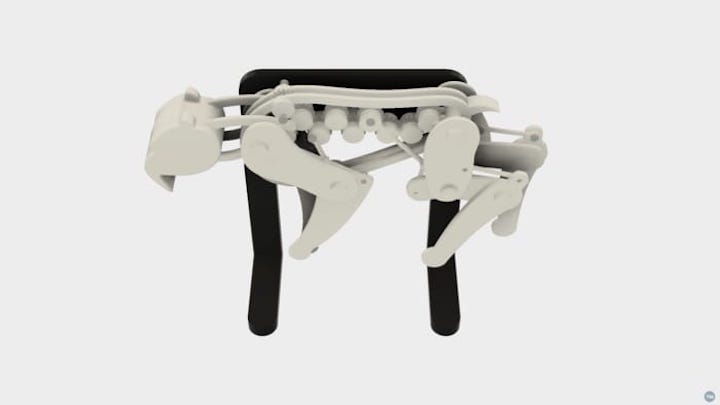
This week’s selection is the fun Saber Tooth Tiger model by Greg Zumwalt.
This is actually “version 2” of the Tiger design by Zumwalt, and it’s in a larger size. Zumwalt explains:
At 14 inches (36cm) long and 10″ (25.5cm) tall, Saber 2 is 1.3 times the size of the original Saber, and uses a mostly threaded assembly as opposed to the press fit assembly of [the original] Saber.
This is a challenging project, as it includes no less than 108 components, with 34 unique component designs. You’ll be doing a lot of 3D printing and assembly on this one. You will also require several non-3D printed components, not the least of which is a 6VDC 60 rpm gear motor.
But when you finish, you’ll have an automated Saber Toothed Cat moving smoothly.
Zumwalt has thankfully included a comprehensive parts list with print specifications and quantities for each. So while it may take a while to get all the parts printed, you will know exactly what to do. In fact, he’s included almost 2,000 words of instructions on how to put the numerous pieces together.
Some of his advice:
This is a challenging print and build and as such requires a clean and level build plate (to eliminate warping) and trimming, filing and/or sanding (to remove edge oozing) and tapping. Prior to assembly, test fit and trim, file, sand, etc. all parts as necessary for smooth movement of moving surfaces, and tight fit for non moving surfaces. Depending on the colors you chose and your printer settings, more or less trimming, filing and/or sanding and tapping may be required. Carefully file all edges that contacted the build plate to make absolutely sure that all build plate “ooze” is removed and that all edges are smooth. I used a flat jewelers file and plenty of patience to perform this step.
I support well-described projects such as this, as they make those attempting the construction much more successful.
Are you going to attempt this one?
Via YouMagine

