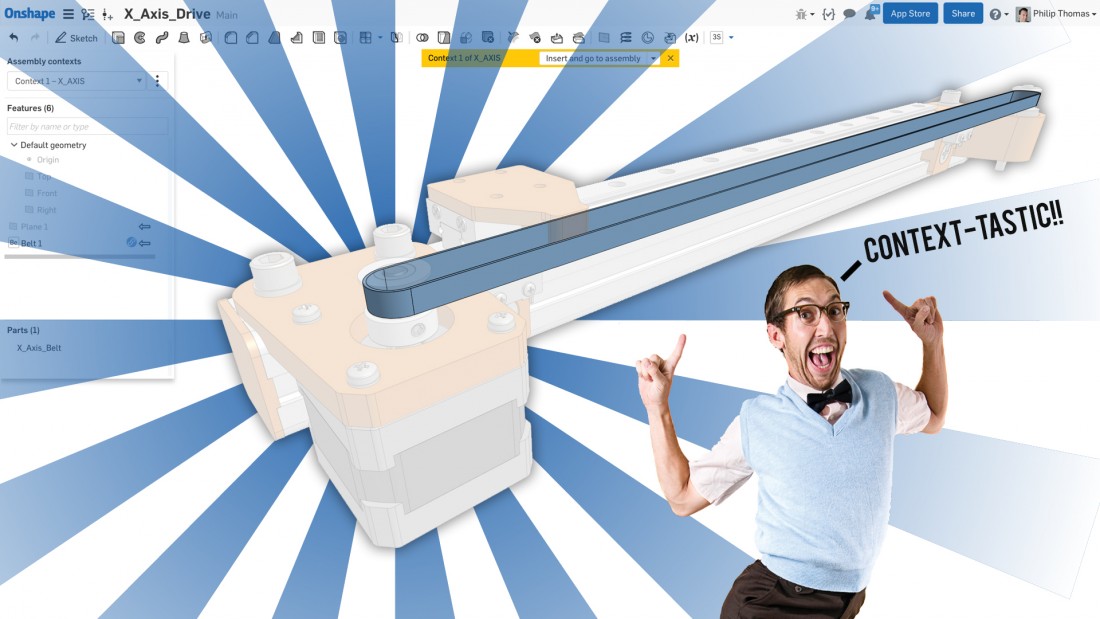
Throughout all the years (decades? yeow!) I’ve use 3D modeling software, I can’t think of a time where I didn’t use some type of in-context assembly design.
Not building out a design like that gives me the shakes – I honestly can’t grasp how to get accurate fit and function without it. “That there is what them there hammers is fer!” EXACTLY. You just go ahead a beat that fuel line into submission. I’ll stand waaaaaaay over here.
But there are valid reasons why people don’t want to use in-context design in traditional CAD software. Some companies actually ban it or require all reference be destroyed. Why? Simply put, errors, and the potential cost of those errors. The worst case scenario of in-context assembly design is when a part changes and that change trickles down through designs, drawings and manufactured parts. We may not even see an error in the assembly. But then there’s when we do get those errors; when the assembly just blows up with rebuild errors, missing references or corrupt design files. In traditional CAD, you’ll see this effect immediately when you move an in-context part in an assembly. We should flippin’ be able to move parts in an assembly without affecting their features!
Onshape has addressed all of this. ALL. OF. IT. Now, Onshape allows you to create an Assembly Context that gives you the 3D modeling super power of editing parts in context of the assembly WITHOUT all the pain mentioned previously. Pardon me.
With these Assembly Contexts:
- Models always update in a predictable manner
- Motion doesn’t affect in-context relationships
- You can capture multiple Assembly Contexts
- You can use them to edit single or multiple parts
- You can update the Assembly Context if needed
- The approach they’ve taken to implement in-context assembly design is exact, beautiful in fact, and captures the spirit of design in Onshape that already makes the modeling process such a smooth one. So, how did this feature take shape?
Long ago (last year)…
Onshape came out of beta with a unique way of working with multiple parts – Part Studios. Most people/companies I know don’t model multiple parts in a single part file… unless the part is a purchase part or used for reference. Most model each part and put them in assemblies (bottom-up), or model parts within the assembly to take advantage of referencing other parts (top-down). However, Part Studios are set up to simplify building parts together. If you know they’re related parts, you get some efficiencies by building them together in a Part Studio. For instance, edits are much more controlled and predictable.
However, you may not always be able to anticipate how parts will affect each other until they are assembled. That’s where Onshape’s new in-context design capabilities come in. So, how does that work? Let’s watch the video on the new feature first, then break down what sets it apart.
How Does In-Context Assembly Design Work in Onshape?
So, you have an assembly in Onshape. You need to add clearance between one assembly part and another. *record screech* Previously, you would sit back, pull on your neck skin and consider how to modify the part. Do you mock it up in the Part Studio? Do you measure it and transfer dimensions in the Part Studio? *grrrr* Either way, it’s not controlled by the part in the assembly. *GRRRR!* No more of that. Now, you can control every aspect of the part in the context of the assembly. Here’s how it works.
Back to our assembly in Onshape. You need to add clearance between one assembly part and another. In the assembly, right-click the part you want to edit and select ‘Edit in context’. The instant you select ‘Edit in context’, Onshape creates a snapshot of the assembly at that moment in time of your design, then opens the Part Studio. You’ll see the part you’re editing, of course, but you’ll also see any assembly part that was visible as a ghosted part. You can then start or edit sketches using those ghosted parts as reference for dimensions or constraints.
Read the rest at SolidSmack.com

