A common problem encountered with plastic extrusion 3D printers is stripped filament. We explain how this happens.
If you’re new to 3D printing and using a machine with the plastic extrusion process, you may find some 3D models very challenging to print. In some cases, they may seem impossible to print, because you keep stripping the filament and printing fails.
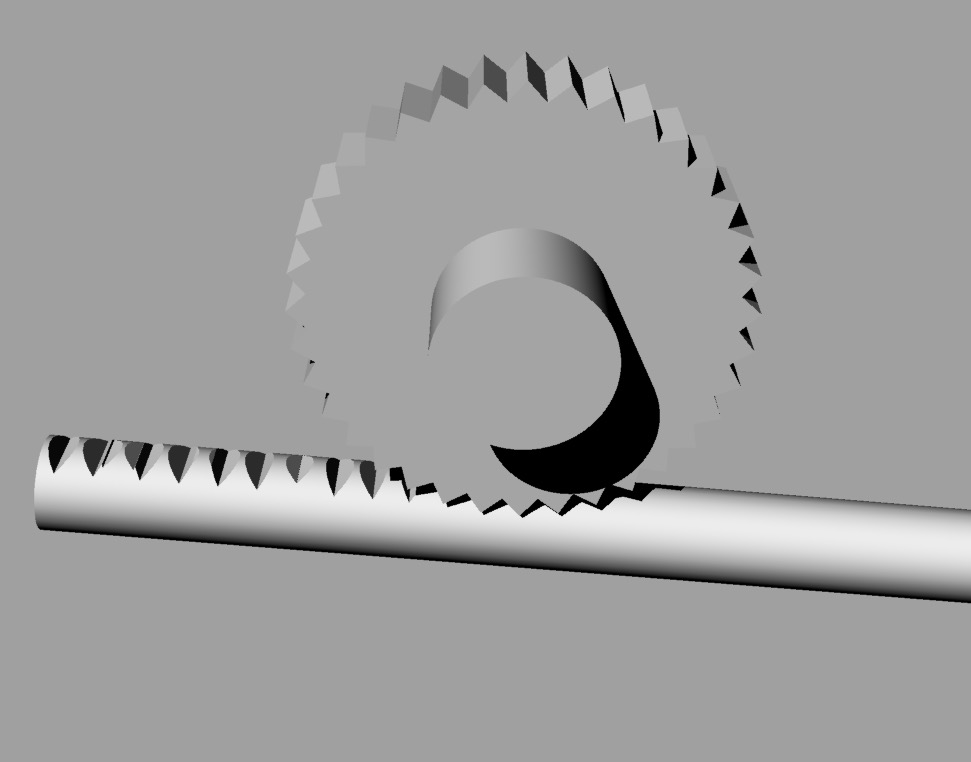
What’s a stripped filament? That plastic wire that feeds into your 3D printer is usually powered by a small toothed wheel that grips the side of the filament and pulls it off the spool and pushes it towards the hot end. Normally this process works quite well, as the tension between the wheel and the filament ensures a “good grip”. You can see how this works in the graphic at top: the extruder wheel grabs the filament with its teeth.
During printing, the extruder wheel may change speeds during printing, or even stop pushing if the hot end must jump from one spot to another.
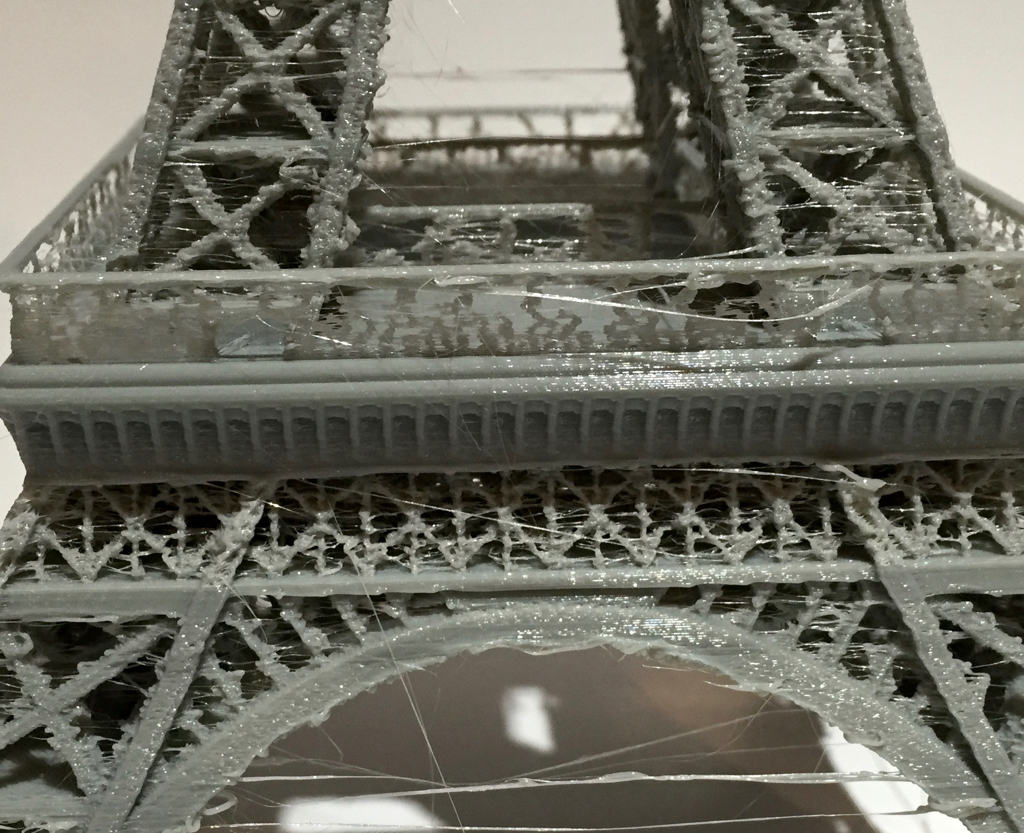
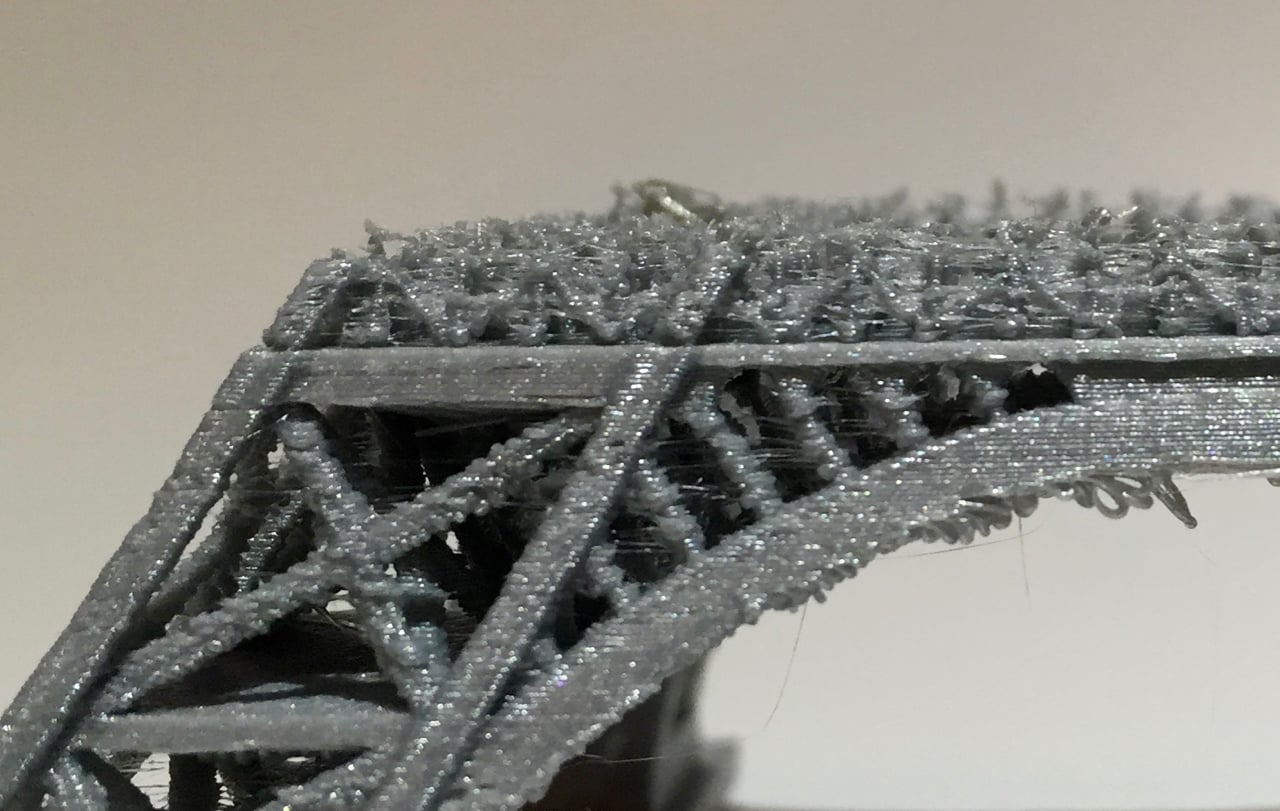
It’s this jumping that can cause problems. By moving from one spot to another without extruding, you’d think nothing comes out of the hot end. But that’s usually not the case, as the heat of the hot end may result in a very small drip of fluid plastic. This drip becomes a “stringy” when the extruder jumps from point to point. Prints having many jumps will often be covered in thin, stringy plastic like cobwebs. Removing them is quite tedious and depending on the geometry, sometimes impossible, such as you can see in our stringy Eiffel Tower model here:
There is a very common technique to avoid “stringy” prints: retraction. In this method, the extruder motor is put in reverse for a brief moment to “suck up” the drip before it falls out of the hot end. This can, if properly tuned, eliminate stringy prints entirely.
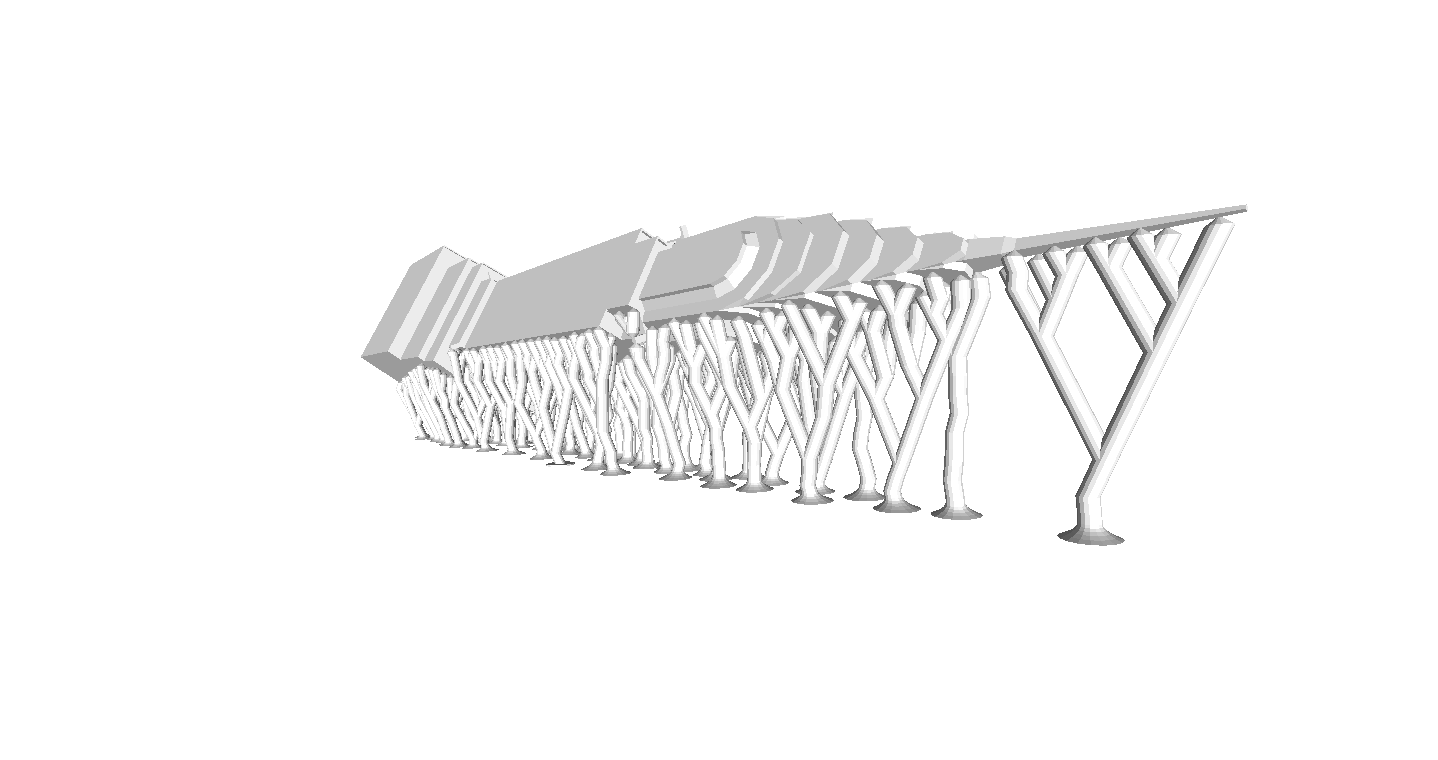
But there can be a problem if there are repeated retractions, which can happen if you have a great deal of non-printing movements in rapid succession, such as would happen if printing this 3D model above. (It’s a pathological support structure for demonstration only; Don’t EVER DO THIS!)
As you might imagine, there would be countless retractions occurring during the printing of the lower portions of this pathological 3D model.
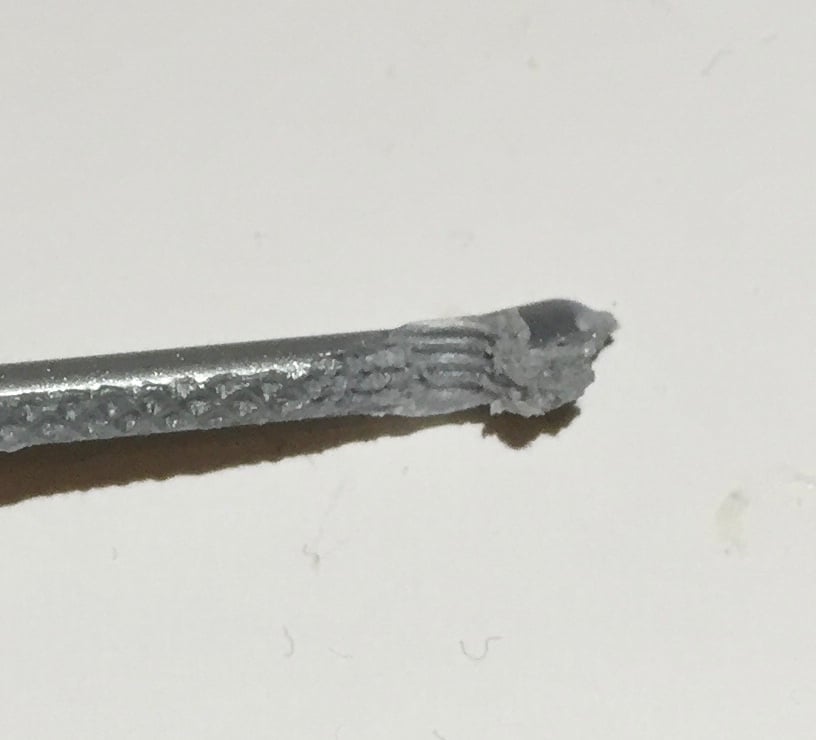
During these endless retractions, it’s possible that the gearing on the extruder wheel may become slightly out-of-line with its previous indentations in the filament. If so, it can squash the remaining filament and thus lose its ability to grip the filament.
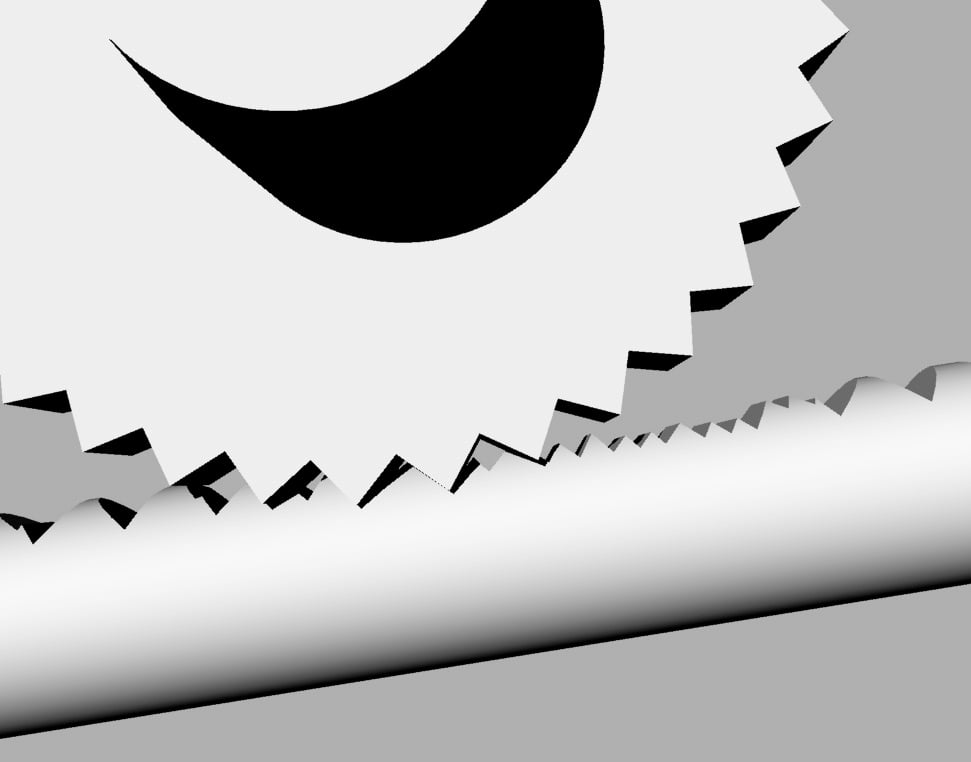
Once grip is lost, subsequent retractions will simply polish the dead spot on the filament, resulting in a complete stoppage of printing, since the filament can no longer move. Your print might look like the image above: abruptly ended on a random layer, usually one with a lot of jumps, as is clearly the case in this Eiffel Tower print. Below we see an example of a filament stripped.
What can you do at this point? Well, nothing; your print has failed. You’ve wasted any material used up to that stage of the print and you must restart the print job.
What can you do in the future? It’s possible to turn of retraction in most slicing programs, which can avoid this scenario completely. But it comes at a cost: stringy prints. Another approach is to set a retraction limit, which indicates the minimum amount of printing that must occur before a second retraction can occur.
Depending on the geometry of your 3D model, you might need to play around with these settings to achieve the optimum successful print. Another option that’s possible in some slicing programs, such as Simplify3D, is to assign two different printing configurations: one without retraction for the lower portion in our pathological example above, and another for the upper portion that includes retraction to ensure the model prints clean.
As you can see, 3D printing is not always a matter of “pressing the print button”. For all but the most simple geometries, you likely have to do some analysis and parameter tweaking to ensure print success.

