We’ve been testing PRINTinZ’s essential accessory, the Zebra printing plate.
The plate is an add-on that can be applied to nearly any personal 3D printer to provide a much simplified method of ensuring prints stick during printing.
The plate is made from a special plastic that sticks – but does not fuse with – PLA and ABS plastics. Thus, you simply print directly on the plate and don’t have to worry about hairspray, blue tape, “juice” or other methods of adhesion. It just works.
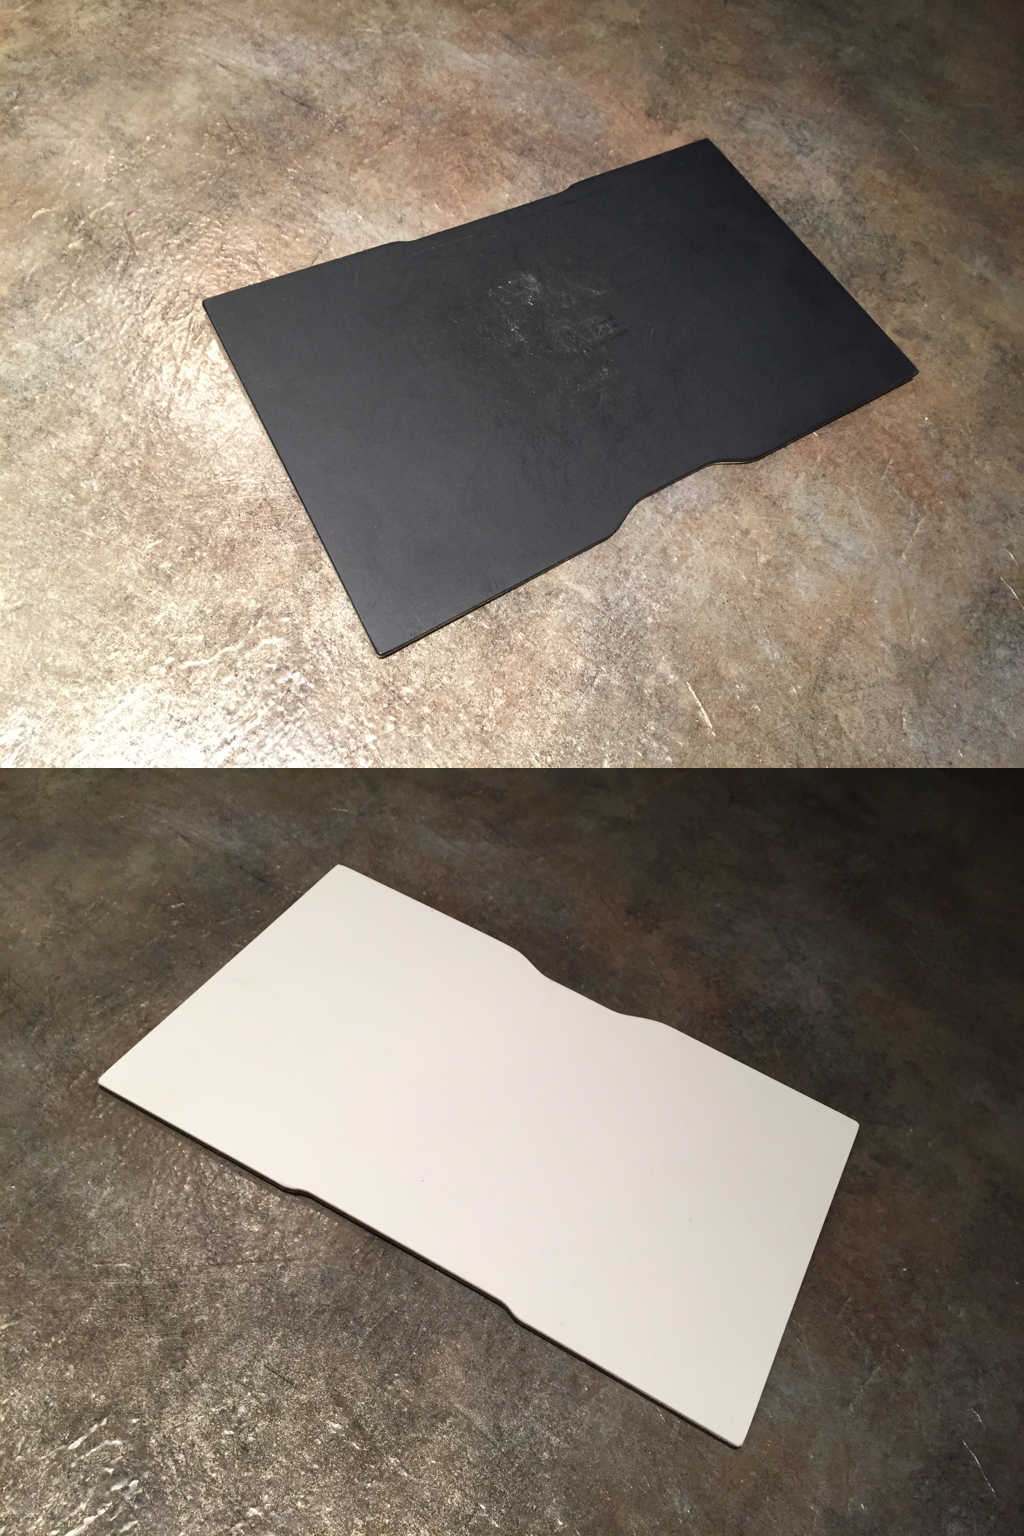
Why is it called the “Zebra” plate? That’s an easy question: because one side is white and the other black. The reasoning for this is to provide a way to get the right contrast vs the model being printed. If it’s too hard to see the black print on the black surface, just turn it over.
Made in sizes to fit almost any 3D printer, you simply attach it to the top of your existing 3D printer’s print surface, usually with clips of some kind.
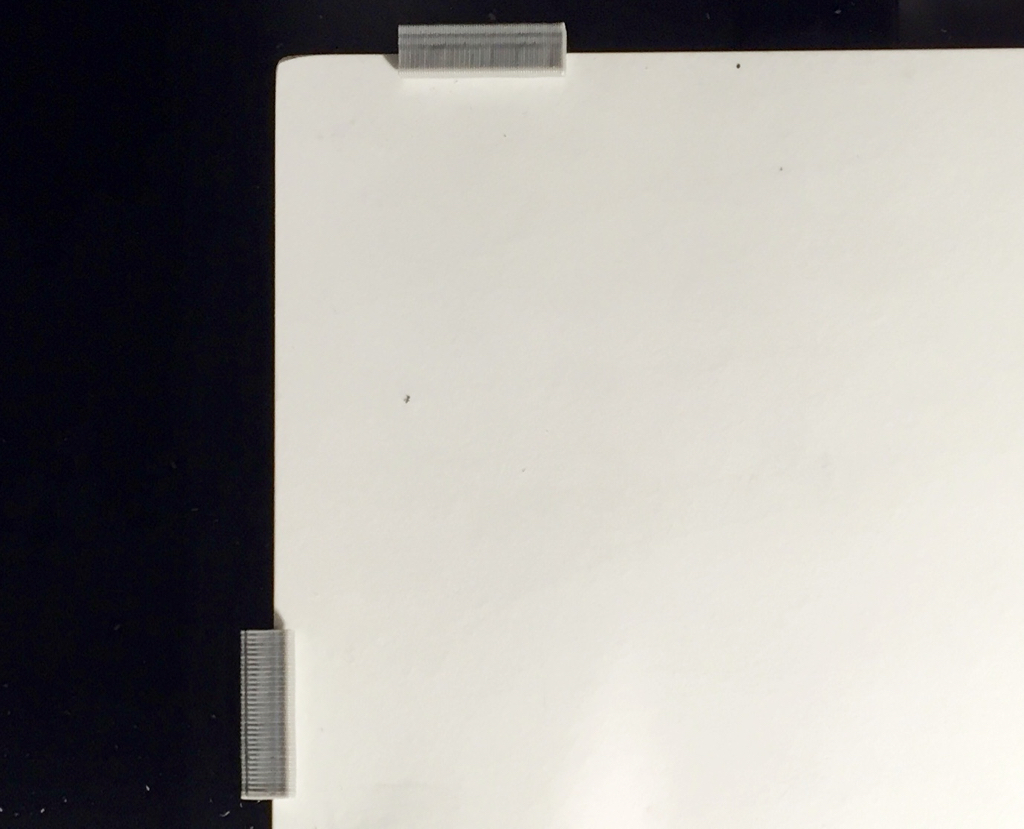
You can print clips yourself, but we found that these loose strength after a few applications and turned instead to common heavy-duty paper clips.
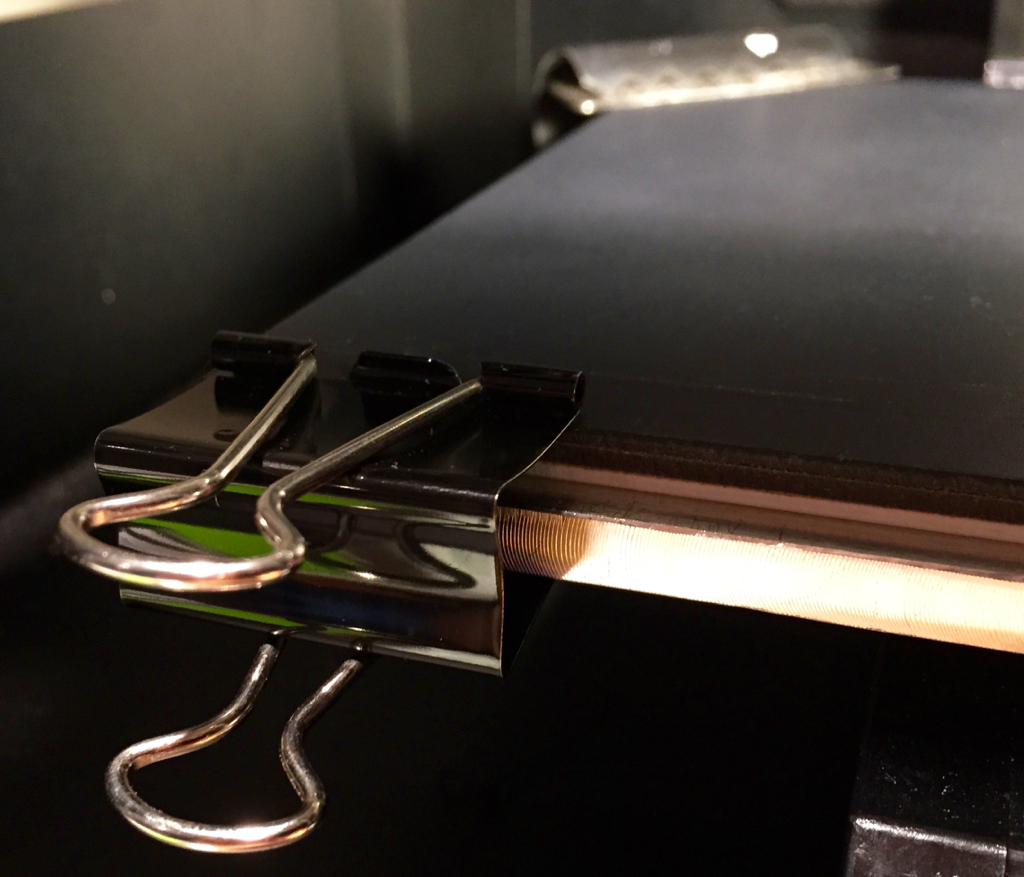
When using clips, you must ensure they do not interfere in any way with your extruder’s motions. You’ll have to observe your machine in action to see where it goes, because the hot end will traverse areas of the plate beyond simply where your print is located. Depending on the slicing software you’re using, the hot end might move from one end of the plate to another. Similarly when you’re leveling the print surface, the hot end will move about in ways you might not realize. After noting where the hot end goes, select a spot for each clip. You’ll need four, one per side, to ensure the plate is held securely.
The plate doesn’t work well if you’ve been handling it, because oils from your person will interfere with the sticky reaction. We found that cleaning the plate before each print (or every second print) with an alcohol swab works very well. These are quite inexpensive.
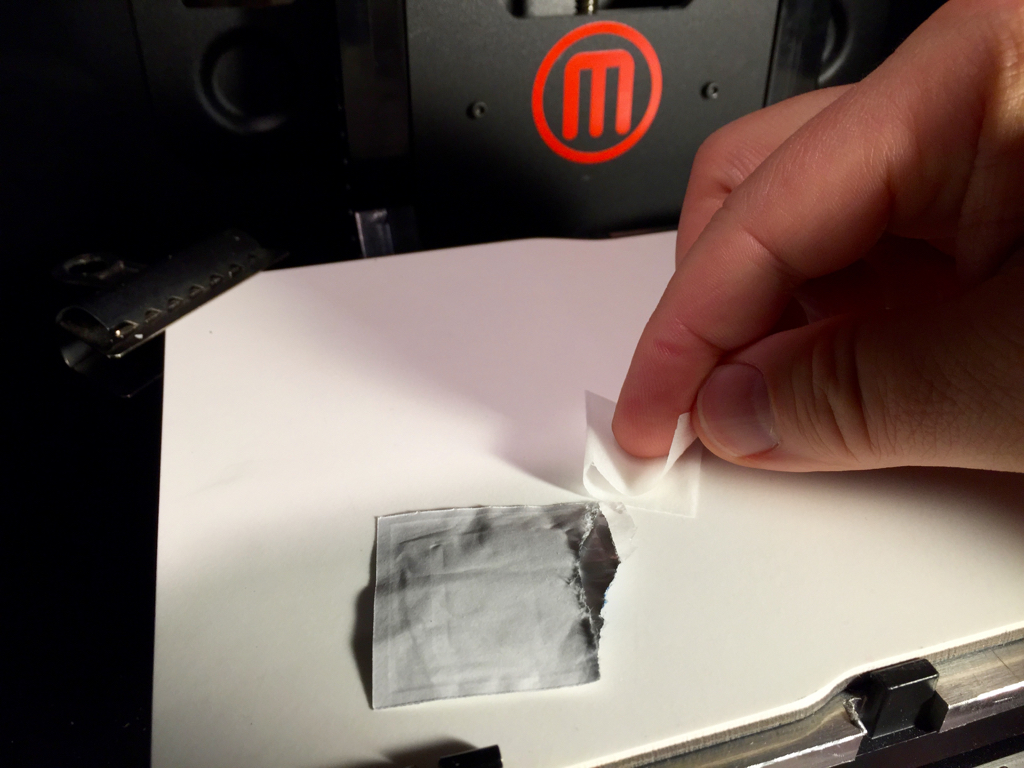
Printing works effortlessly, and can remove a lot of printing uncertainty, particularly on 3D printers without heated print surfaces. The Zebra plate also works on heated beds, too, by the way.
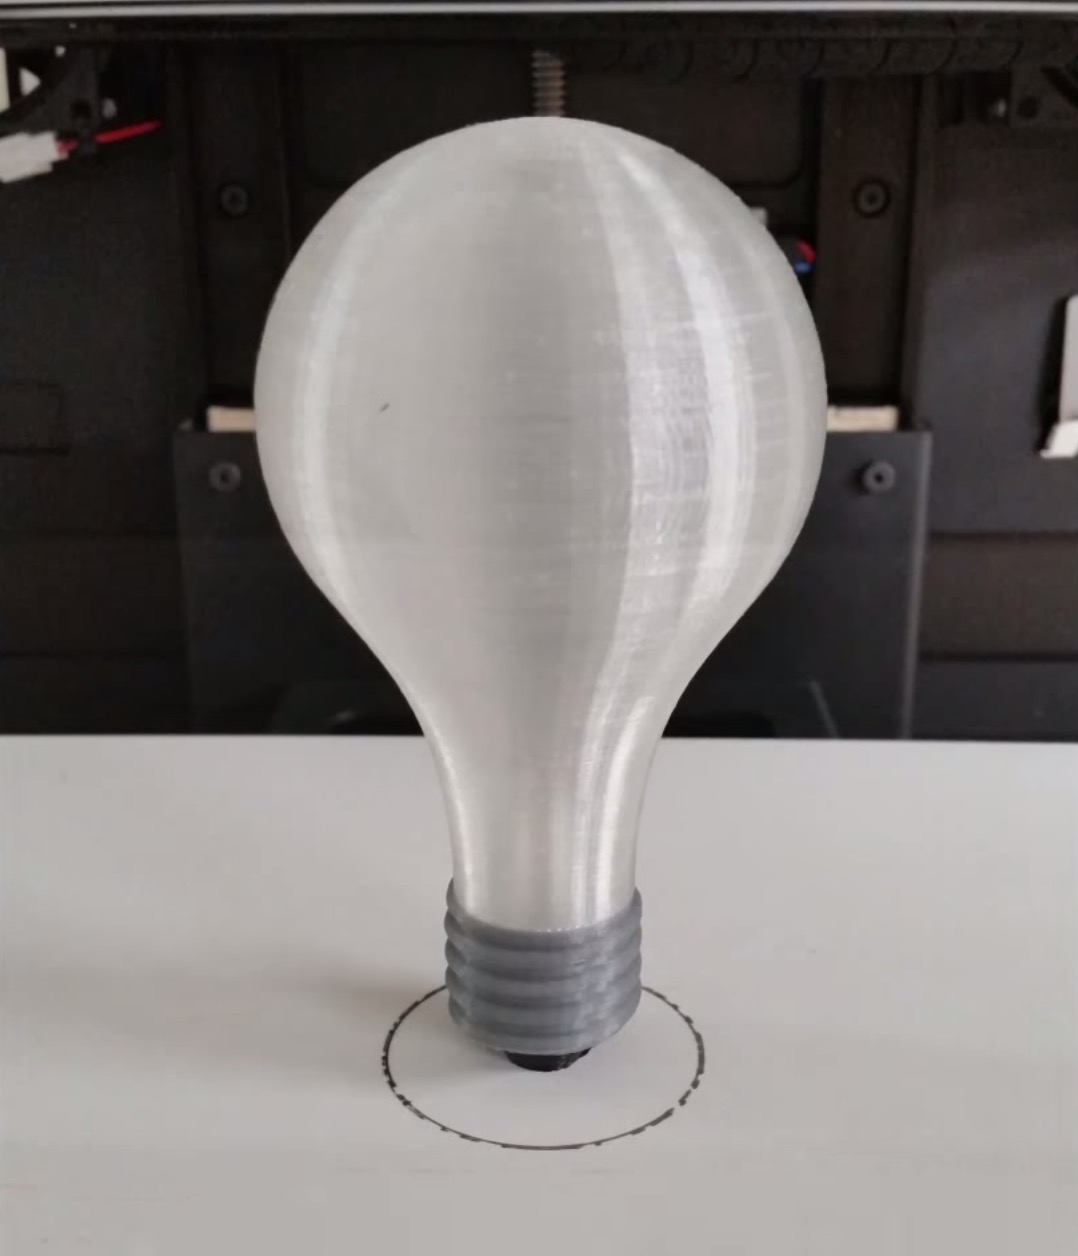
Here you can see a test by PRINTinZ showing how small a connection to the surface is required, if you’ve gotten your Z-height set correctly. More in this video:
Once printing is complete, you must remove the print from the Zebra plate. It’s very easy to do, even on the largest prints. Simply remove the plate and twist. Often the print just pops off (be ready to catch it), but occasionally you just insert a metal lifter under one edge and twist.
Major Tip: When removing a print, you’ve likely twisted the plate so that the center is raised. If you were to reattach it to the printer in that state, the clips will not be able to pull the center back down to the normal zero-height. The tip is to twist the plate in the OPPOSITE direction before re-attaching. This way the center is always pushed down and perfectly flat. This image shows how your Zebra plate should appear before re-attachment.
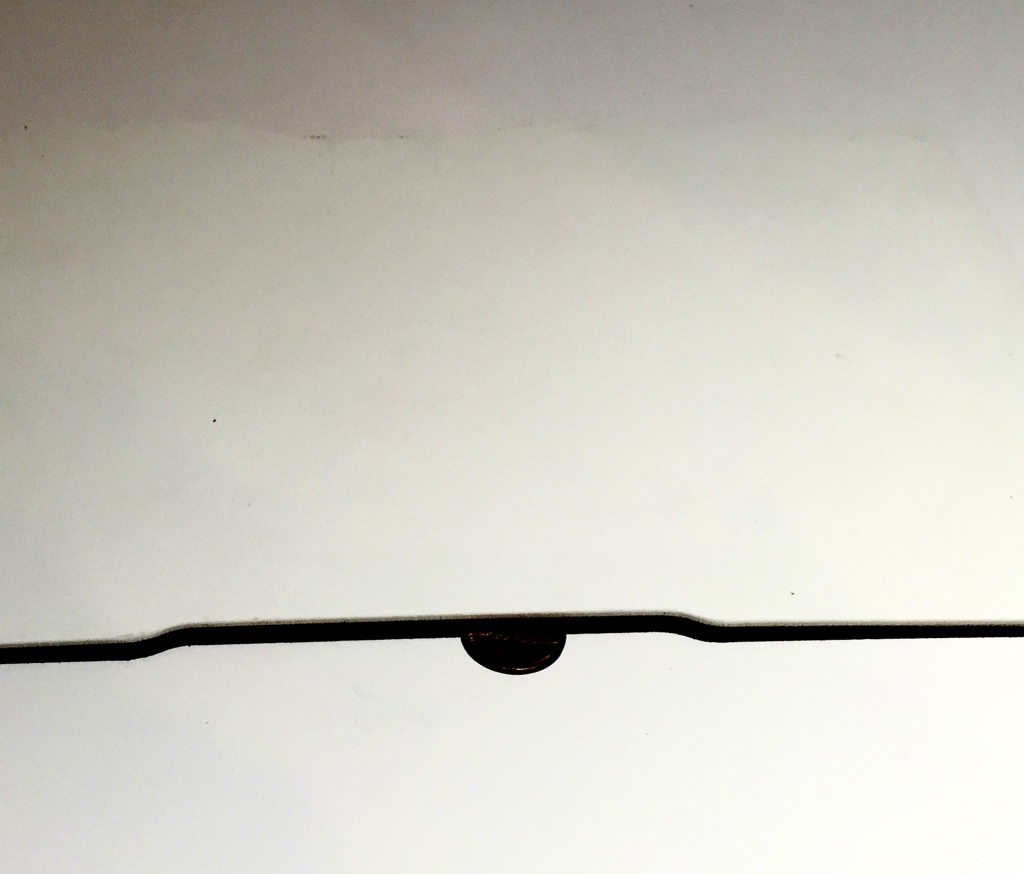
This is NOT how to do it. Note that a coin can fit underneath the bendy plate. When attached with this bend, the center portion is far too high.
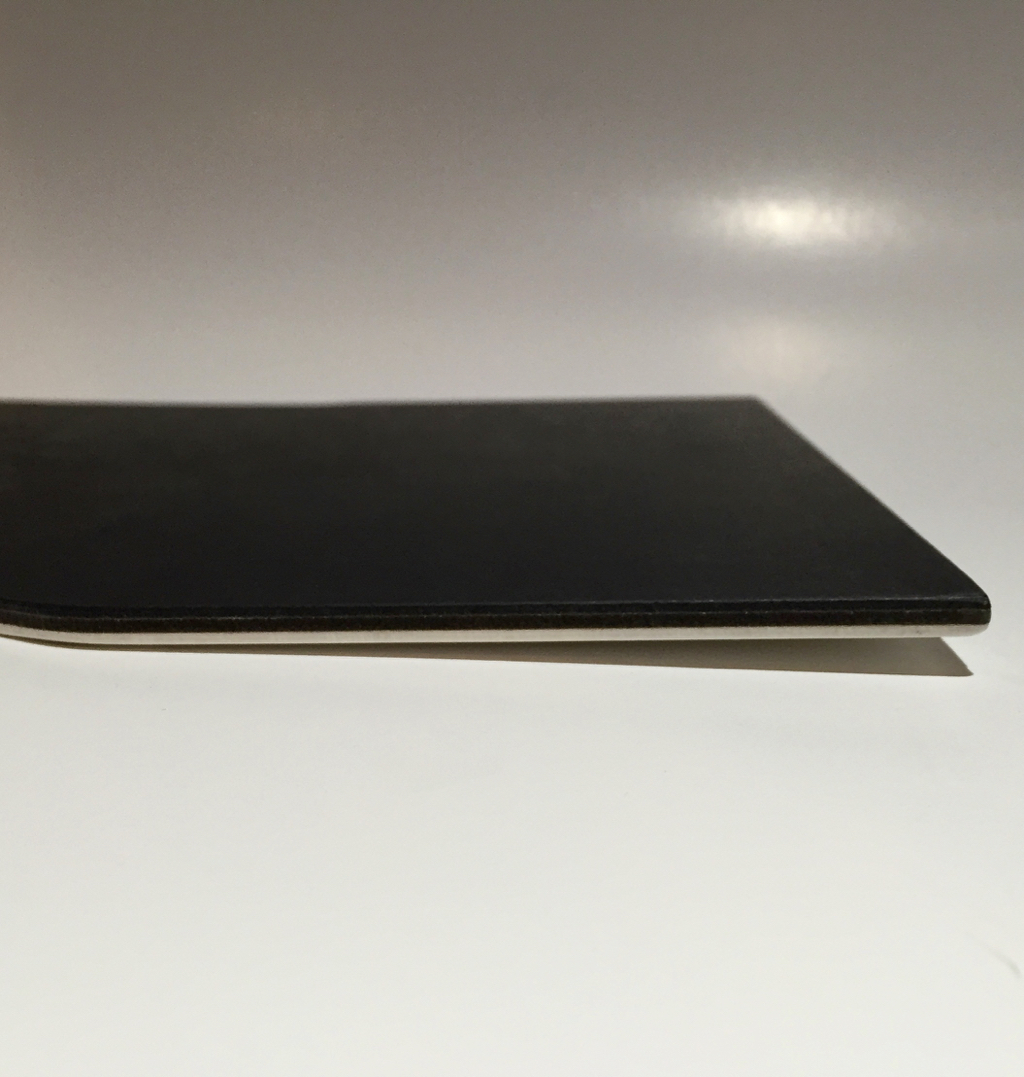
The above image shows how your plate should look before you clamp it to your print surface. This bend guarantees that the center will be adjacent to the bed.
Another ability created by the plate is the replacement of your original print surface. On our lab’s Replicator 2, for example, we realized the stock acrylic plate could eventually sag, so we replaced it with a rock-solid aluminum plate of the same thickness. It has no requirement for adhesion, because that’s provided by the Zebra plate. Now we have a guaranteed-flat print surface.
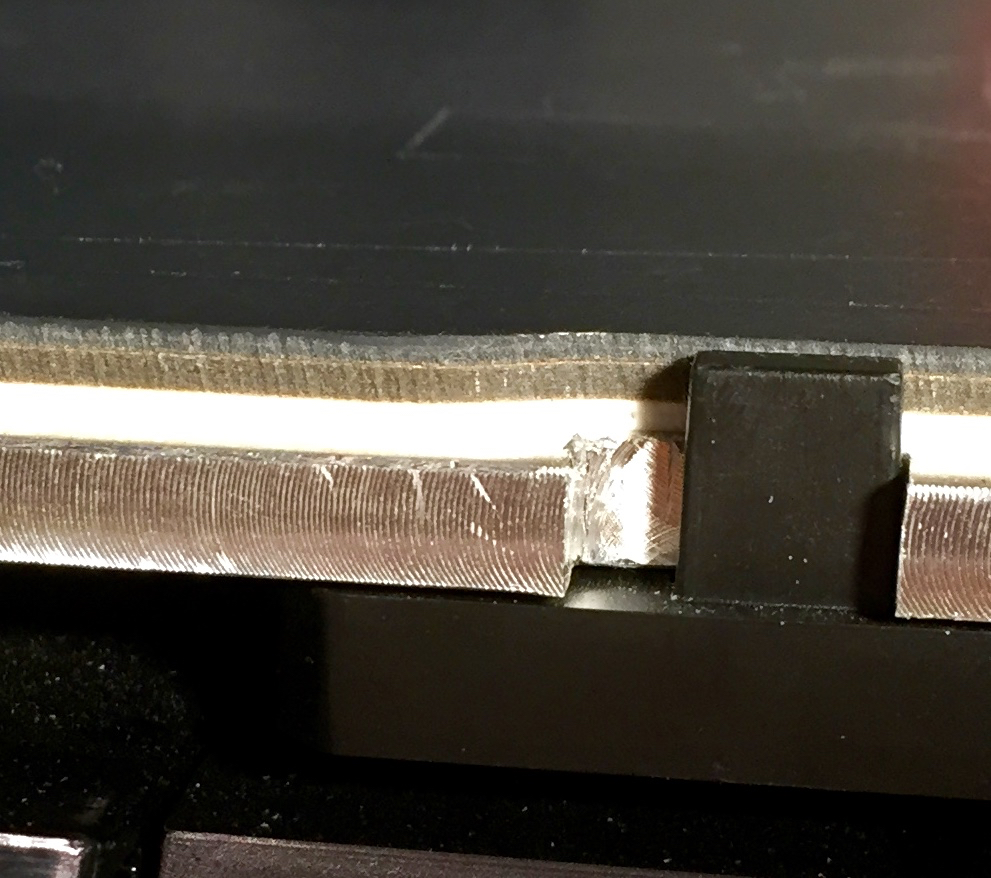
If you’re interested in trying out the PRINTinZ Zebra plate, hit the link below. They are available in a variety of shapes and sizes to fit most machines at reasonable pricing. And if not, just buy a bigger one and cut it down to size yourself.
Via PRINTinZ

