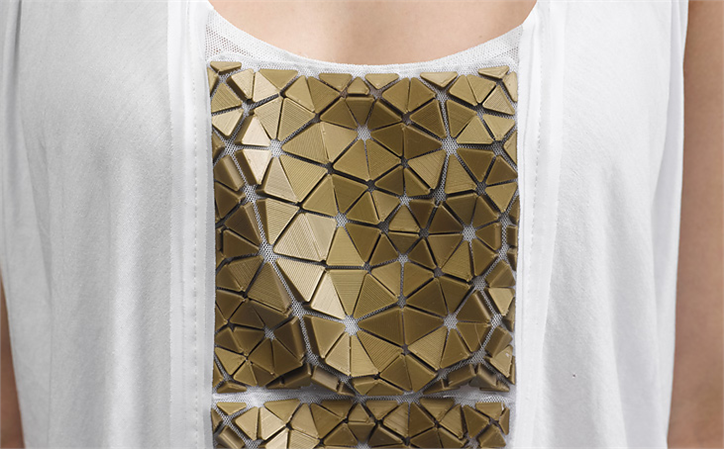
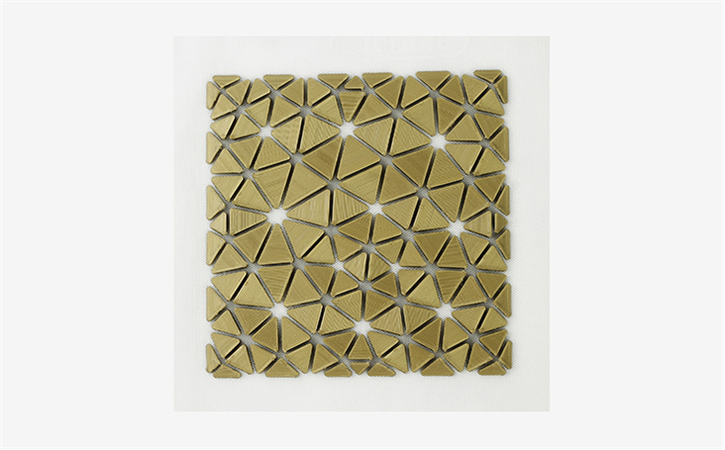
3D Systems has developed a very simple process for integrating 3D printed models into fabrics, which they’ve named “Fabricate”.
The process involves inserting a piece of fabric into the 3D printer during printing; hot plastic then fuses with the fabric to permanently attach the print. Here’s how it works:
- Select (and purchase) one of several Fabricate designs on the Cubify site. These are priced at USD$5 each and come in a variety of shapes and styles.
- Select an appropriate color for the print; it should match or complement the fabric you intend to attach to the print.
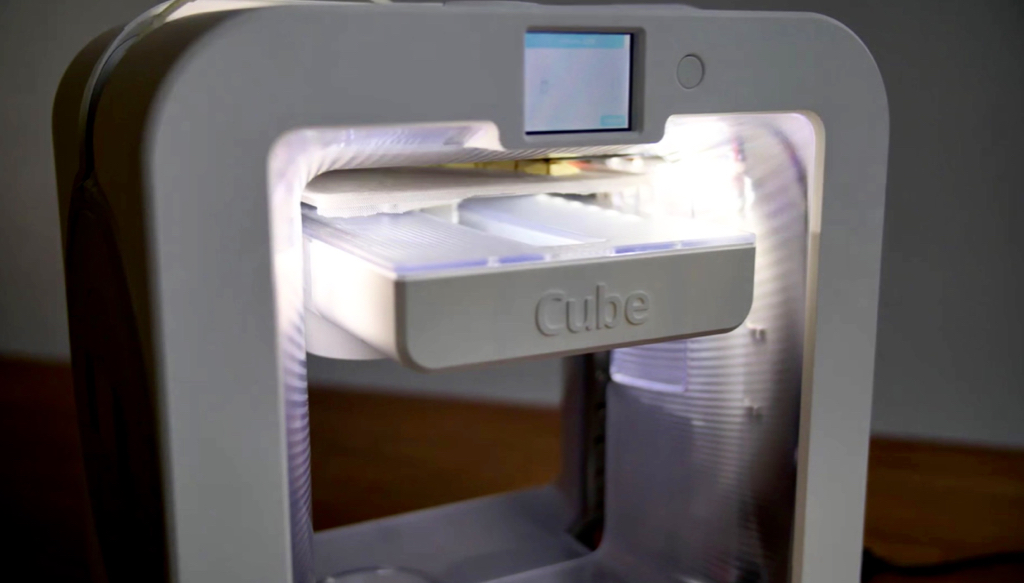
- Begin printing on your Cube 3D printer. At some point during the print, it will pause automatically.
- During the pause, you insert a thin piece of fabric directly on top of the partial print. You must ensure this piece of fabric is sized to fit within the print area – and ensure it is completely flat and unmoving. 3D Systems does this by gluing the edges of the fabric down to the print surface.
- Printing resumes and hot plastic extruded from the printer oozes into the fabric, making the attachment permanent.
- Once printing completes, you have a piece of fabric with a 3D print embedded into it.
- The fabric is removed and excess fabric is manually trimmed off with scissors.
- The remaining fabric with print attached is manually sewn onto clothing articles. Typically it’s a shoulder or neckline element.
Currently 3D Systems offers nineteen different designs that can be printed in any color 3D Systems offers for the Cube.
This is a very interesting use of 3D printing in our opinion. It’s simple enough to be used by almost anyone, and can produce really interesting results.
The technique can also be used on almost any extrusion-based 3D printer, although you’d have to manually perform the print pause, whereas the 3D Systems Cube solution does so automatically.
3D Systems says, this is where “Fashion meets the future”. They’re probably right!
Via Cubify


