

Our review of Sunlu’s post processing systems and resin concludes with operations and final thoughts.
This is part two of a two part series, please read part one.
Operations
We decided to run several prints on one of our 12K resolution MSLA 3D printers using each type of resin, process the prints through the cleaner and cure stations to test everything out.
We started with Elegoo’s Standard Resin and noted the specifications on the bottle said to use a normal exposure time of 2–4s, bottom exposure time of 10–60s and bottom layers 5s.
We decided to start with 2s exposure, 35S bottom exposure, bottom layers 5s, as these values happened to be the default parameters for “Standard Resin” on the 3D printer we were using for testing. We sliced up and printed a Validation Matrix calibration as our first print job.
Given that the SL–UC01 ultrasonic cleaner is not meant to be used with IPA, we skipped using it for now and instead processed the first print through our lab’s existing IPA wash station to clean the gooey resin off the finished print before placing it in the SUNLU RC-2 resin curing enclosure.
As mentioned in the manual, the default “automatic mode” is for prints washed in IPA, so we simply pressed the rotary button once to turn the machine on and then a second time to launch the automatic cleaning cycle.

The manual suggests leaving the door open during the dry cycle, which we made sure to do.
The machine came to life with the table rotating and fans circulating the air, with any adjustment to the rotary knob increasing or decreasing the fan speed on the fly.

When the timer reached zero, the display reset to read five minutes, the machine stopped and did nothing. We remembered that the manual cautioned that the machine would turn off if the front door is open during UV operation, so we closed the door and the platform started rotating as the UV lights lit up.
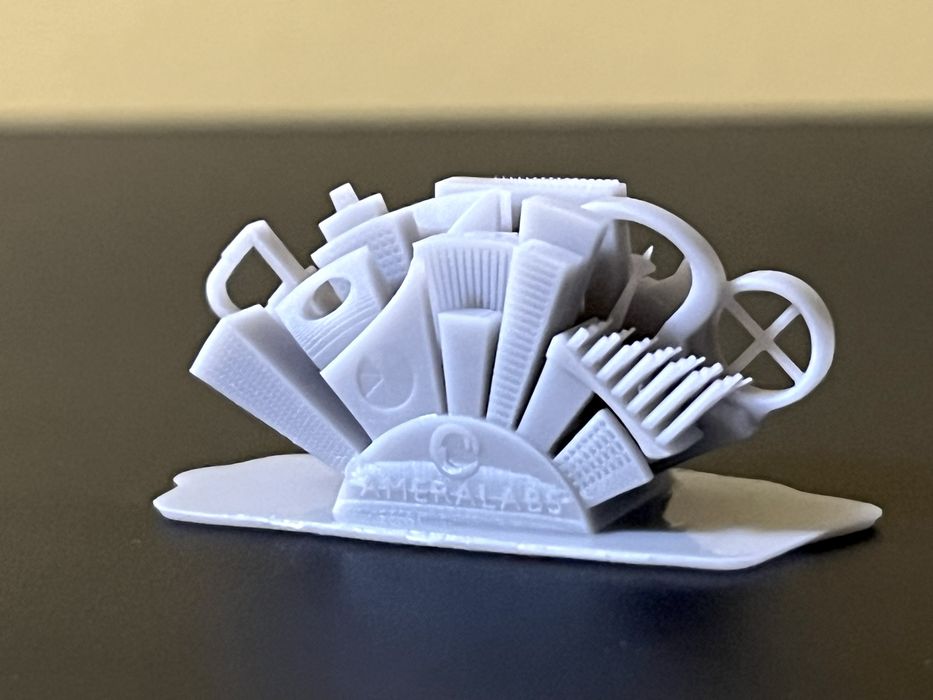
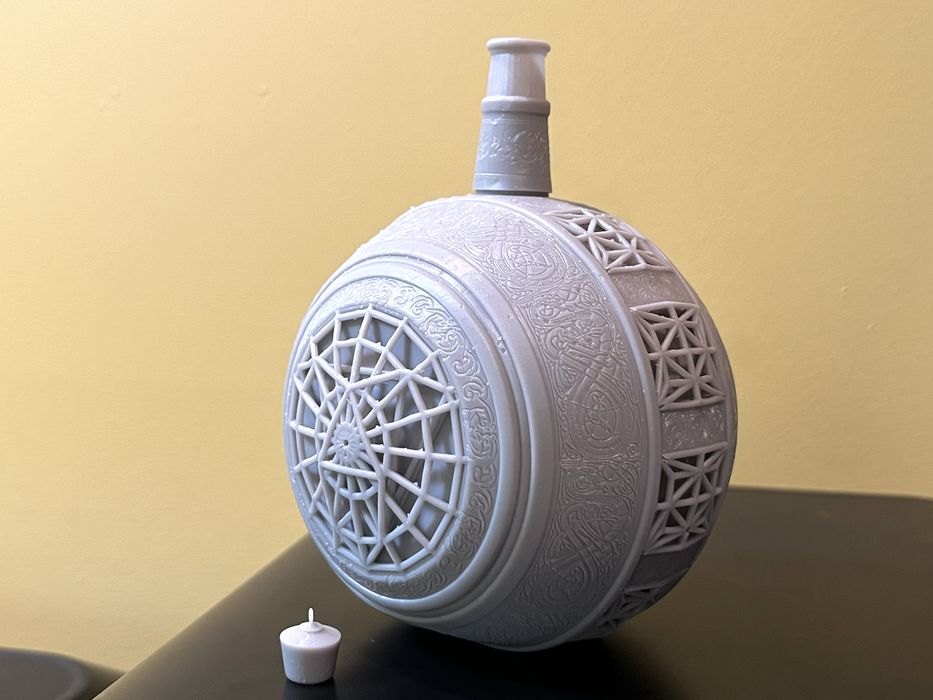
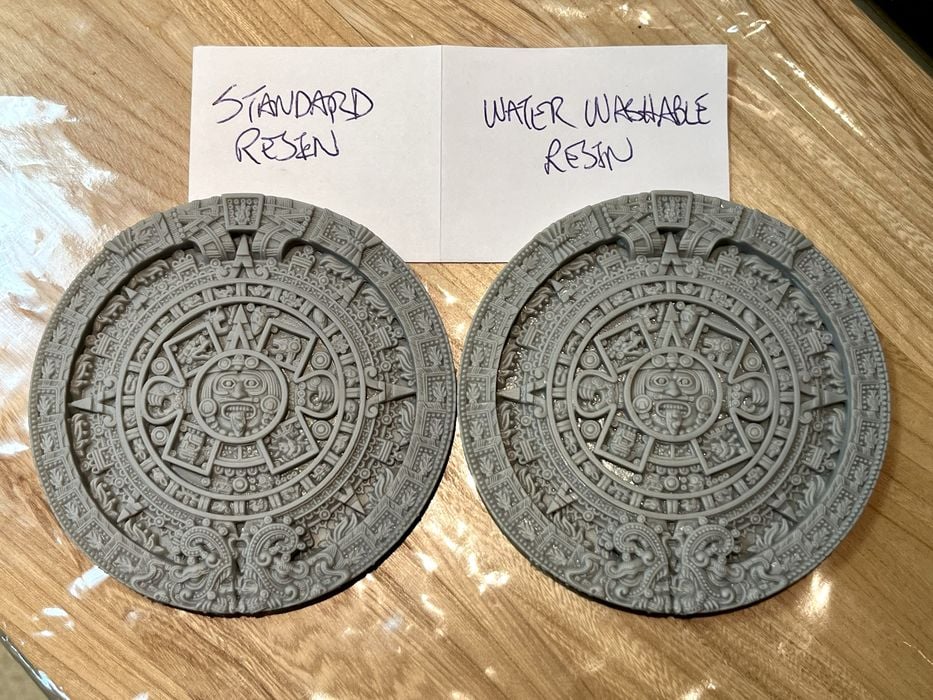
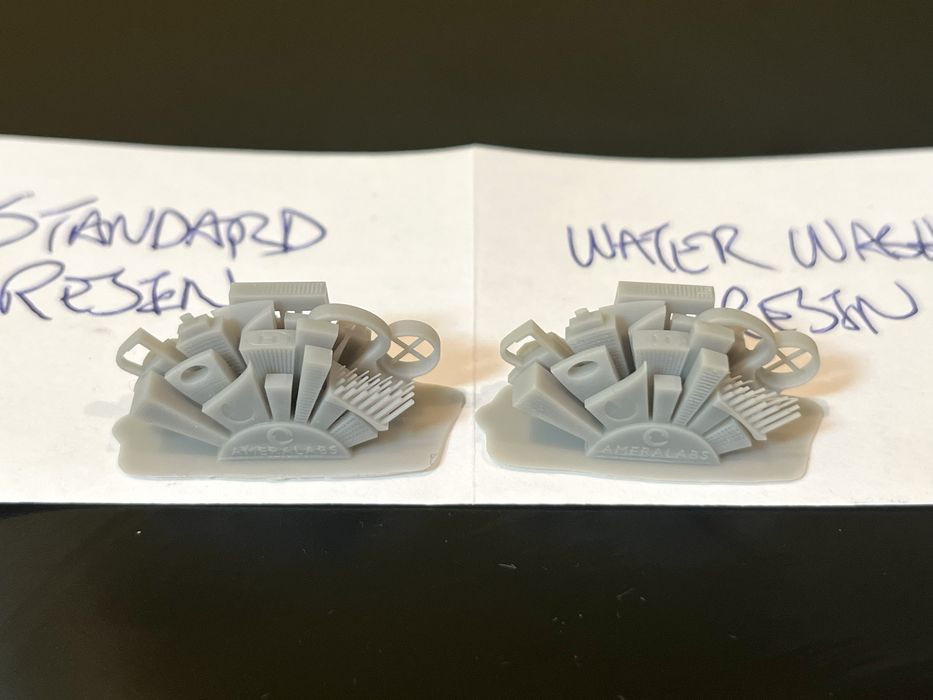
When the timer reached zero, the unit beeped to alert us. The finished result was a nicely cured print with no sticky residue. We went through several additional models to get a feel for output quality and 3D printed an Ameralabs Town 3D model, the highly detailed Aztec Calendar Wheel, and the Magic Potion Bottle.

Before switching to the Water Washable Resin we drained and thoroughly cleaned the printer’s tank of any residual resin to avoid any cross contamination.
Given that the specifications for the water washable resin were identical to that of the standard resin, all we did was rerun the same four sliced GCODE prints from the printer’s job history.
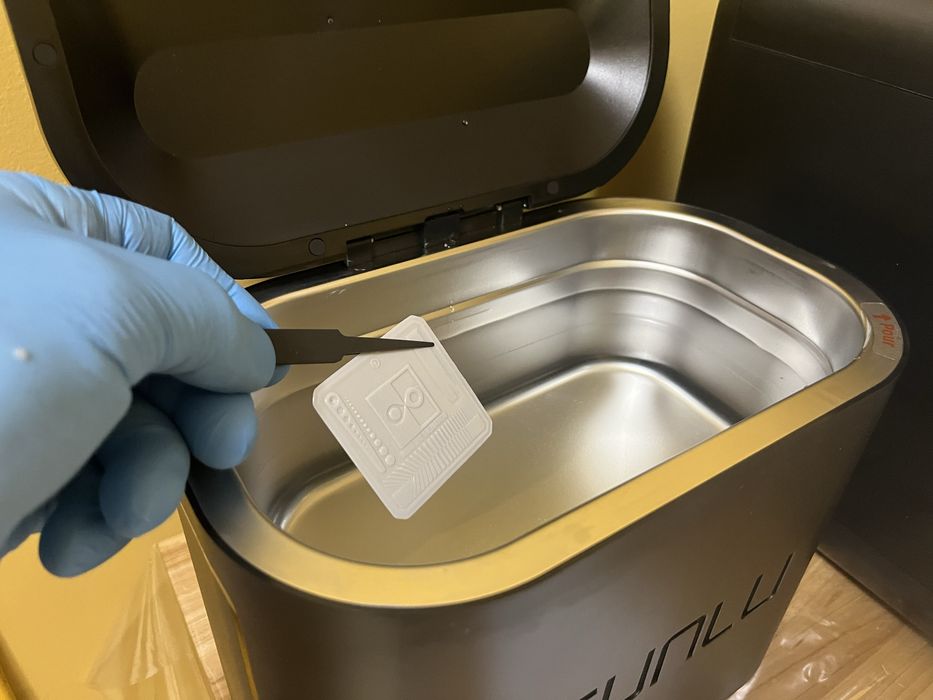
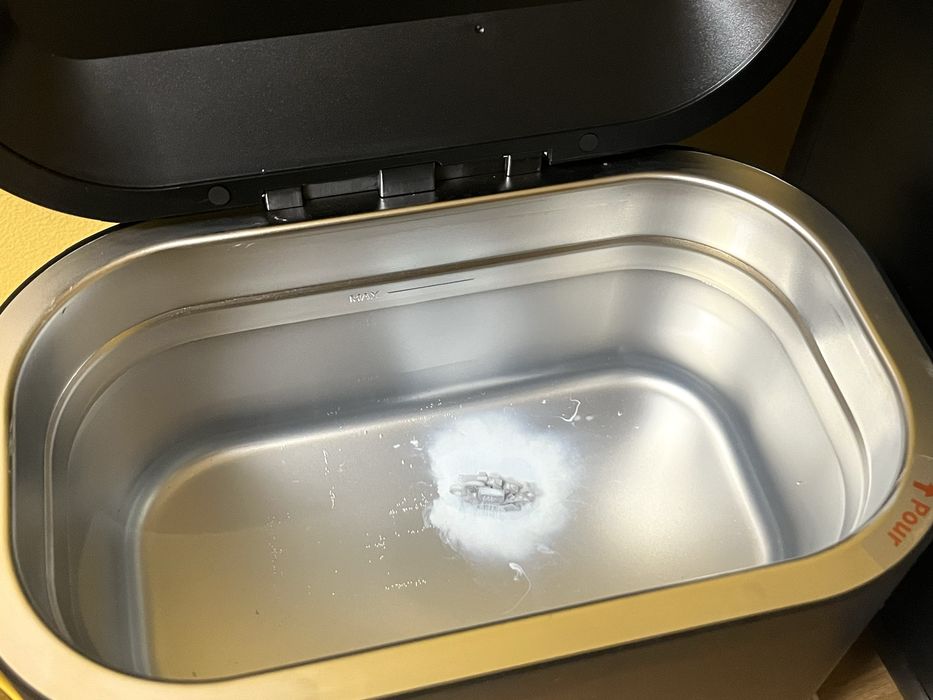
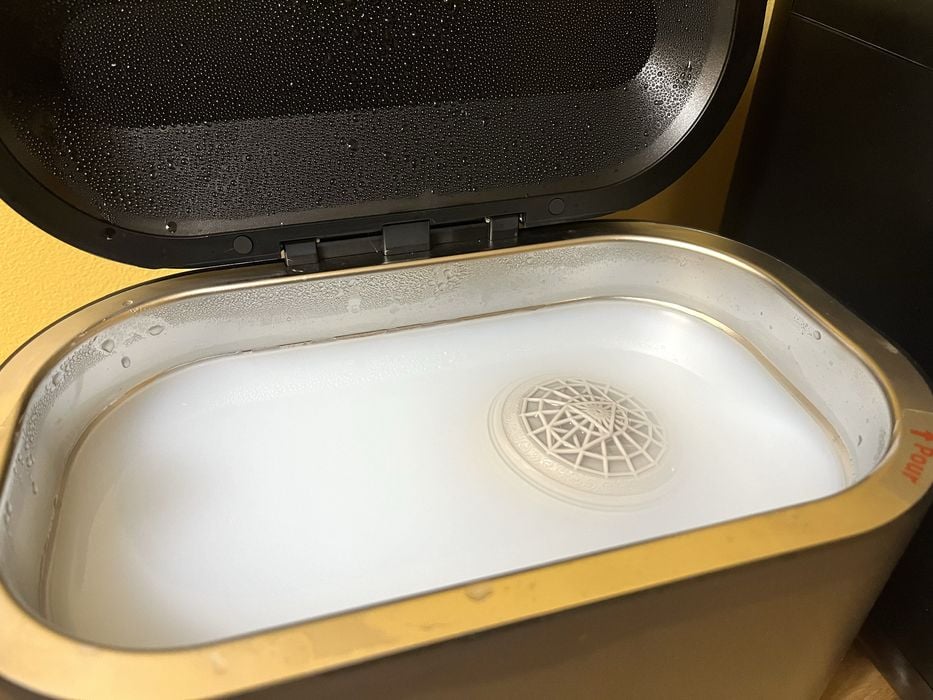
We filled the SL–UC01 ultrasonic washer with warm water and dropped our first gooey print inside to be cleaned.
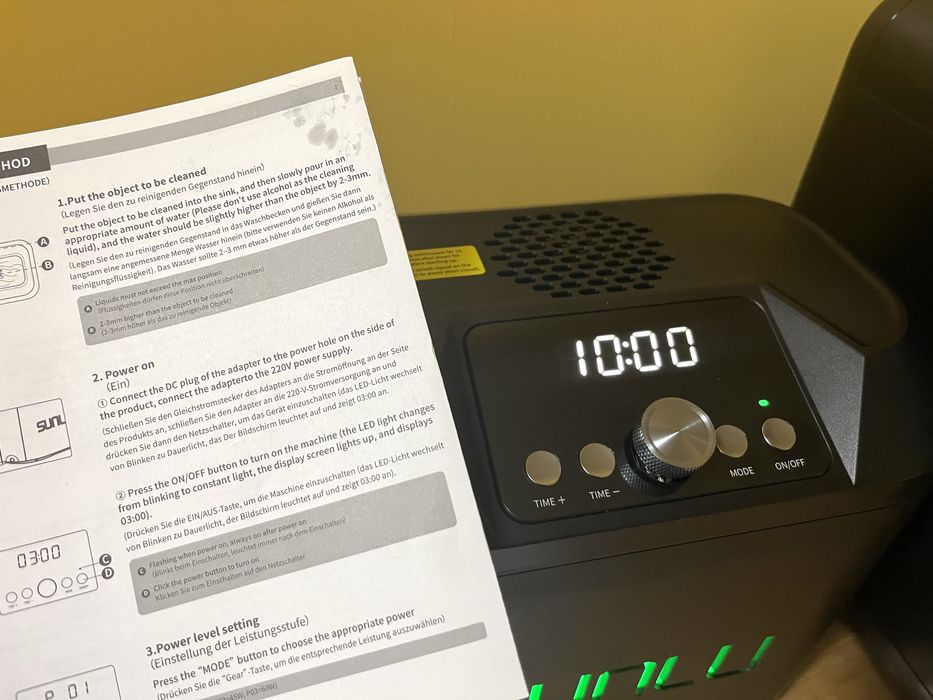
When we powered on the machine we noted that the default starting time was ten minutes vs the three minutes shown in the manual. Since we only had a small print to wash, we set the timer at three minutes, using the plus and minus buttons to change minute increments and the rotary button to change seconds.
We chose the strongest power mode of the three options, and pressed the rotary button to activate the cleaner. When done, the SL–UC01 alerted us with some loud beeping.
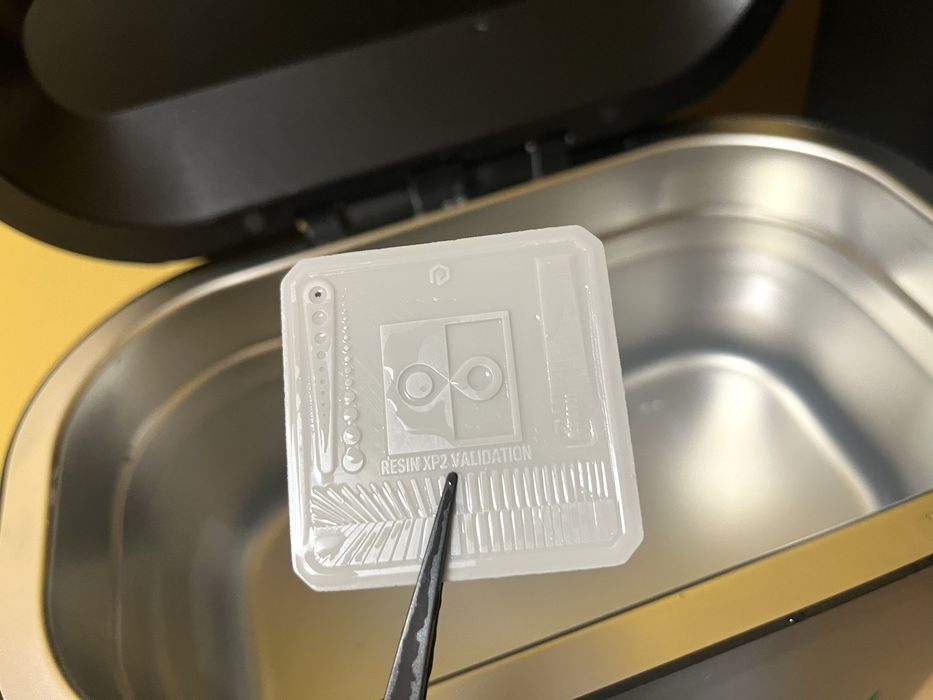
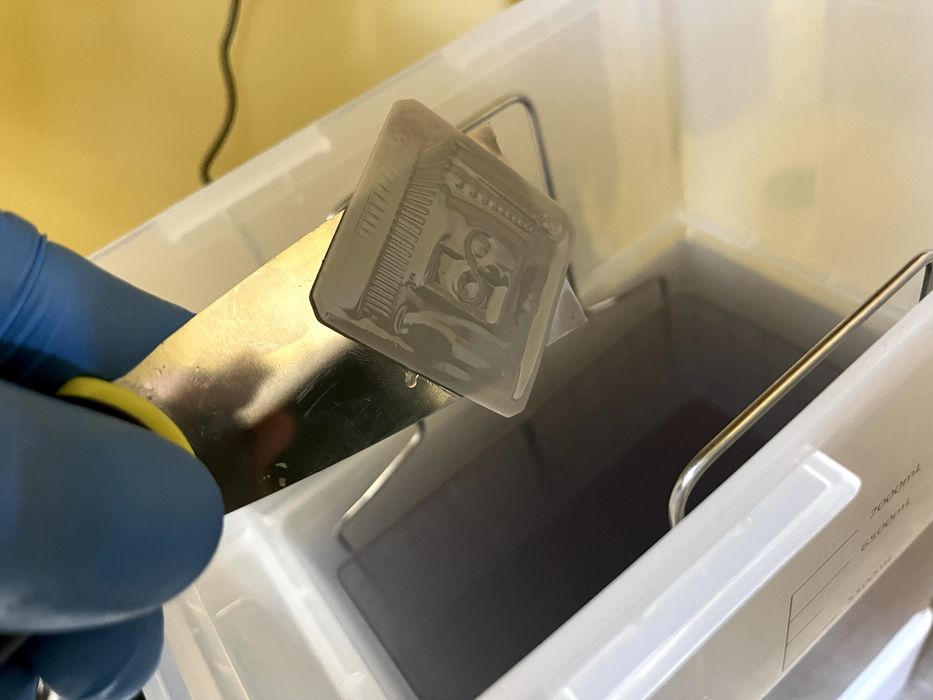
Curiously, there is no basket included with the SL–UC01, and we found it a bit tedious to remove the flat validation matrix from the bottom of the tank using just the supplied tweezers. Multipart small print jobs will be a challenge to remove without entirely dumping the tank, particularly with small parts.
When we removed the print and checked on the results we found that it wasn’t quite clean yet. This was most likely due to the lack of any added “detergent” as mentioned in the manual.
Having no other options, we set the machine to a maximum of ten minutes and re-ran the procedure, reminding ourselves that the maximum continuous operating time for the machine was 15 minutes and that it would need to be shut down for five minutes first if we needed to rerun the procedure.
This time our print ended up clean.
We transferred the dripping print over to the RC-2 and ran a 30 min manual dry cycle with the door open – the additional time being necessary as water takes longer to evaporate than IPA. When the dry cycle was complete, we closed the door and ran a manual cure cycle of five minutes.
We repeated these procedures for the remaining test prints so we could compare results.
Final Thoughts
All of the items set to us for review were packed well for shipping, with extra care being taken with the resin bottles being packaged into sealed bags, which were then placed inside a bubble wrap pouch, before being boxed up. The best way to deal with resin leaks is to prevent them!
The RC-2 dry and cure chamber worked quite well for us with either IPA or water Washable prints.
We liked the Automatic Mode for IPA prints, but it wasn’t difficult at all to toggle through the dry or cure manual options and set the timer for use with water washable resins.
We were a bit surprised though when the manual suggested to leave the door open while the drying cycle was in operation, suggesting there was inadequate venting to vacate moisture laden air from the enclosure otherwise. But this was only an issue for us when running in Automatic mode, as the cure cycle would not engage until the door was shut.
The SL–UC01 ultrasonic washer was also easy to operate with its simple controls, but was really just for use with the water washable resin.
It worked well for us, but we found we had to run it for a few cycles to have all of the resin come off the prints. This was most likely due to operating the machine without any of the “detergent” that SUNLU mentions in the user manual, as none had been supplied with the machine.
The included tweezers were handy for placing prints into the tank of the machine, but not so great when trying to remove items – especially so if multiple small parts were to be washed. Ideally a removable tank basket could be supplied to aid in this task. Larger prints would also pose a challenge if they could not be submerged. We maxed out the size limitations with the Magic Potion print.
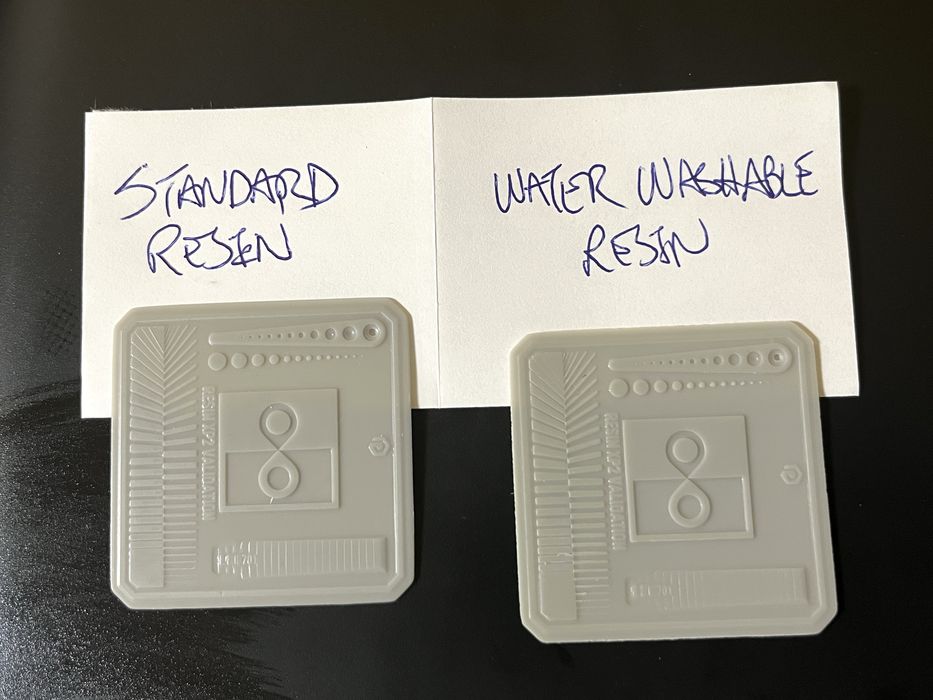
We were pleased with the output we got from both the standard & water washable resins. Printing the same models using both resins produced only subtle differences, with the details on standard resin prints being just a slight bit sharper than the water washable counterpart in some instances. In general, models output with either resin turned out quite good. The choice to use either resin would really come down to what type of existing setup an operator has for washing & curing prints.
This is part two of a two part series, please read part one.
Via SUNLU