

Our test of the Kobra Go desktop 3D printer continues with a look at Setup, calibration and operations.
This is part two of a three part series, please read parts one and three.
Anycubic Kobra Go Setup and Calibration
After the relatively painless assembly, it was time to power up and calibrate the machine. I was curious to see how the automated leveling works on such an inexpensive 3D printer.
Then I made a discovery: there are no adjustment wheels for the Kobra Go! This is now a common feature on desktop FFF 3D printers to provide a way for operators to quickly level the bed, much like the belt adjustors.
It seems that the only way to mechanically level the Kobra Go is to take off the print plate and deal with bolts embedded in the heated plate. However, it turned out I did not need to play with them at all, as the Kobra Go was perfectly level from the factory. This is another way Anycubic has lowered the price of the Kobra Go.
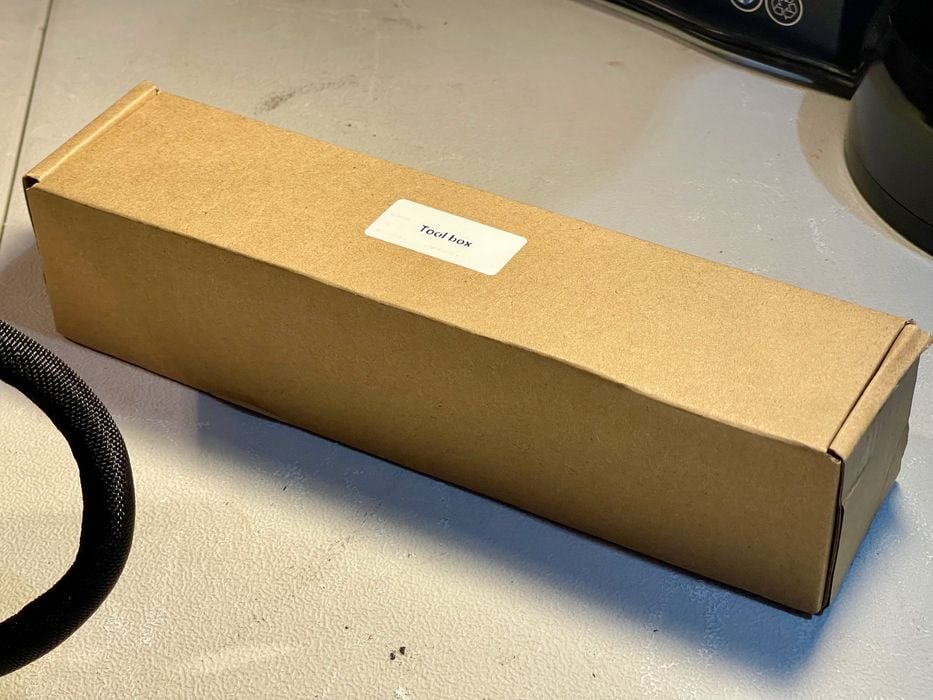
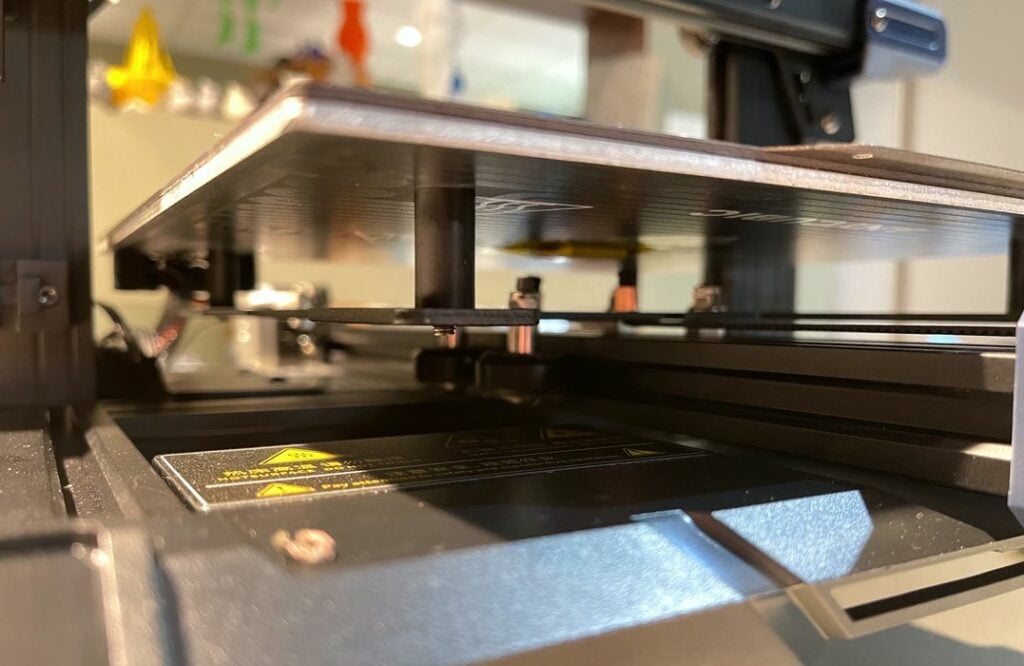
Remember the “toolbox”? Don’t throw it away like I did, because it is actually used in the assembly process!
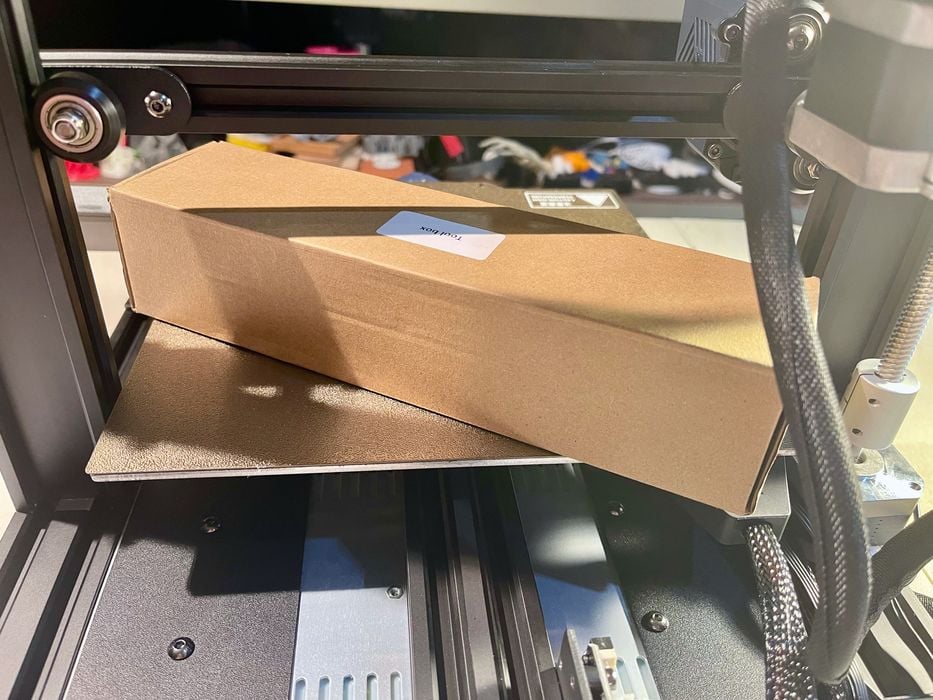
The toolbox is placed on the print surface under the X-axis. You then manually lower the X-axis and the toolbox forces it to be level. I thought this process to be a bit sketchy, but it turned out to work perfectly, as my leveling later proved.

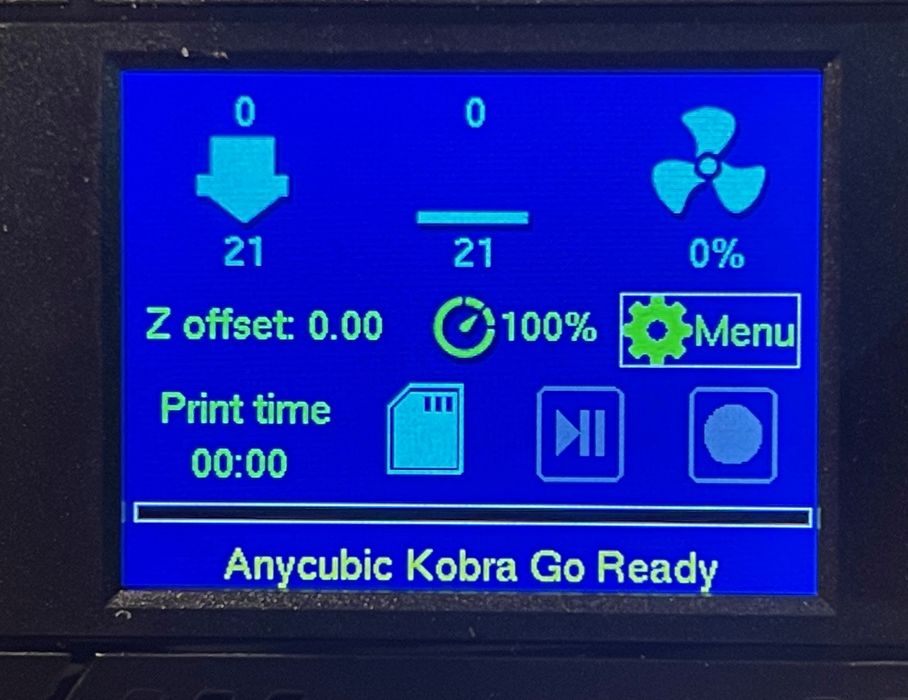
Powering up the Kobra Go takes only a moment, and you’ll quickly see the splash screen, which transitions to the main menu:
The next step was to level the print plate.
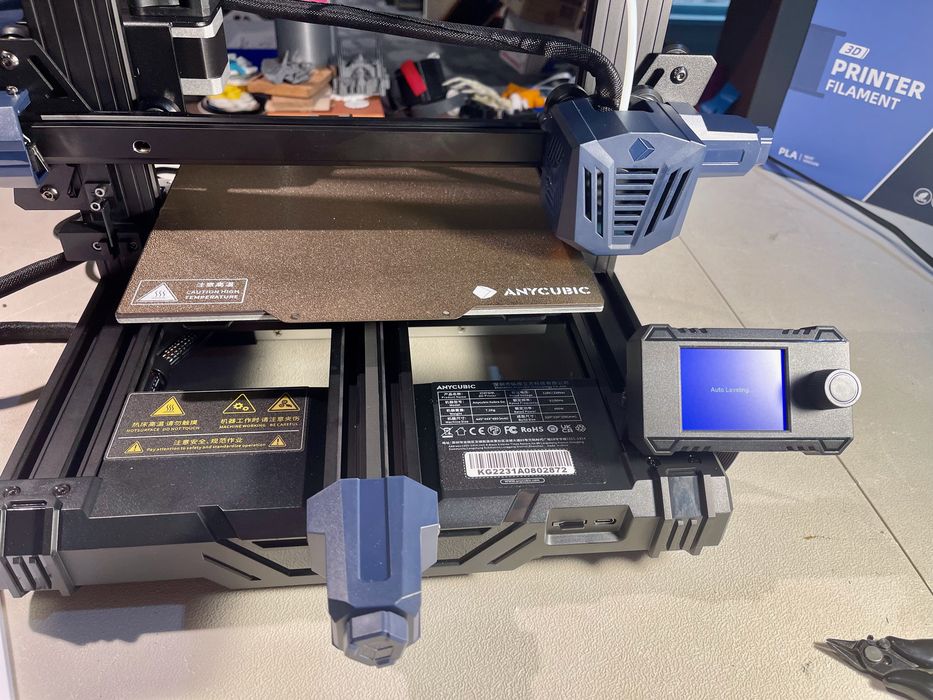
This is done using the built in procedure, which examines 25 places on the print surface to determine its topology. You can also set the z-offset at this time.

One observation during leveling was something minor: a spelling error on the screen.
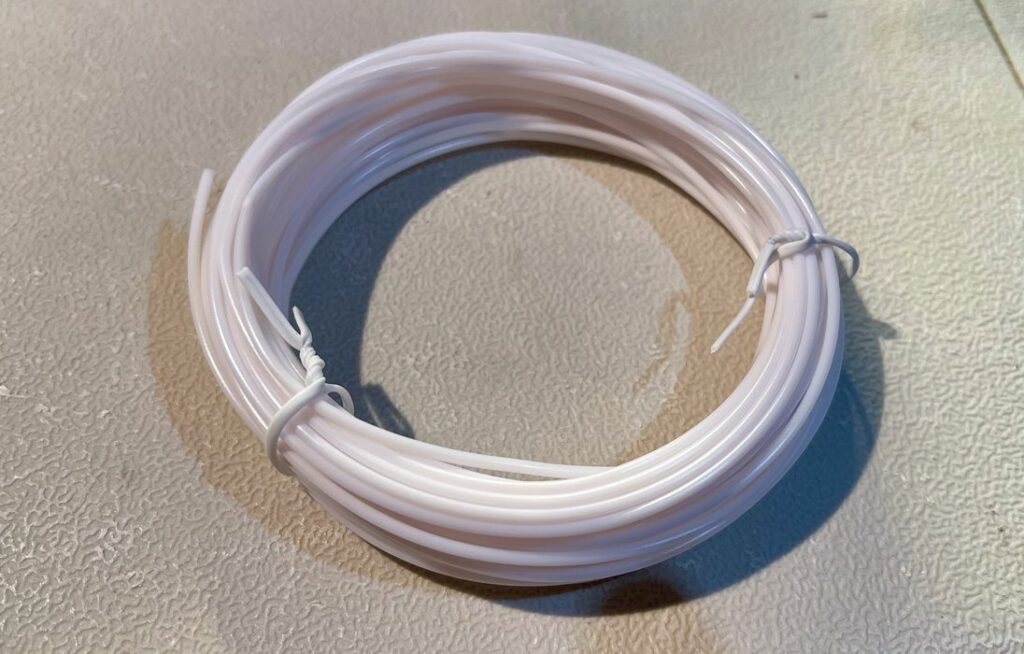
Loading filament is next, and for that you’ll find that Anycubic has included one of those horrible small coils of PLA. I really think these should not be included because they’re usually low quality material and instantly tangle as soon as you open the bag.
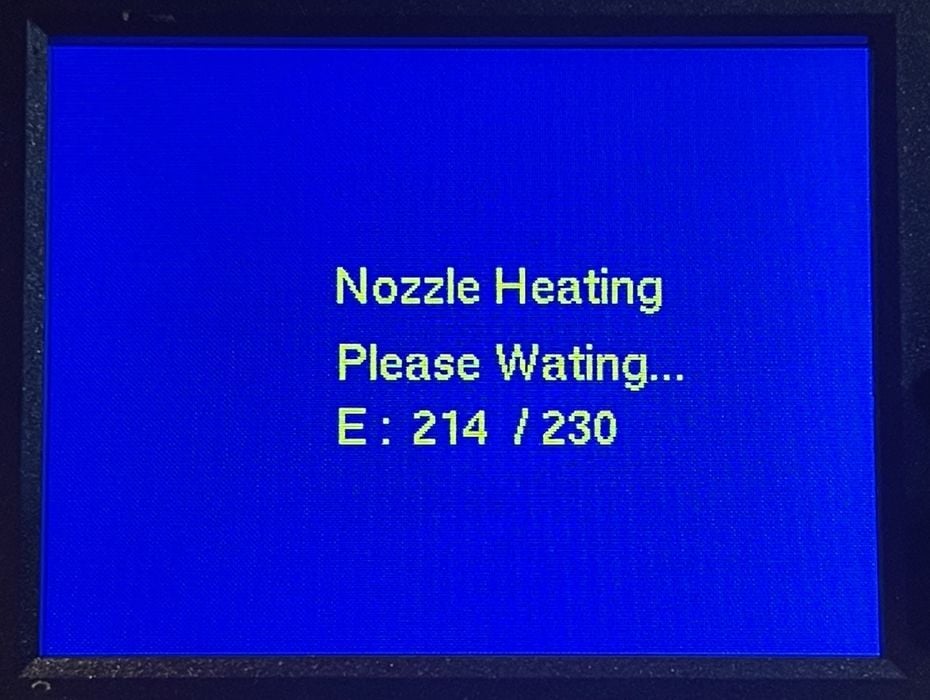
But hold on, here’s ANOTHER spelling error. Hm. These don’t affect the print performance at all, but they should be fixed.
Since the Kobra Go is a Bowden machine, you must insert the filament far away from the hot end and push it through a tube. As is usually the case, this is a bit tricky because the filament tip snags on tube entry. I found the solution to be to lighten up slightly on the extruder lever, which repositions the filament so that it can enter the tube.
Once inserted, the Kobra Go’s “Prepare” menu provides both load and remove filament procedures that heat and move the filament appropriately. Note that during this procedure it heats the filament to 230C, sufficient for most materials.
We were now ready to do some 3D printing on the Kobra Go.
Anycubic Kobra Go Operations
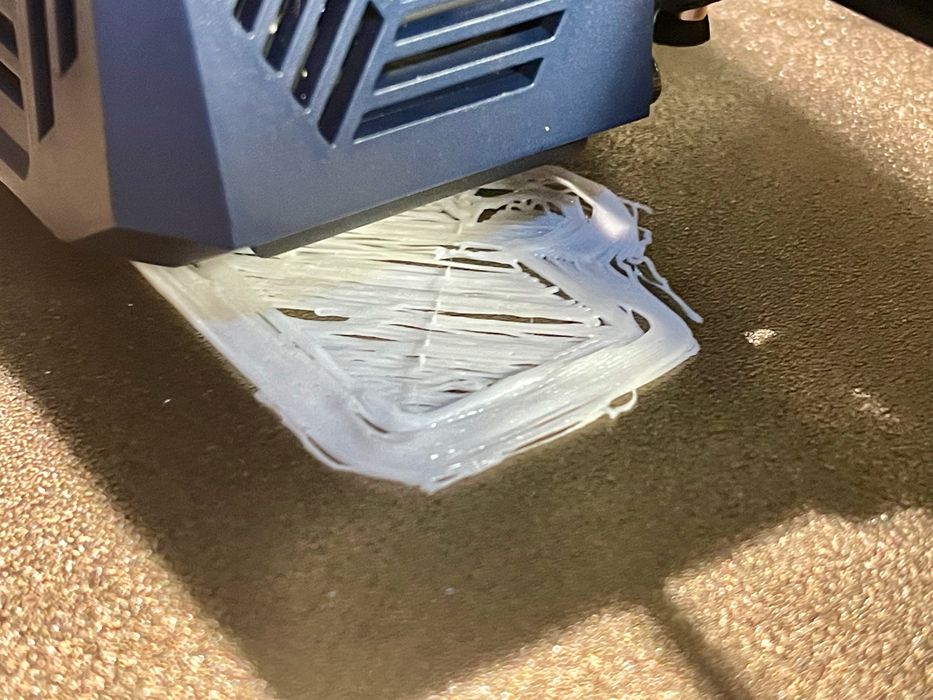
My first print didn’t go so well. As you can see, the first layer just didn’t stick at all. Part of me said “don’t use that white PLA”, so I moved on to a fresh spool of green PLA that Anycubic provided to us.

My next attempt at printing was equally bad, as you can see in this rather awful first layer. What was wrong?
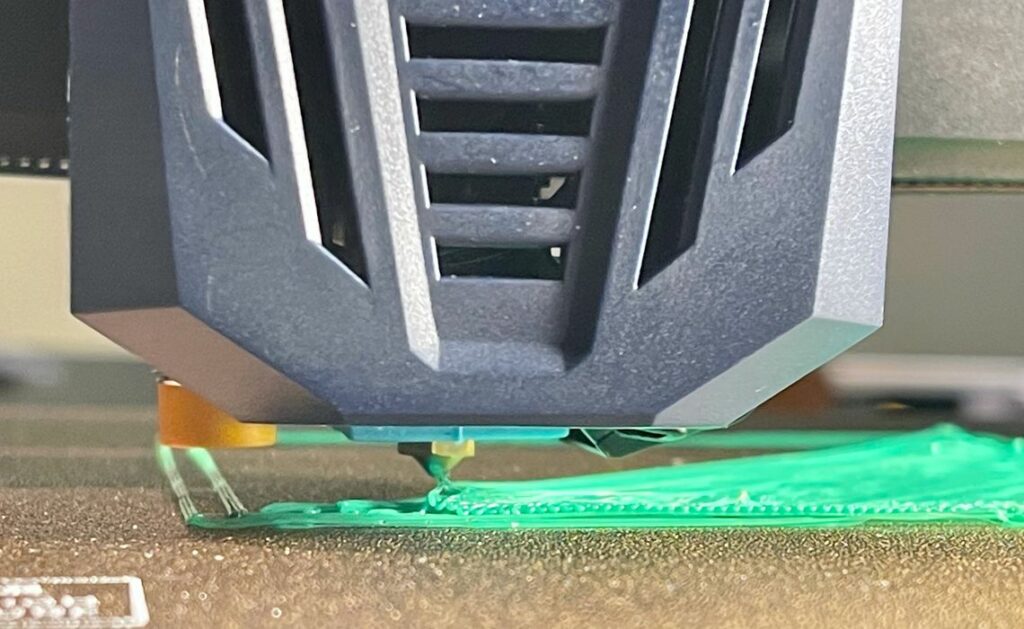
It turned out my z-offset was waaaay off. Almost by 5mm! I thought I had set it during calibration, but perhaps I did not. No matter, I’ll just use the dynamic z-offset adjustment on the screen to set it correctly during the first layer.
It didn’t work.
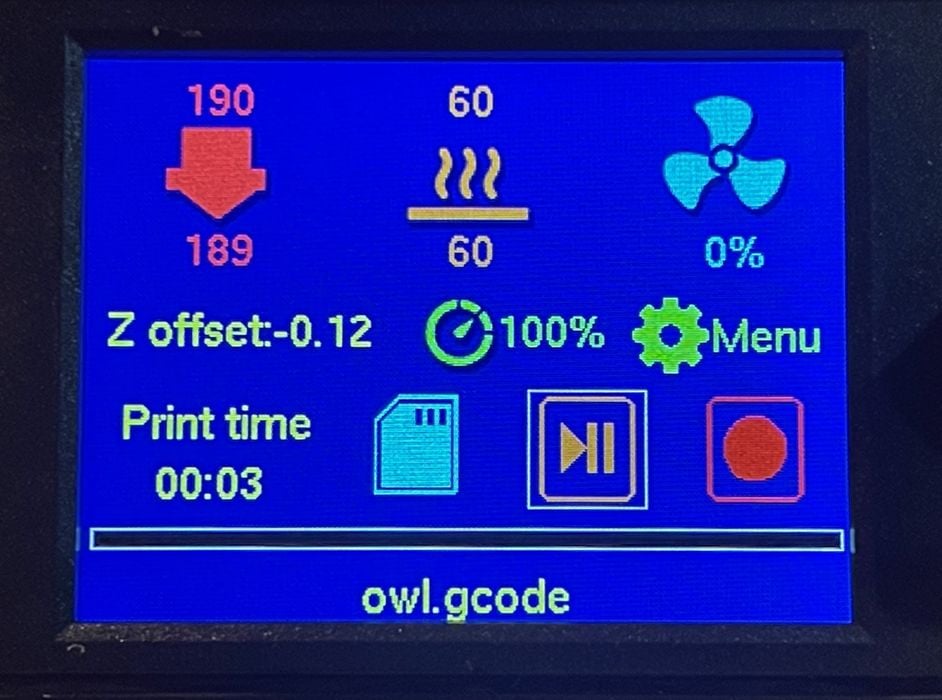
I shifted the z-offset by 10mm up AND down, and the z-height did not change at all during printing. This feature, which is really required during printing, does not work — even though it appears to do so on screen. I checked with Anycubic, and it turns out you can only set the z-offset right after leveling.
Back to leveling.
I set the z-offset correctly after the leveling procedure. Strangely, the screen interface appeared identical to what it showed during printing, but this time it actually did something.

By the way, every print I attempted resulted in blobs like this. It’s because the priming sequence seems to land material off in the air where there’s an indentation in the build plate. This can easily be fixed with an adjustment to the startup code.
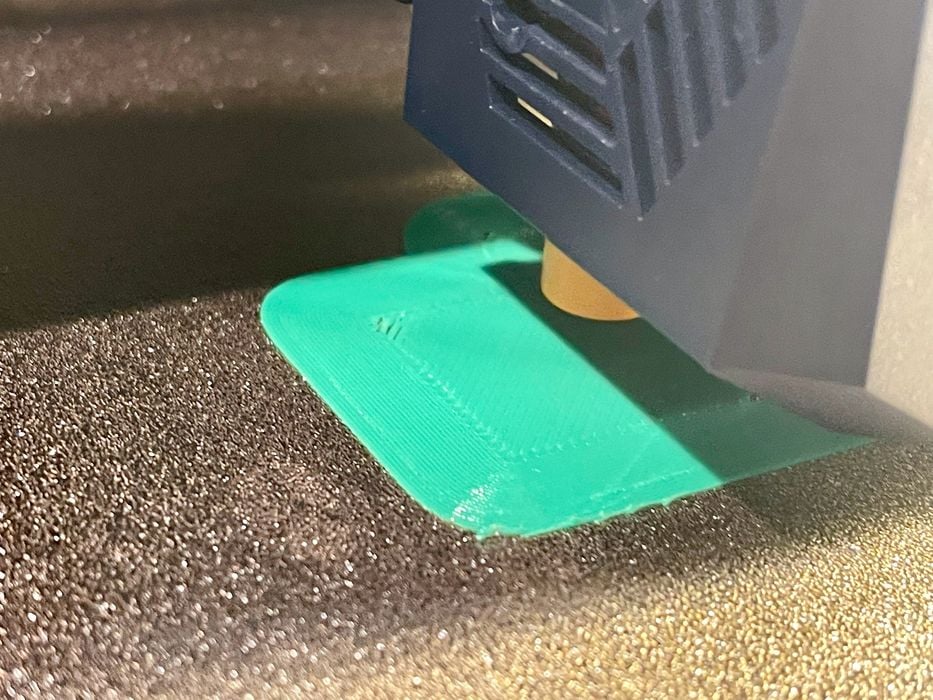
My next print attempt was with the supplied GCODE for an Owl model. Success! The first layer came out extraordinarily well, as you can see above.
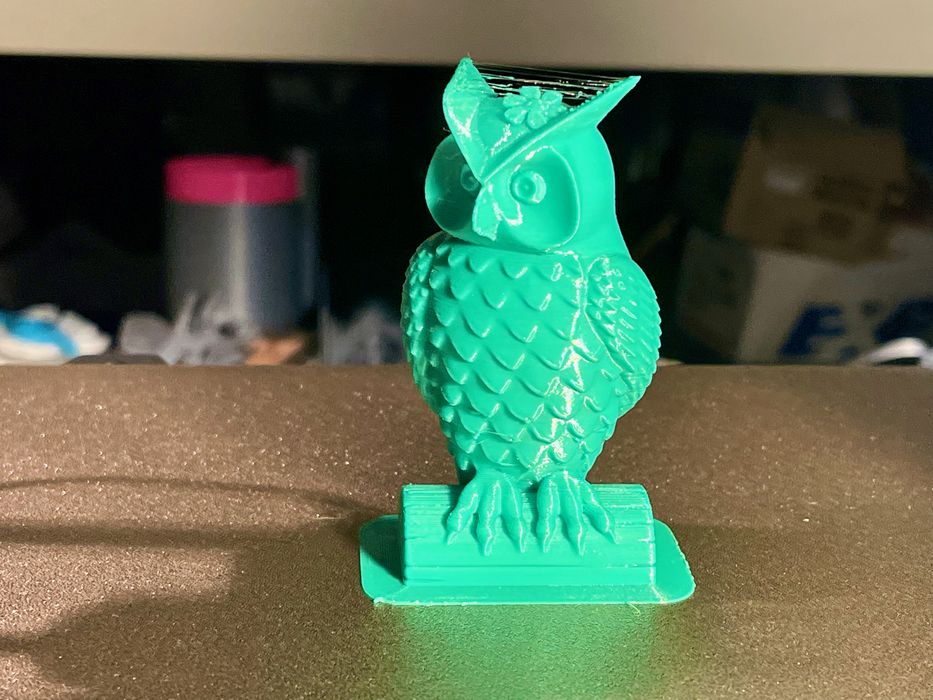
Aside from a bit of stringing, the Owl came out extremely well.
One thing that I noticed was a bit unusual was the printing temperature: 180C. Normally I print PLA at 200-220, depending on the machine. I’ve never used a machine that successfully print PLA at such a low temperature.
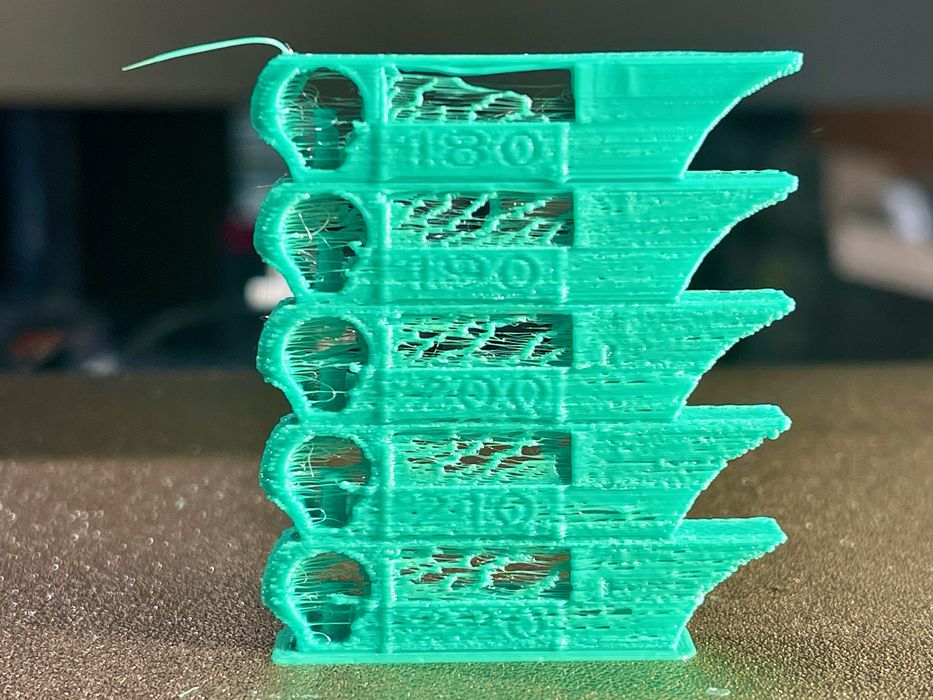
I decided to do further calibration using SuperSlicer’s temperature tower generator. This was the result. Evidently “180C” on the Kobra Go is sufficient to soften the PLA, which it would not be on many other devices. While in SuperSlicer I used several of their other calibration routines to dial in my settings. BTW, I highly recommend using SuperSlicer for this purpose.
Anycubic Kobra Go Software
For software, Anycubic follows the standard approach by many manufacturers of providing a slightly customized version of Ultimaker Cura.
Unfortunately, it’s not a current version: the version supplied was v4, which does not include the incredibly powerful features of v5, which you definitely want to use.
Fortunately, Anycubic also provides .curaprofile files on the supplied microSD card. These can be easily imported into Ultimaker Cura v5 — or whatever the current version happens to be. I strongly encourage Kobra Go users to migrate to Ultimaker v5 instead of using the supplied older version.
One more thing: Anycubic supplies ONLY a Windows version of Ultimaker Cura on the microSD card. If you happen to be using Linux or a Mac — like I am, you’re out of luck and definitely need to download Ultimaker Cura on your own.
It would be better if Anycubic and other desktop FFF 3D printer manufacturers somehow figured out a way to make their equipment more instantly compatible with current versions of Ultimaker Cura.
By the way, it is also possible to use PrusaSlicer (or its derivative, SuperSlicer) with the Kobra Go by manually setting up the 3D printer and copying over the start/stop GCODE sequences.
Now equipped with a working 3D printer and software, I was ready to go ahead printing many test models.
This is part two of a three part series, please read parts one and three.
Via Anycubic