

Whether you’ve been to one or not, if you’re reading this publication you more than likely will at some point in your career. Here’s our tips to get the most out of the experience.
There are an increasing number of events featuring – or even dedicated to – the technology of 3D printing. Some events may come and go, but there will always be some worth attending. They may not be occurring in your city, but there are usually events scheduled in every region at least once per year.
Selection and Travel
Know your goals: You should spend time well ahead of the event to ensure you truly know what you expect to achieve by attending. Do you want to solve a specific problem? Are you searching for something in particular? Do you need to know how to make something work properly? Do you want to find others in the same situation? What else? Write it down to ensure you have it cemented in your brain and review it every morning of the conference.
Select the most appropriate event: Having identified your goals you can then intelligently select an event to attend. Some events are merely trade shows, where vendors display their works (or might-be-in-the-future works, anyway). Others are true conferences where presentations and discussions occur. Some are a bit of both. Many are increasingly focused on particular dimensions of 3D printing and you must ensure you select the most appropriate event to meet your goals.
Be aware of travel costs: Selecting a conference based on topic and format alone is not sufficient, as you (or someone) must pay for the event, and they’re no doubt looking for the most value per dollar. Your travel costs are negligible if the event is in your own city, but otherwise you may have to consider the airfare, accommodation costs and food expenses. In some cases this can be quite expensive, such as at the Consumer Electronics Show, where hotel rates are jacked up astronomically by mere coincidence on the event days. Book early not to get good airfare rates, but instead to get the cheapest and best located accommodations.
Schedule your days: Conferences often publish a schedule of activities well ahead of the event. It’s in you best interest to review this and figure out where you’re going to be, if there is a choice in presentations. Don’t worry about being precise, as you can always make mid course corrections during the event. Just be sure you have somewhere appropriate to be and do by default.
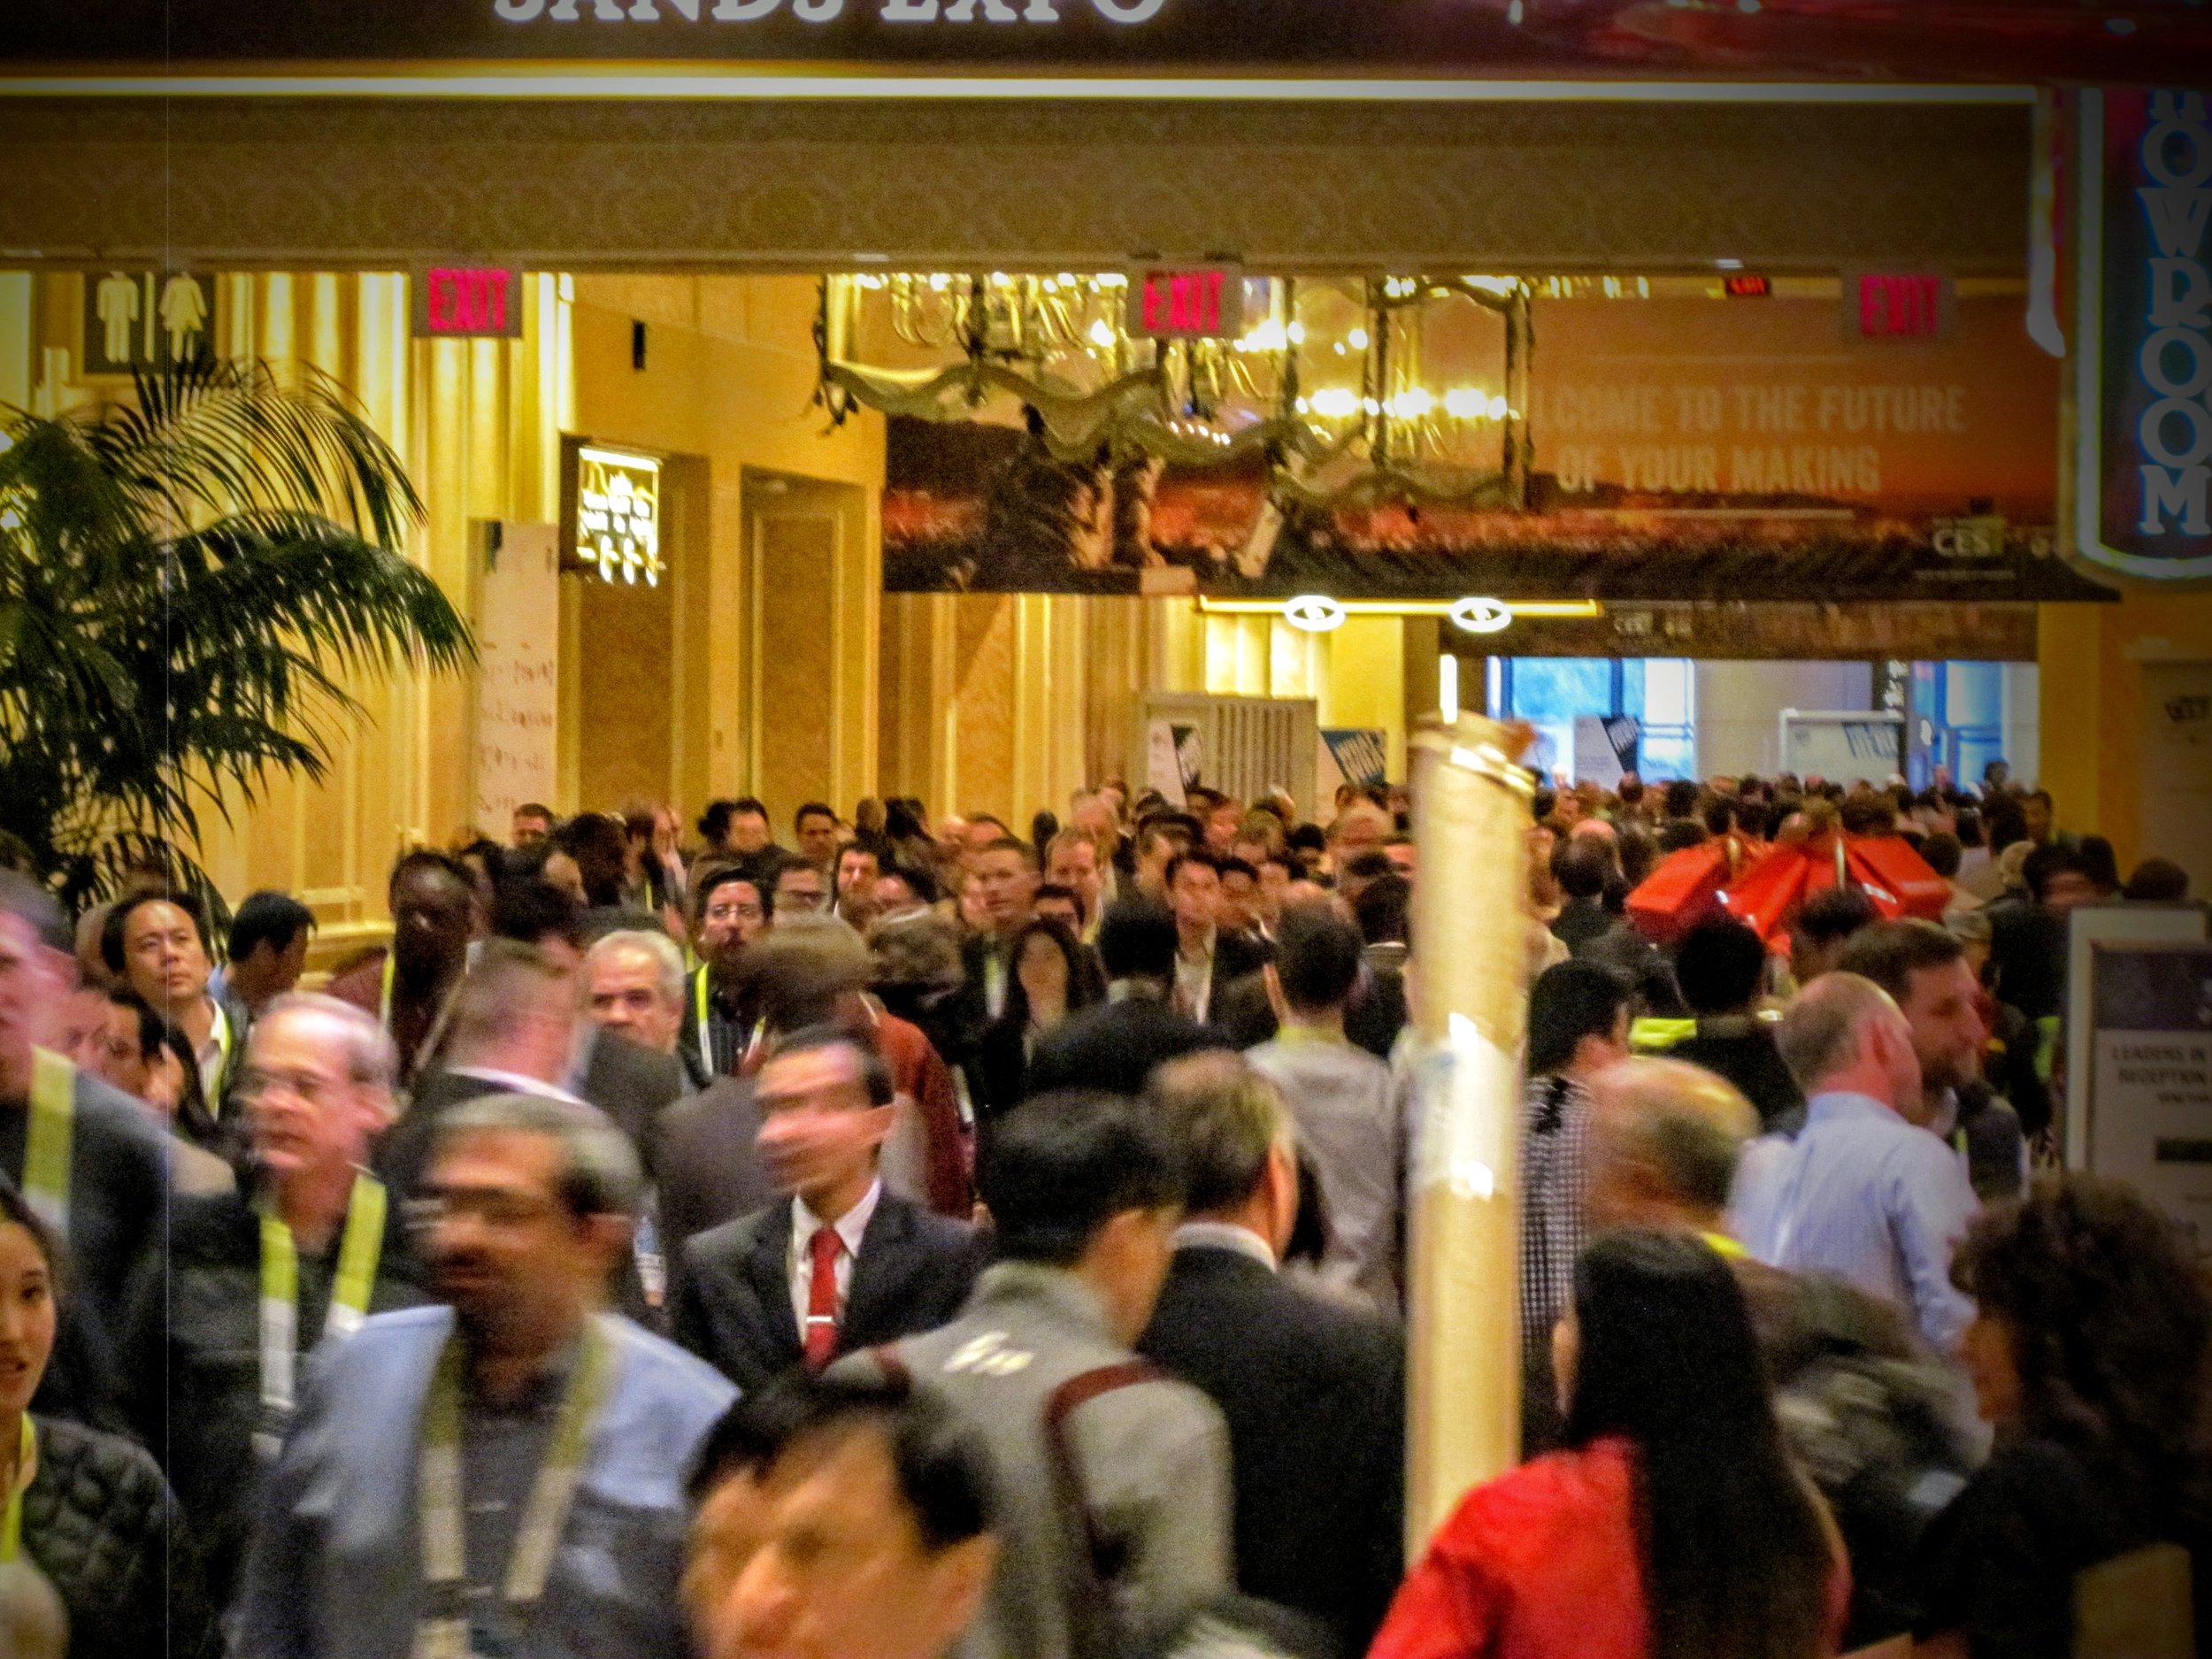
At the Conference
Start early and end late: Conferences are not vacations. You should accept that you’re going to be busy gathering information from the moment you wake until you crash each night. That may be challenging and seem overly work-focused, but remember that you have a rare opportunity for learning that expires in a day or two – make the most use of it and take your rest afterwards.
Use breaks efficiently: While the event’s activities are certainly important, the breaks are also of critical importance. It is during the breaks that you can network with others and learn a great deal, sometimes far more than is actually presented at the conference.
Talk to everyone, at least a little: Some people are naturally outgoing and seem to be able to immediately speak to everyone, but for many this is a challenging social activity. Get over it! Just walk up to people and start talking; remember they are in the same position as you: being there to learn. They can learn from you as you can learn from them. You’ll be very surprised at what you can find out.
Don’t talk to your friends: Sometimes you may go to an event with a group from work, for instance. My best advice is to dump them as soon as possible! You won’t learn anything you don’t know already by spending your time with them. Instead, break away and meet new people from which you will learn new things.
Ask enough questions, but not too many: At the trade show floor visit every booth, or as many as you can manage in the time allotted. However, be efficient. Ask enough questions to determine whether there’s something there for you or not. When you determine “not”, move on. If there is something for you from a specific vendor, ask enough questions to confirm things and ensure you have obtained contact information for later followup.
Be skeptical: Some, but not all, vendors tend to exaggerate their abilities during a trade show. Some excessively so. Take grand claims with a grain of salt, and ask questions to ensure you know what they are claiming. Ask for proof. Ask to see a print. Ask to see inside the machine. If they can’t answer, then you know something.
Take notes: Many trade shows are very large and it is physically impossible to remember everything that happened. Take a pad or notes app with you to record your thoughts and follow up points. It may be easier to voice record or dictate your notes while walking the show floor, too. Take notes during breaks when you discover something interesting when speaking with a contact.
Take pictures: A picture is worth a thousand words, they say, and a thousand pictures is worth a million words. This is so utterly true: a picture of a product or list of specifications can save you a heck of a lot of note typing.
After the Conference
Review your notes: You did take notes and lots of pictures, correct? If you did you must allocate time to review them. Transform those rough notes into actions, and then execute them. Also, it’s no shame to ignore low-value findings, as you should focus on the high-value discoveries.
Review your materials: Some conferences provide copies of the presentations and you should definitely obtain them if possible. They’re always useful to review, particularly months or even years later when you want to confirm a point.
Follow up with contacts and vendors: Your action list will probably involve contacting an attendee or a vendor to pursue something that makes your life better. Get it done.
And that’s it. Using these tips could make your conference experience significantly better. Remember, attending a conference is often a privilege; use it wisely.