

In the world of 3D printing, much has been accomplished in increasing hardware capabilities, but it seems that software often lags behind.
Case in point: Type A Machines has released a powerful new version of the open source 3D print slicing program, Cura. Their innovation is to make far more interesting infill patterns.
Otherwise, infill patterns are kind of an afterthought by most slicing engines, producing standard vertical patterns of squares, hexagons or other simple structures.
While these are easy to generate and are “out of sight and out of mind”, they do actually provide significant strength to the object. A hollow 3D printed object is usually quite fragile, but the addition of even a little bit of internal structure adds quite a bit of strength.
The problem is that these traditional infill approaches can only do so much, and the best strength ends up being a near=solid internal structure. That’s good but not particularly efficient. You’d be wasting material.
If only you could design a more complex internal structure that provides even greater strength, but with less material? That’s precisely what Type A Machines did, as they’ve added a number of different infill capabilities.
Check them out:
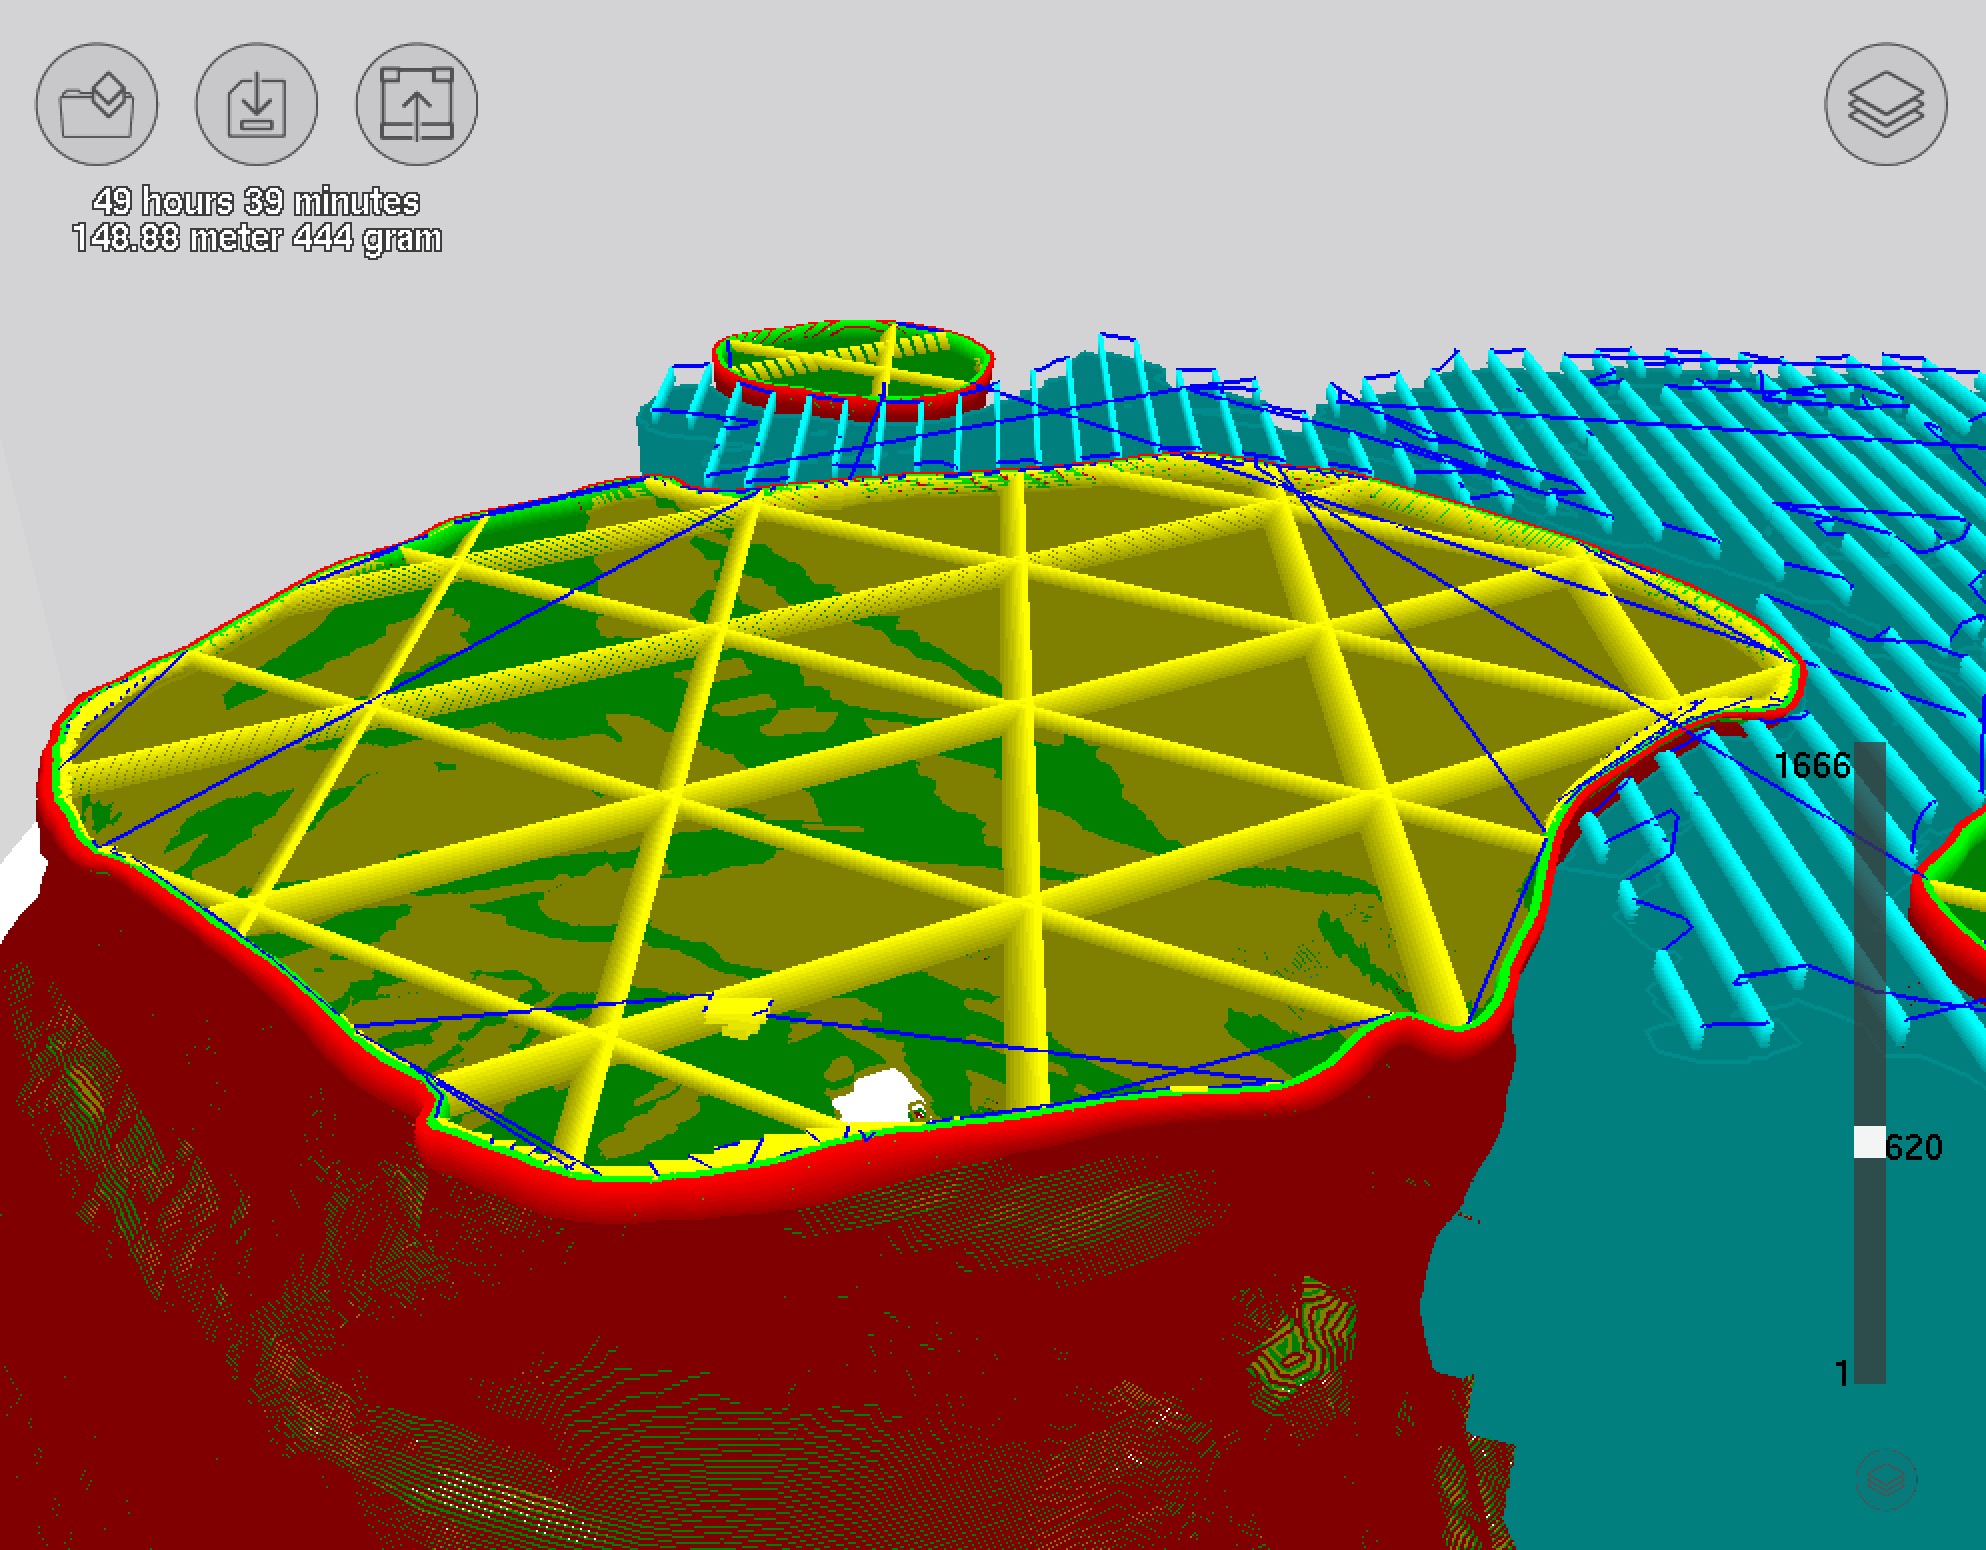
This is a view of the “3D” infill. Unfortunately, Cura does not show the entire infill structure, but only a few layers. Imagine, if you can, these cross pieces sliding along as you increase layers. What they’re doing here is building an internal structure of cubes aligned diagonally. This structure is definitely not your standard vertical infill; no, it’s a structure that can take some punishment from multiple angles, providing greater strength.
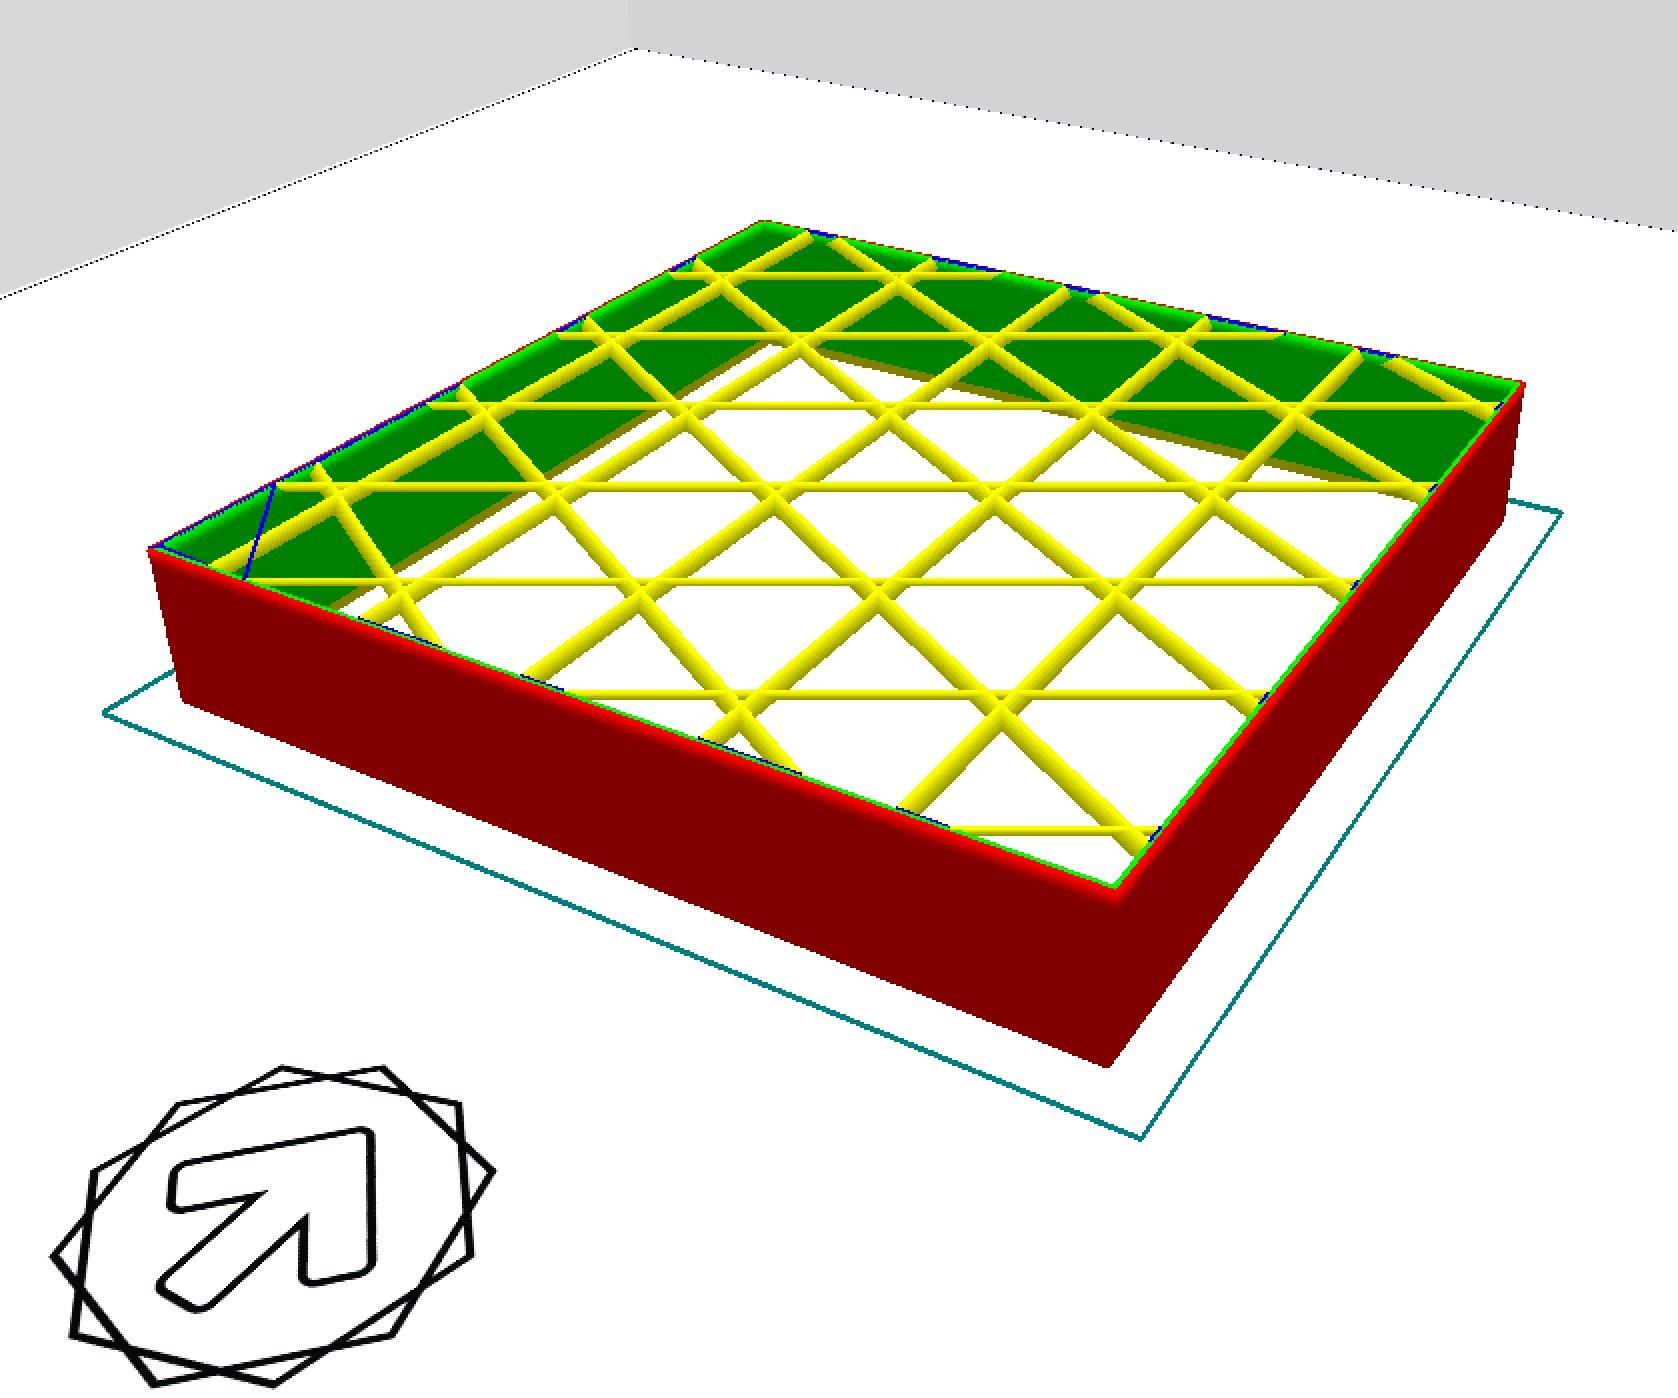
That’s not all. They have a number of other variations. This one is a “gradient” that might look like the standard vertical pattern, but it actually shifts as it proceeds vertically, providing a different kind of strength.

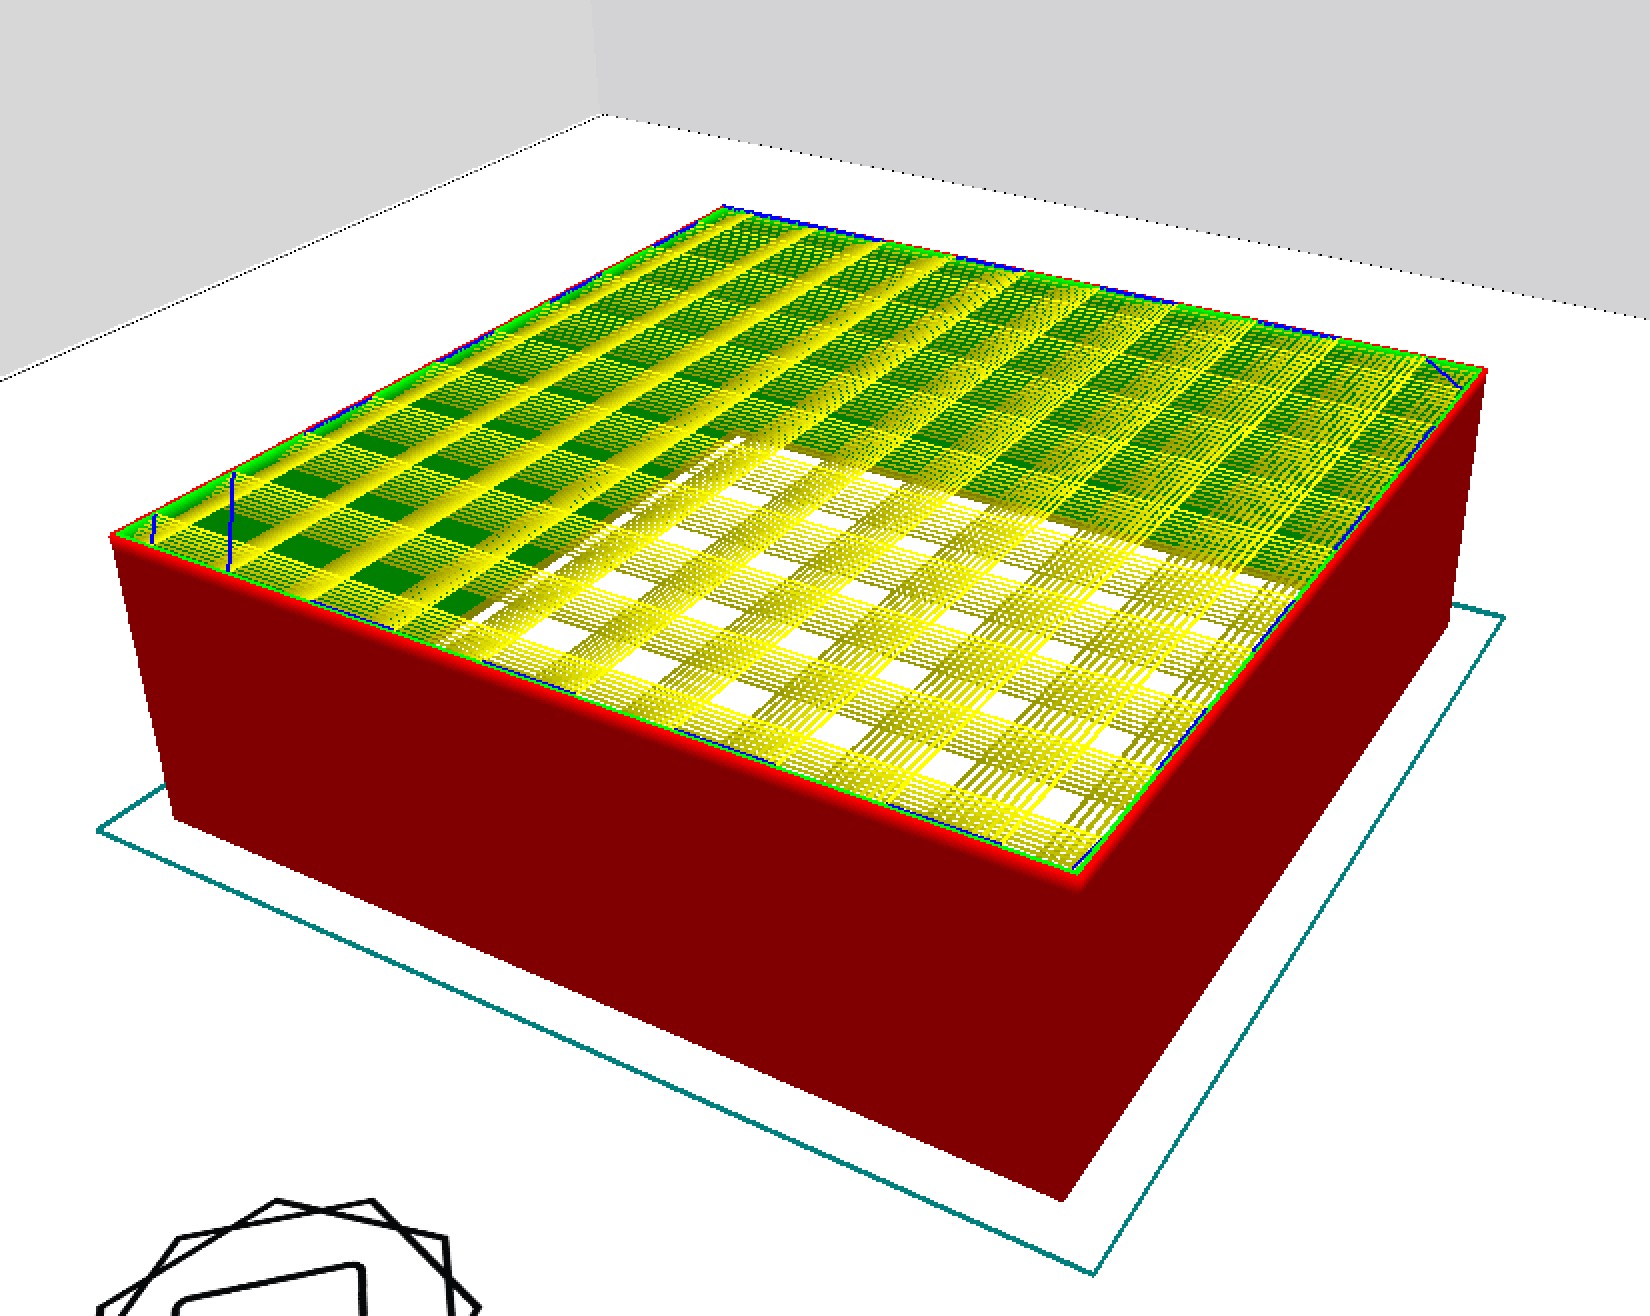
This one is “concentric” that shows up as a series of concentric circular layers. I’m not sure how useful this one might be.
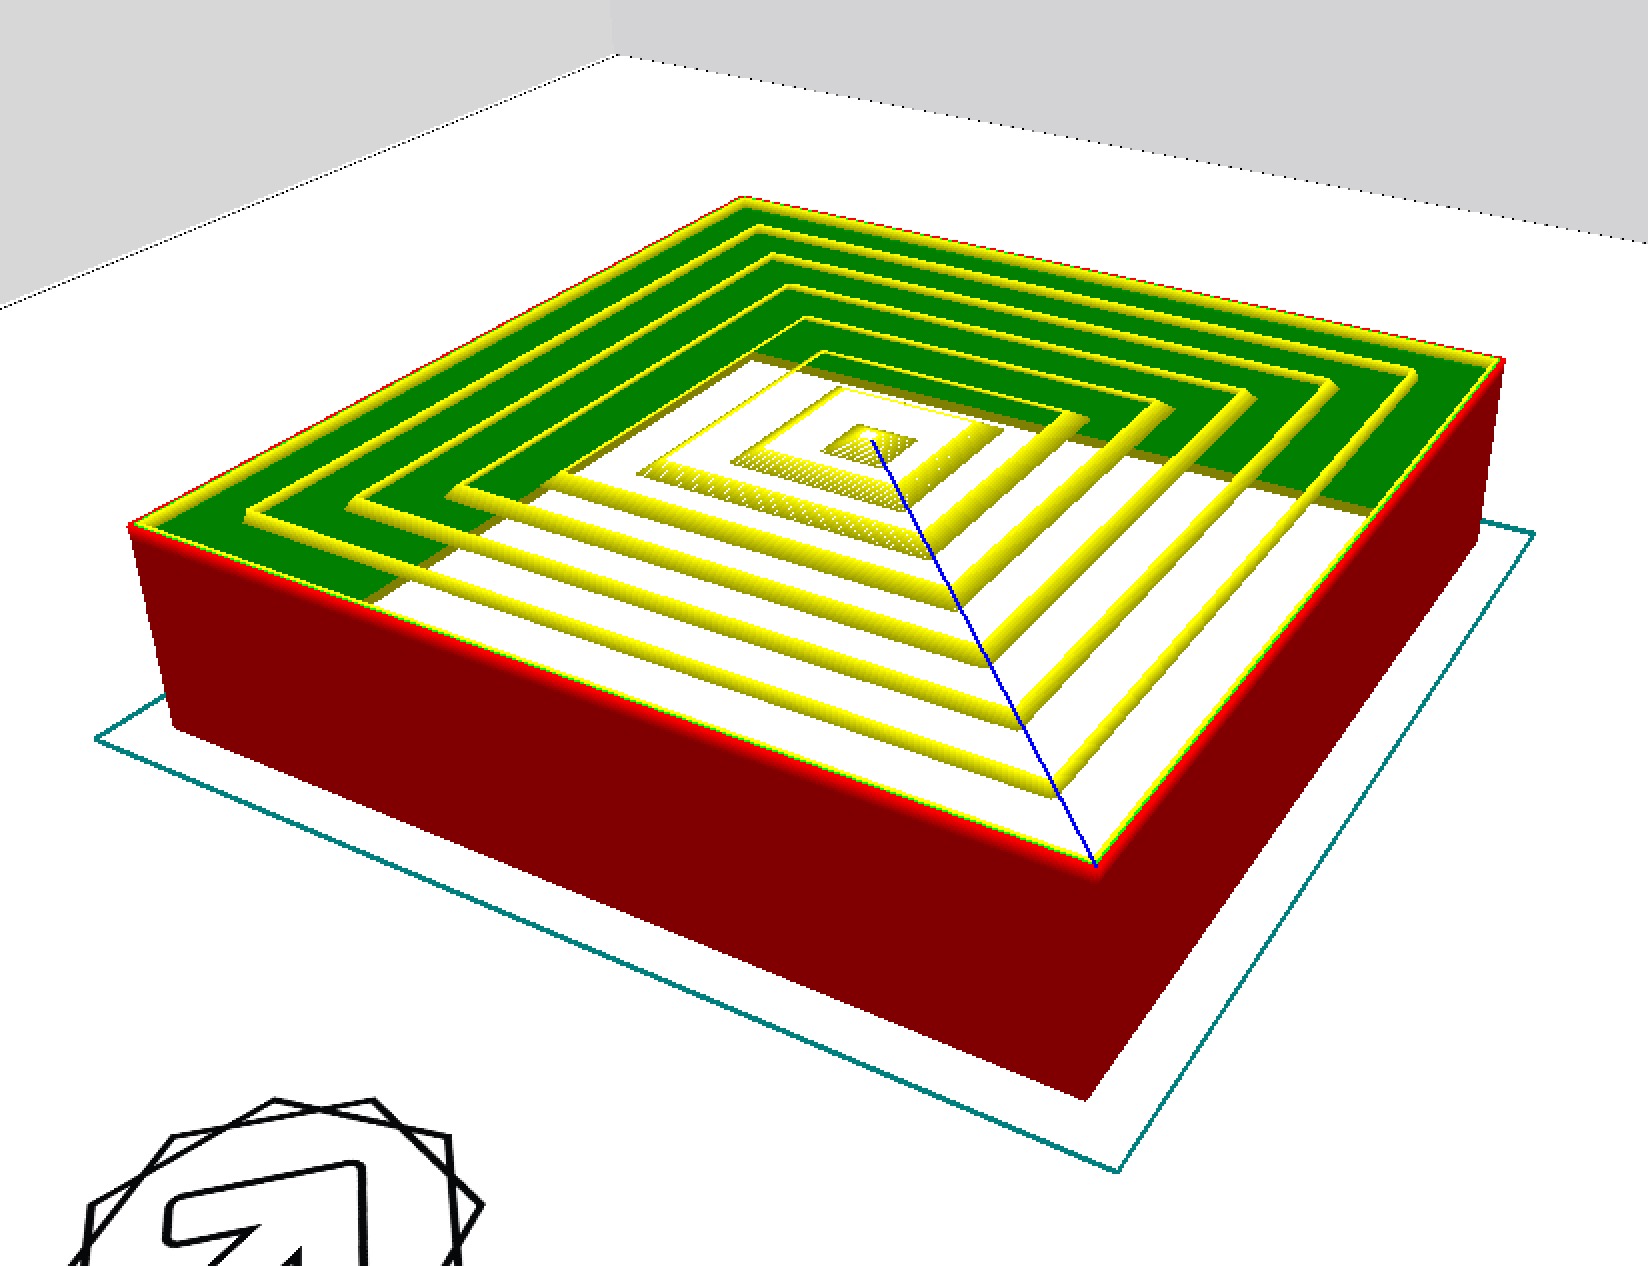
However, this variation is a “gradient concentric” approach, where the circles shift by height.
It’s all great stuff and should be standard on every slicer.
However, I believe this is only the beginning. While these infill patterns are certainly more effective and complex, they are still “static” as they are essentially the same for any object.
I think what would be most interesting is a kind of “intelligent” fill that would, given some basic information about the object, attempt to dynamically build an optimal internal infill pattern that matches the intended lines of mechanical stress. I haven’t seen that yet for desktop 3D printer users, although it may exist in very high-end 3D design tools.
Via Type A Machines