


Charles R. Goulding and Preeti Sulibhavi examine the concept of refurbished items and how 3D printing could help move it forward.
The May 26th, 2022 Walls Street Journal (WSJ) took a timely look at the accelerating trend of refurbishing existing products.
The article title referenced a variety of products ranging from mobile phones to vacuums. We have worked with a leading company in this industry that, for many years, has returned high-quality electronic products to the market including mobile phones and drones. We are used to referencing this industry by the term reverse logistics.
Now this industry is gaining increased attention due to inflation and new federal “right to repair” legislation. Our Fabbaloo articles covering these situations included 3D printing and Dyson vacuums, Caterpillar equipment and food equipment. We have also covered 3D printing opportunities for refurbishing airplanes, service trucks, auto parts and scrap metal. The WSJ article included the actual cost savings from refurbishing specific products.
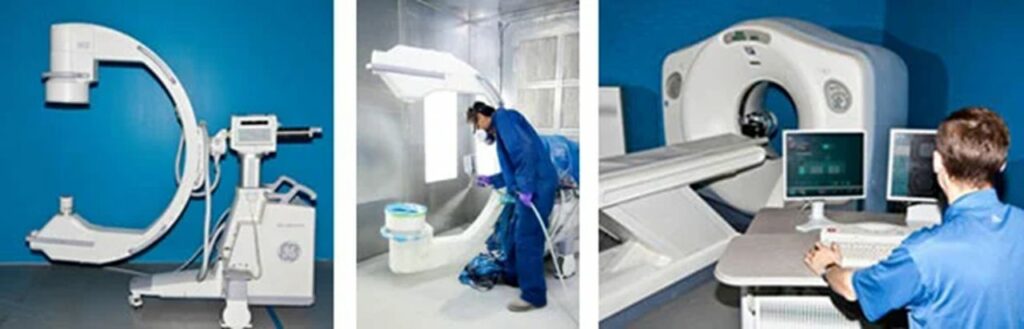
3D printing has advanced a great deal with regard to refurbishing products. There are various methods of 3D printing components for these items, everything from appliances to med-tech, to reconditioned restaurant machinery can be refurbished. This practice could be enhanced by companies adopting digital inventory approaches that allow easy reproduction of most parts.
The Research & Development Tax Credit
The now permanent Research and Development (R&D) Tax Credit is available for companies developing new or improved products, processes and/or software.
3D printing can help boost a company’s R&D Tax Credits. Wages for technical employees creating, testing, and revising 3D printed prototypes can be included as a percentage of eligible time spent for the R&D Tax Credit. Similarly, when used as a method of improving a process, time spent integrating 3D printing hardware and software counts as an eligible activity. Lastly, when used for modeling and preproduction, the costs of filaments consumed during the development process may also be recovered.
Whether it is used for creating and testing prototypes or for final production, 3D printing is a great indicator that R&D Credit eligible activities are taking place. Companies implementing this technology at any point should consider taking advantage of R&D Tax Credits.
Conclusion
We are pleased to see mainstream media focus on repairing used equipment. The quest for a circular economy is gaining momentum and 3D printing is an essential element of the process.