
 Fabbaloo Labs has obtained a brand-new, two-headed BFB 3000 3D printer for detailed experimentation and evaluation. We’ll talk about our unboxing and setup experience in this post, while upcoming posts will focus on the 3000’s operation and software.
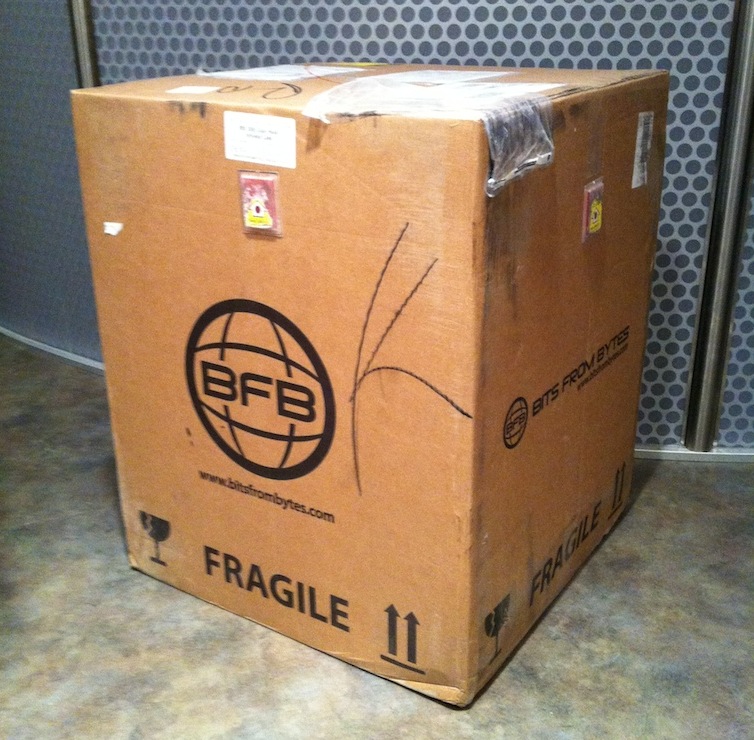
 The BFB 3000 ships in a rather large 38kg box. It’s large for one obvious reason: It’s already assembled! Mostly. Shipped from Bristol, UK the box arrived visually unscathed, and the “tip and tells” pasted on the sides confirmed so.
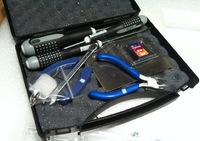 The 3000 package includes a very professional hard plastic toolkit containing all the tools you’ll need, including precision pliers, cutters, some really nice allen key drivers, a large metal lifter for cracking prints off the bed and some drill bits for purposes unknown. We’d suggest also including some simple carving tools and razor edges to complete the kit.
 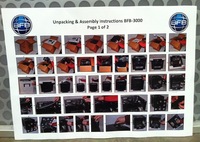 While the 3000 is in fact assembled, there are a few things to do, similar in difficulty to setting up a 2D paper printer – removing shipping material that kept the mechanical bits from flopping around, etc. These steps are apparently shown in the single sheet of instructions included (click image for a larger, but still not entirely understandable view). This is one area we felt needed improvement, as the instructions were entirely visual and were too small to see exactly what was to be done in several cases. In the end we simply examined the unit and figured out what to do without the instructions.
  The 3000 is surround by foamy shocks that are easily removed as were the foam tubes securing the precision metal rods. Less easy to remove were the test prints, still left on the print bed as evidence the machine actually worked at the factory. We thought this was a very nice touch as it raised confidence in the factory assembly and immediately provided some cool prints for show and tell without having to fire up the machine. Three test prints were stuck to the bed: a tall twisty cylinder, a hex nut embossed with “B F B” on its sides, and a flat test pattern that clearly indicated two heads had been in operation. These prints immediately demonstrated the startling sticking ability of the print bed, since they went flying through the open sides when forcefully pried off when we used the flat edge lifter for the first time.
 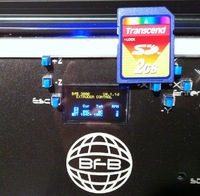 The 3000 includes a control box at the front base of the device for operation, which we’ll describe in a future post. However, we were quite shocked at the truly microscopic size of the display. In the image above we’ve placed a standard size SD card (actually the card included with the 3000) for a size reference. Is it even possible to get a smaller display than this?
 After shipping material was removed, test prints extracted and cabling completed, you can power up the 3000 – and it did so successfully at the first attempt. There were a couple of very straightforward procedures to ensure the bed was level and calibrate the extruder Z height, but after that the 3000 was ready for action.
Total time for setup: with improved instructions, you should easily be able to get this unit printing in less than an hour. This is a very easy machine to unbox and set up.
Excellent, thanks!
Excellent, thanks!
Thanks and had a great read of the UP! 3d printer, its now a little dated as the new version only requires a single power supply as well as doesn't spool excess plastic at the start. The Australia reseller web site has some awesome examples of output of this printer http://3dprintingsystems.com.au/3d-model-gallery/
I'm going to order one and i'll let you know how it goes.
We did! Check this out
We did! Check this out
Would be great if you could also test and review the pp3dp up printer as well.
Would be great if you could also test and review the pp3dp up printer as well.